I'm building a large scale scene in my 3D landscape editor and had to build a foot bridge to add to the scene. In this post I will show how I built the bridge and how it can be used not only in my landscape editor but in other digital art programs to add depth to a 2D picture.
.png)
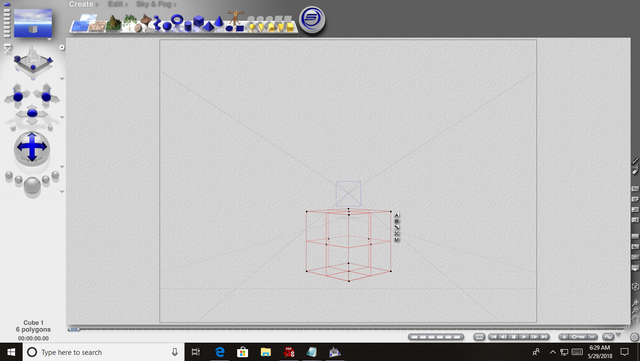
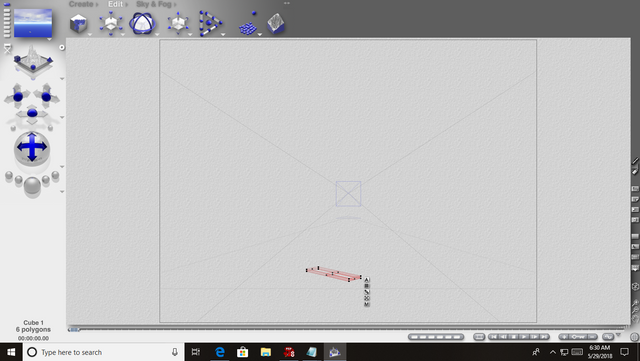
The first thing I had to do after setting up my workspace is open a cube and size it down to a single plank for the bridge as seen in these two photos.
.png)
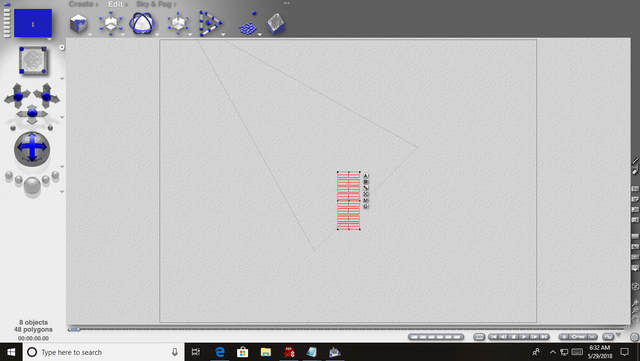
The next thing that had to be done is to duplicate the board to the number of planks I would need. This is a bridge for a walking path over a small stream so I used multi-replicate and created 7 more for a total of eight.
.png)
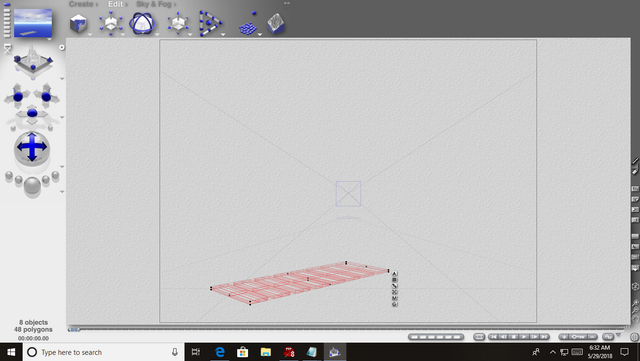
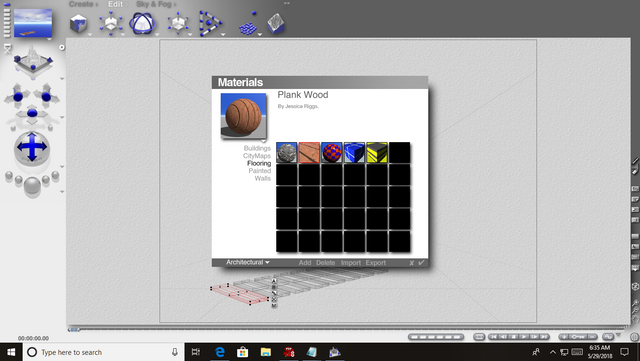
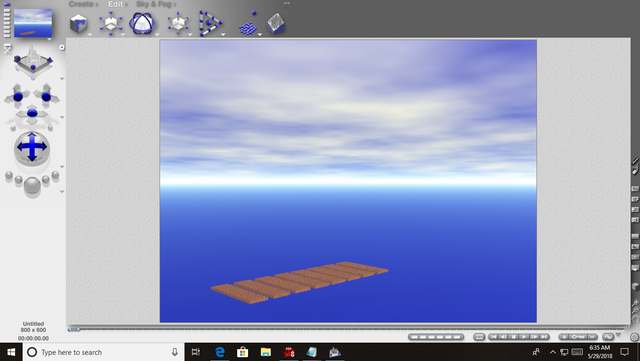
The program offers many ways to view your model to make sure your alignments are correct. I used the top view to keep my planks in a straight line and to keep the spaces between planks equal. Then I turn it back to directors view to see what it looks like so far. After that I add a material mesh to each plank to give them the wood look and we have the length of the bridge finished.
.png)
.png)
.png)
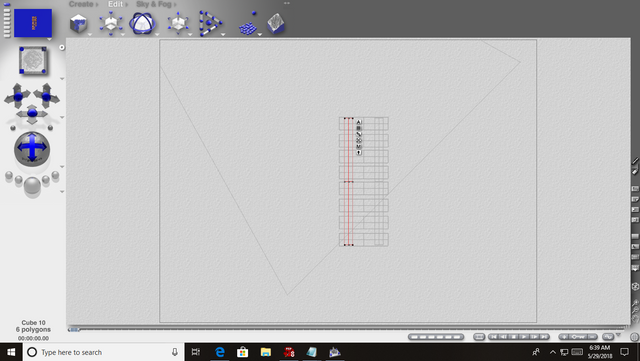
Now I had to add the beams under the bridge so it looks like an authentic bridge. I was going to create a hanging bridge on rope lines but the mechanics of that require intricate calculations to give the bridge a swing style look, so in the end I just opted for wood beams running the length of the bridge underneath.
.png)
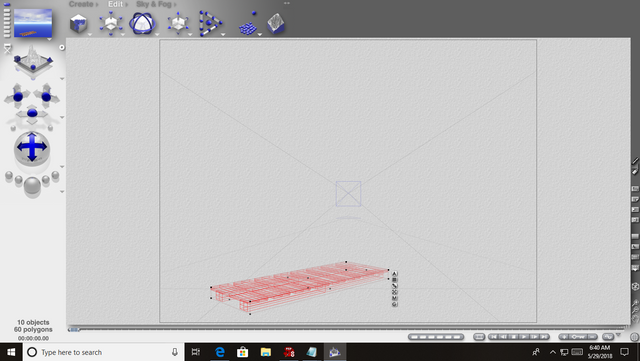
I created a second cube and this time resized it to run the length of the bridge. When it is all set in size I duplicate it and drag the second beam to the opposite side of the bridge. I added a different wood mesh to the beams for a contrasting effect. Now the bridge itself is completed and it is time for the rails.
.png)
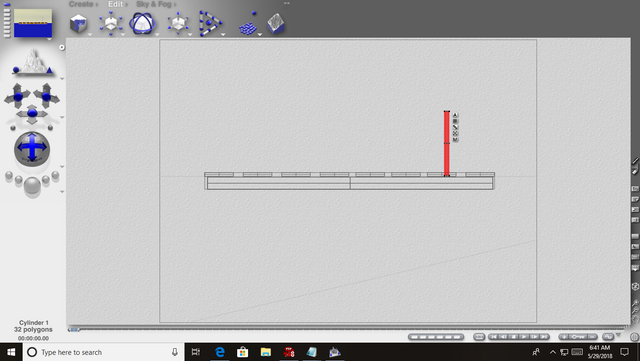
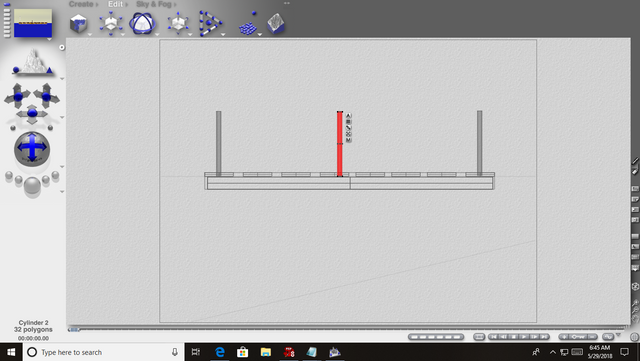
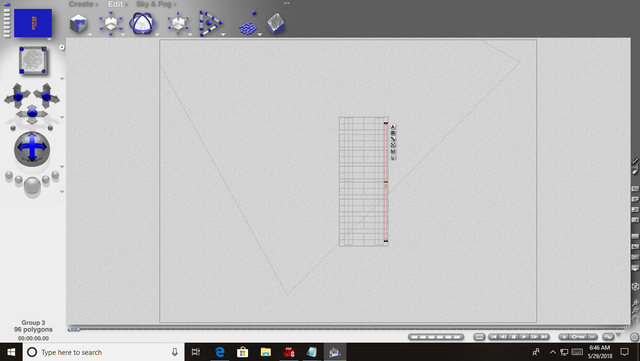
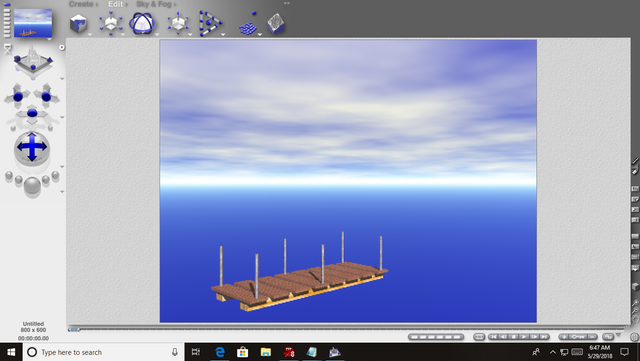
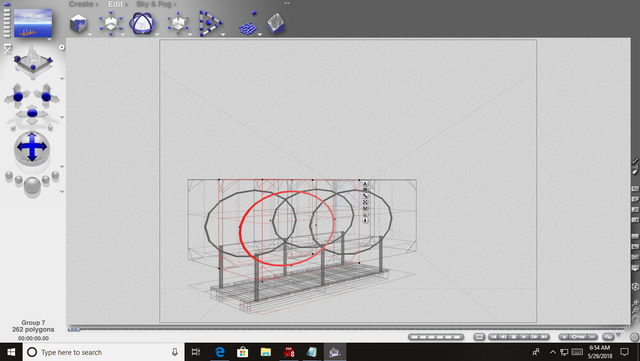
The rails are the most involved process in the model simply because I have to create a Boolean for the rails themselves. A Boolean is when I take two separate shapes and form them together into a new shape. I will explain the whole rail process and you can follow along in the pictures below. The first thing for the rails is to create the rail posts. I use a cylinder shape and resize it to create the first post. When I'm good with it create two more duplicates. In the top view I move the three of them where they will be on the bridge, then I duplicate that group and move it to the other side of the bridge so all six posts are in place.
Now comes the tricky part. I want the bridge to have a rope rail. In order to do that I have to create the rope. This is where the Boolean comes into play. I create a torus or 'donut' and edit it down to the size of a rope. When that is done I se the torus' attributes to positive. I am only going to need a small section of the torus to be the rope so I have to make the rest disappear. To do that I use a cube shape and cover all of the torus I want gone. I set the attributes for the cube to negative then group the two pieces together. Voila! I now have a section of rope! I move that into place and fit it in resize it to fit between two posts. Then I duplicate that section and move it to the other side of the bridge. Since the distance between the posts is different in the second section I must duplicate the first rope again, move it into the second post section, resize it accordingly, then duplicate that section and slide it to the other side of the bridge. It sounds more complicated than it is, especially if you enjoy building the models, as I do.
.png)
.png)
.png)
.png)
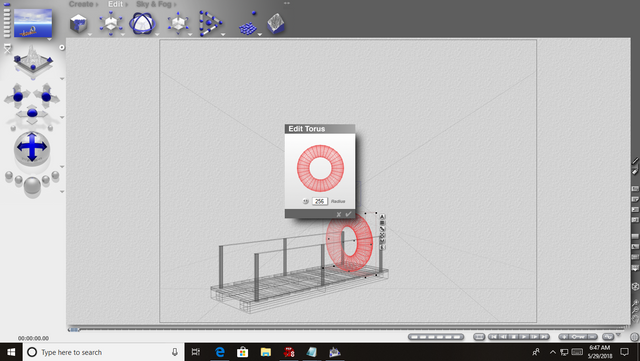.png)
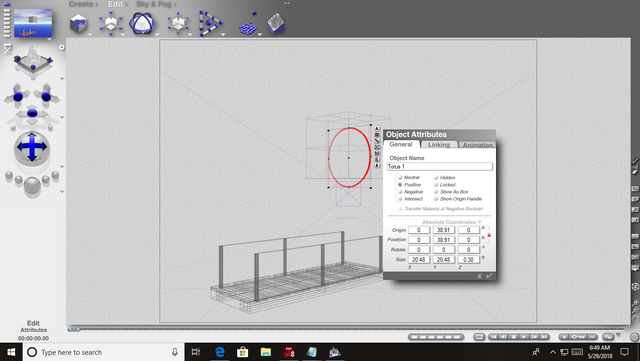.png)
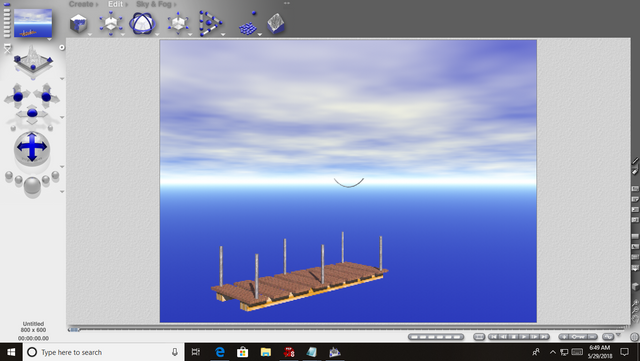.png)
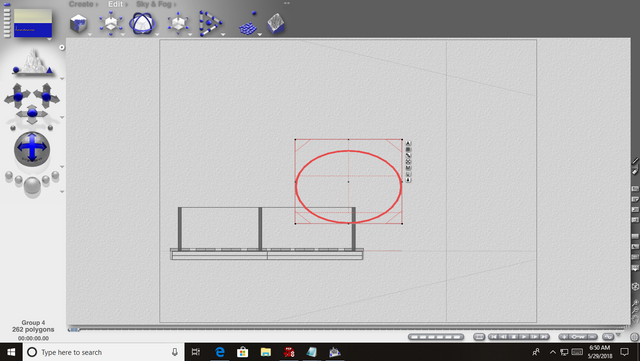.png)
.png)
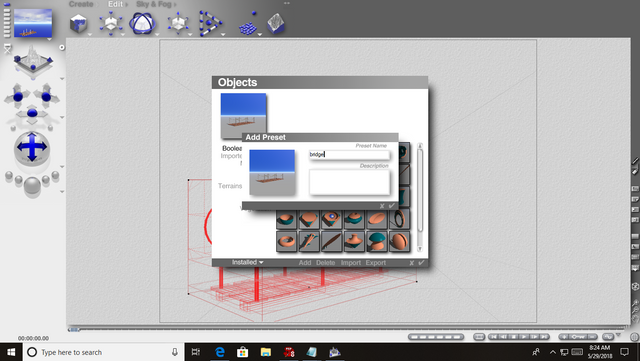
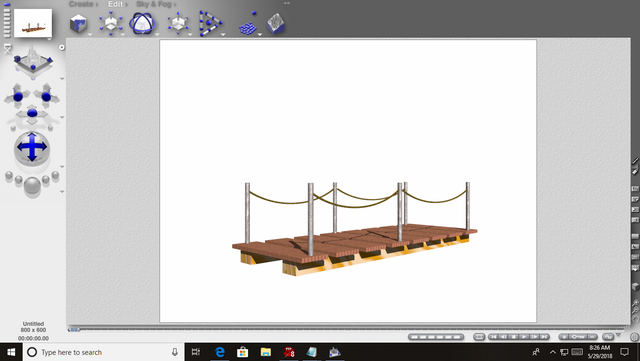
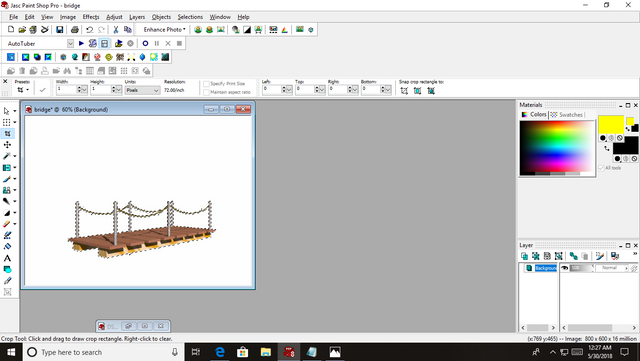
When I am finished with the build I group the whole thing together and lock it. Then I save the model into my creations in the program. Now any time I want to use it I can bring it into a project. I can also change any part I would like to from the meshes to the actual shape of the model to fit my needs, and if I want to use it in one of my other programs like Paintshop or Photoshop I just have to create it on a white background and save it as an image. Once it is an image I can open it in the other programs and cut away the white background leaving just the bridge. I can phot shop it into pictures or I can create a picture in paint shop and add the bridge to give it a 3D look.
.png)
.png)
.png)
STOPDownvoting a post can decrease pending rewards and make it less visible. Common reasons:
Submit