📮Dear friends,
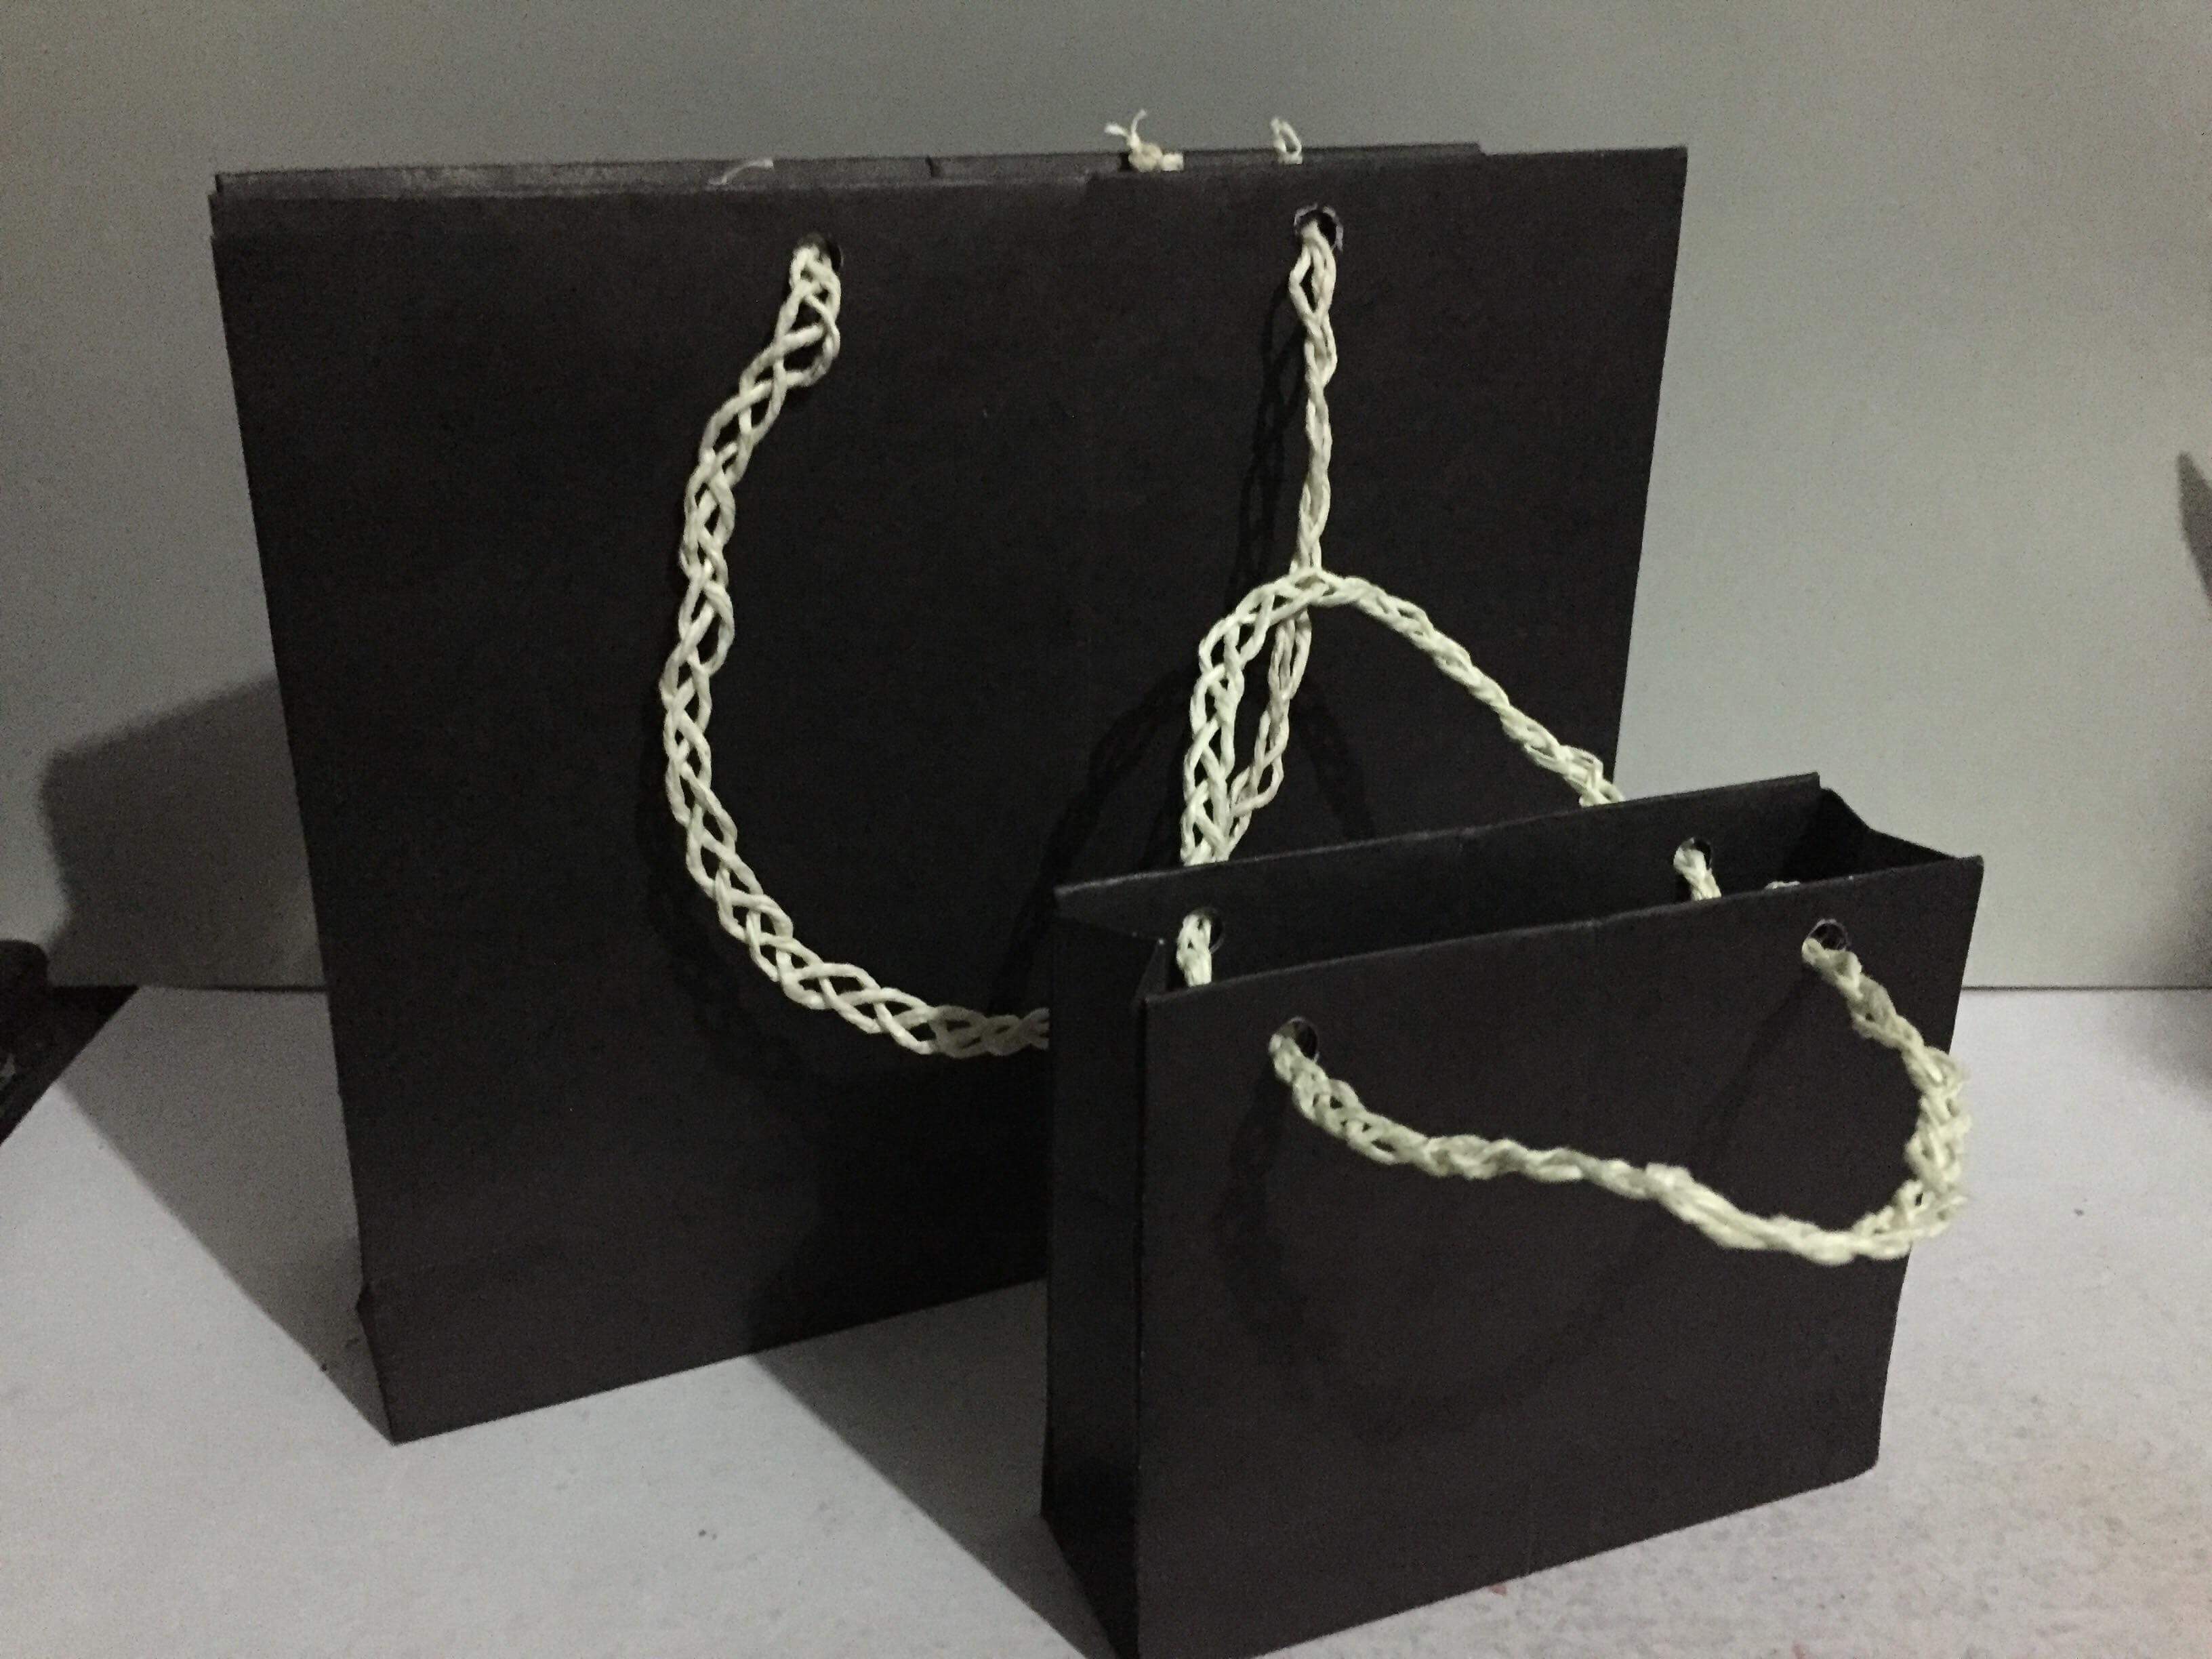
Today, I made my own paper bag by origami. Again, there must be no gluing and cutting. I love this hobby because it's a visual form of art and indeed, very useful. Since tourist spots these days are facing an issue of abundance in garbages, this article is my contribution to bring awareness to our environment that instead of plastic, we should use our ecological bag like a paperbag. So, below are the steps how to make an elegant paper bag.
☆Ⓜaterials:
39.7x39.7 inches cartolina paper
90 cm linen jute thread
puncher
☆The 🅿rocess
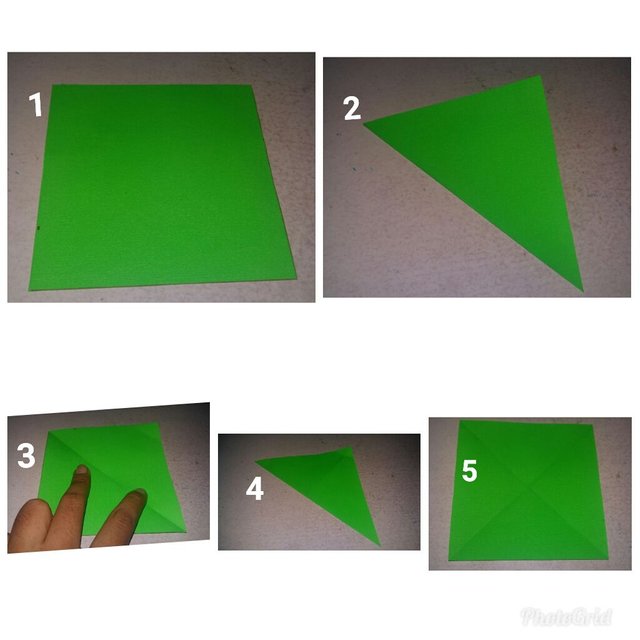
1. Fold the whole paper diagonally.
2. Crease well to see the line.
3. Unfold.
4. Do it to the other side to form X.
5.Unfold.
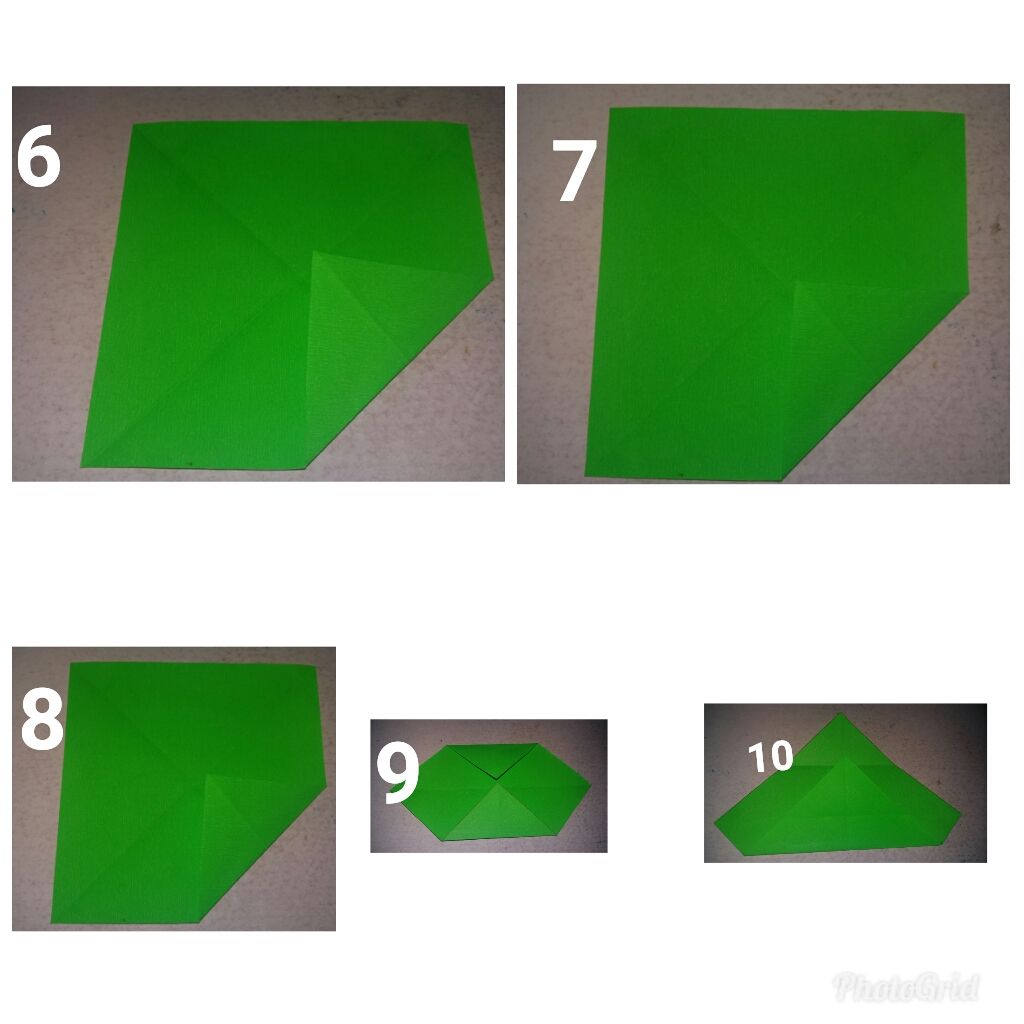

6 -7. Fold the second triangle on the right side below to the corner point. Crease well.
8. Fold the above first triangle of the left side and match to the corner point.
9. Now you see a Hexagon. Crease well.
10-13. Below the center line, match the third line to the corner line to make another line. Match the first line at the top to the corner line to make another line. Now, you see five lines.
14. Fold the paper basing the center line to form a triangle. You should see the 5 vertical lines.
15. Fold the bottom of the triangle according to your preference measurement.
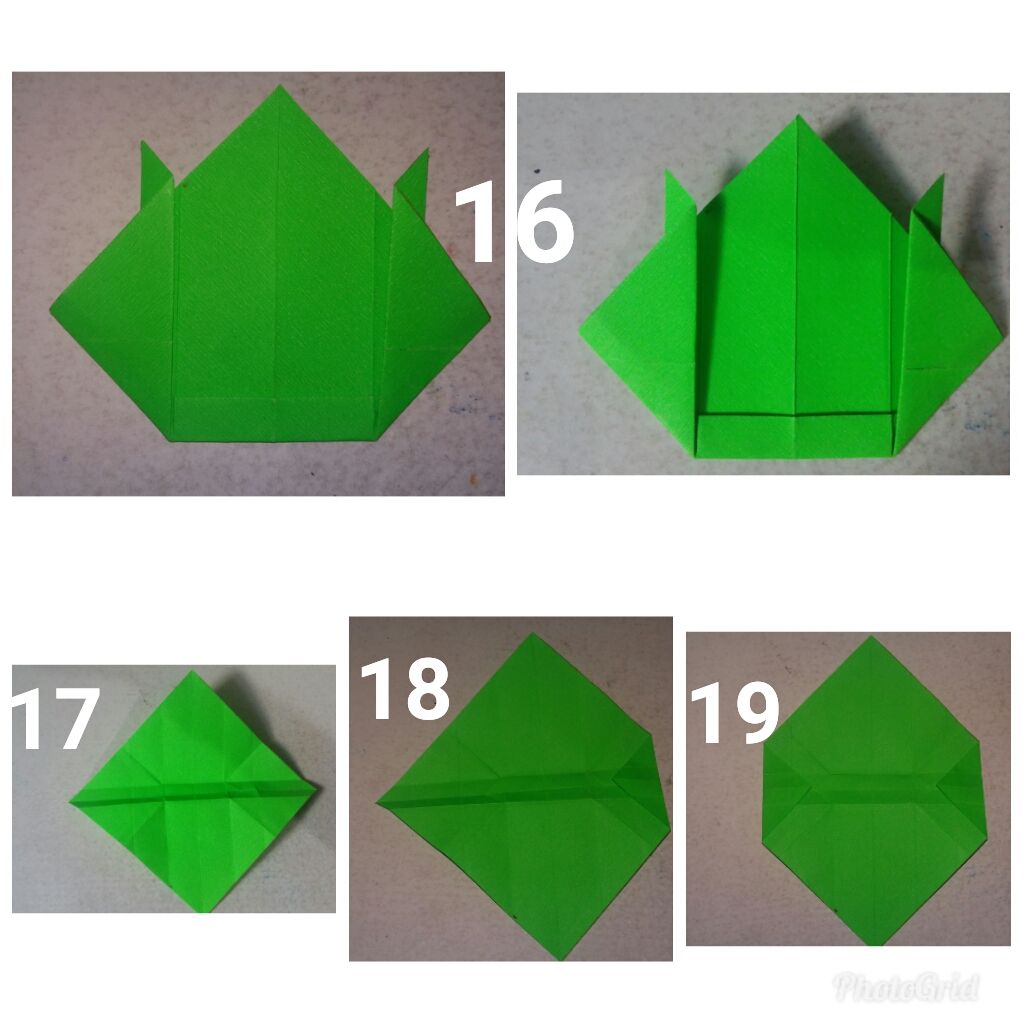
16. Now, what can you see? It is a froggy form.
17. Unfold.
18. Fold the right side by meeting it to the zigzag line.
19. Fold the right side by meeting it to the zigzag line.

20. Flip the paper and fold the center line.
21. Fold each side in which the crease meets second vertical line from center.
22. Divide the paper by folding the middle to create a corner line. The corner line begins from the rhombus you see in left and right. Crease well.
23. Rotate the paper diagonally. Now you see two vertical lines and four horizontal lines in the middle.
24. Lift up the top right side. Look at the vertical lines while it stands and match the first line to the top side's vertical line. Do it to the above left side.
25. Crease well.!

26. Repeat the 24th step below left and right.
27-28. Fold well according to its line you see.
29. Now you see how strong it is and what is the shape.
30. You should recognize the triangle folded shape at the bottom.!
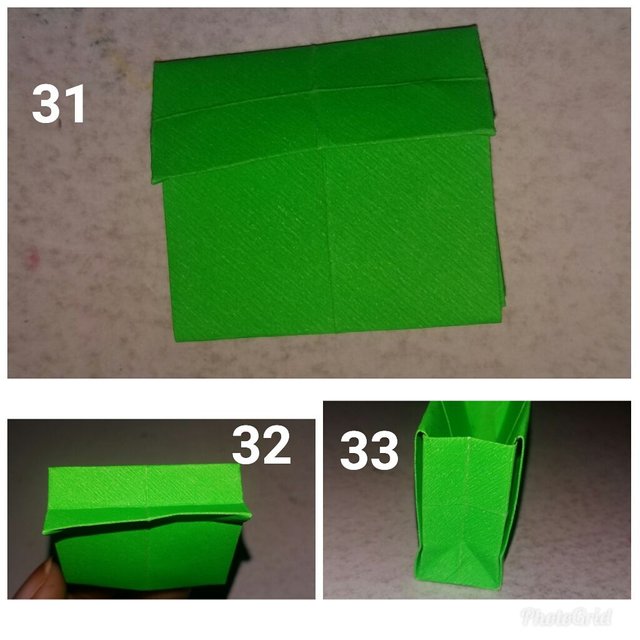
31. There should be a center line at the bottom.
32. Now fold the base of the bag according to its base horizontal line.
33. There should be middle vertical line it its side to be flexible in folding. !
🆗 It's done!
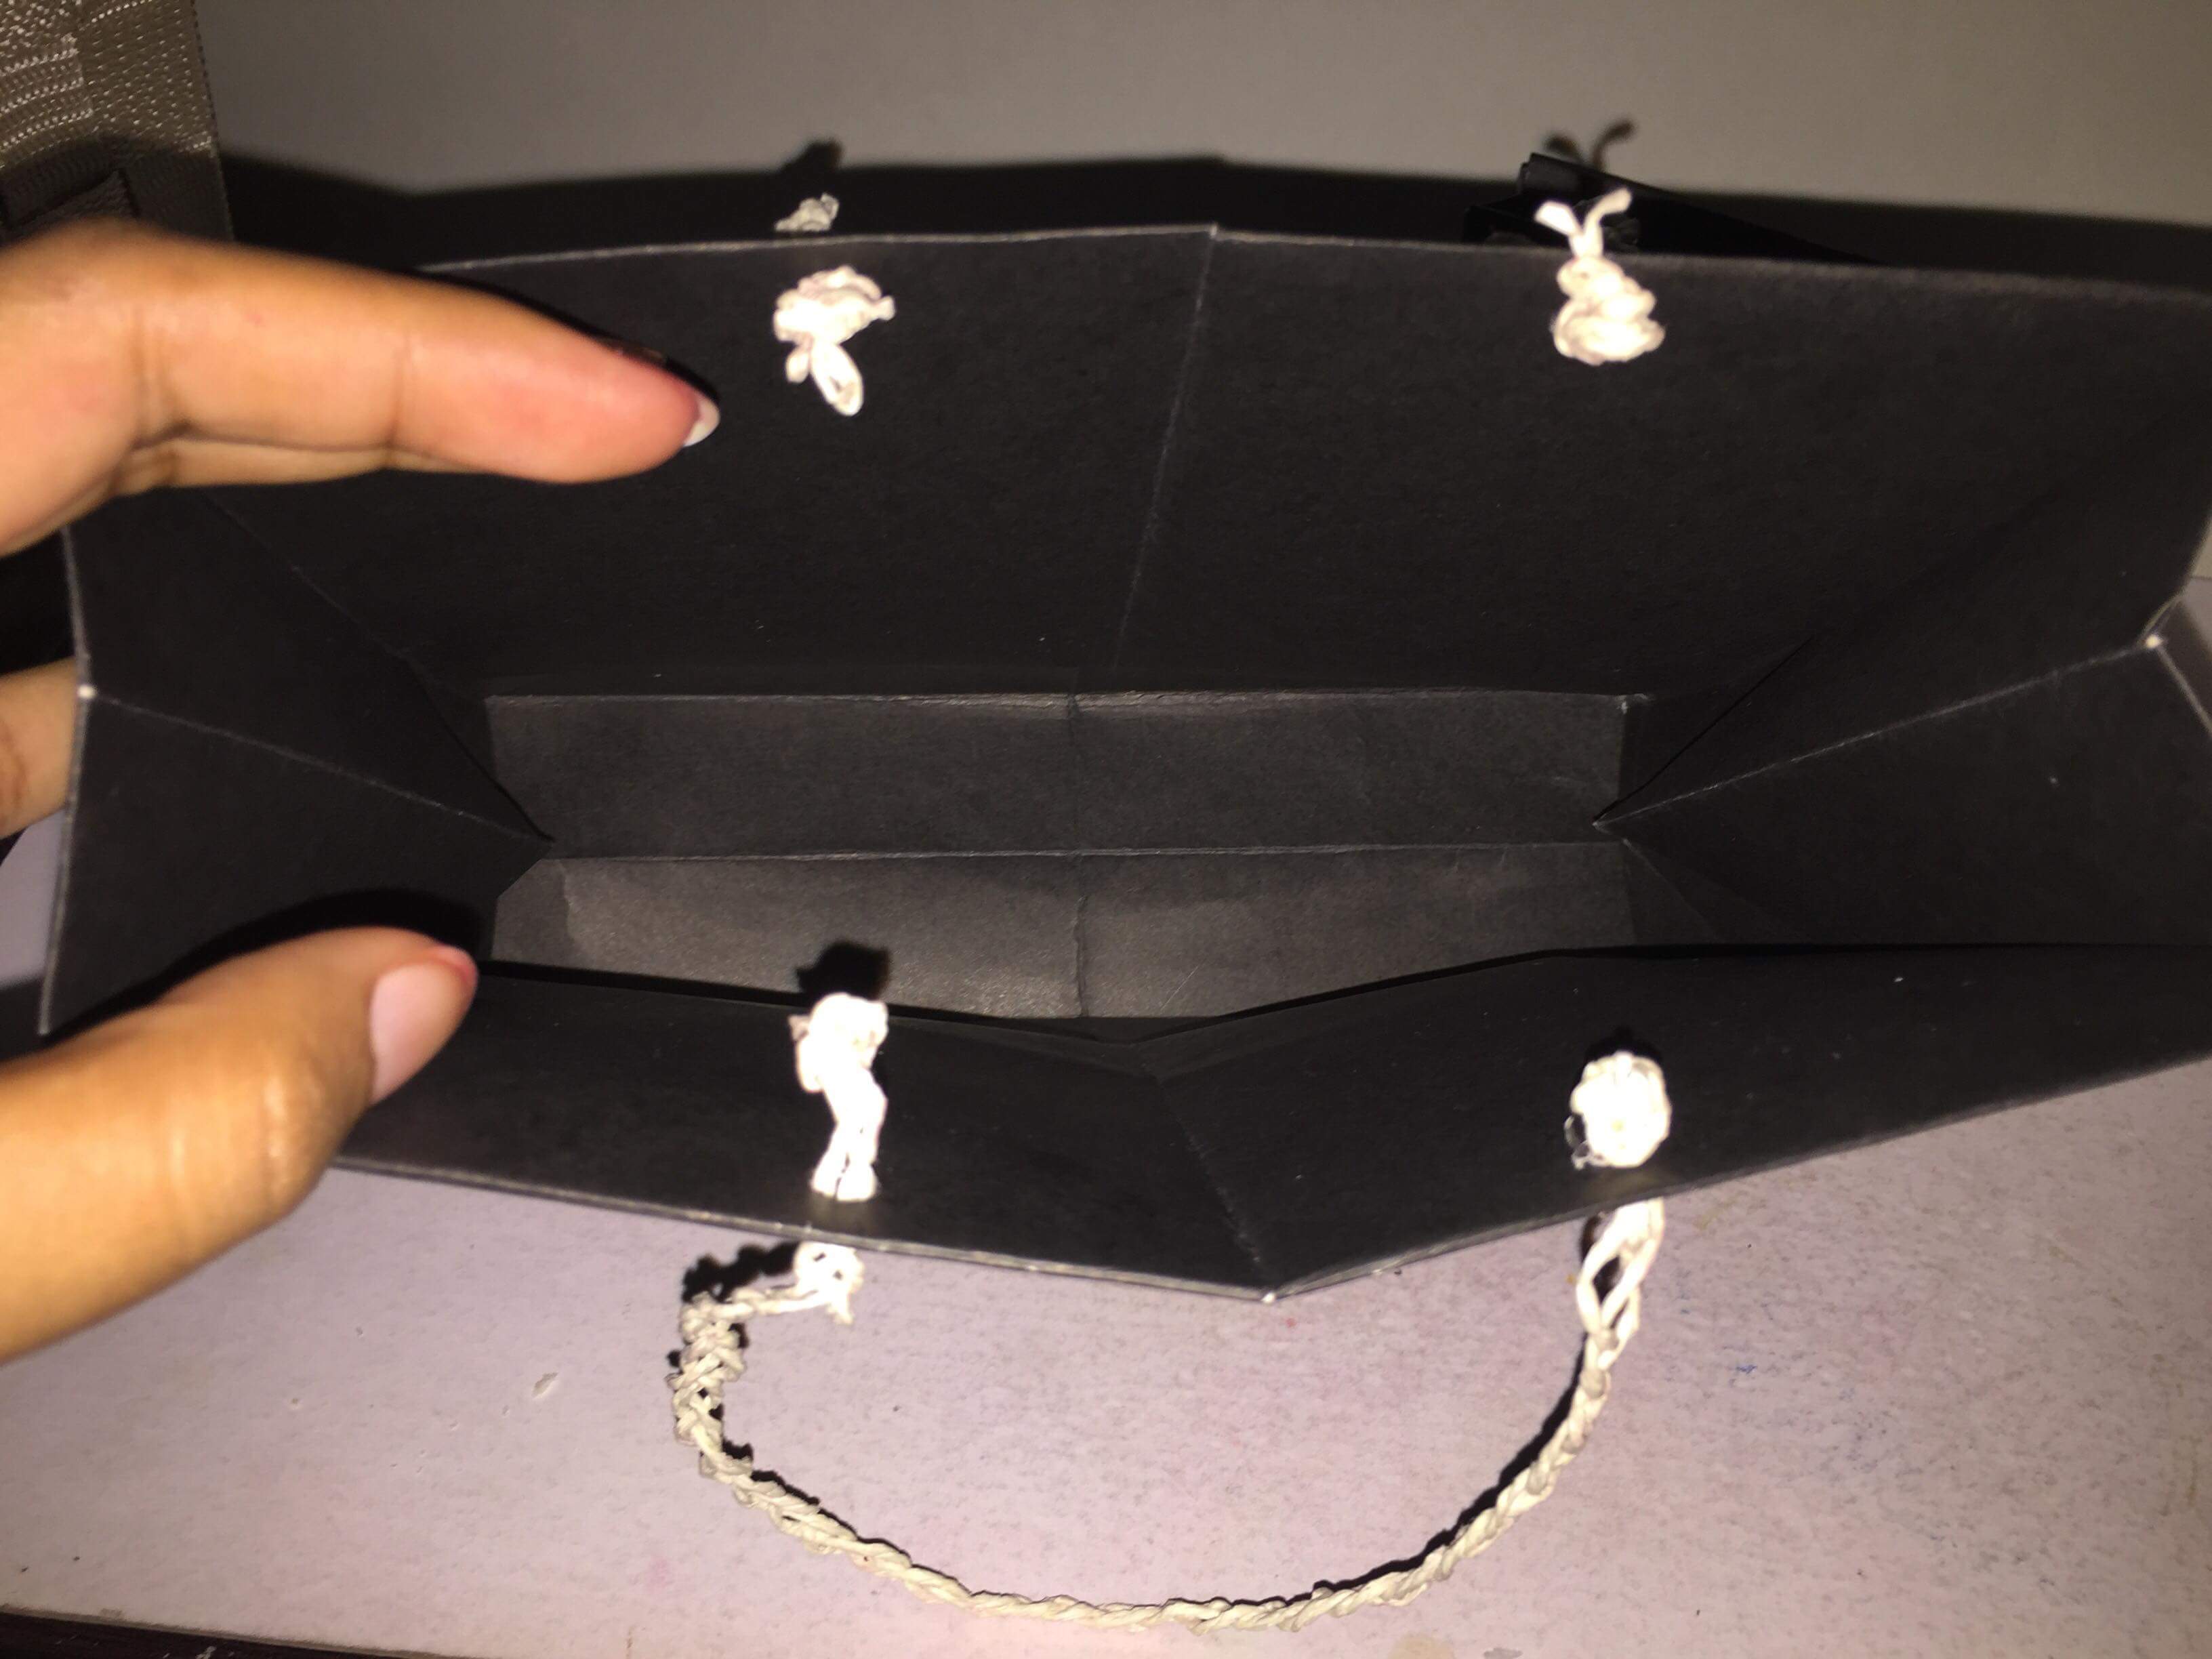
What's the inside? It is not glued but looks strong that can load heavy things.
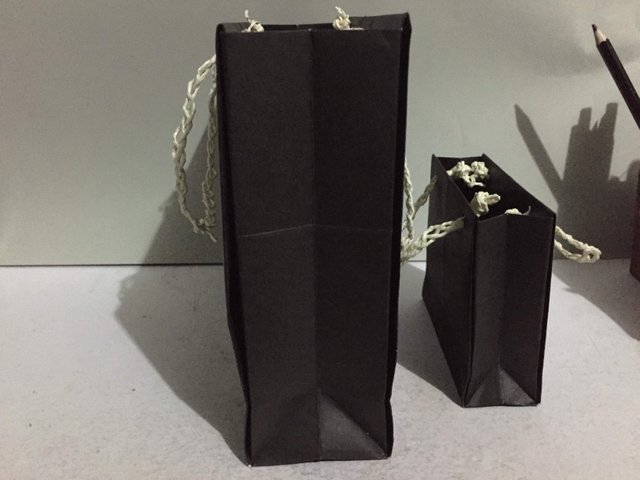
Gussets should have vertical line in the middle.

Wooo nice
Downvoting a post can decrease pending rewards and make it less visible. Common reasons:
Submit
Handicraft is useful
Thank you =)
Downvoting a post can decrease pending rewards and make it less visible. Common reasons:
Submit
Nice one friend. Give me one. Hehe
Downvoting a post can decrease pending rewards and make it less visible. Common reasons:
Submit