
Who does not like to pose in front of the Eiffel Tower or Leaning Tower Of Pisa.? Everybody wants to get attention by his photos. Social Media has made it much lots easier to share all the things with the outer world by just a single click. We see our favorite movie stars going for a shoot or vacation and posting all the latest wonderful and gorgeous images on Facebook, Instagram, Google plus. But not all of them are always true, some may be edited or photoshoped. So do not believe your eyes everytime you see any of these images.
Without talking much, we come to the point. In this post, I am going to teach you how to change the background of your images and make it look like any real one. But the first thing I want to tell you, as this is a quick and short tutorial, so I assume you have the knowledge of the interface of the Photoshop. I will not go here in all the details, I will just mention the steps and share the effects involved into the steps. So If you have never used photoshop before, go and first learn the basics. Then come here and learn the techniques I am going to explain here.
Step 1. Selecting the Images
Select the background image and the character image. I have selected this beautiful wallpaper and the character( which I have cut in the photoshop earlier) is none but my younger brother.
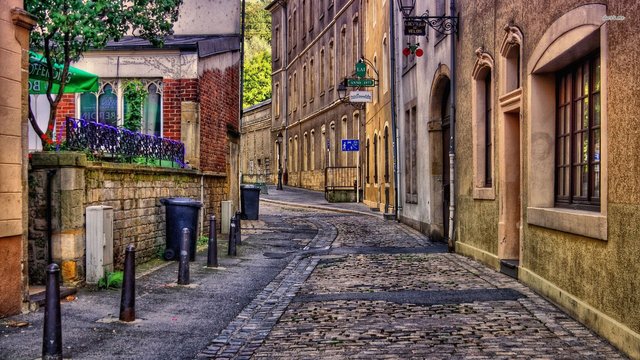
The Background Image
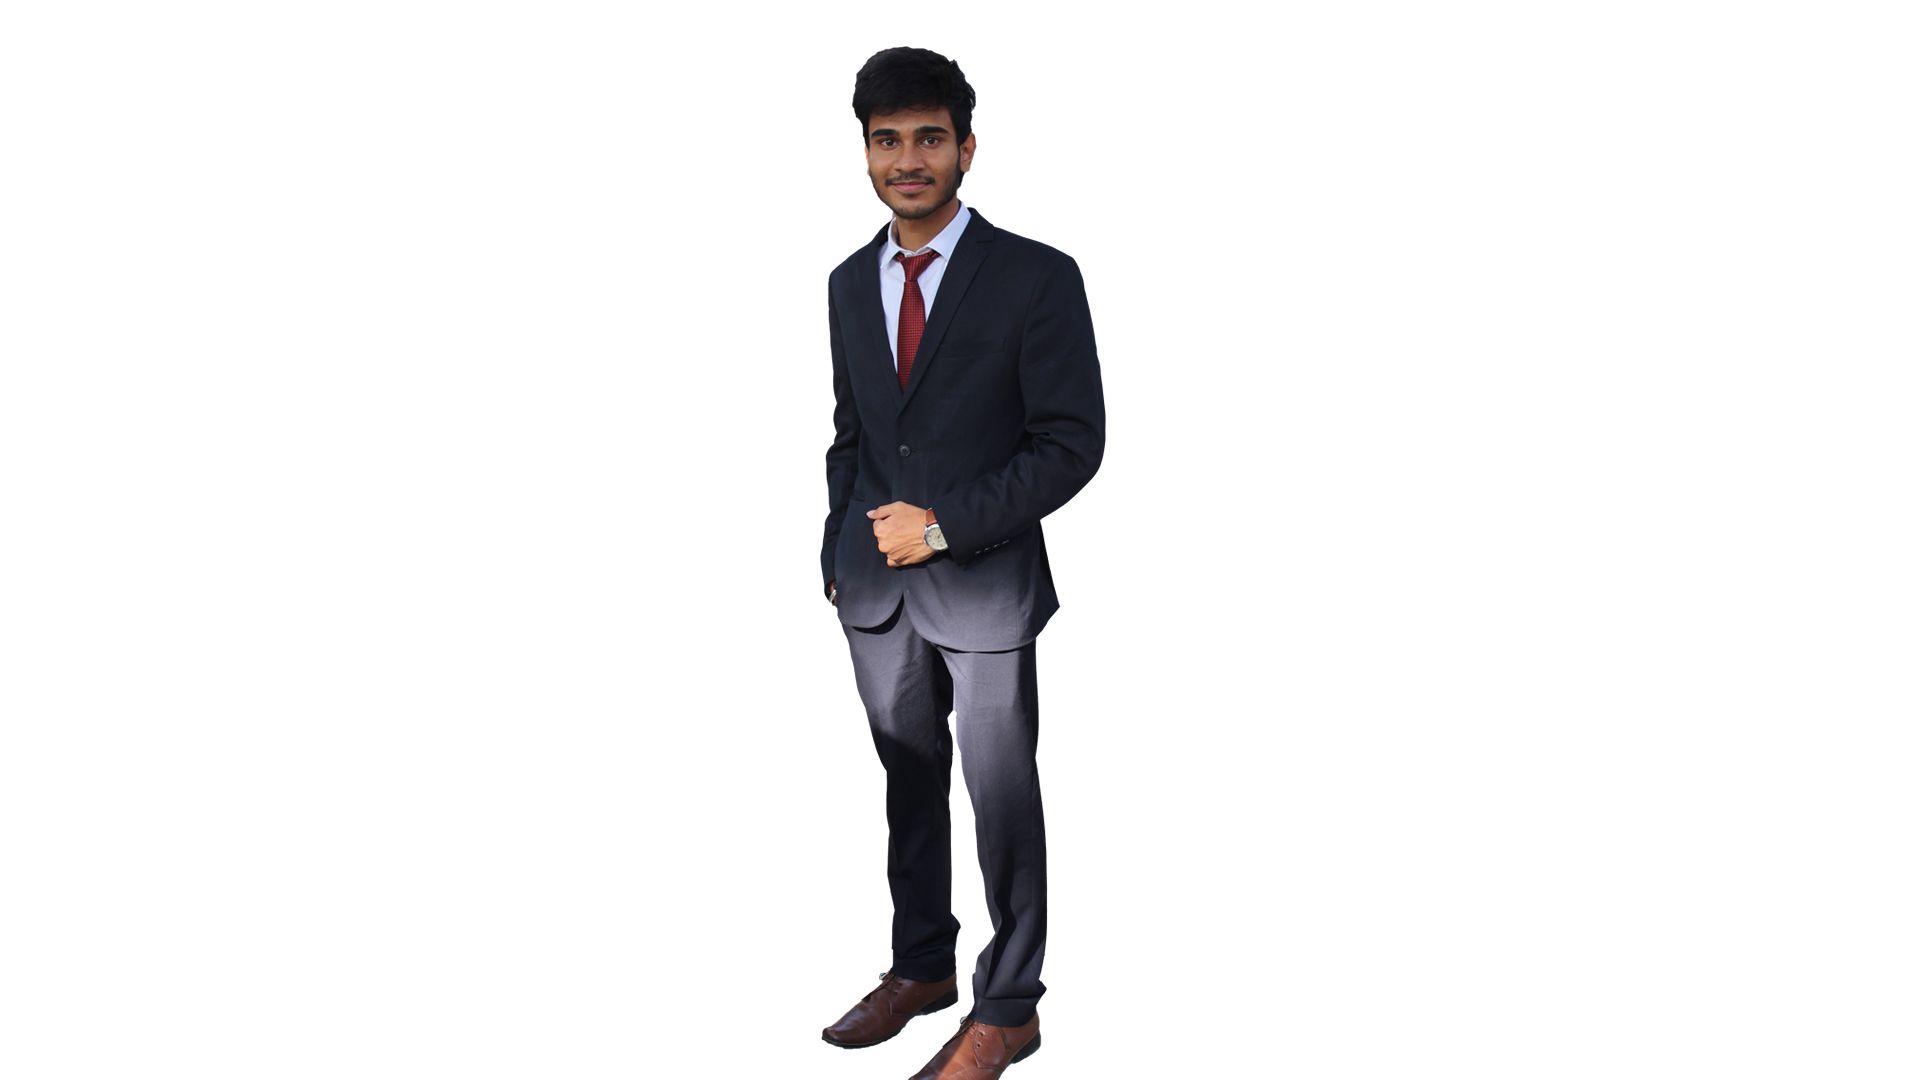
The Character (My Smarty Bro)
Step 2. Blur the background
Open the background image in photoshop. Go to filters and apply the Gaussian blur in the upper half of the image. This will look like this. This I have used to create the DSLR look where the focus in on the character and background is blurred.
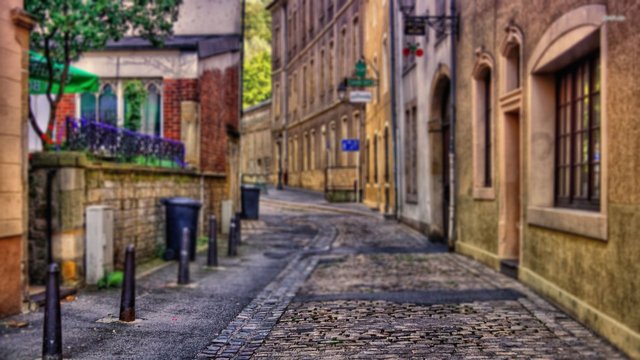
Background Made Blurred.
Step 3. Set up the character into the scene
Now Put your character into the scene. This should be in the proportion of the background image and also shadows and lights must be taken care that the angle is same in both the images.
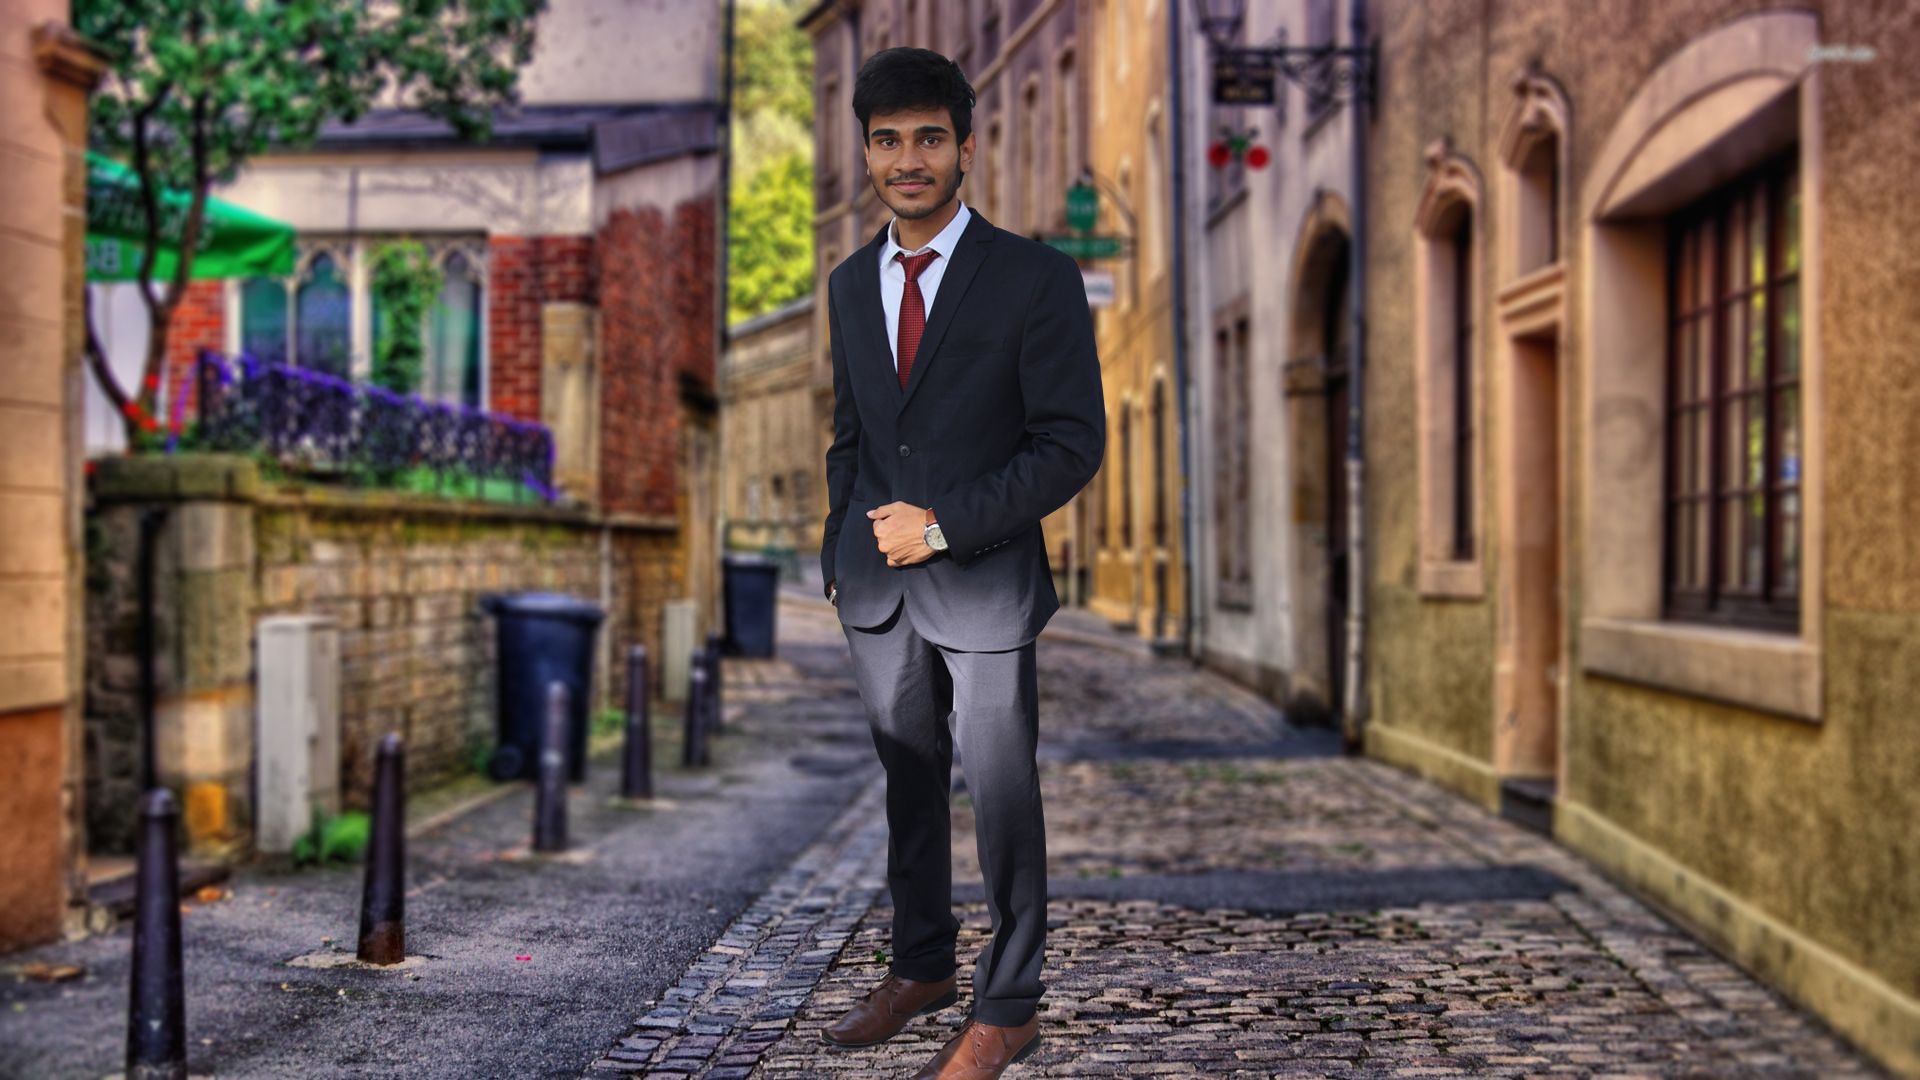
Character with background set up
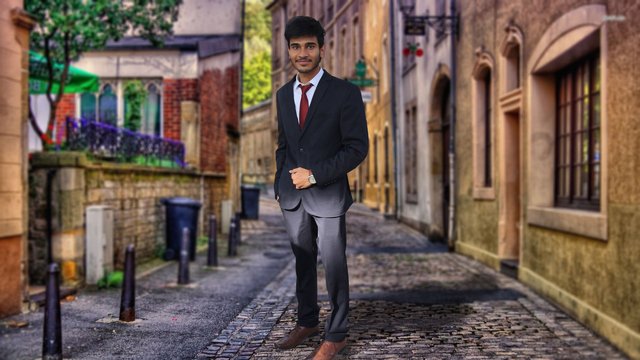
Step 4. Draw the Shadow
See the direction of the light falling on the character and draw the shadow on the ground with the brush tool with 30-50% opacity.
Step 5. Color Correction
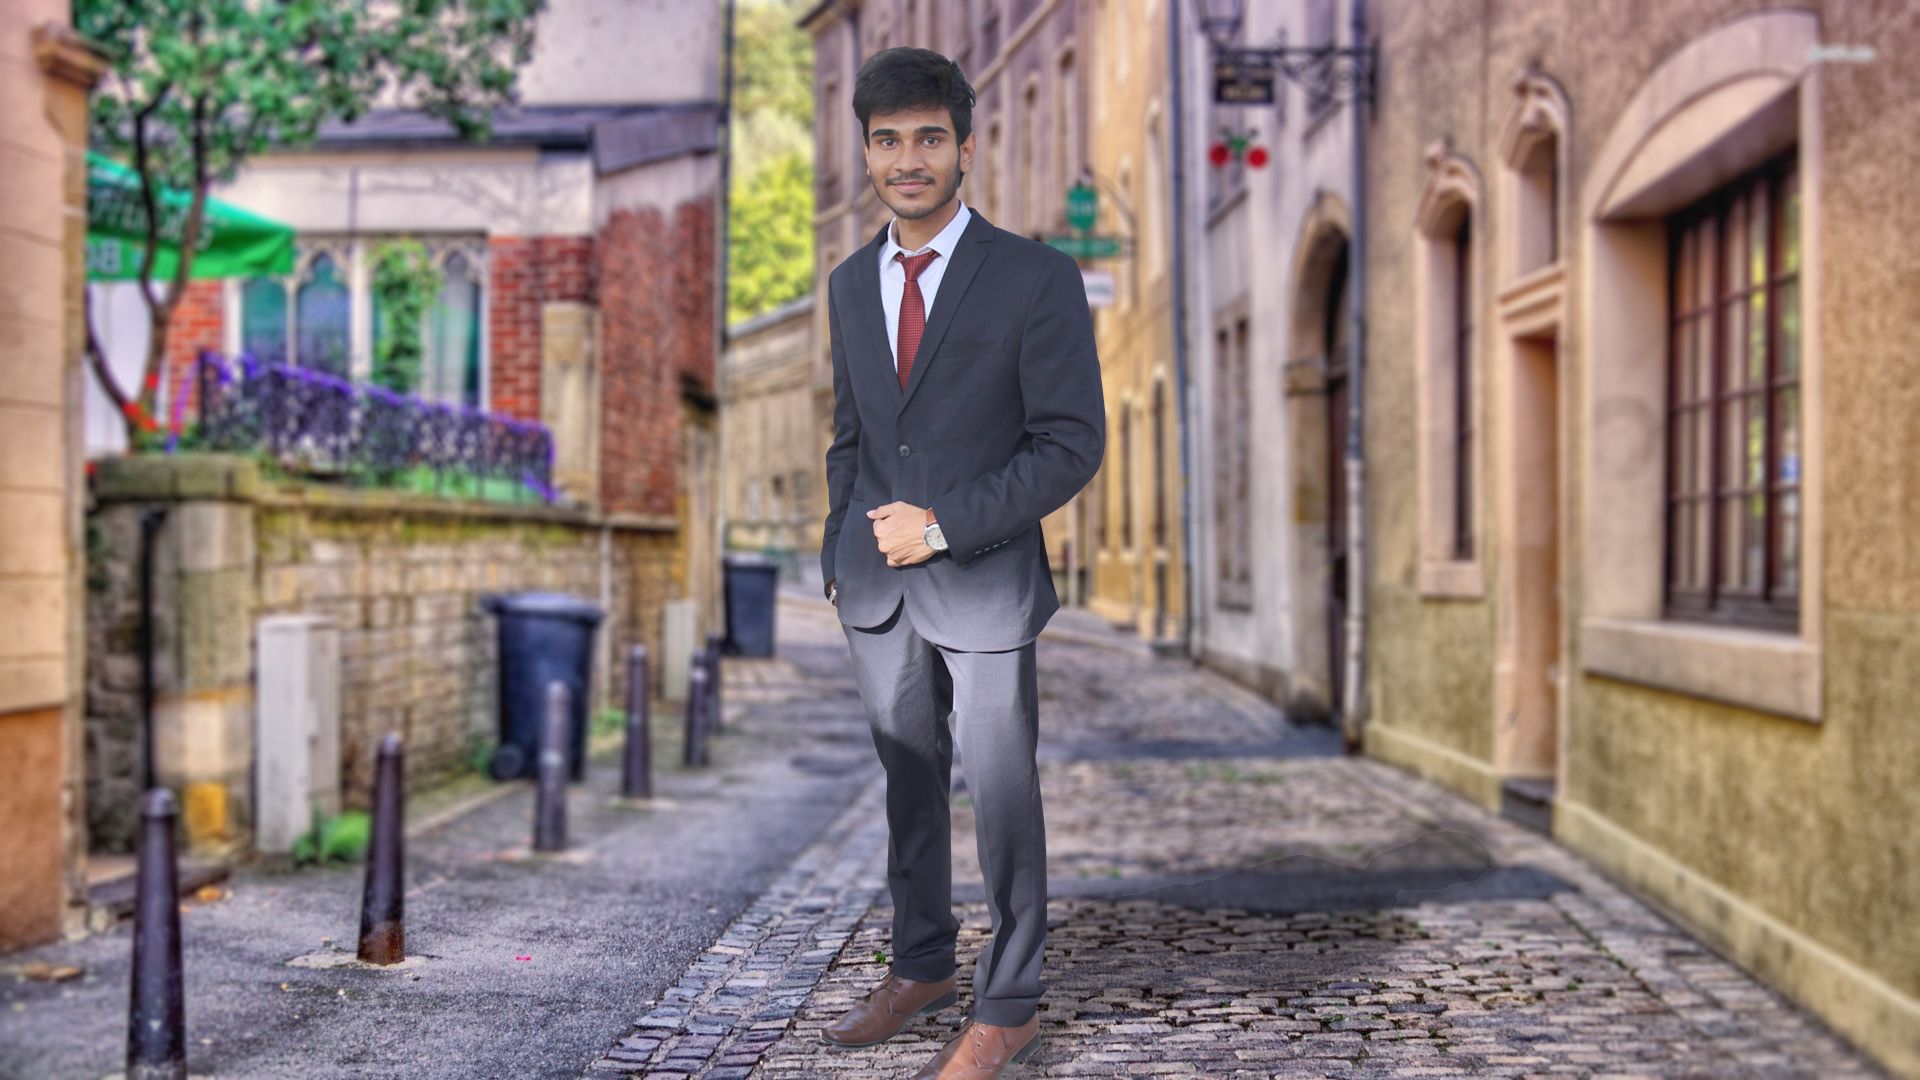
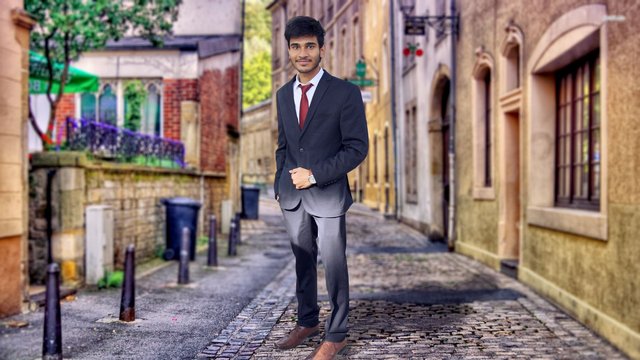
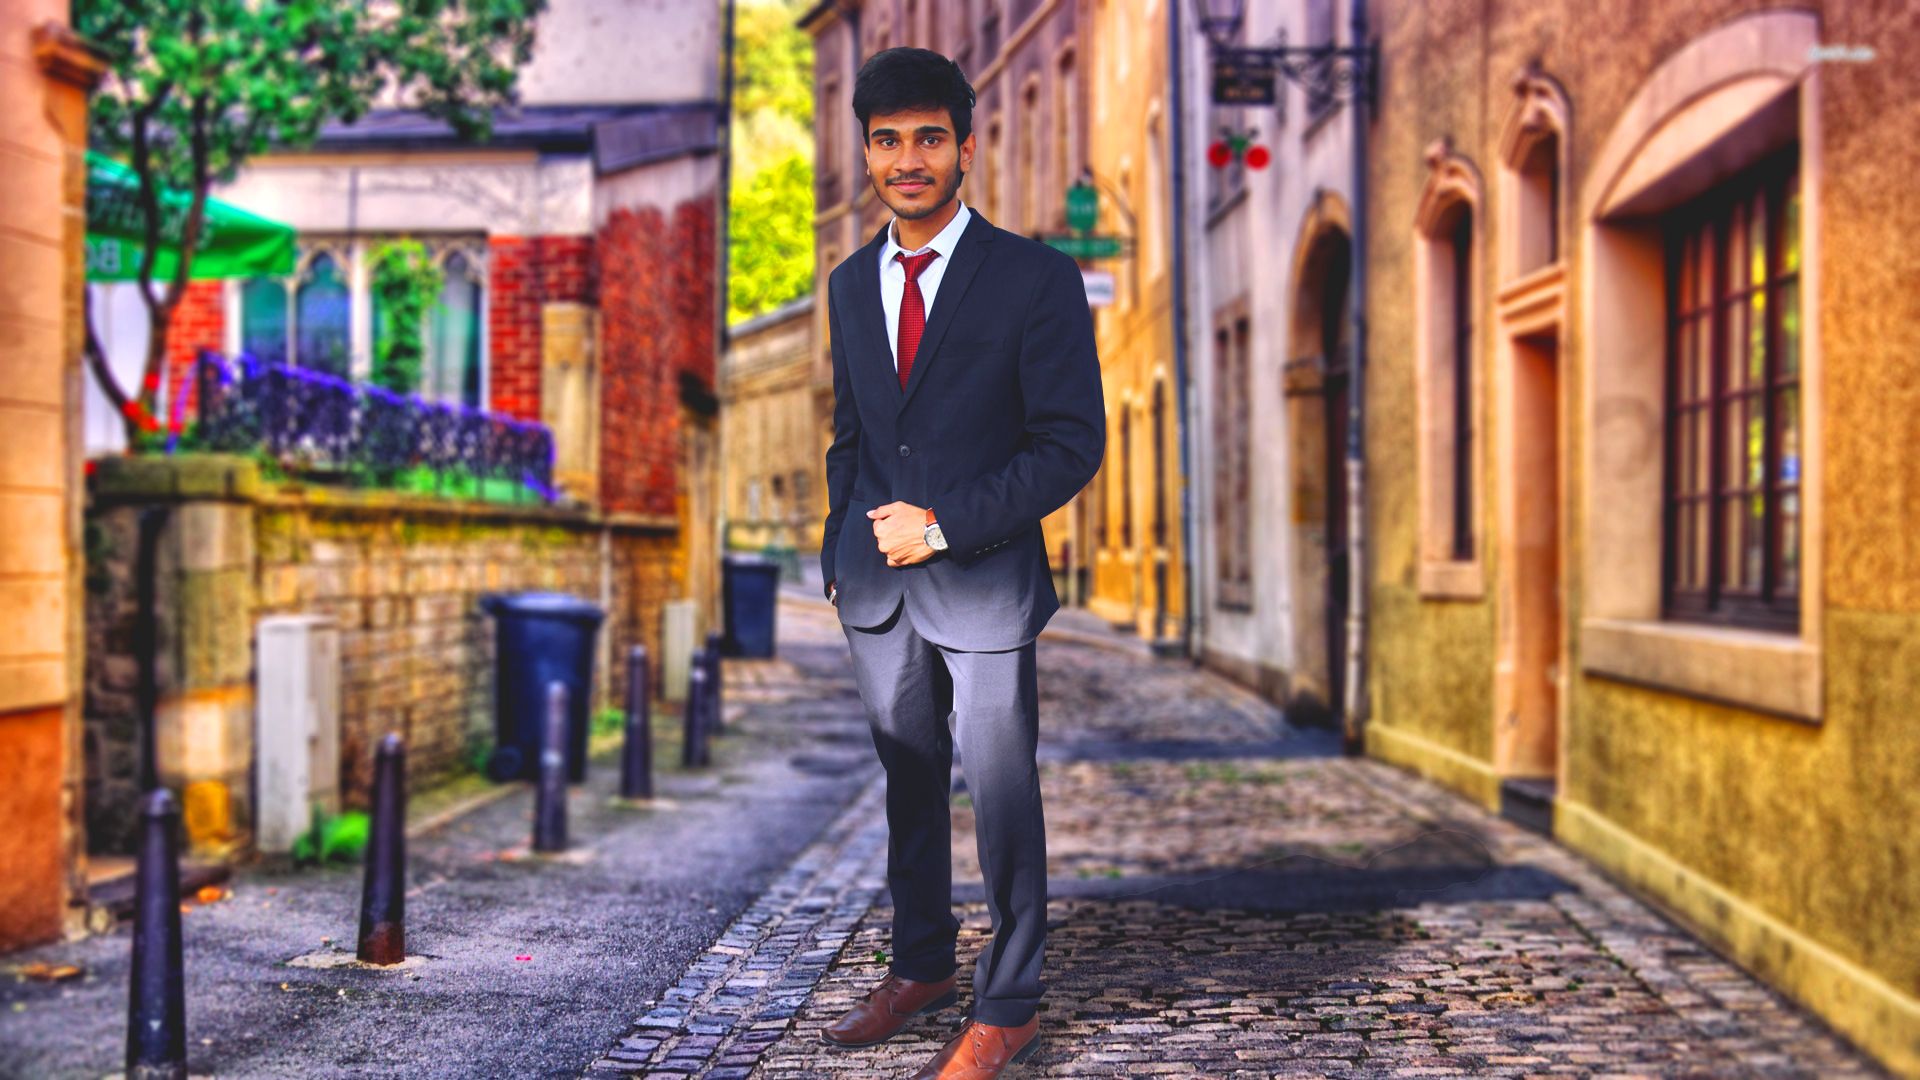
This is the most important part of the process. Go to the adjustment layers and apply levels, curves, exposure, Vibrance, hue and saturation. Play with these settings and get the desired result.
levels Adjusted
Curves Adjusted

Exposure Adjusted

Vibrance Adjusted
Hue and Saturation Adjusted
Step 6. Add the Haze and Lens flares
This step increases the beauty of the scene and gives reality to the images. Observe carefully the scene and watch if it was in real where the lens flares will be seen. Like in this scene I have added on the glass of the watch and also the left in the background like some light is coming there. Also apply some hazes to change the mood of the scene.
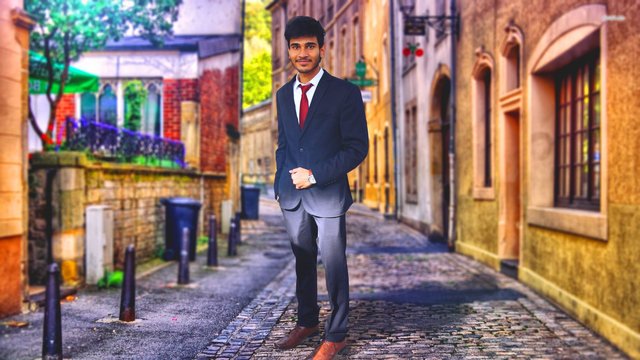
Lens Flare in the Upper left side of the Background added
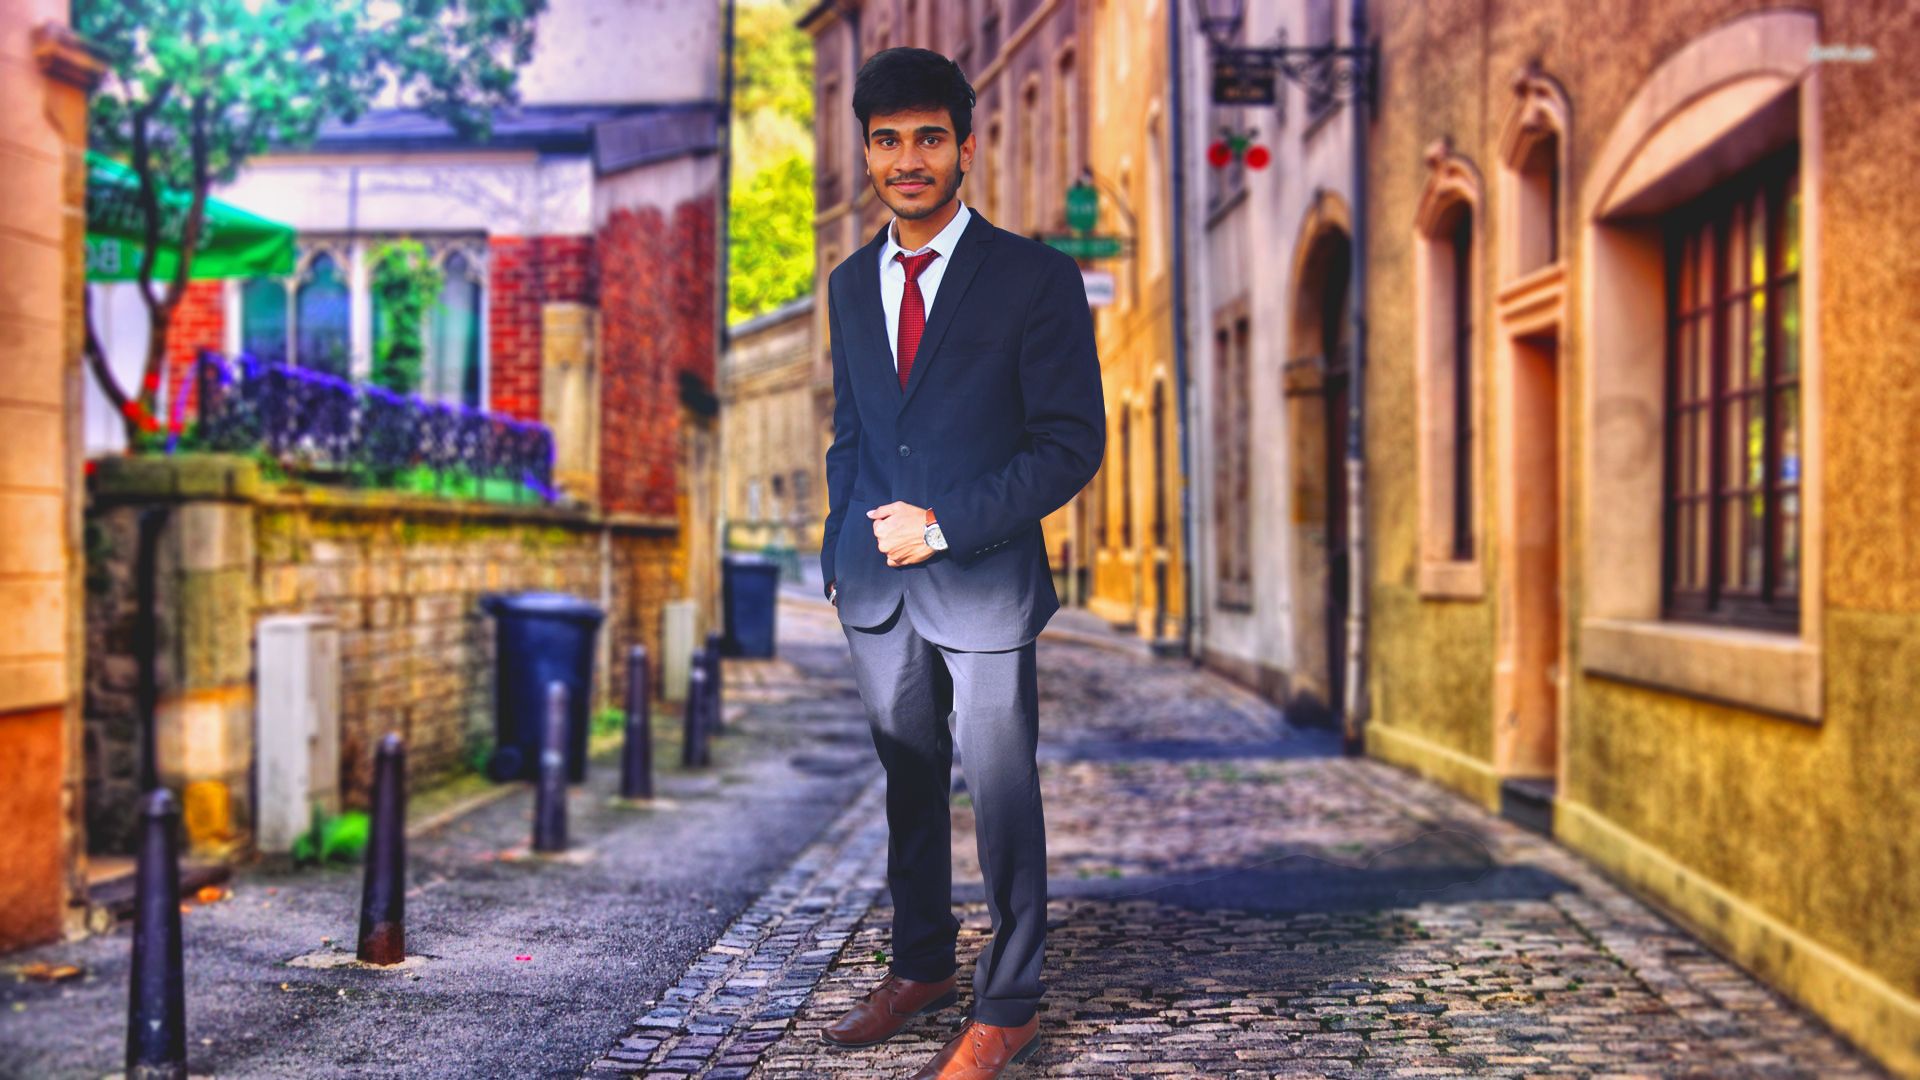
Haze Added
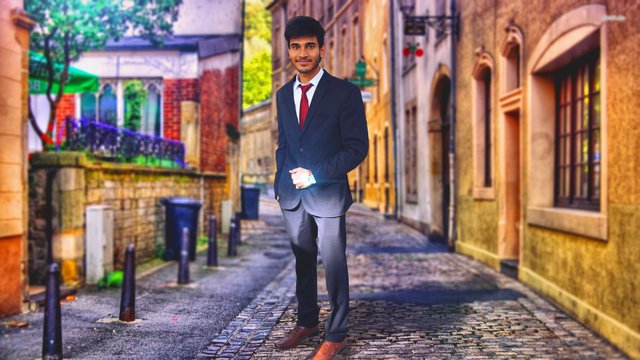
Lens Flare on the watch dial added and This is the final image
So we all are done and made a DSLR look like portrait. If you liked this tutorial, Upvote, follow and most importantly resteem it so that the others can watch and learn from it.
If you really appreciated my efforts ,kindly

Great stuff, thanks!
Downvoting a post can decrease pending rewards and make it less visible. Common reasons:
Submit
Nice tips ;)
Downvoting a post can decrease pending rewards and make it less visible. Common reasons:
Submit
thanx a lot.
Downvoting a post can decrease pending rewards and make it less visible. Common reasons:
Submit
This post received a 2.0% upvote from @randowhale thanks to @pinkhyppo! For more information, click here!
Downvoting a post can decrease pending rewards and make it less visible. Common reasons:
Submit
Good work @rocksg Amazing Tut
Downvoting a post can decrease pending rewards and make it less visible. Common reasons:
Submit
Thanx a lot, happy that you find it helpful dear.
Downvoting a post can decrease pending rewards and make it less visible. Common reasons:
Submit
Very nice tutorial :)
Downvoting a post can decrease pending rewards and make it less visible. Common reasons:
Submit
Thanx bro, I am happy that you find it useful.
Downvoting a post can decrease pending rewards and make it less visible. Common reasons:
Submit
Very cool !!!
Downvoting a post can decrease pending rewards and make it less visible. Common reasons:
Submit
thanx a lot.
Downvoting a post can decrease pending rewards and make it less visible. Common reasons:
Submit
Congratulations! This post has been upvoted from the communal account, @minnowsupport, by rocksg from the Minnow Support Project. It's a witness project run by aggroed, ausbitbank, teamsteem, theprophet0, and someguy123. The goal is to help Steemit grow by supporting Minnows and creating a social network. Please find us in the Peace, Abundance, and Liberty Network (PALnet) Discord Channel. It's a completely public and open space to all members of the Steemit community who voluntarily choose to be there.
If you like what we're doing please upvote this comment so we can continue to build the community account that's supporting all members.
Downvoting a post can decrease pending rewards and make it less visible. Common reasons:
Submit
This post received a 3.5% upvote from @randowhale thanks to @rocksg! For more information, click here!
Downvoting a post can decrease pending rewards and make it less visible. Common reasons:
Submit