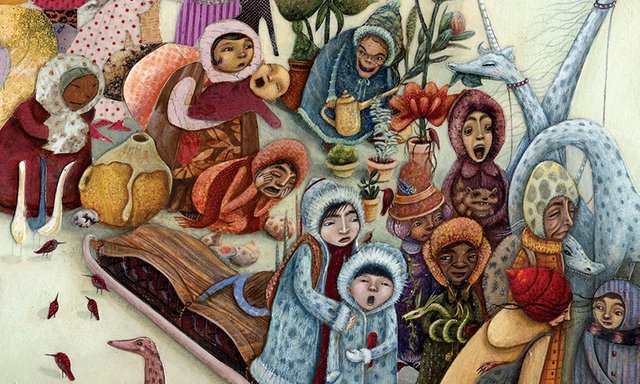
Drawing, cutting, pasting and painting - this is probably my favorite way of working when I have the time for it. I have a habit of going a bit overboard with details, but this process works great for simpler subjects as well.
Origins of this process:
I started using this process while I was in school.
I'd like to say it was my ingenuity that brought this technique to be, but it was honestly a lack of sleep and time management skills. One very late night before a deadline, I discovered that if I paste down some textured or patterned collage before painting, it could save me lots and lots of time. The collage also gave the piece a nice texture and was more fun than starting with a blank canvas. I ended up liking the result more than spending extra hours creating a proper painting!
Step One: Tiny Thumbnails
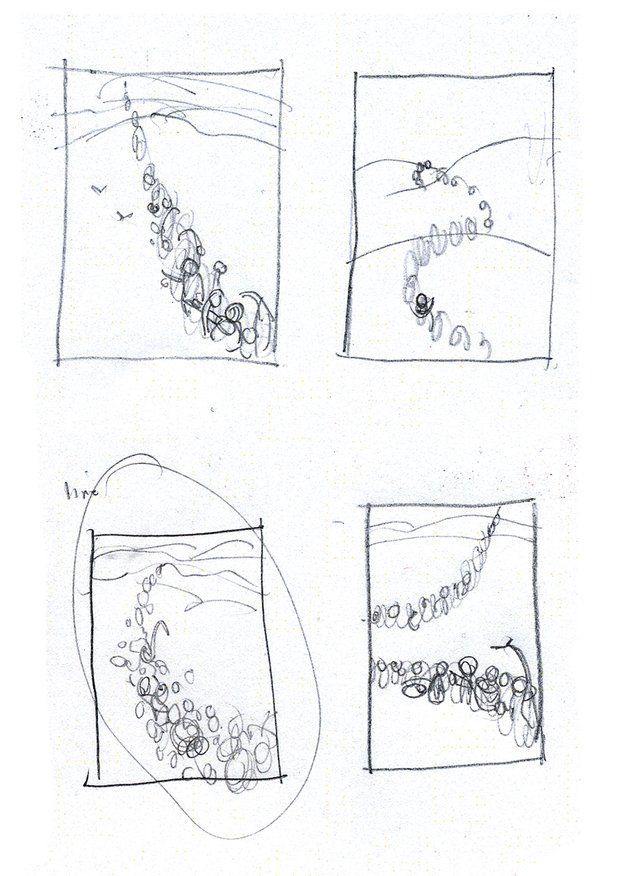
Don't waste time adding details to your first sketches - make a few very quick doodles to figure out the overall placement of subjects in your piece. My first drawings here were very (very) quick. In this case I knew I wanted to paint a line of people waiting for a very important visitor.
Step Two: Further Sketch Out Your Chosen Thumbnail
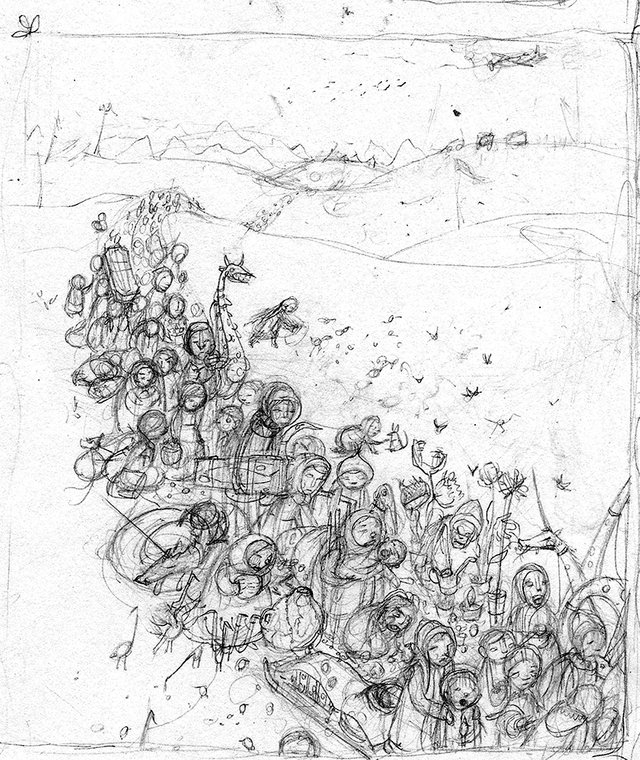
This drawing is only a couple of inches tall, but it gives more clarity to my original composition. While a few details are present, it is still pretty messy.
Step Three: Prepare Your Canvas (or Paper)
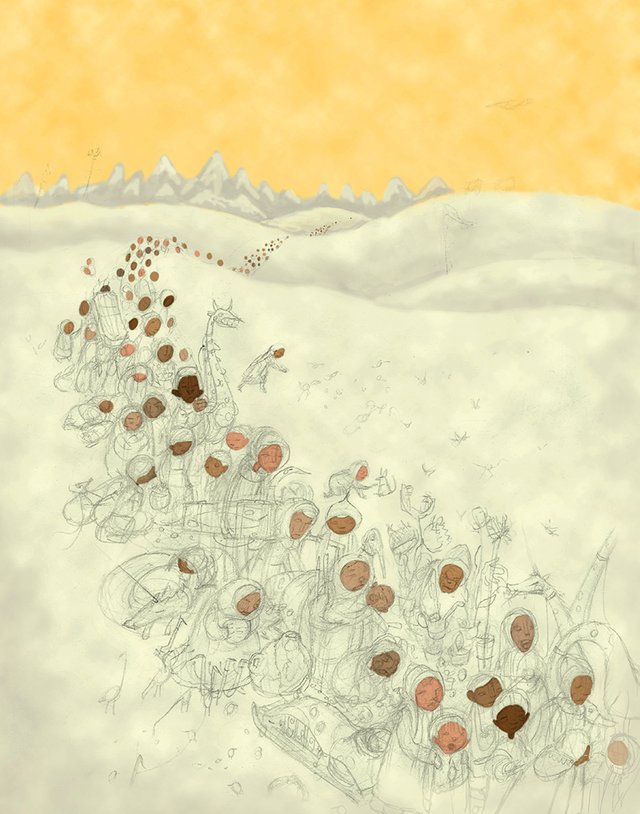
There are multiple ways to achieve this step. In my case I decided to scan my sketch into the computer, blow it up to size (to save myself from having to redraw it large or transfer it) and print it out. While in Photoshop, I put a base color down behind the image. This will just save me the basic step of putting down initial color, but isn't necessary. For me, it is also easier to start painting on paper that is not glaring white. I use good paper (Epson Velvet Fine Art) and cover the print with Liquitex Gloss Medium and Varnish. This protects the ink from running and the paper from tearing. If you don't have access to a scanner and printer, you would simply transfer or re-draw your image onto illustration board or paper.
Step Four: Gather Collage Materials
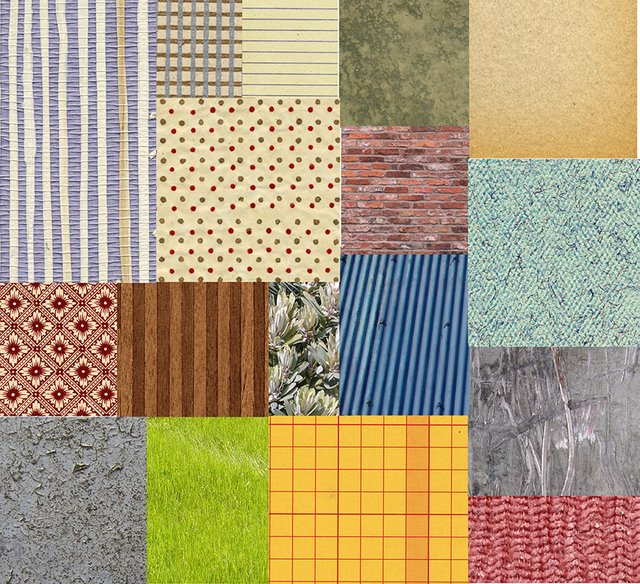
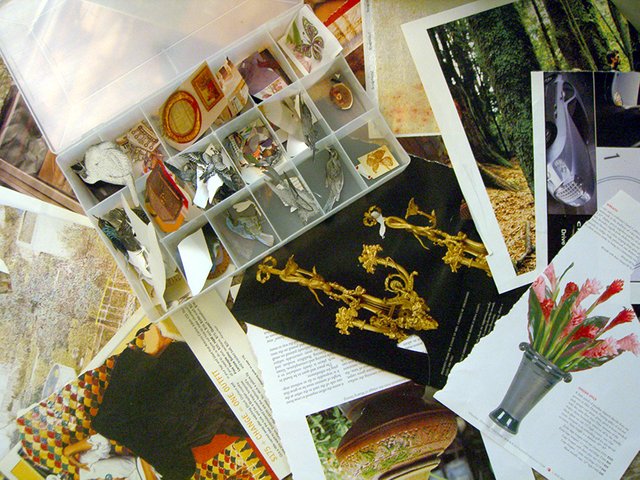
I collect dollhouse wallpaper from flea markets, vintage papers of all types, and a take photos of textures that I might be able to use in paintings. I also find old magazines and clip out interesting patterns and objects to save for the right opportunity.
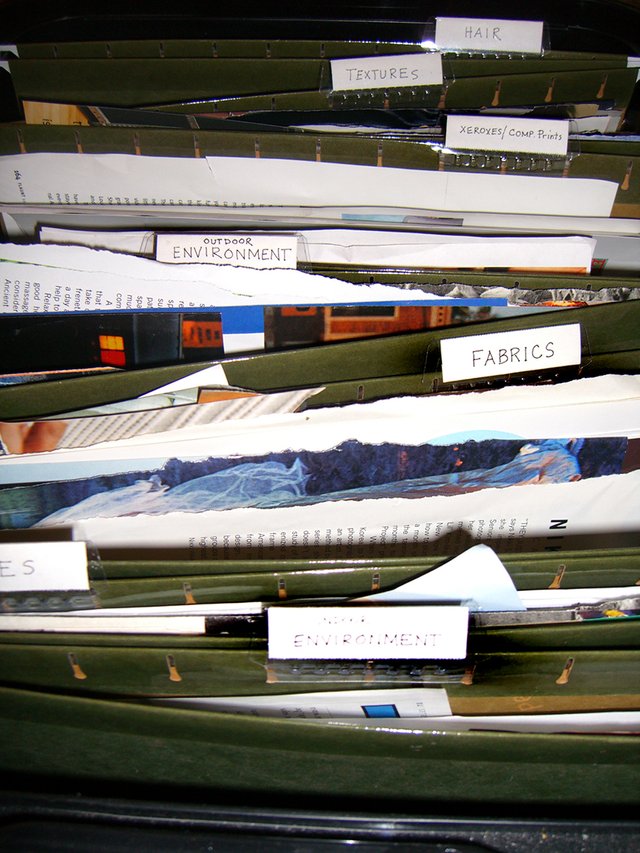
Here is where you will witness some of my crazy. I have files for different types of scraps. I organize my scraps so that I can find them later. You definitely don't have to do this. I just can't help it.
Step Five: Intricate Cut and Paste
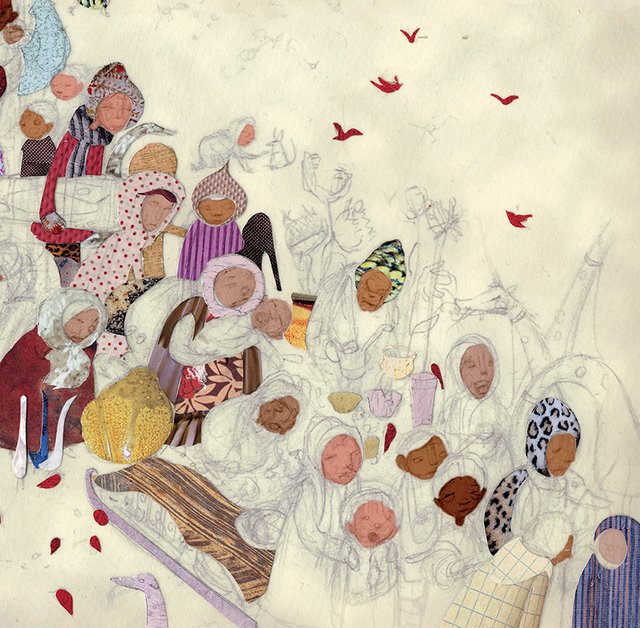
This is the tedious (but fun!) part. Cut your scraps to fit your drawing like a puzzle. It takes awhile, but it's worth being precise. To paste them down I paint gloss medium over the area where I'll place the scrap, then press it down and paint more gloss medium over the top. I make sure the scrap is fully covered over and under with the medium. Then I do it again with a new scrap. Repeat, repeat, repeat. I sometimes cover the entire canvas with scraps before painting, and other times I go back and forth.
Step Six: Time for Paint!
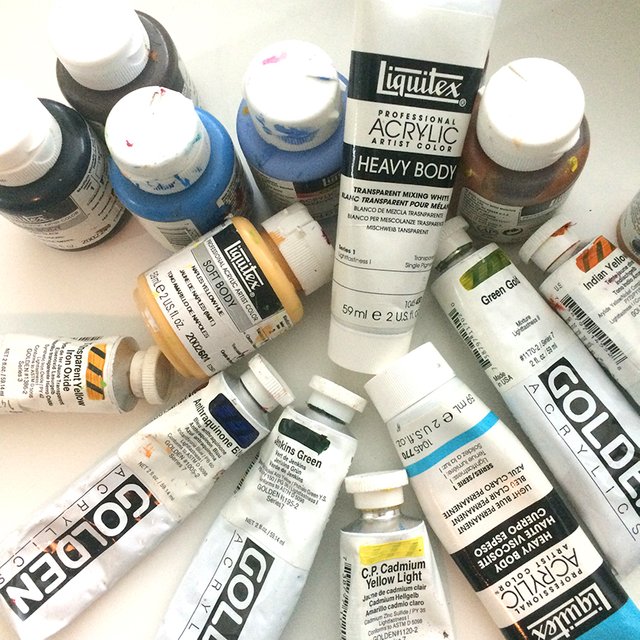
You can use any acrylic paint for this, and I use a combination of brands. The important takeaway that I learned over the years is that there is a thing called "Transparent Mixing White" (pictured above) and it is perfect to use for this process. Usually mixing white in with other colors will produce an opaque color and cover up all the patterns in your collage. But Transparent Mixing White will still allow those textures and patterns to show through!
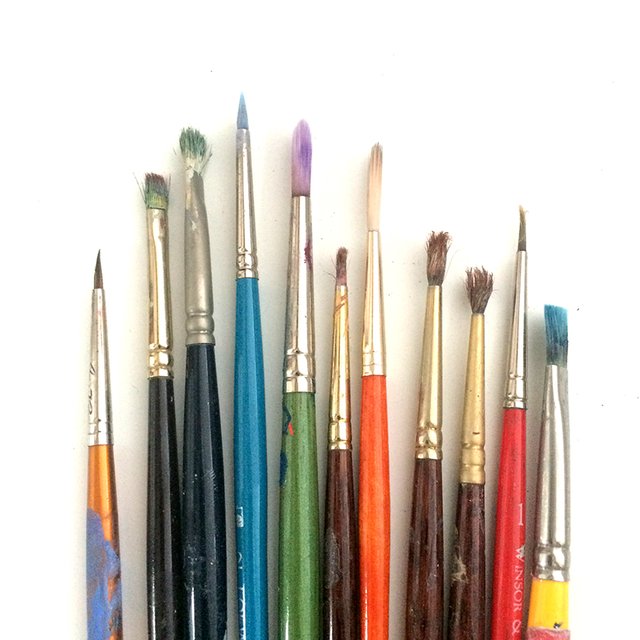
A note on brushes: I often like old brushes more than new ones. The frayed and tough edges can be used well in this process. I sometimes dip them in paint, and then remove almost all of the paint with a paper towel and use the brush like dry media, depositing paint on top of the pasted collage without covering it entirely.

Here you can see I added more collage and I started painting some of the character's faces in the lower right corner.
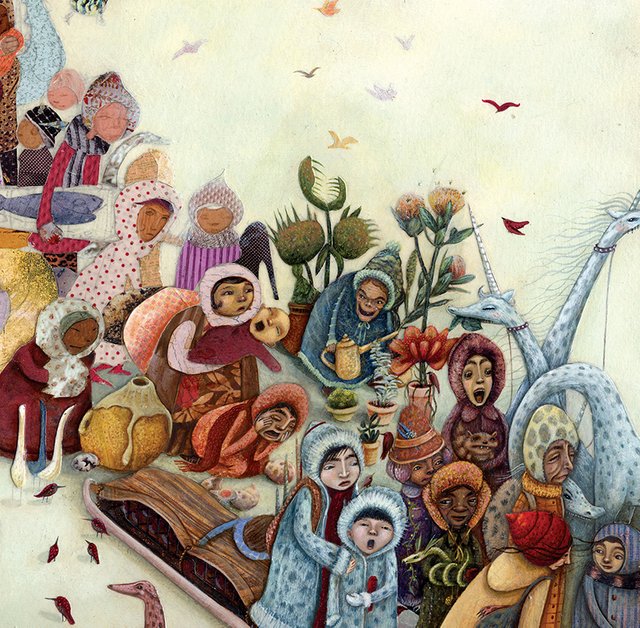
Some of this section is now complete while others are in process. Sometimes I let the collage show through almost completely and sometimes it gets mostly covered. Either way, the collage is helpful. It provides a base color and you can pool wet paint into the edges of the collage pieces, which can give the elements of the painting a bit of an outline and make them "pop".
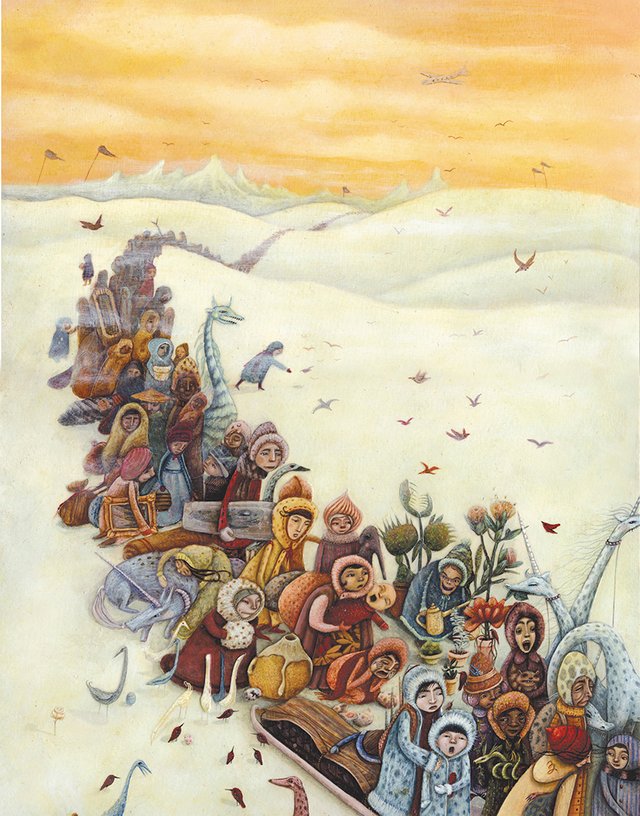
Here is the finished piece! The details are less defined in the background to help with the illusion of depth. I seal my finished pieces with a final coat or two of slightly thinned gloss medium. If you prefer a matte finish, you can coat with a thin matte varnish instead.
I hope this tutorial helps you explore you own combinations of collage and paint! Do any of you already use this combination in your artwork?
Images © Jaime Zollars 2016
I love how you use collage in this painting. Beautiful, Jaime! I don't think I would have the patience. And me with knives is another story.
Downvoting a post can decrease pending rewards and make it less visible. Common reasons:
Submit
Ah, well that is why I use scissors ;) Little scissors, but scissors nonetheless.
Downvoting a post can decrease pending rewards and make it less visible. Common reasons:
Submit
I too love seeing this process... and love the effect of mixed media. Beautiful work!
Downvoting a post can decrease pending rewards and make it less visible. Common reasons:
Submit
Excellent methodology. Impressed.
Downvoting a post can decrease pending rewards and make it less visible. Common reasons:
Submit
Thanks, the collage adds a bit of surprise to an otherwise predictable process.
Downvoting a post can decrease pending rewards and make it less visible. Common reasons:
Submit
Wow I am very impressed! Your work if beautiful!
Downvoting a post can decrease pending rewards and make it less visible. Common reasons:
Submit
thank you :)
Downvoting a post can decrease pending rewards and make it less visible. Common reasons:
Submit
Very Nice
Downvoting a post can decrease pending rewards and make it less visible. Common reasons:
Submit
thank you!
Downvoting a post can decrease pending rewards and make it less visible. Common reasons:
Submit
The way you almost transform the collaged parts to where they just look like its all straight painting, is wonderfully visually rich and fascinating.
Downvoting a post can decrease pending rewards and make it less visible. Common reasons:
Submit
That is beautiful! Inspiring me to do more pieces! Love the processes that you explained as well.
Downvoting a post can decrease pending rewards and make it less visible. Common reasons:
Submit
Awesome, thanks!
Downvoting a post can decrease pending rewards and make it less visible. Common reasons:
Submit
very impressive @storyseeker great art work!
Downvoting a post can decrease pending rewards and make it less visible. Common reasons:
Submit
Thanks!
Downvoting a post can decrease pending rewards and make it less visible. Common reasons:
Submit
@storyseeker
wow, just wow. Your technique is top-tier. followed
Downvoting a post can decrease pending rewards and make it less visible. Common reasons:
Submit
Thanks so much!
Downvoting a post can decrease pending rewards and make it less visible. Common reasons:
Submit
What a great method of combining the two. Love the patterns and colors chosen. Amazing.
Downvoting a post can decrease pending rewards and make it less visible. Common reasons:
Submit
Thanks so much! Over the years I've taught myself to limit my palette to make the images more powerful - this usually works better overall.
Downvoting a post can decrease pending rewards and make it less visible. Common reasons:
Submit
Kudos ! I have a hard time using acrylic - and water color. Thank you for sharing the process - it's amazing how you come up with something like this from a simple sketch. Beautiful work or art! Just hit the follow button!
Downvoting a post can decrease pending rewards and make it less visible. Common reasons:
Submit
This is my favorite post of yours! LOVVVE seeing your process!!
Downvoting a post can decrease pending rewards and make it less visible. Common reasons:
Submit
I hope I won't have to pick a favorite because it is impossible, your art are all so ... so much ... alive
Downvoting a post can decrease pending rewards and make it less visible. Common reasons:
Submit
My favorite piece I've seen on steemit so far. Hats off to you storyseeker
Downvoting a post can decrease pending rewards and make it less visible. Common reasons:
Submit
Thanks so very much! That is quite a compliment. I hope to post more when I can!
Downvoting a post can decrease pending rewards and make it less visible. Common reasons:
Submit