MY DRAWING OF Hugh Michael jackman
INTRODUCTION
This is a drawing of one of my favorite Hollywood star, well before I proceed let me give you a small biography of him, his name is Hugh Michael jackman he has been featured in several fascinating movies like Xmen, Ven helsing, prestige, prisoner, Logan, and The greatest show man etc…. My favorite is the greatest show man, why I like it is because they sang a lot of songs in it and I love good music. It’s a nice movie maybe you can look out for it, I love the other ones I listed too I am not trying to be bias doh lol, jackman was born on October 12 1968. He is an actor, singer and producer. Aside all this he has other interest like swimming, cricket, Rugby, basketball, and high jumping, he has hosted and won several awards. He hosted the 81st academy awards in February 2009…well enough of the History class lol I’m here to talk on my drawing of him almost forgot my purpose.
Like I keep saying this and I said it in my last post please bear with my write-ups I am not a good writer lmao...Well this drawing took me several hours to accomplish it took me 12hours to finish, if you know you don’t have such strength please don’t try this at home. Am still recovering from the stress because there are a lot of details to depict on this drawing, when doing such drawing you need to understand basic things like TONAL GRADATION
You need to know how to work with light and dark shades before you can start such work and trust me you are going to encounter several challenges but as an artiste it’s up to you to solve the problem. My lecturer in school (federal university of technology minna, niger state Nigeria) used to tell us “when you complain too much about a problem, before you know it the problem becomes a part of you”, in this life we are all born to solve a problem have you discovered what to solve?

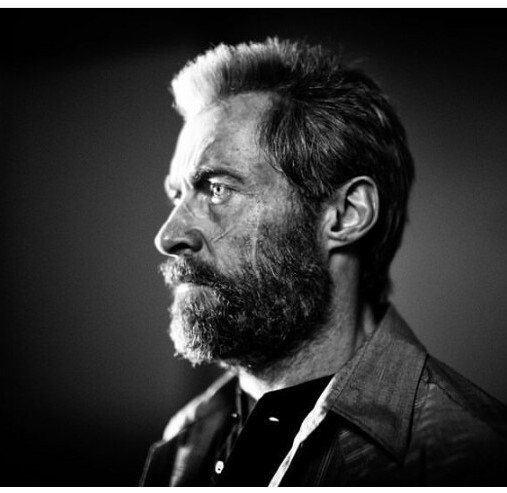
Original pics
this is the original pics but i added some details on my work to make it look more aggressive just like the way he gets so angry at his enemies in movies , what made my own drawing kind of different is the fact that i added details of veins on the head .
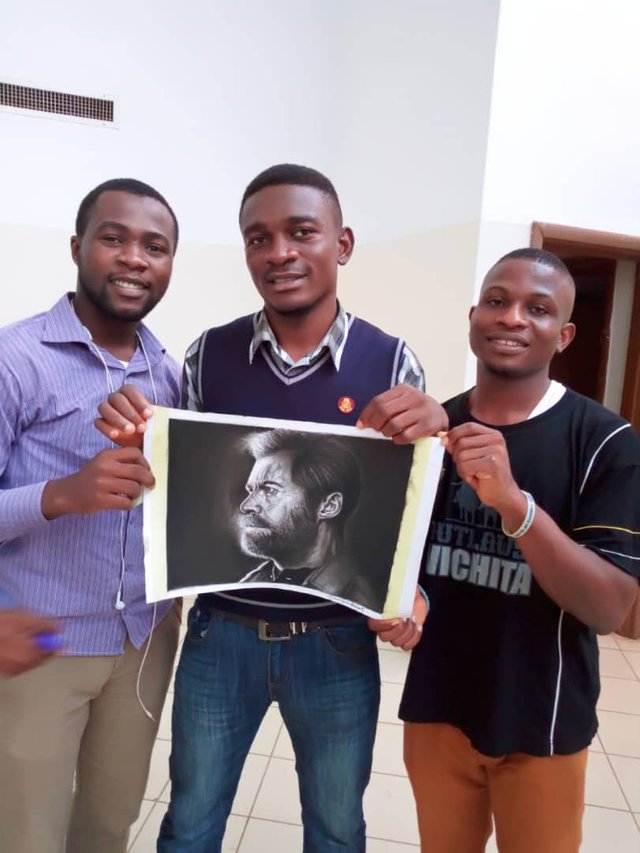
FINISHED WORK

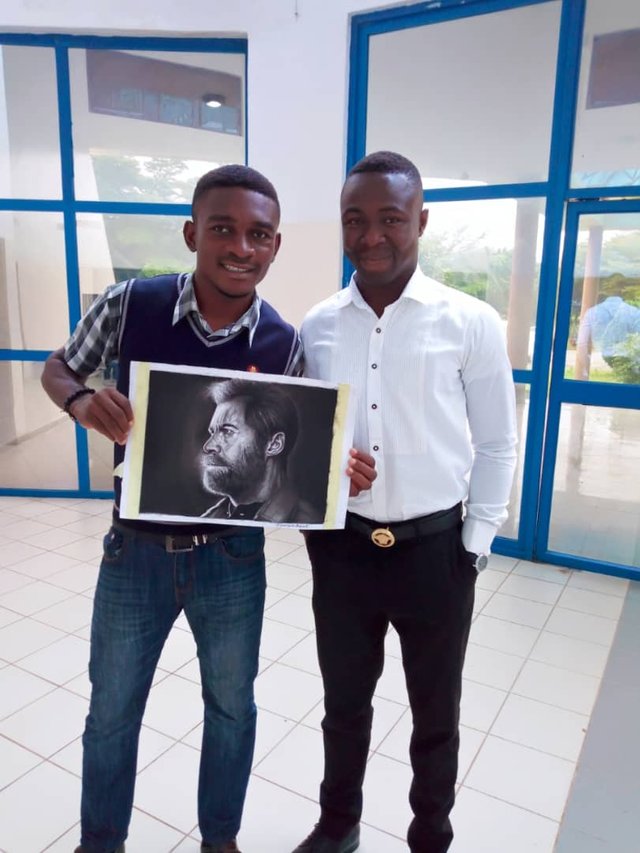
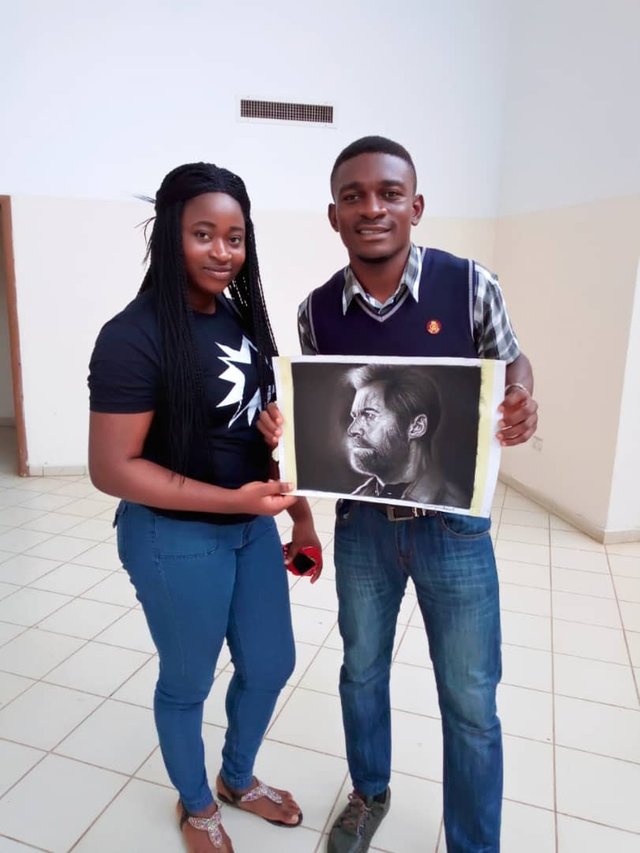
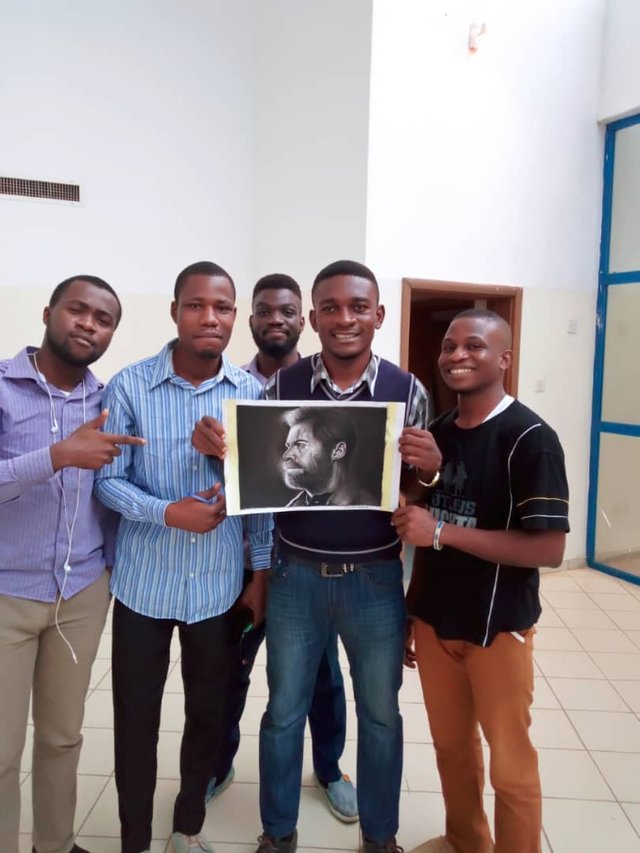
here is a picture with me and my colleagues at work
it was an awesome time with them when they saw the drawing they went wow although am yet to frame it.
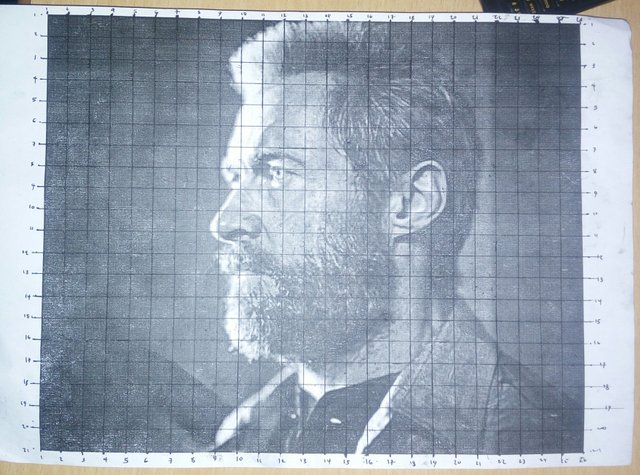
Scaled work
like i said it took me 12 hours to do this work , i had to scale the printed picture out so that it would fasting up my work and another essence is because where i come from lack power supply is a very huge problem so if you print your work out you would be able to continue work is the battery on your system or phone dies down.
Materials
The materials I used for this project are:
charcoal pencil both Soft and hard
tortillions
kneaded eraser
cotton board
paint brush
glossy paper
Ruler
cotton wool
Progress shots 1
Before i started with the hair i made sure i started with the background on the left hand side because i was moving in sequence i didnt want to tamper with any part of the work

Progress shot 2
at this point after i added some texture of shade to the face i made use of my tortillion to blend the graphite on it.

Progress shot 3

Progress shot 4

Progress shot 5
i added some shade to the face in form of a frame work so i would know how to shade the rest part of the face

Progress shot 6

Progress shot 7

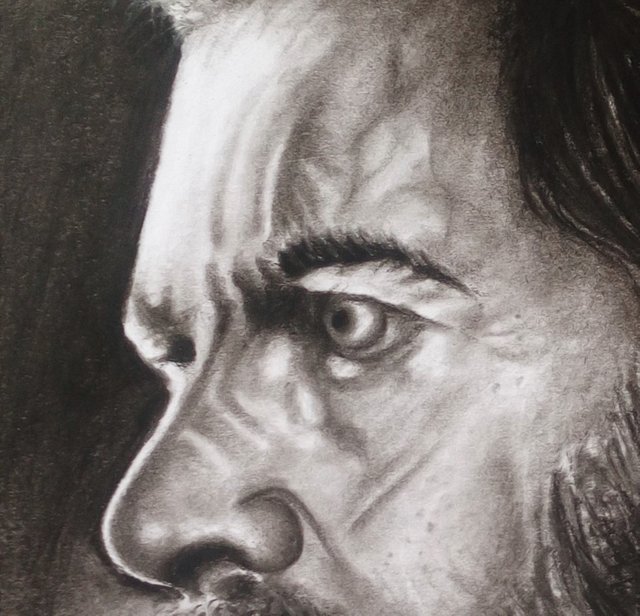
Before i continue with my progress shot let me show you some detail work on the NOSE
DETAILS ON THE NOSE
.....................................................................................................................................
before i got the details on the nose i had to study the drawing very well, at the edge of the nose you would see a white line before the shade continued that light is as a result of reflection if you may have observed this carefully when you're in a dark place and there is a reflection of light on someone you would notice that there is a sharp white line at the edge of the person the other part that is dark and it signifies that the light can't reach there.
Nose detail 1
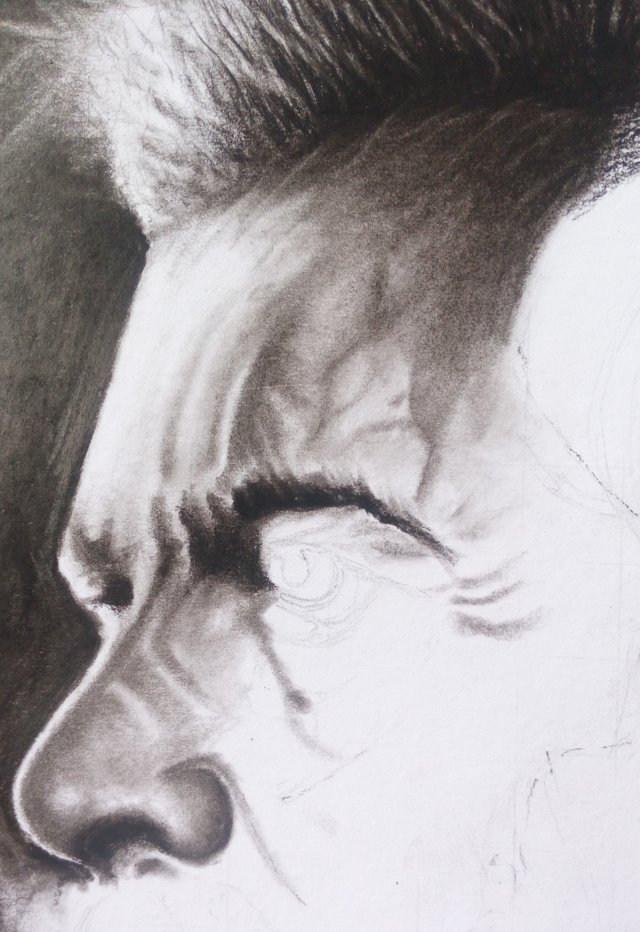
nose detail 2
this was where i added veins to the head, i was amazed when i did that doh it wasn't part of the original picture but i just needed to try something new
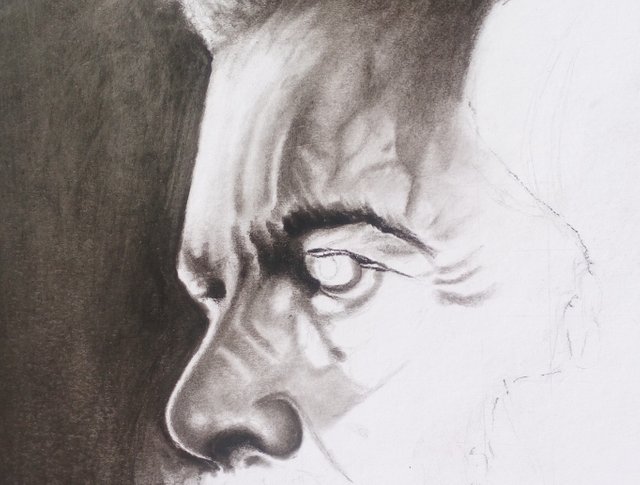
Nose detail / eye
well this is the part i almost messed my work up but i had to improvise because it wasn't my fault doh. the resolution or rather the picture quality of the original pics wasn't of high definition so when i got to that part of the eyes i got a little bit confused because what i was seeing on the main image was looking more like a raster image raster image is an image which consist of cells and column as we all know the smallest unit of an image is called PIXEL
e.g. when you look at the screen of your computer you would see series of boxes those boxes consist of rows and columns and those roles and columns forms the composition of the screen, that is why you hear of screen resolutions .
So coming back to my discussion the image i printed became a little bit blurry making it difficult for me to get an exact detail of the eyes perfectly
Back to our progress shots
Progress shot 8

progress shot 9

Progress shot 10

Progress shot 11

Progress shot 12

Progress shot 13

Progress shot 14

Progress shot 15

Progress shot 16

Progress shot 17

Progress shot 18

Progress shot 19

Progress shot 20

progress shot 21

progress shot 22

progress shot 23

progress shot 24

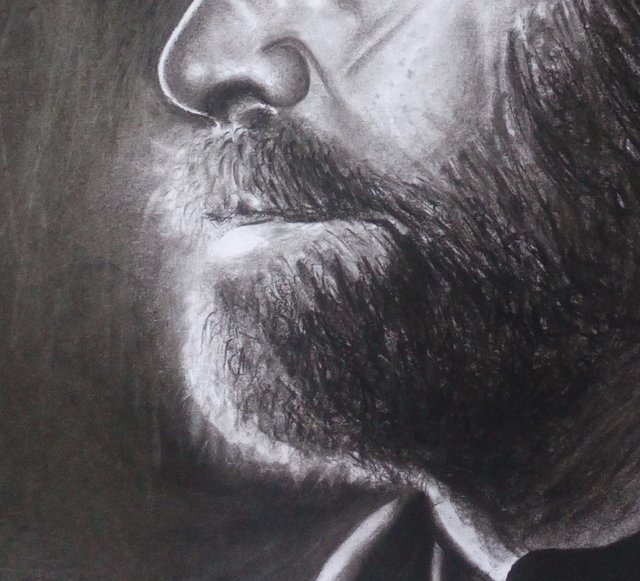
DETAILS ON THE BEARDS
to achieve the details on the beards you have to develop a pattern on which you are going to follow, but first thing first study the pattern of the beards on the image after which you can now practice it on a separate paper to know how it can fit into your work. well the pattern i developed for this work was to draw lines inform of *"X X X X X" so as to get what i want but there are points where i used single Hatch lines such as "\\\\" "//////" etc .
progress shot 25

progress shot 26

progress shot 27

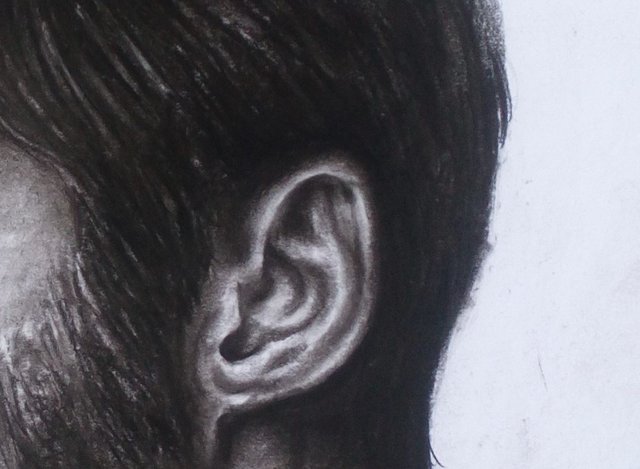
DETAILS OF THE EAR
when drawing the ear didnt give me much stress because its part of the places i love drawing but any way i think i gave it my shot
progress shot 28

progress shot 29

progress shot 30

progress shot 31

SUMMARY
In summary i give all thanks to God for giving me this wonderful gift there is a big difference between having a gift and been able to utilize it, this work too energy out of me but i was so glad i got the result i wanted i couldn't have done it without hard work .
..................................THANKS FOR STOPPING BY.......................................
check my wall from time to time to see amazing works from me
Dear Artzonian, thanks for using the #ArtzOne hashtag. Your work is valuable to the @ArtzOne community. Quote of the week: Art, freedom and creativity will change society faster than politics. -Victor Pinchuk
Downvoting a post can decrease pending rewards and make it less visible. Common reasons:
Submit
Thanks so much God bless @artzone
Downvoting a post can decrease pending rewards and make it less visible. Common reasons:
Submit
Kudos Bro Your works are amazing..
Downvoting a post can decrease pending rewards and make it less visible. Common reasons:
Submit
Thanks bro God@davllinc007
Downvoting a post can decrease pending rewards and make it less visible. Common reasons:
Submit