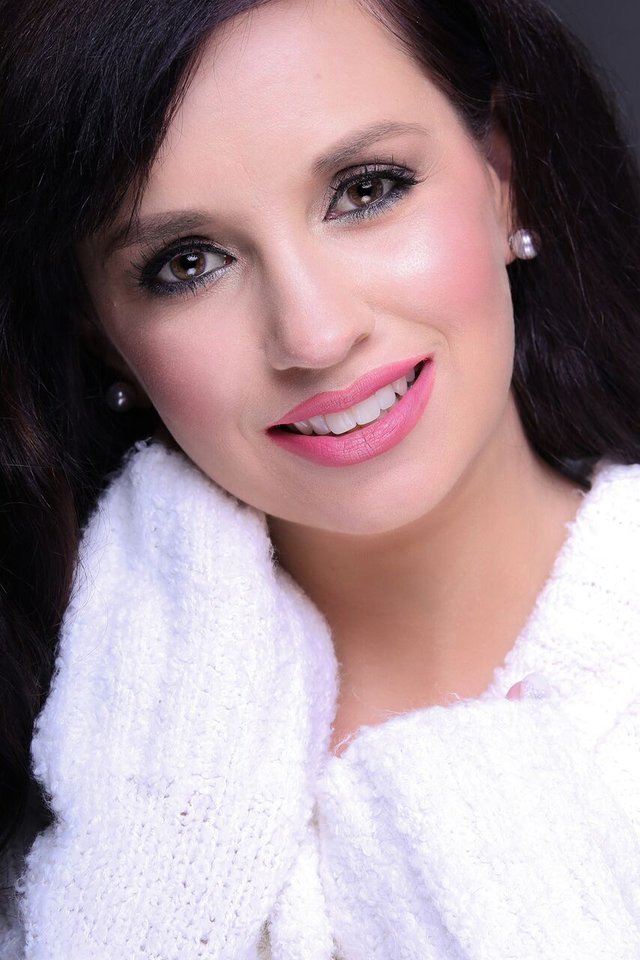
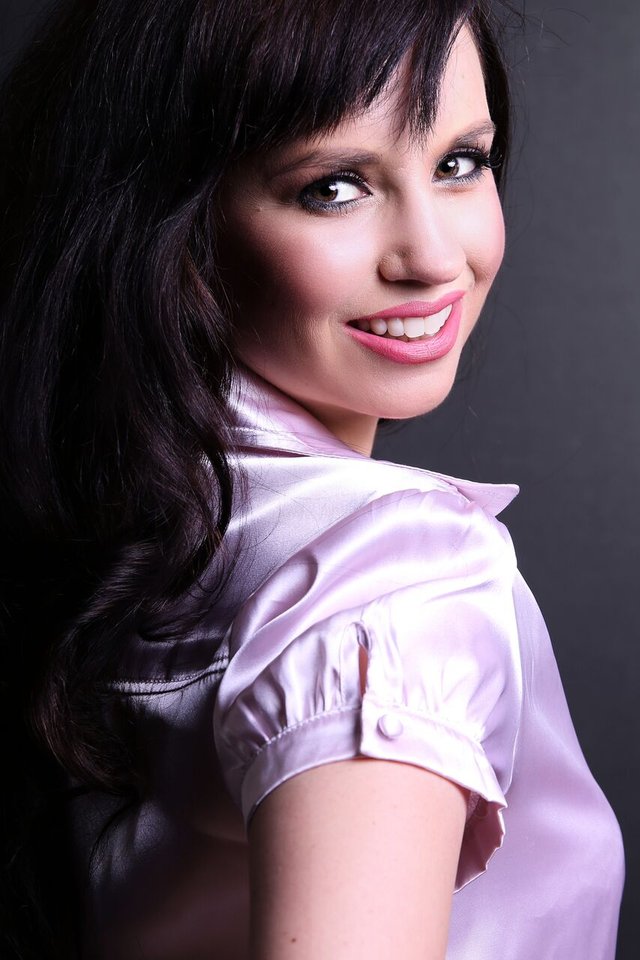
I recently had a mini photo shoot with an incredible photographer David Louw. I was captivated with how he captures the most beautiful images of woman.
It wanted to do my own hair and make-up and thought I would share my tips for a flawless look. I usually love a glowy, radiant complexion but for a photo shoot make-up needs to be matte.
When photographed, make-up appears two shades lighter than it is, so everyday make-up won't show up well. Opt for more dramatic / darker shades.
For studio photos photographers will have to find the most suitable lighting - Soft lighting is flattering and directional lighting will show up every single imperfection and your photo will need to be edited.
For outdoor make-up don't apply as much foundation as you would for studio photos – the natural light will show up the foundation more - you don't want to look as though you fell into a pot of foundation.
If your photographer will be using a flash always use a bronzer to warm up your face otherwise the flash could make you look washed out.
Below are some tips for getting photographic make-up right:
♥ Always cleanse, exfoliate and moisturize your face the day before♥ Skip the moisturizer on the day of the photo unless you have exceptionally dry skin
♥ To ensure make-up won't budge, use a primer for your face and a primer for your eyes
♥ Use a matte foundation that provides full coverage - HD foundation was made for the camera!
♥ Don't forget to apply foundation to your ears and neck too and blend, blend blend! (I use a pink beauty blender)
♥ Using SPF is a bad idea as it can make your face look shiny
♥ The camera picks up shadows and highlights therefore contouring and highlighting is so important – it defines your face and can make your face look slimmer. Highlight your t-zone, top of cheekbone, cupids bow, center of nose etc. Contour under your cheekbone, sides of your nose, forehead and neck. There are many different ways to contour and highlight and you will need to select what will suit your face shape best.
♥ Set areas that are prone to shine, with a light dusting of loose matte powder (Avoid powder that contains silica as it will show up white in photos)
♥ Using glitter is also a bad idea (a tiny bit of highlighter on your cheeks or a glossy pout are the exception)
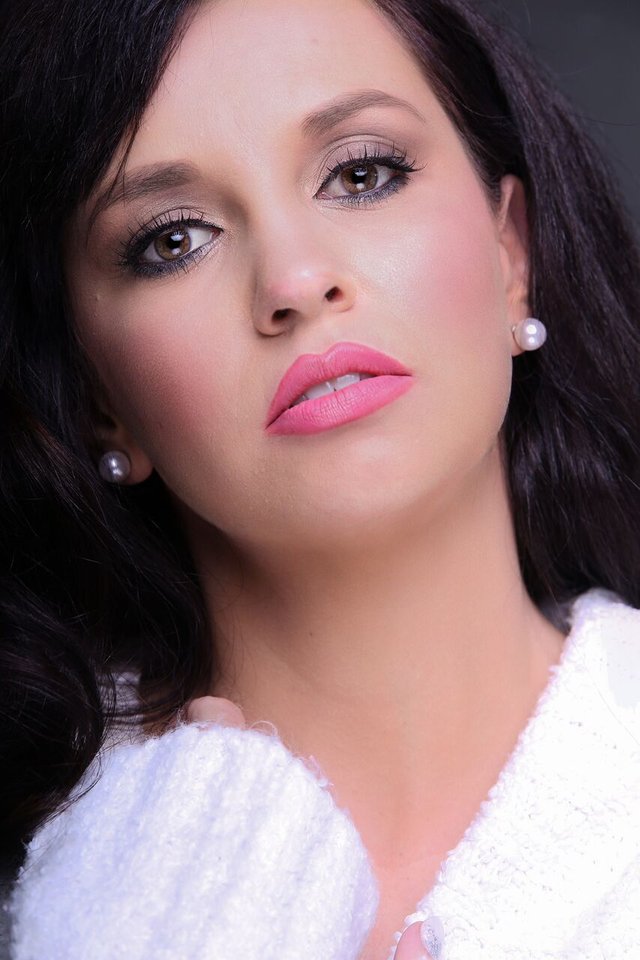
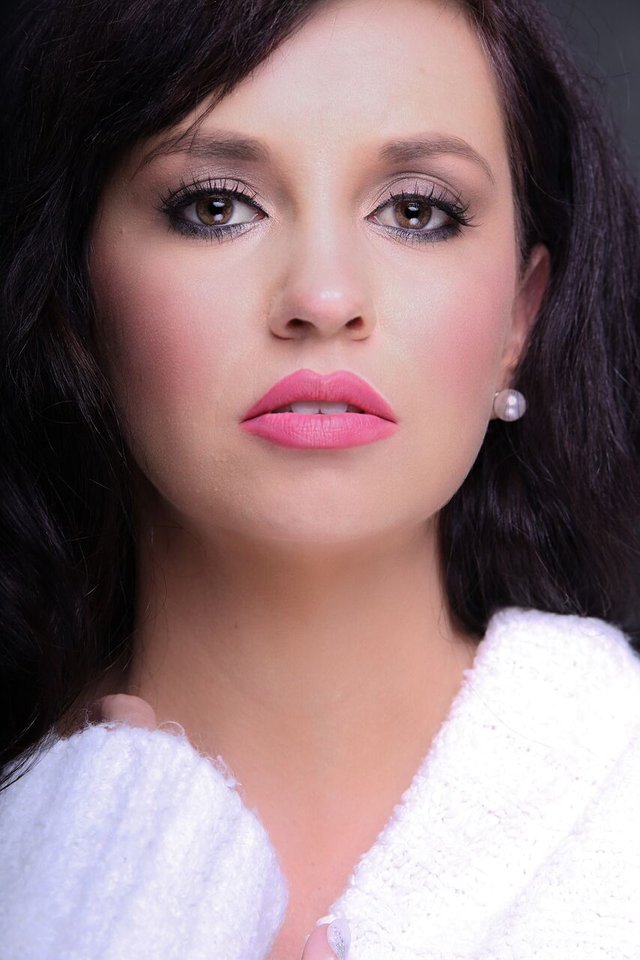
♥ Eyes are always the star of the show, so use three shades of eyeshadow to create depth. Apply highlighter under your brow bone, the middle of your eye and the inner corner of your eye
♥ Another great tip is that instead of adding shimmery eyeshadow (which is hard to resist I know) you can apply a matte shade under a metallic one for a duochrome effect
♥ If you have bags under your eyes, apply highlighter in the inner crease and then apply a darker shade of foundation to the puffy area.
♥ If you would like your eyes to appear bigger then you can apply white liner in your water line. I skipped this step as I have big eyes already.
♥ You can create the illusion of lifted eyes by applying a little highlighter above your eyebrow arch – this will “raise” your eyes.
♥ If you are using a bright eye color, you can make it “pop” by using a white liner over your whole lid
♥ Use black eyeliner as it shows up the best on camera
♥ I don't always have the steadiest hand (I'm a bit of a coffee addict) when applying eyeliner, so after I have applied eyeliner I usually layer a shimmery liner on top. Yes, I know, I was just telling you not to use shimmer but in this case it works. The shimmer over the eyeliner is not going to show up in the photo however what it will do is soften the eyeliner a bit and hide any wobbles that occurred during application.
♥ Always curl lashes before applying mascara. I did not have lash extensions so I used falsies for a more dramatic look. I blend my natural lashes with the false lashes by using a layer of blackest black mascara. I tend to also use my fingers to gently squash my lashes together with the falsies.
♥ Use lip liner that is close to your lip tone regardless of the color lipstick you will use. This trick ensures that lip liner does not appear too harsh and gives you a plump pout.
♥ You can make lipstick last all day – dab lips with a tissue and then brush a little powder over
♥ If you are taking a lot of photos use a setting spray to ensure long lasting make-up
Products I used:
Brushes: ♥ All Bodyography & Pink Beauty Blender ♥
Bodyography Foundation
Bodyography Veil Foundation Primer
Mac 24 Hour Extend Eye Base
Physicians Formula Concealer Twins ♥ Yellow & Light
Palladio Definer & Contour Highlight Duo
Mac Highlighter ♥ Soft & Gentle
Mac Mineralized Blush ♥ Dainty
LA Girl Flat Matte Velvet Lipstick ♥ Blessed
Essence Liquid Ink Black Eyeliner ♥ Black
Palladio Waterproof Lipliner ♥ Raspberry
Mac Eyeshadow ♥ Don't Tell ♥ Aromatic ♥ Pepper Please
Physicians Formula Shimmer Strips ♥ Nude
Loreal Volume Million Lashes ♥ Extra Black
False Lashes Eyelure Definition No. 100 ♥ Black
Mac Prep & PrimeI hope that these tips have been helpful and if any of you beauties have any other suggestions please share in the comment section below.

The photos are beautiful hun, great job!!!!! :) Lots of love! xxx
Downvoting a post can decrease pending rewards and make it less visible. Common reasons:
Submit
Ricardo..you out kicked your coverage! lol
Downvoting a post can decrease pending rewards and make it less visible. Common reasons:
Submit
@thecryptodrive Thank you - Love you millions xxx
Downvoting a post can decrease pending rewards and make it less visible. Common reasons:
Submit
Very pretty pictures Kim.
Downvoting a post can decrease pending rewards and make it less visible. Common reasons:
Submit
Thank you so much @instructor2121 ♥
Downvoting a post can decrease pending rewards and make it less visible. Common reasons:
Submit
Great post. This is gold for us amateur photographers. I have noticed that using flash can make some make-up far too bright and shiny compared to the rest of the face.
Not really makeup related but if someone is going to have a photoshoot I would recommend not washing your hair on the day of the shoot. Wash it the day before it makes a big difference to how it looks.
Downvoting a post can decrease pending rewards and make it less visible. Common reasons:
Submit
Hello @thecyptofiend! It is great to hear from you again. Thank you for your comment and support - I truly value your input. I hope some of the above pointers can be of help to someone. Flash can be unflattering at times and one must just be cautious about avoiding SPF and Silica etc. Thank you for that really great tip - I had washed my hair the day before these photo's were taken so hopefully it worked! ♥
Downvoting a post can decrease pending rewards and make it less visible. Common reasons:
Submit
You're welcome. Yes those photos look great so it does work:)
Downvoting a post can decrease pending rewards and make it less visible. Common reasons:
Submit
Thank you @thecryptofiend
Downvoting a post can decrease pending rewards and make it less visible. Common reasons:
Submit