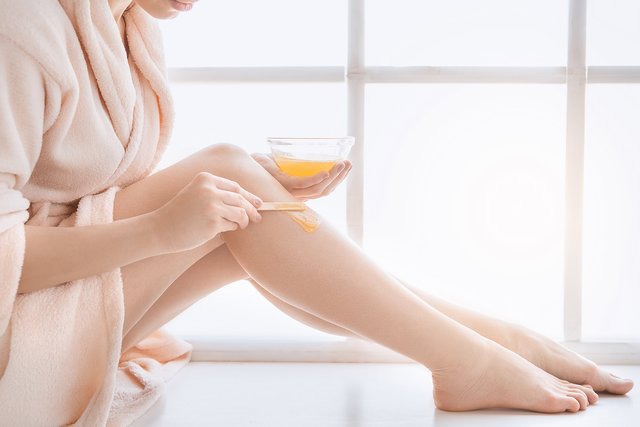
Waxing at home can be an arduous task especially if you are a newbie to this entire at-home waxing thing. But women are switching to this option as waxing at home allows them to complete this herculean task without leaving the comfort of home. However, there are still a lot of women who are confused as to where to start. For all those ladies out there, this step-by-step will definitely get you through your first waxing trip. Of course, you may be a little unconfident or may spill a little, but hang in there. Give yourself some time to enhance your self-waxing skills.
Follow this step-by-step guide to ace your at-home waxing game:
Step 1: Invest in an appropriate home waxing kit
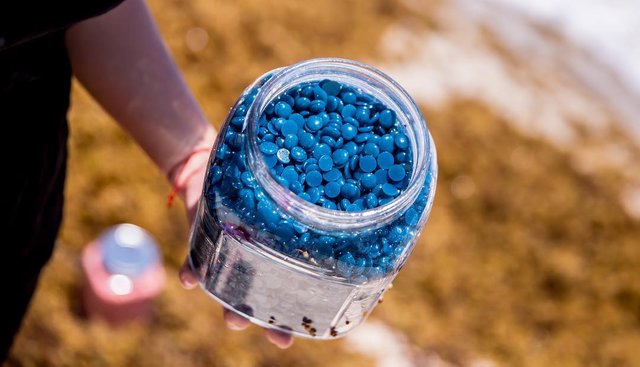
The first and the foremost step is to choose a best at home wax kit from the array of options available in the market. This is a significant step as the quality of your wax kit will influence your experience in a huge way. First of all, you need to know that there are several types of waxes available in the market. And you have a job to pick the best at-home wax kit. So let’s go through the options you have:
- Soft at-home wax kit: The most basic wax which we have been using for years is soft wax. If you are planning an at-home waxing session, you will need wax strips and wax heater. So, it’s better to order a kit if it’s your first at-home waxing session. Being light, this wax is easier to pull off, so starting your home-waxing journey with this one isn’t a bad idea, especially for larger areas such as legs and hands.
- Hard at-home wax kit: Once you master the waxing techniques, it becomes easier to understand the working of hard waxes. These don’t need wax strips which is the most alluring feature. Secondly, unlike soft waxes, they don’t stick on the skin but attach to the hairs making the process more thorough and less painful. But, it’s tricky to cover larger areas with hard waxes unless you are a pro. An excellent pick for facial waxing, underarms, and bikini waxing though!
- Roll-on wax kits: These are a popular choice for at-home waxing. The kit comes with 6 or more wax-filled cartridges, heater designed for the same, and other waxing essentials. Application using spatulas is not necessary with roll-on waxes which appeal most of the women who are seeking the best at-home wax options.
These are the prime choices available today, and all you have to do is start somewhere. If you are unsure about the pulling technique, you could try once using the wax strips with pre-applied wax.
Step 2: Exfoliation

One of the best ways to get rid of the dead skin cells is to exfoliate the skin. It removes the dead skin and allows the hairs to come out of the epidermis more naturally. However, avoid exfoliating right before or after the session as the waxing procedure will be unnecessarily agonizing to the skin. In order to exfoliate your skin and tease out the ingrown hair, you need to apply some scrub on the part you need to exfoliate and rub the scrub in a circular motion gently and softly. There are other exfoliating products available as well. Exfoliation is more of a routine which enhances your waxing experience if you follow it religiously.
Step 3: Check for the right hair length
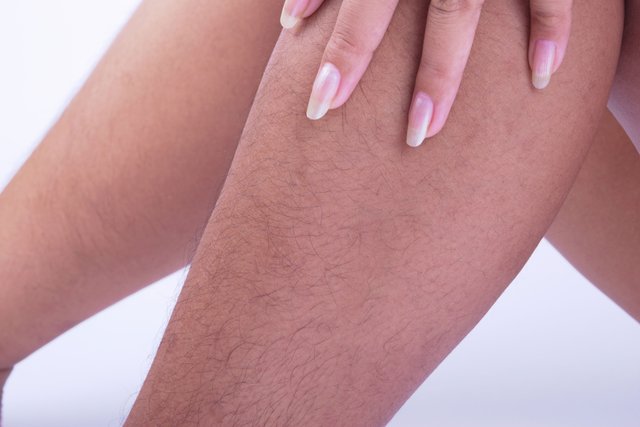
After availing the best at home wax kit online or buying the necessary products separately, it’s time to put on your game face. Check the length of your hairs before you go through the trouble of prepping. The appropriate length of the hairs is between 1/4 inch and 3/4 inch. If your hairs are too long, then you can reduce the length with the help of a trimmer and then carry on with waxing. It is advisable to wait if your hairs are shorter than a quarter of an inch. The reason is quite simple: it will break the hairs instead of removing them from the roots. Soft waxes stick to the skin and try to pull off the hairs using the epidermal layer which is tricky if the hairs are not long enough to sustain that pull.This is precisely why hard waxes are used for waxing shorter hairs.
Step 4: The temperature of the wax
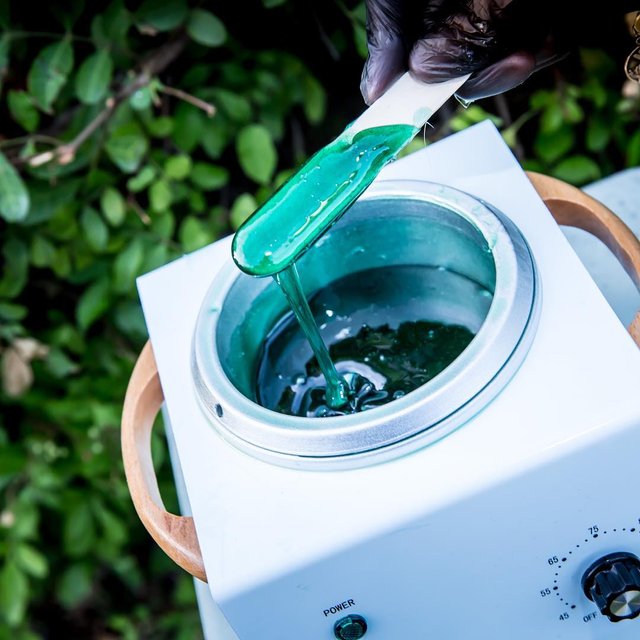
Unless you are not using cold wax strips, you need to check the temperature of the wax before starting the procedure so that you don’t burn your skin. Even a slightly hot wax can leave a tormenting burn on your skin, so you need to make sure that the temperature of the wax ranges between 125o F to 140o F.
Step 5: Pre-Waxing Products Are A Must
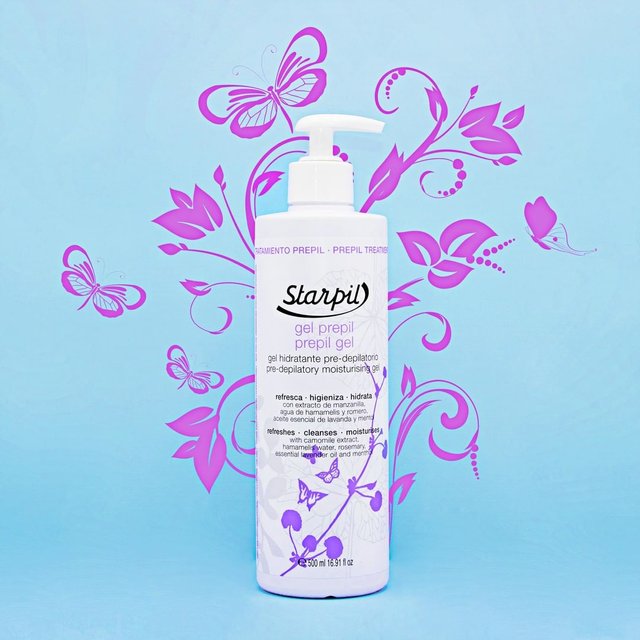
Don’t even think of skipping this step, especially if you are using hard wax. Pre-waxing products clean off the waxing area and prepare it for the process. If you are opting for soft waxes, make sure you haven’t used moisturizers or any sort of creams on the skin as it will sabotage the purpose of hair removal. In case you sweat a lot, use baby powder to dry it out.
Step 6: Follow the right way
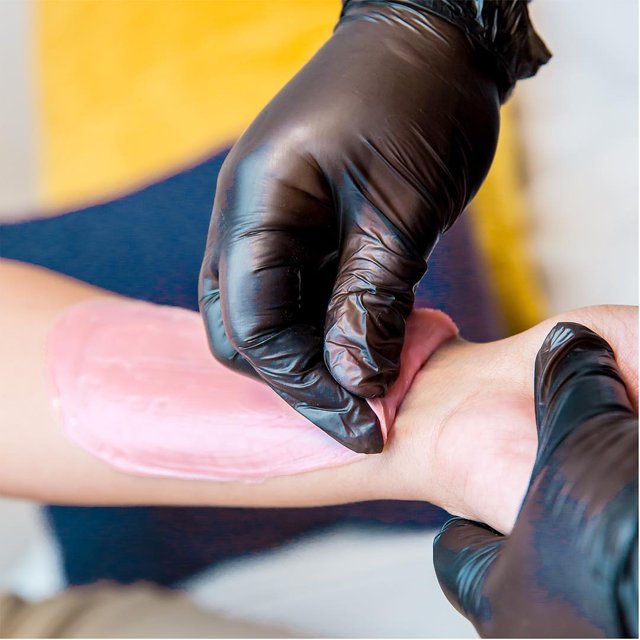
One of the vital steps in the waxing procedure is to do it in the right way.
- Spread the wax in the direction of the hair growth.
- Brace yourself, and pull the wax strip in the opposite direction of your hair growth, keeping the skin tight and stretched.
- Pull the wax strip in a jiffy in a single blow to carry out a less painful waxing procedure.
- Use post-wax products to remove the wax residue.
Step 7: Moisturize
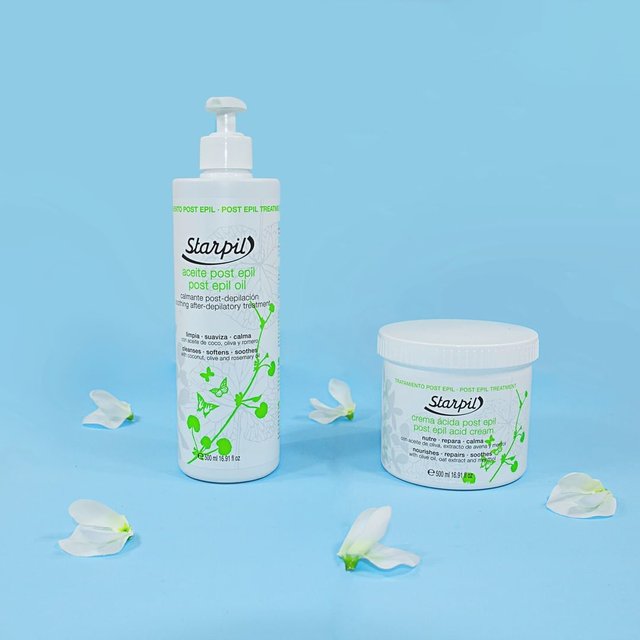
Moisturize your skin regularly to give ample nourishment to the hair roots which is a step forward to avoid ingrown hairs. However, avoid using moisturizers and any other chemical products for at least 48 hours after waxing.
I hope this at-home waxing guide helps you get through this process successfully. Well, don’t think much, order the best at-home wax kit and give it a try!