This post is a following from the previous post, when @tesselart, asked about more detailed information about the node setup.
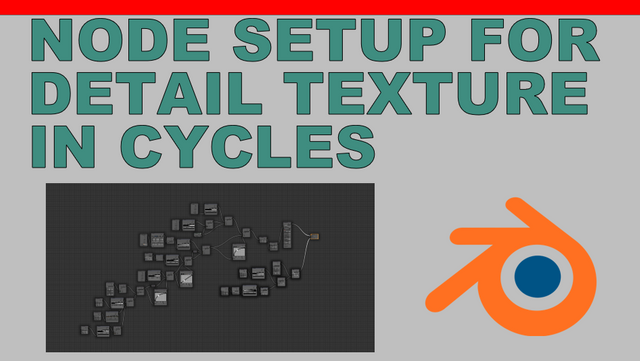
With this method all of the textures are originally created and I’m not using somebody else work. It takes more effort, but once it is done the texture look excellent, it is possible to bake them in high detail, like 4k, and you can play with the variables endlessly :).
Here is the complete node tree. I’m making short comments of the images but I hope they will speak for them self.
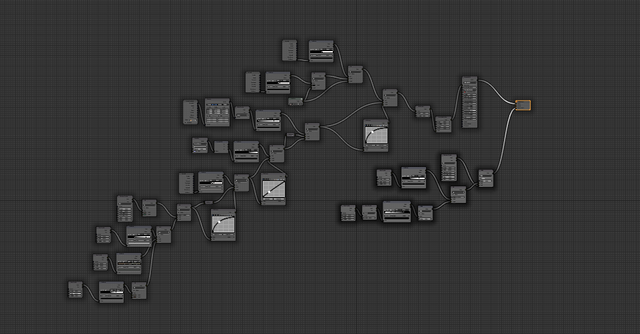
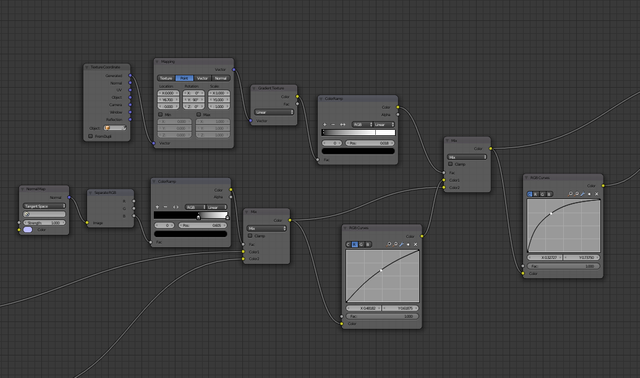
Here is how I start. First, I use noise texture with scale 9 to mix two colors. Then this goes in mix mode, where the previous base color is mixed with another one, this time created with noise texture scale 63 and color ramp, and another noise texture with scale 20 and color ramp is used as mixed factor.
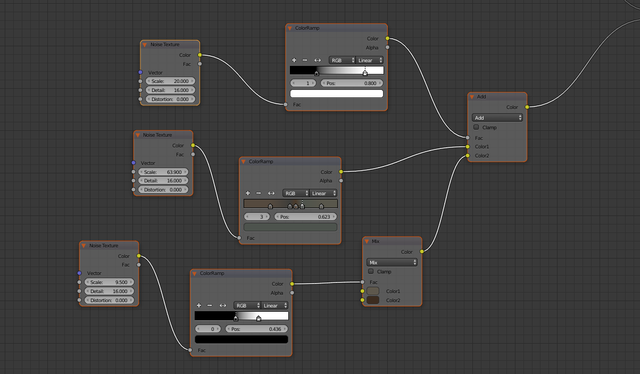
Next, I mix this layer with musgrave texture that is by itself actually mixing two other colors. After this I make light and dark variation of the texture using RGB curves, and mix them with pointiness future, so the edges are lighter.
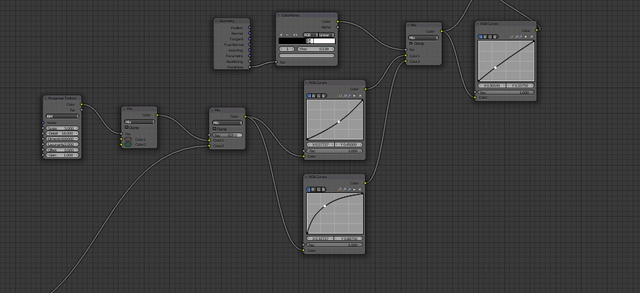
Next with normal map and separate RGB I add moss on top, and with gradient texture, more dark on the bottom.
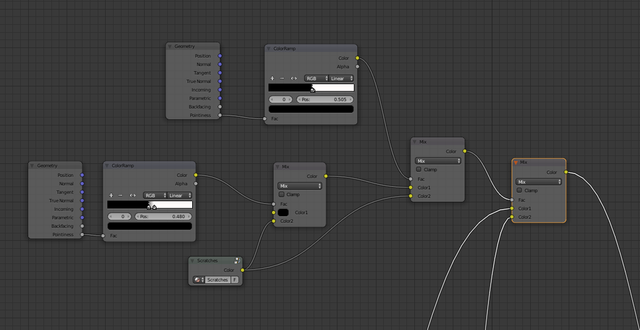
In the end I add scratches, mixing them with geometry pointiness two times, ones with less contrast and ones with more contrast, so the scratches are on the edges, but not only there.
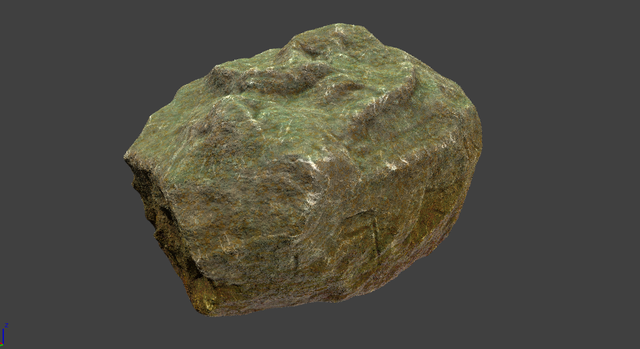
Final result
I hope this explain something, and you are not confused. You can look at this as inspiration and presentation what can be done. In the end it takes practice, mistakes and repetition, so you become comfortable enough playing with the nodes.
What is your experience with cycle materials, and do you have any suggestion on this?
Thanks for reading.
Previous post
Cycles material in blender – are they worth the effort?
Really helpful. Thanks @dalz!
Downvoting a post can decrease pending rewards and make it less visible. Common reasons:
Submit
you welcome @jairocardenas
Downvoting a post can decrease pending rewards and make it less visible. Common reasons:
Submit
Congratulations @dalz! You have completed some achievement on Steemit and have been rewarded with new badge(s) :
Click on the badge to view your Board of Honor.
If you no longer want to receive notifications, reply to this comment with the word
STOPTo support your work, I also upvoted your post!
Downvoting a post can decrease pending rewards and make it less visible. Common reasons:
Submit
Right on thank you! This is great, will try it out!
Downvoting a post can decrease pending rewards and make it less visible. Common reasons:
Submit
Great. Will be interesting to see yours creations with this.
Downvoting a post can decrease pending rewards and make it less visible. Common reasons:
Submit
I still fight with nods in Blender. :D Thanks for sharing.
Downvoting a post can decrease pending rewards and make it less visible. Common reasons:
Submit
It can be tricky at first, but later you can do a lot of things with them. Just keep trying :)
Downvoting a post can decrease pending rewards and make it less visible. Common reasons:
Submit