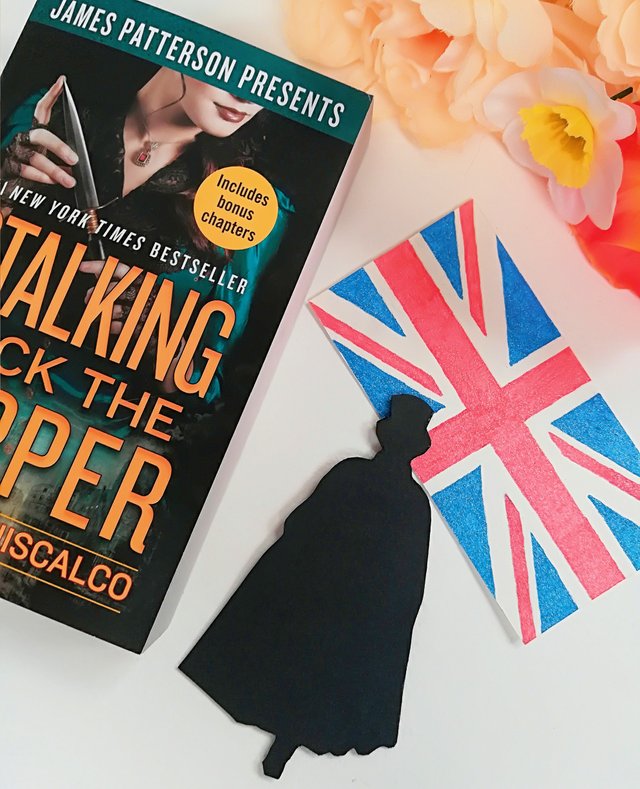
I recently participated in a #BookSwop (everyone who participates gets partnered with someone else in the same country, and then you send each other a book and some goodies based on their feed, etc) and I decided to send Stalking Jack The Ripper by Keri Maniscalco.
Coming up with ideas for items to add was a little bit of a nightmare, since I don't have any spare money or a credit card to buy stuff online with...
After a lot of thought, I decided to theme my box around Victorian London!
I did manage to find a few select items to add to my box but I thought it would be a nice touch if I added a few handmade items, which will add a little personality and uniqueness to the box. I eventually decided that I would make three items which would hopefully capture the essence of my theme.
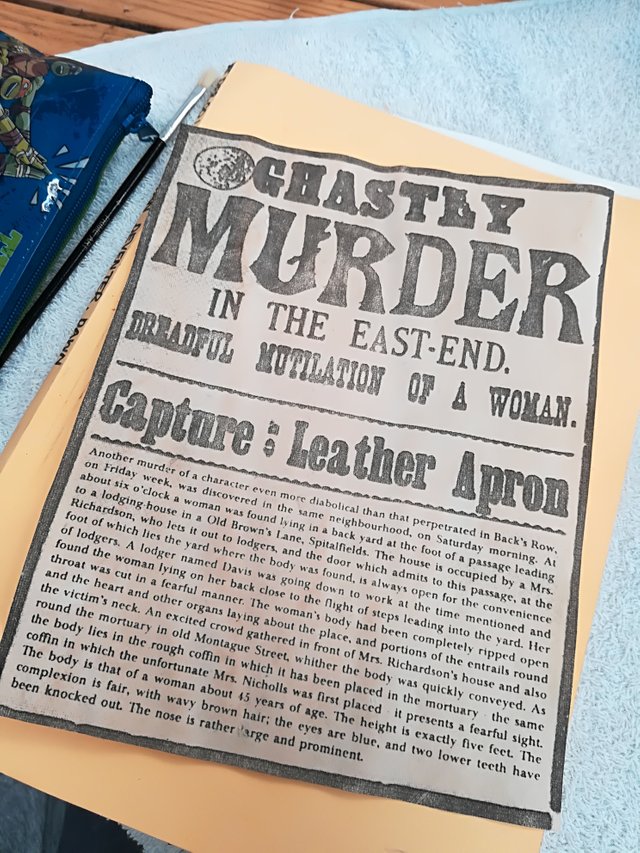
Aged Newspaper Clipping
Of all the items I made, I think this is most probably the easiest to do and it really doesn't take very long at all.
What you'll need:
- Printout of a news clipping of your choice from Google,
- Scissors,
- Some instant coffee (already made, black, without sugar),
- Cotton wool.
Following the instructions in my article,(#PinkItUp : DIY Dumbledore's Army List (Aging Paper / Coffee Staining) ); it really is as easy as 1, 2, 3... https://mrpinkink.wordpress.com/2018/05/31/pink-it-up-diy-dumbledores-army-list-aging-paper-coffee-staining/
Alternatively, if it is a hot day, just let it dry outside in the sun - if it's too light, add another layer of coffee and dry.
TIP: Always make sure you print extra copies, just in case.
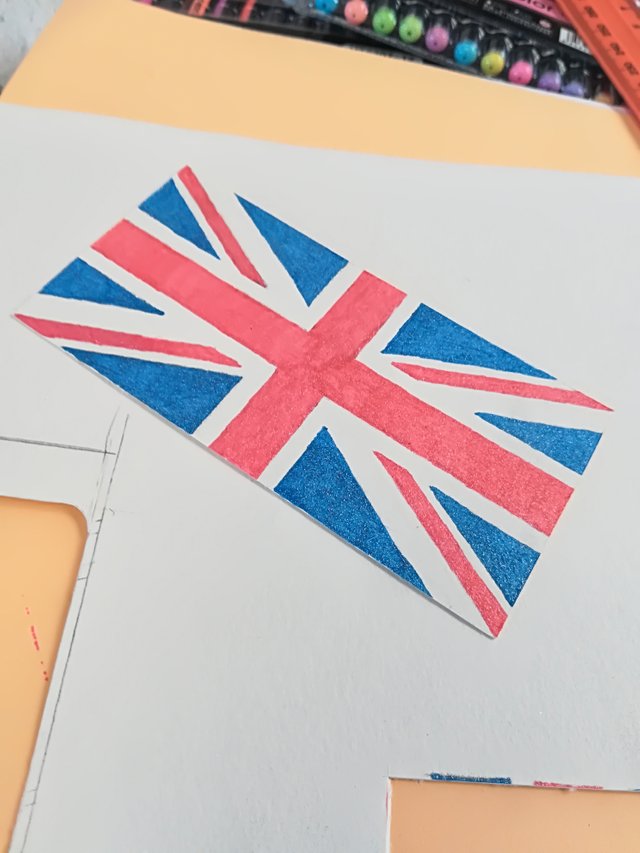
Union Jack / British Flag Postcard
This DIY is also relatively easy; it just takes a little time...
What you'll need:
- Printout of a British Flag from Google,
- White Card Stock,
- Tracing Paper,
- Ruler,
- Pencil,
- Eraser,
- Red and Blue Glitter Pens,
- Exacto Knife / Hobby Knife.
TIP: Always have something to refer to in order to make sure colours, etc. are right. I used my phone to ensure I got the right colour in the right places.
First, using the printout, copy the image onto the tracing paper with a pencil and then transfer it to a piece of card stock - I used a ruler to help keep the lines completely straight. If the transfer is too dark, just lightly rub over the lines with an eraser until just barely visible.
Using your phone / printout as a reference, colour in the flag using your red and blue glitter pens. I found it easier to do this in sections because of the risk of smudging the ink - I did one quarter, then the next, etc.
Once the whole flag is coloured, you can leave it like that or you can add an outline in black; I decided not to use an outline, as I liked the image just like this.
All that's left is to cut out your postcard using a ruler and an exacto knife; viola!
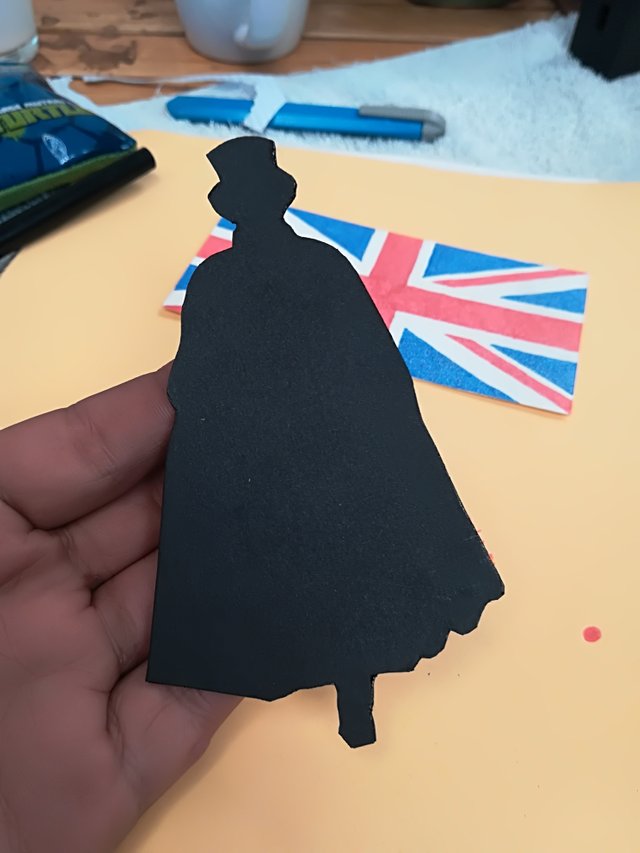
Jack The Ripper Silhouette Bookmark
I had an idea for this and I am beyond happy that it worked out according to plan...
Please note: This project took me the longest to make, so ensure that you have a couple of uninterrupted hours.
What you'll need:
- Printout of the silhouette from Google,
- Card Stock,
- Black Paper,
- Glue,
- Black Marker / Felt Tip Pen,
- Scissors.
Cut out the silhouette you want to use from the printout you made.
Fold you piece of black paper in half and attach the silhouette onto it using glue or something; try lining it up as close to the edge / corner as possible to ensure you don't waste too much paper - you may need some black paper for a later project.
Again, cut out around the silhouette - you will now have two silhouette shapes to work with.
TIP: Be very careful when using your glue; you really don't want to smudge the end result with glue that will never come off unless you destroy the thing itself...
Using one of the cutouts, glue it onto the card stock. When it is dry, cut out the silhouette once again. Now take the other cutout, reverse it and glue it to the back of card stock cutout.
Once this is dry, trim the edges, if needed, until it is the way you want it.
If you didn't use black card stock, like me (mine was white), then make the edges black using your black permanent marker.
The result should be thick and sturdy! Enjoy your new silhouette!
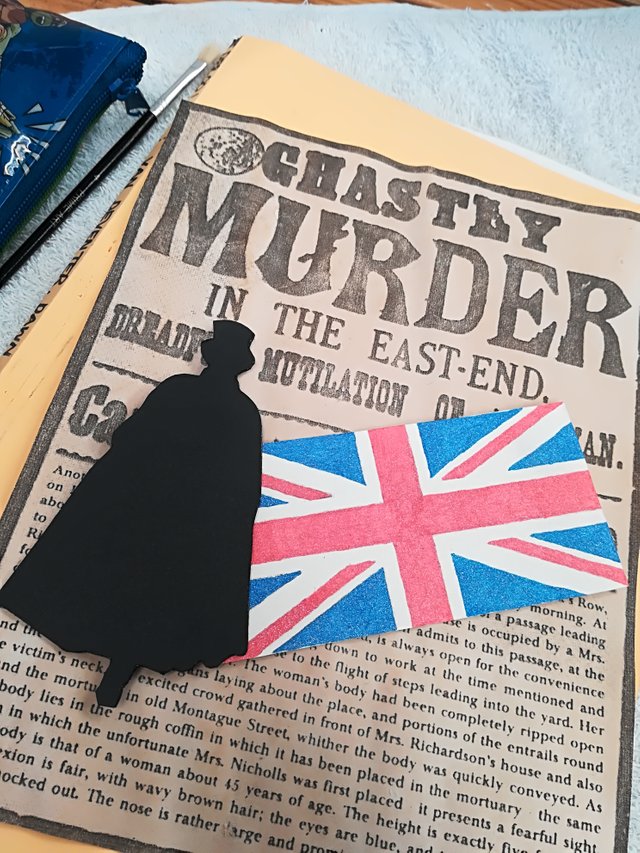
I thoroughly enjoyed making these unique items as a gift and I am happy that they worked out the way I had hoped they would. I will definitely be making more silhouettes because I think they're awesome and they are quite useful; in photo's, as a bookmark, use them as shadow puppets... XD
In case you were wondering, I thought I'd show you everything I added to the box I sent:
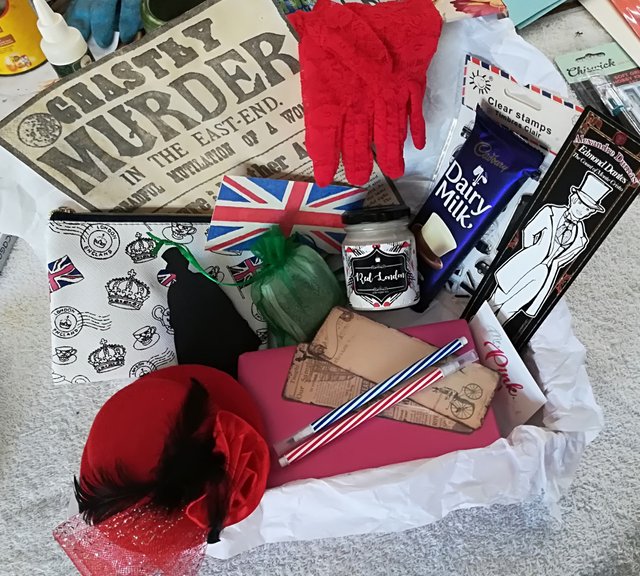
- Stalking Jack the Ripper by Keri Maniscalco,
- London themed Gel Stamps,
- London themed Cosmetic Purse,
- Red and Blue Striped Pens,
- Red Victorian Hat Hair Accessory,
- Pair of Red Lace Elbow length Gloves,
- Red London soy wax Candle,
- Earl Grey Tea,
- Top Deck Chocolate slab,
- 3 different Londonesque Bookmarks,
- And my 3 handmade items.
And there you have it; my unique box of goodies I made up for my #BookSwop partner!
I'd love to hear what you thought about this: are my DIYs on point? Do you think this box is a hit or a miss? Do you have any ideas about else I could have made? Please let me know in the comments below; your feedback is important to me.
As always, don't forget to like and share! Until next time....
Keep smiling
Follow me :
Instagram : https://www.instagram.com/mr.pink.ink/
Blog : https://mrpinkink.wordpress.com/
Member : @teamsouthafrica #teamsouthafrica
Definitely a hit!
Downvoting a post can decrease pending rewards and make it less visible. Common reasons:
Submit