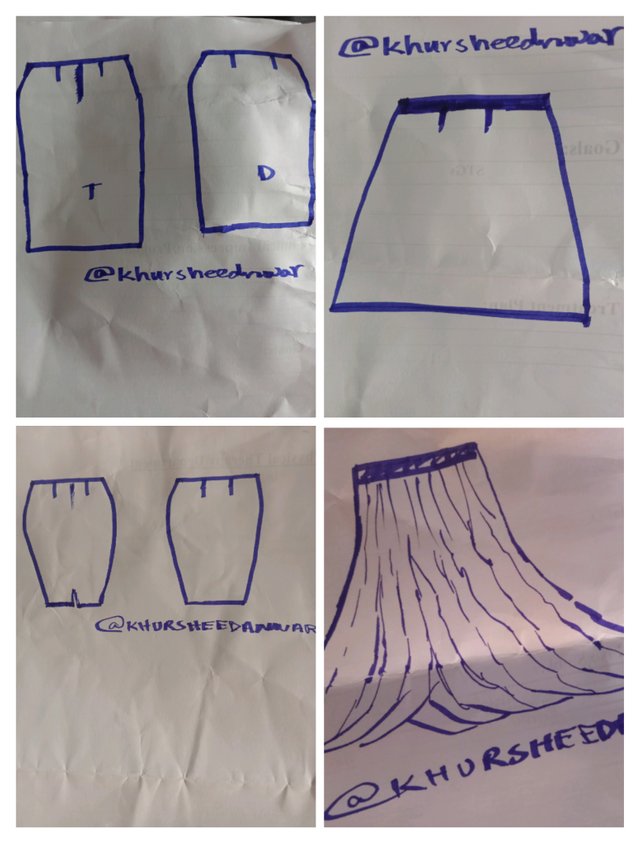
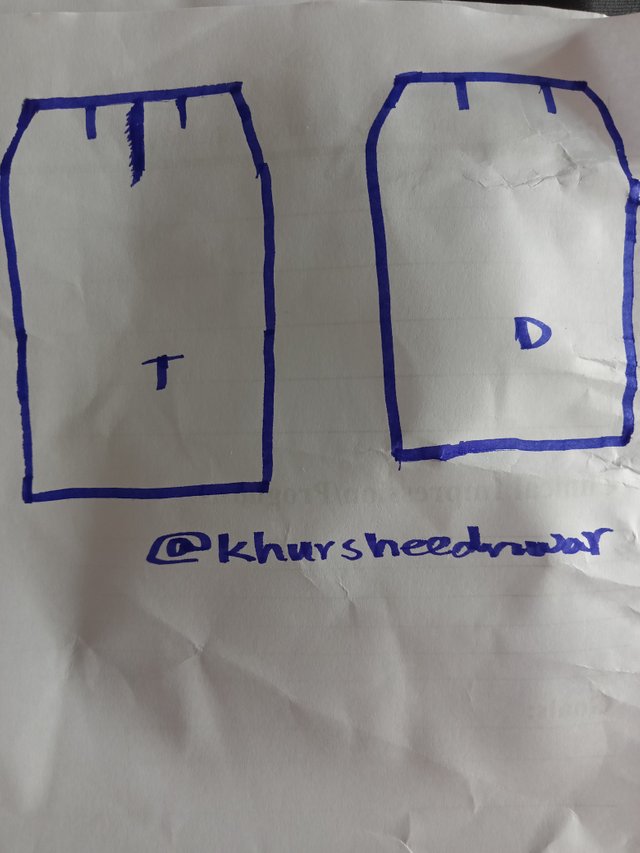
| • | Straight skirt model |
|---|
This is I am here to guide about straight skirt model and its step by step back and front patterns in different points.
 |  |  |
|---|
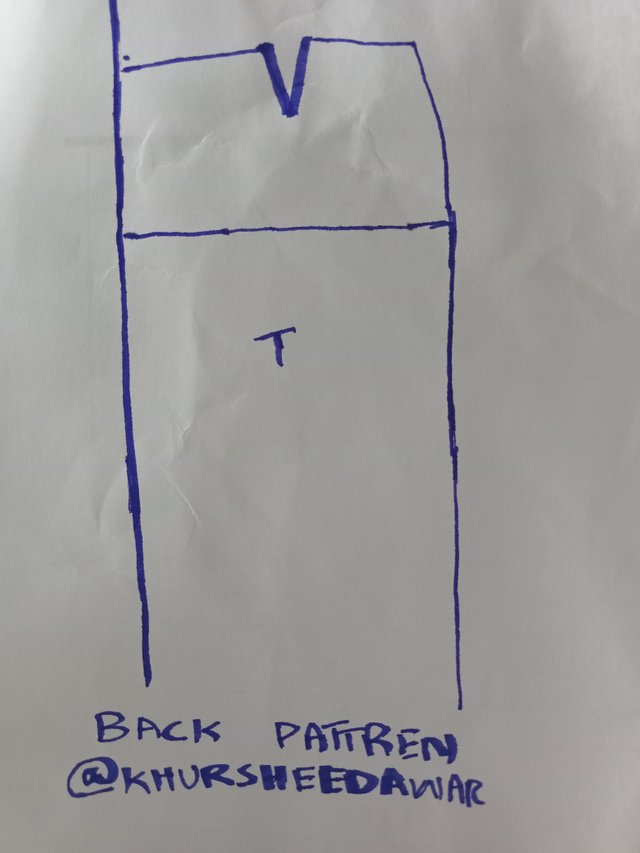
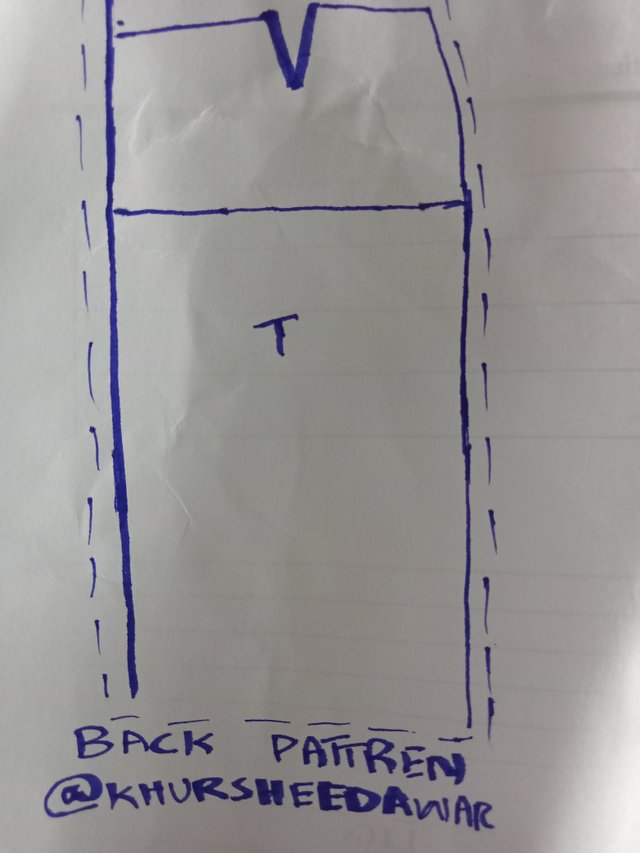
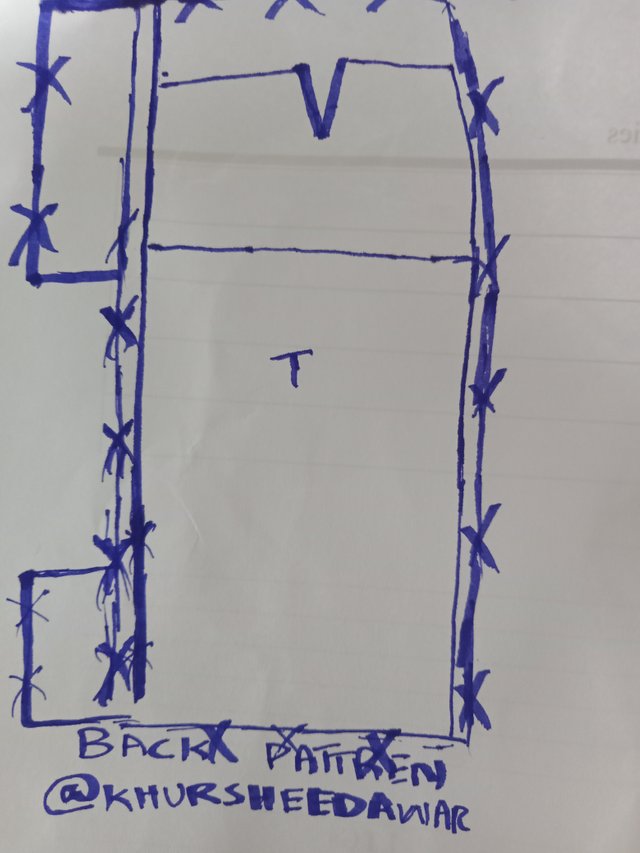
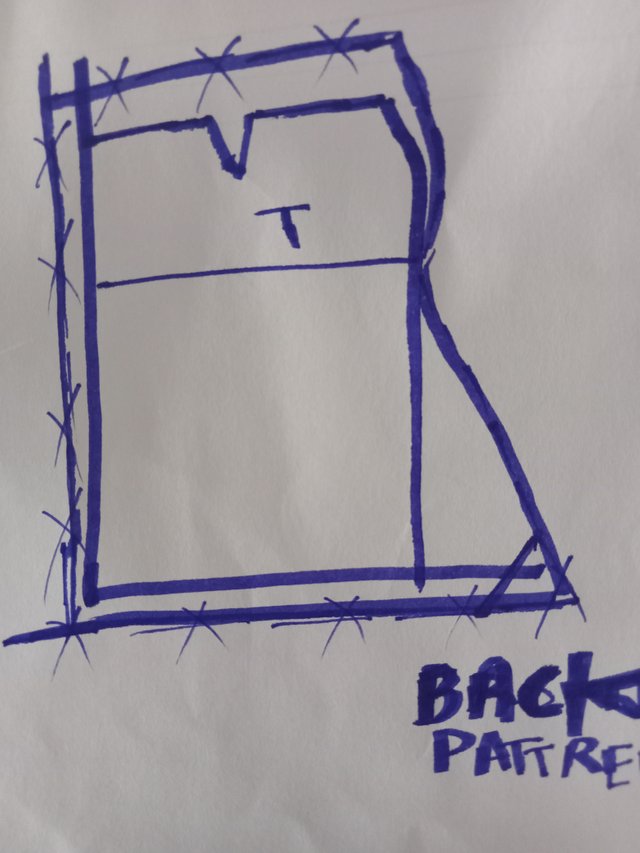
The pictures that are above are for making straight skirt model back pattern in which you just need to follow three common points;
• Around your pattern you need to trace some allowances as I did in this picture.
• You need to give width to straight skirt model as it is indicated by its name that it's straight so it would be an ease for you to get a good width of you already mark your pattern with zip and stud location.
• After that at traced allowances you will show cross symbol by following which you will cut your fabric.
| • | Back pattern step by step |
|---|
 |  |
|---|
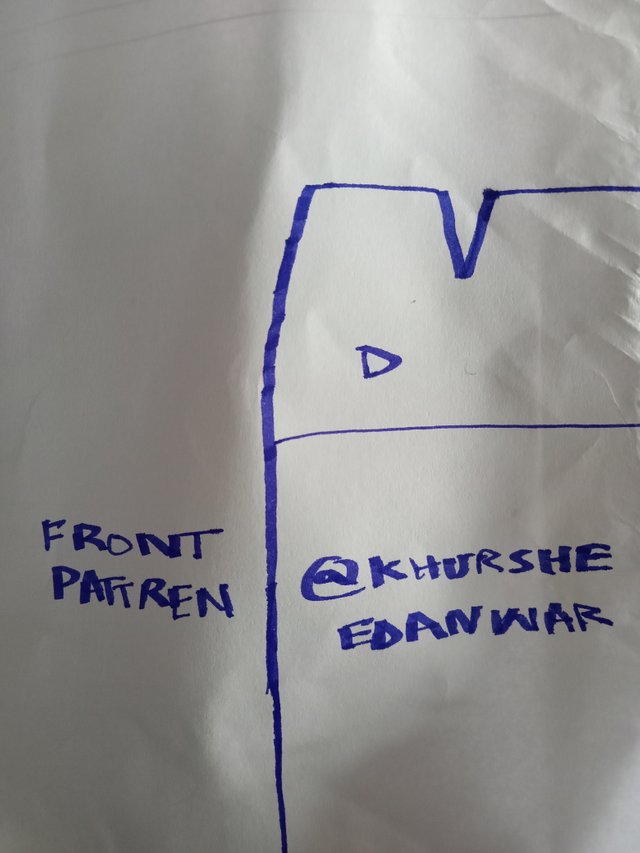
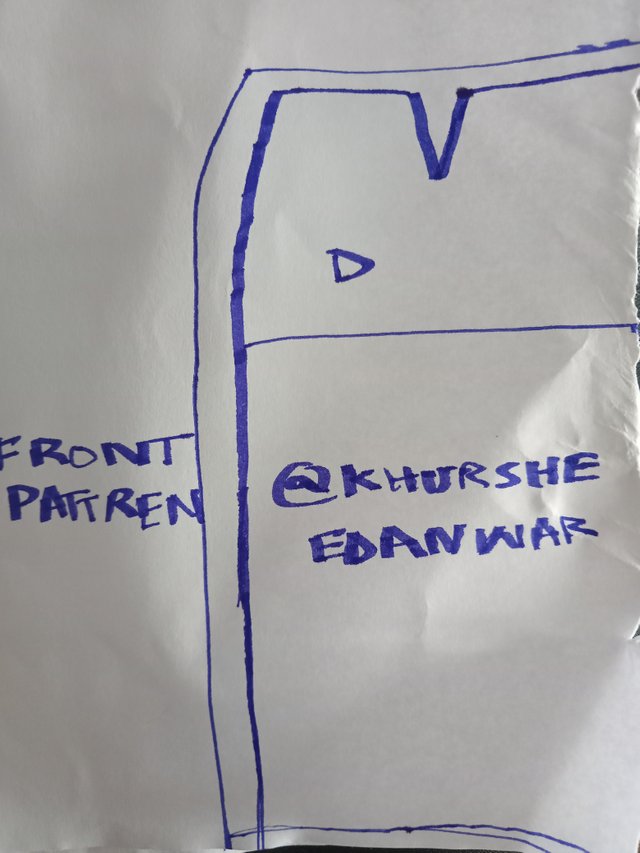
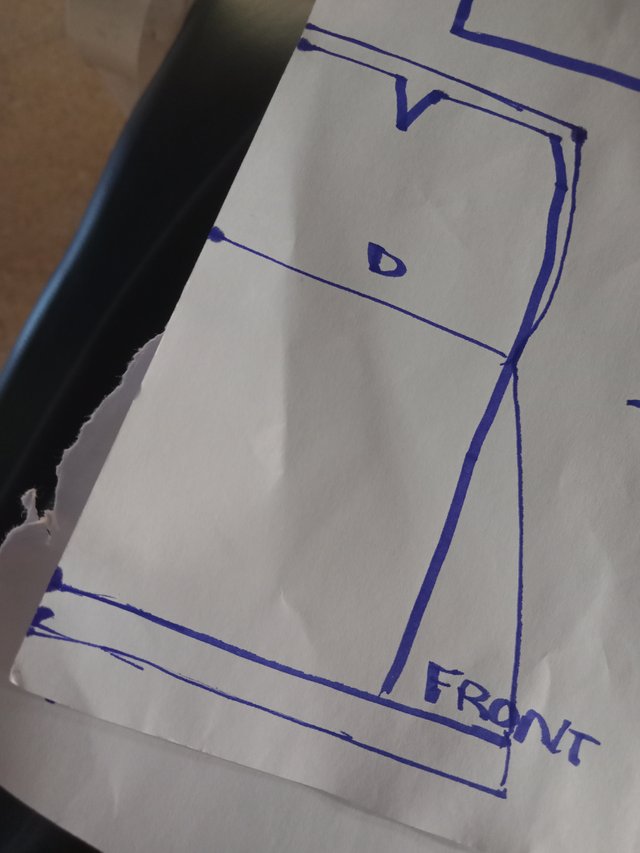
Now these are pictures showing how to make front pattern so again follow some easy steps;
• As you did in back pattern, follow same tracing of allowance around your pattern.
• Second step is little bit different in which you will mark fabric fold lines.(As these are fold lines so much better to mark it with dotted line).
• Show crosses from where fabric will be cut.
| • | Front pattern step by step |
|---|
| • | A line skirt model |
|---|
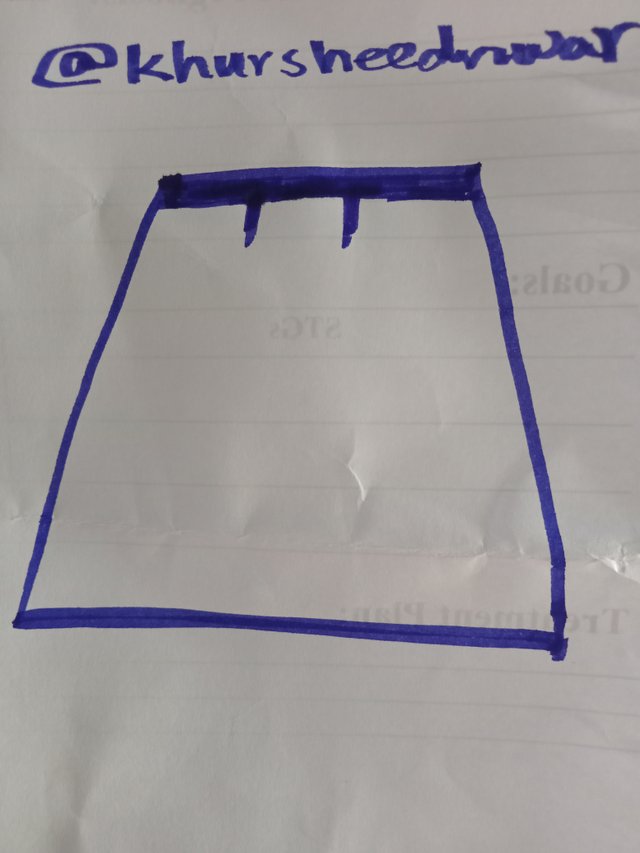
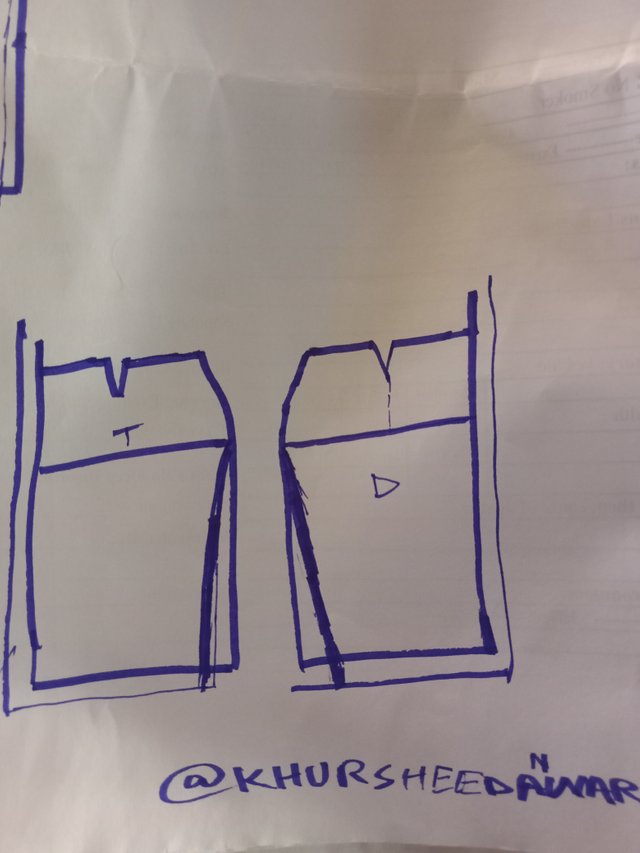
Now this is a pattern to make A line skirt with a brief explanation of back and front patterns both;
First there is a need to develop skirt pattern in general that how it would be like because if you became fail in developing general pattern for skirt then definitely you cannot go for back and front pattern so first the things that you need to keep in mind for developing a generalised pattern I am explaining below;
Hem lines
• First of all you need to draw hemlines with a with of 8 cm in both patterns in the it is front or back and then you will extend it from hip curves.
• In second step you will join points that are marked to hip height with straight lines.
Hem allowance
• You will add at least 2 cm soft curve at both hem edges.
 |  |
|---|
• You just need to cut the fabric from traced allowances at which I have already indicated crosses.
| • | Back pattern |
|---|
 |  |
|---|
• You simply need to mark fabric fold symbol for your ease.
Last but not least it is really important to determine same placements for joining patterns as well as it is also important to decide lower type that it would be a zipper or button.
| • | Front pattern |
|---|
For fitted skirt models you need to follow the following things;
Tracing pattern
First of all you will trace seam and hem allowance from general pattern which is basic pattern I have shared in above pictures also.
Hem adjustments
Now you need to add at least 2.5 cm to hem curve in back and front patterns.
Drawing another hem line
You need to draw now a new line from height of hip to new hem point.After that mark fold of fabric and identify closure type according to your personal choice.
| • | Pencil or fitted skirt model |
|---|
 |  |
|---|
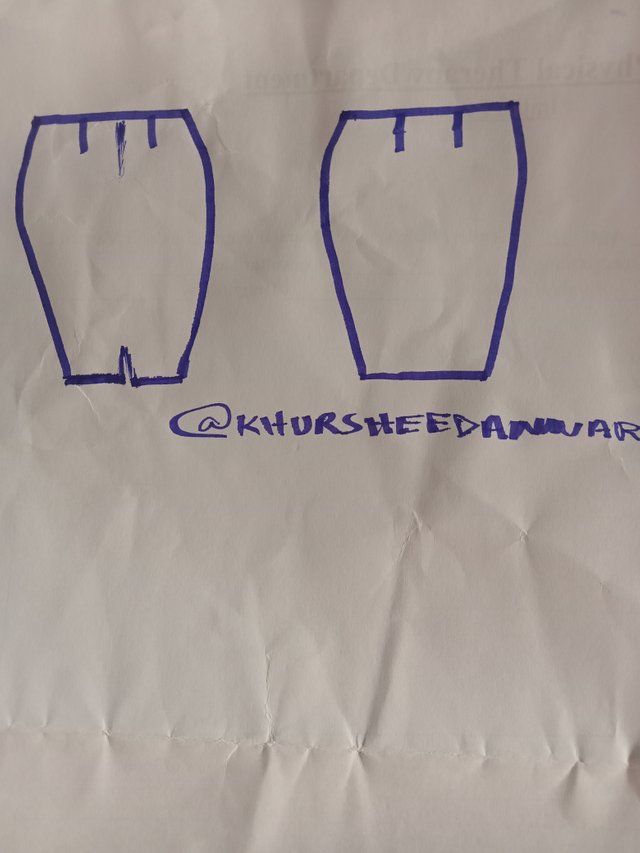
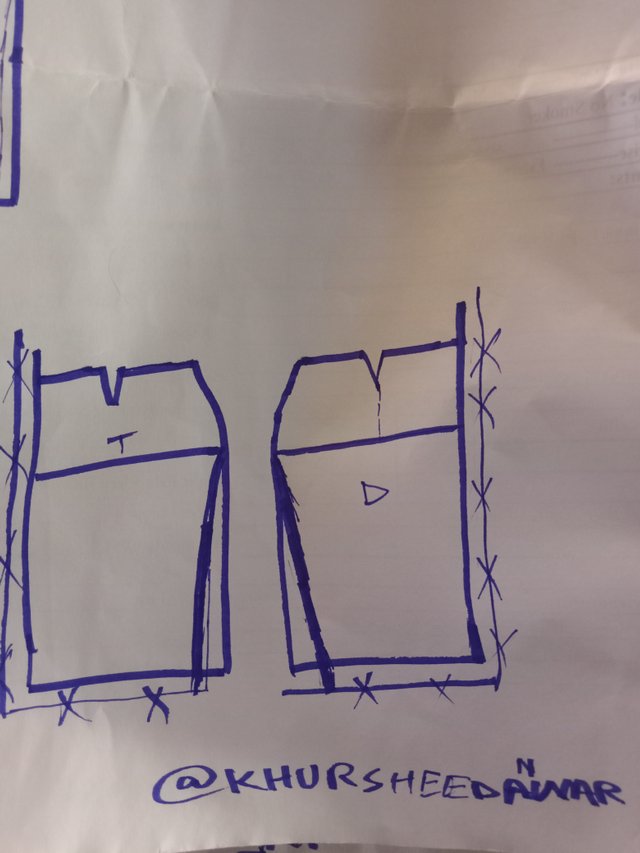
• For making front pattern mark fabric fold symbol.
• For making back pattern you need to show opening location and show closing position which is ultimate position of your zip or button.
This is Aurora Bloom skirt design that I have drawn and I can't wear it being a man but I really love it most.It suits on every lady with every height.If a lady have a normal height then by wearing this type of skirt she can look much heighted.
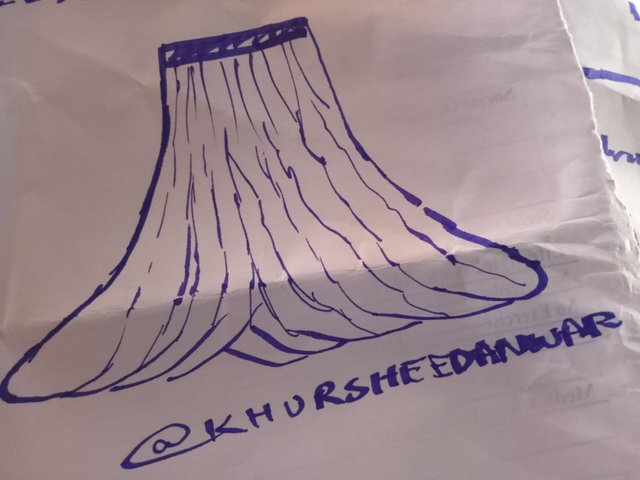
Aurora Bloom skirt design presents a lengthy, flourishing and elegant design which have a lot of flare.So that's the reason behind loving this skirt design.
Special invitation to;
@malikusman1
@kouba01
@goodybest
@xkool24
@dexsyluz
Upvoted. Thank You for sending some of your rewards to @null. It will make Steem stronger.
Downvoting a post can decrease pending rewards and make it less visible. Common reasons:
Submit
Downvoting a post can decrease pending rewards and make it less visible. Common reasons:
Submit