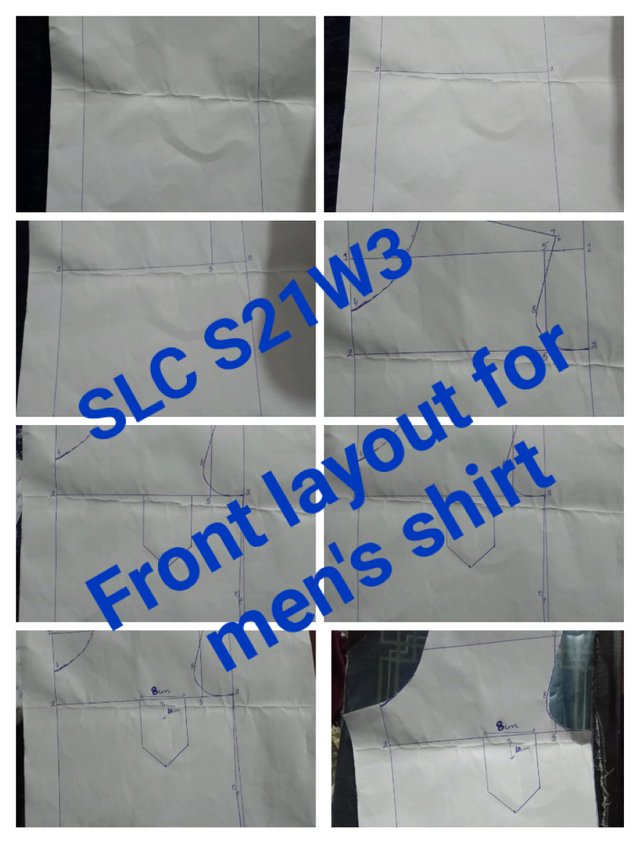
Step by step I will thought you guys that how I reach to final outcome of basic front men shirt layout;
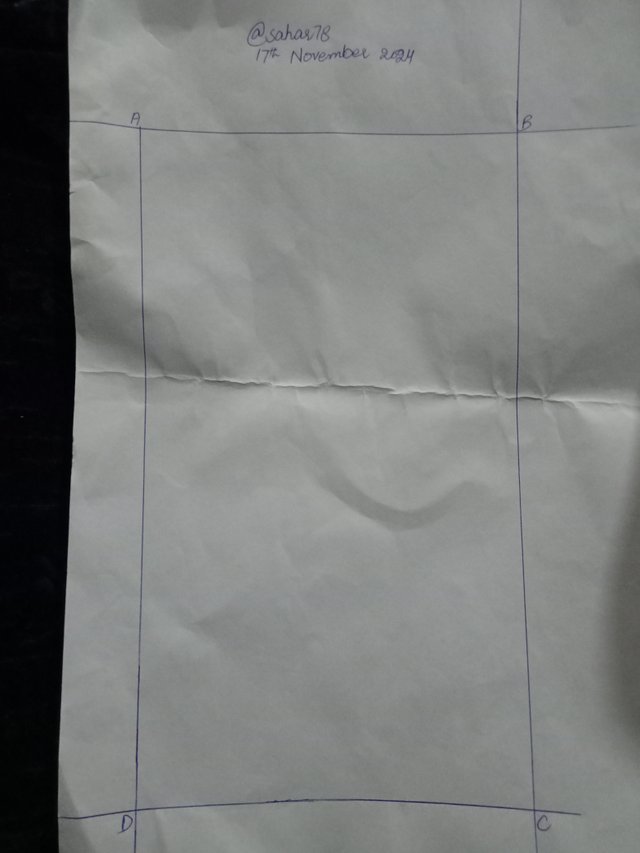
| Step 1: Drawing center front rectangle |
|---|
you can see that I am drawing a line vertically at cardboard which was available in white colour and after drawing a rectangle I just label them with ABC and D. This rectangle is basically representing front shirt centre.
| Step 2: Measuring chest circumference |
|---|
After that I have measured 4th part of total circumference of just starting from top of rectangle that I have made and then I added to centimetres.I have also drawn a horizontal line which I named line one.
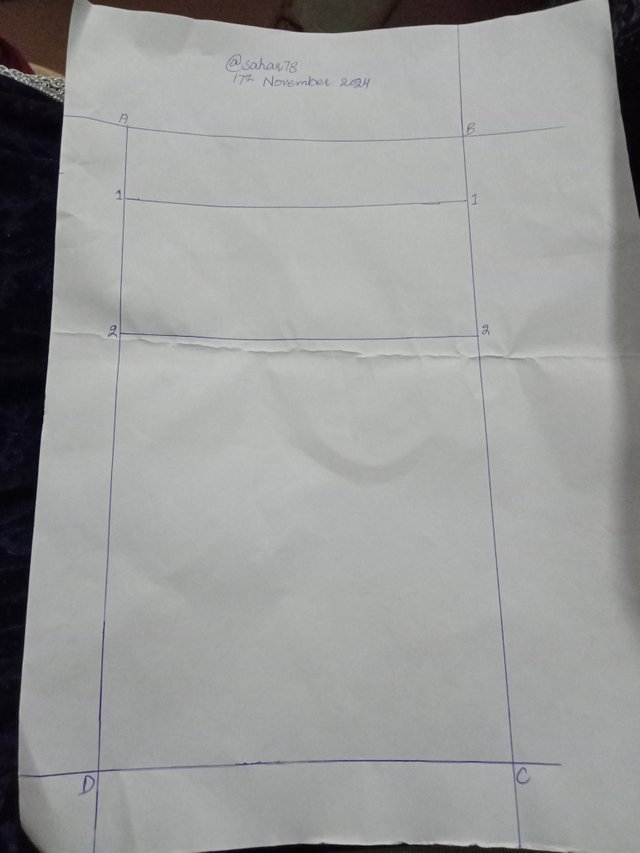
| Step 3: Measuring neck circumference |
|---|
it is also important to take measurement of total circumference of neck so I take 6th part of necessary conference and then I minus 1 cm from it so that I may give an allowance starting from point A to point D. After that I drag a curved line which is the representation of neck fit.
| Step 4: Defining chest and neck |
|---|
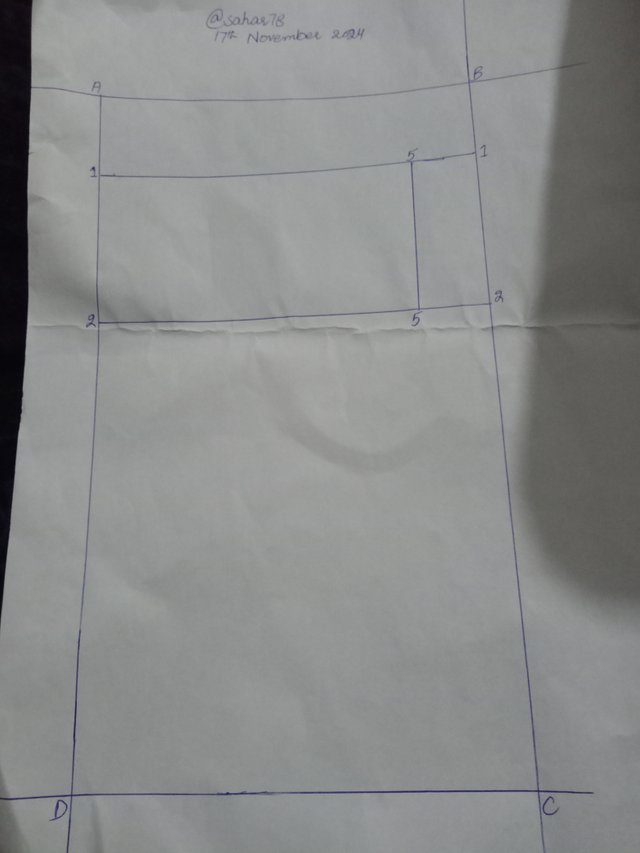
After that I again drag horizontal line which was 9 to from point A to D which was basically showing that this is circumference of chest. After that I again take measurement of 6th part of total neck circumference from point AB combine. I also add there an allowance of 3 cm and you can see it clearly which I mark as point number 2 in picture I provided.
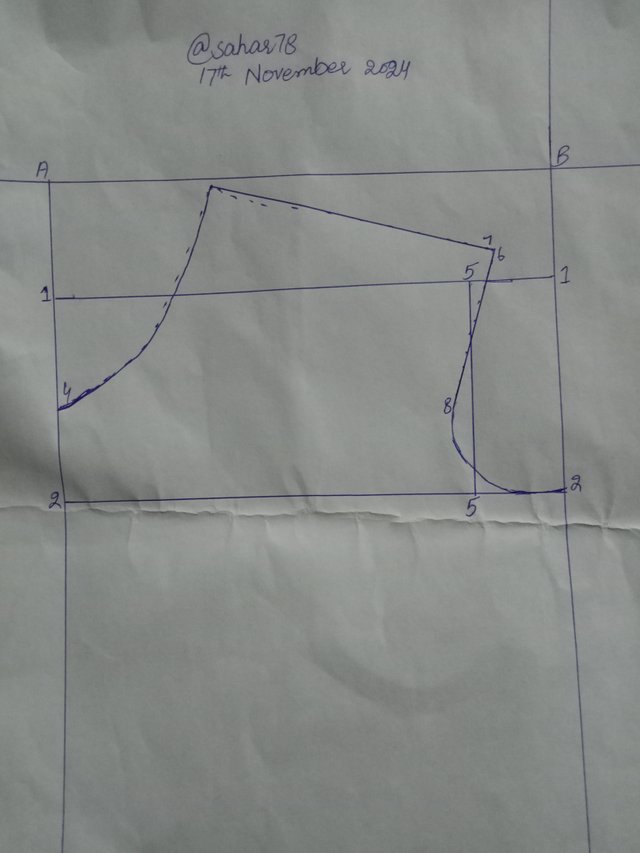
| Step 5: Creating shoulder and armhole |
|---|
creating shoulder and ARM hole is always an important step in making man front layout of shirt so I take measurement of 1 cm from line 6 which I have already made above and then I draw a line straight so that I may make and intersection which is point B. After that you can also see that curved linewhich I drag I named it as point 9 or line number 9 which is 1 cm below the line 8 so that I make react arm hole there.
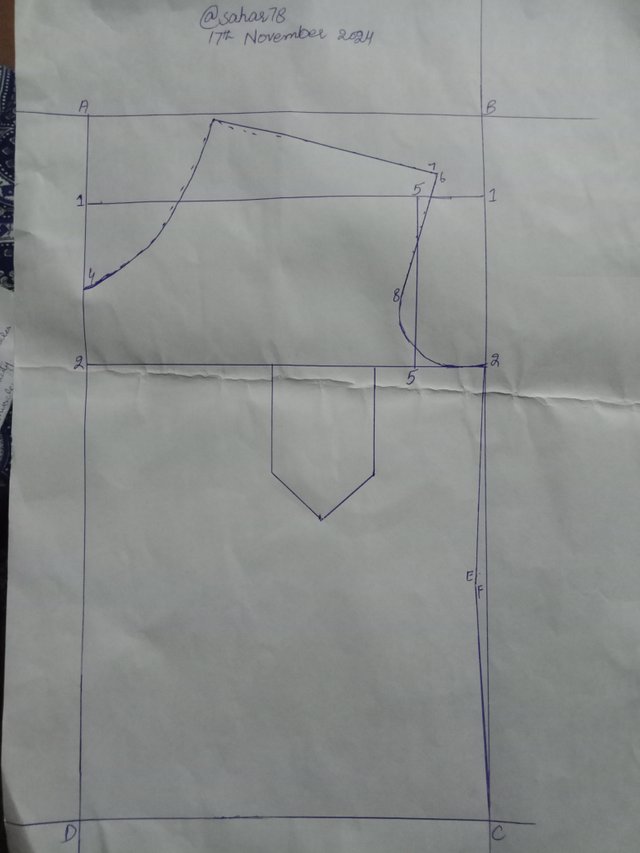
| Step 6: Defining drop shoulder and slant |
|---|
It is always important to give a proper shape to shirt of men so that it is always important to define drop shoulder and slant so for this purpose I take one by two measurement from point to 2 to point c and then I drag a slant which was point E. At last I mark 1 cm down from point a which I named as point F which is clearly visible in the picture I have provided.
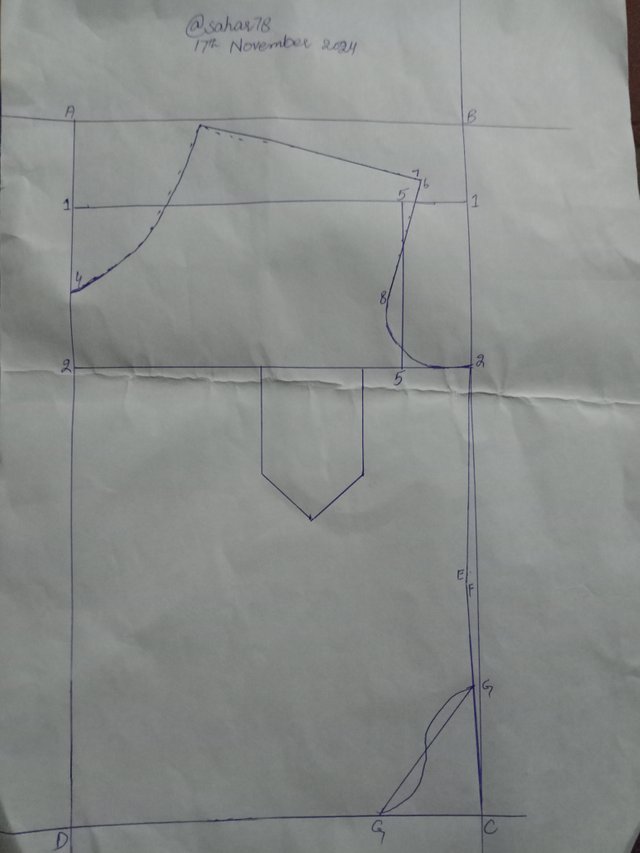
| Step 7: Adding pocket |
|---|
most of the shirts have pockets so if you want to add pocket then you need to measure 3 cm from line 5 to line to and 8 cm from length side. After that you will mark that it is the centre of pocket for adding button allowance.
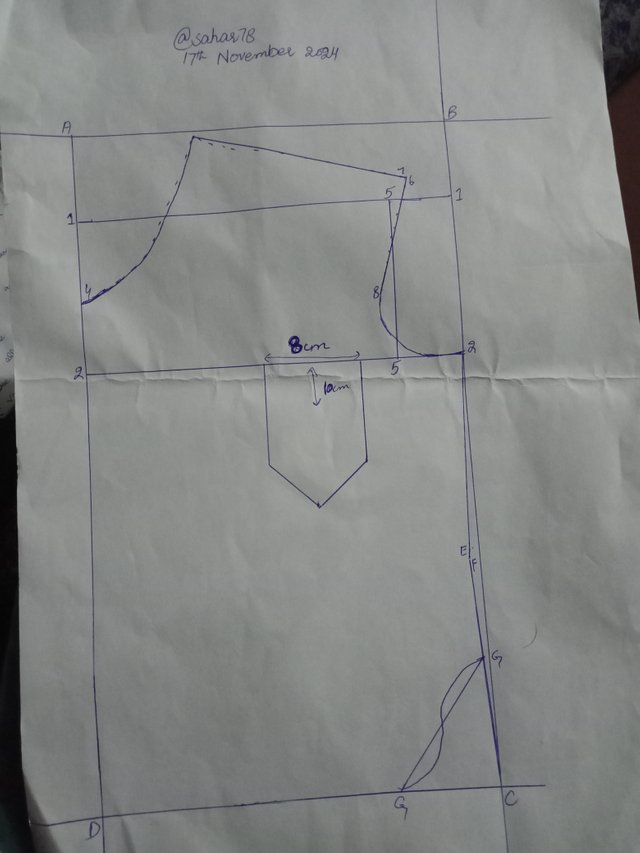
| Step 8: Adding button allowance |
|---|
It was almost last step in which I have to add button allowance so I added 3 cm from point a towards point b so that I may allow folding of buttons.After that this is a tip in finalising the pattern that you should always compare front and back side and you then you can make adjustment in drop shoulder if there is any need otherwise this is an perfect layout the way in which I have taught.
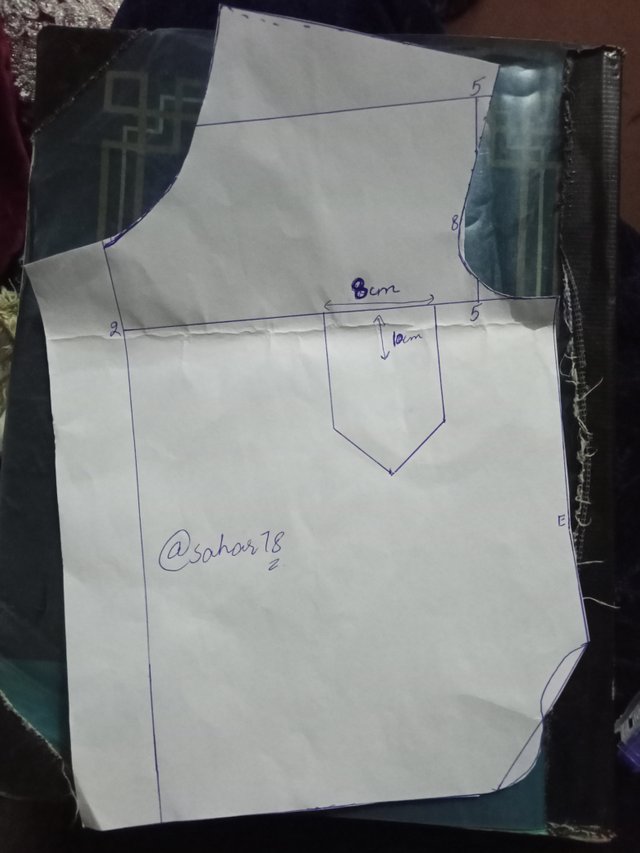
Measurements I take are;
| Chest circumference: 1/4 + 2cm |
|---|
| Neck circumference: 1/6 - 1cm |
|---|
| Shoulder allowance: 3cm |
|---|
| Armhole curve: 1cm below Line 8 |
|---|
| Pocket placement: 3cm from Line 5 to 2, 10cm lengthwise |
|---|
Here is my research at collars on the following short types that I extracted from lesson;
- Sports shirt
- Dress shirt
- Henley shirt (Liqui Liqui)
- Work/lab coat
- School uniform shirt"
| For sports shirt |
|---|
- Crew neck
- V-neck
- Polo collar (button-down or button-less)
| For dress shirt |
|---|
- Point collar
- Spread collar
- Cutaway collar
| For henley shirt |
|---|
- Round collar (no buttons)
- Henley collar (button-placket)
| For Work shirt/lab coat |
|---|
- Standing collar
- Mandarin collar
- Lapel collar
| For school uniform shirt |
|---|
- Point collar
- Button-down collar
- Oxford collar
| My special invitation for @lhorgic,@malikusman1,@suboohi |
|---|
You've got a free upvote from witness fuli.
Peace & Love!
Downvoting a post can decrease pending rewards and make it less visible. Common reasons:
Submit