For those who haven't visited my Shapeways shop, I make more than tanks and ships. I also make jewellry, art objects, random geometric shapes, and key fobs. For the latter in particular, especially those based on 2D graphic designs, I can usually make the entire object from a single sketch. This is what we in the CAD trade like to call 2.5D, if you can believe that. It's not flat, but not complex enough to qualify as a bas-relief, and certainly nothing like a full 3D object. I have a few examples below.
The first is my sigil (fancy word for seal), which I explain in one of my earliest WordPress posts:
https://kjworldsong.wordpress.com/2017/05/31/the-seal-of-kaja/
There are also links on this page which will allow you to view 3D models on the items I am showing. Neither are for sale, nor will they ever be (except to someone who has the same Cyrillic initials and is willing to pay me enough). Anyway, without further ado:
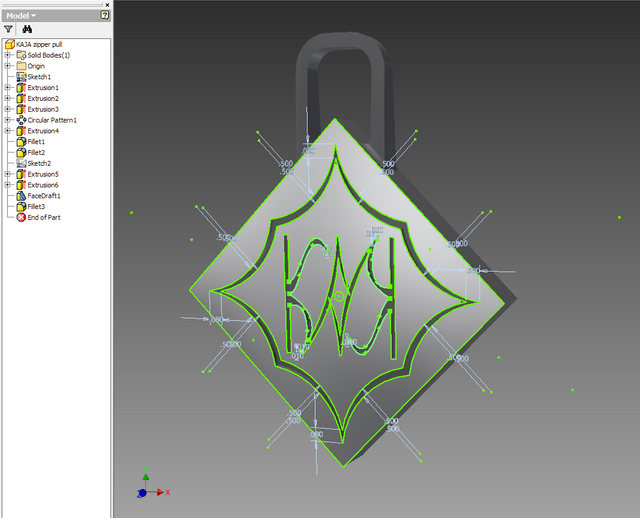
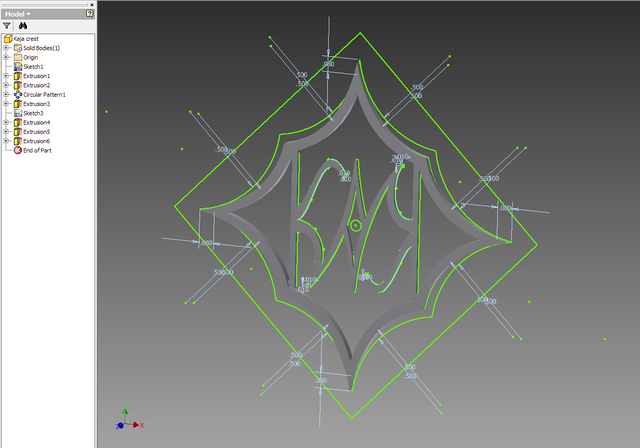
I have made the sketch visible in this picture so that you can see what is derived from it. The basic shape of the object as well as the design are all derived from this single sketch, which is also used for the second object:
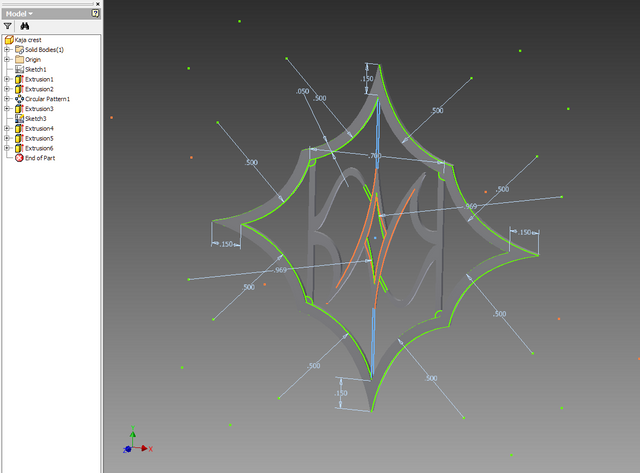
You may note that the overall shape does not quite match the original sketch. This is because I altered it to connect the features and allow it to be cast as a single piece in sterling silver. Below, you can see a second sketch, which I used to alter the features to allow the wax pattern to be printed:
I included two lines from the top of the "К" and the bottom of the "Я" to the "А" in the middle, but thankfully, this turned out to be unnecessary.
The next example is my Alto Clef Pendant:
https://www.shapeways.com/product/C8XFQ57CM/alto-clef-pendant?optionId=65046695
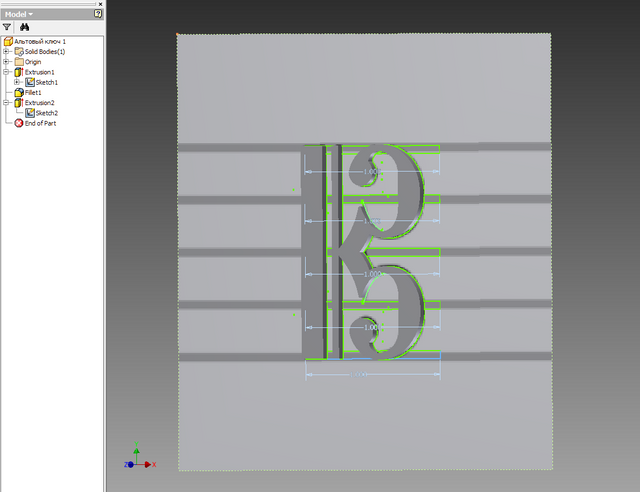
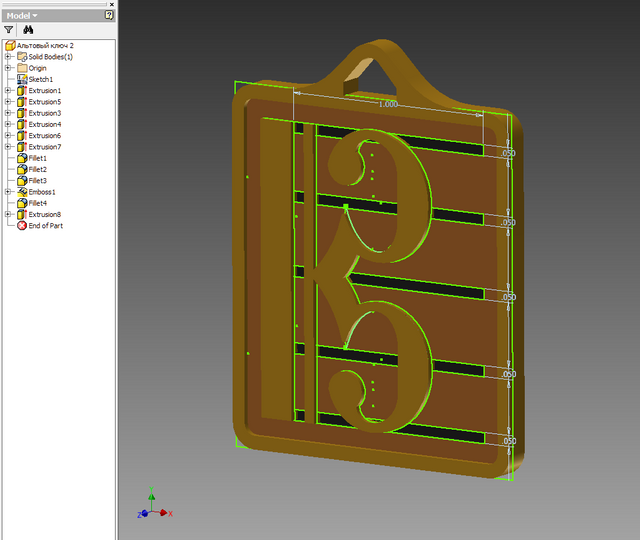
There was another product that I made with the same sketch, but it is not currently for sale, mainly because it's meant to be customised, and I have yet to take the time to figure out how to make it work. Below is the original model:
As you may have noticed, there are actually two sketches displayed here. However, once I knew that this worked, I combined the two sketches so that everything could be done from a single sketch, as with the next one:
The clef itself is embossed, while the lines of the staff are engraved. The embossed feature in the part tree is actually the initials of the customer who originally ordered this item. Since it was a personal request, and not through Shapeways, it was never visible in my shop. However, I can easily change that.
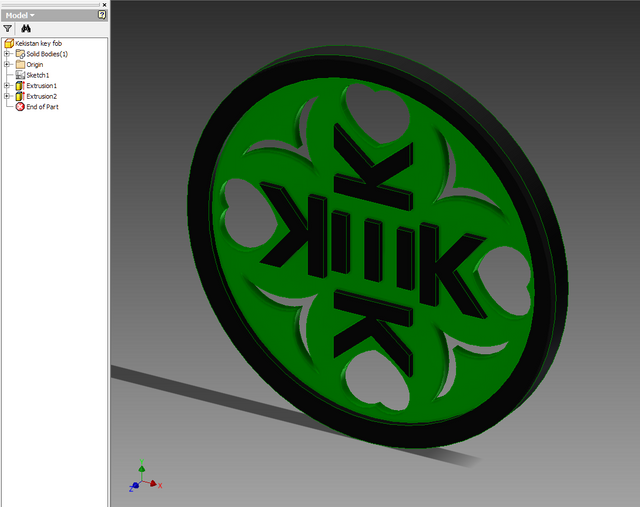
The last item is a very recent addition to my Shapeways shop, and has already gotten attention. Behold:
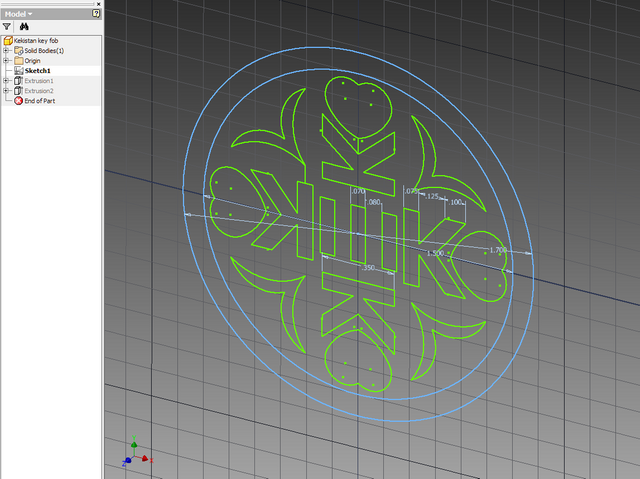
As you can see, this is the symbol of Kekistan, but with my own twist. The black features are sticking out considerably further than the green base, and I was able to do this with two simple symmetric extrusions. This, of course, is the simplest of the three examples I've shown thus far, and it was all done from a single sketch:
I was able to offer this in multiple sizes by adusting not only the scale, but the length of each extrusion, thus controlling the depth of the features with each variant. This sort of practise makes offering simple designs such as this one very easy in multiple sizes.
Before anyone asks, I was not asked to make the last item. I made it because I am Kekistani myself.
I hope you've enjoyed my little CAD tidbit for the day. Shadilay!
