
This is a quick tutorial on how to use spraypaint with satisfying results on cars with repaired damage or simply previously unpainted parts. In this case my E30 was always missing some paint on the lower rear fascia. Actually it is simply part of the bodywork and treated with an impact resistant rocker guard paint from the factory over which the upper half is painted in bodycolor and the lower half in black.
It usually looks like this:
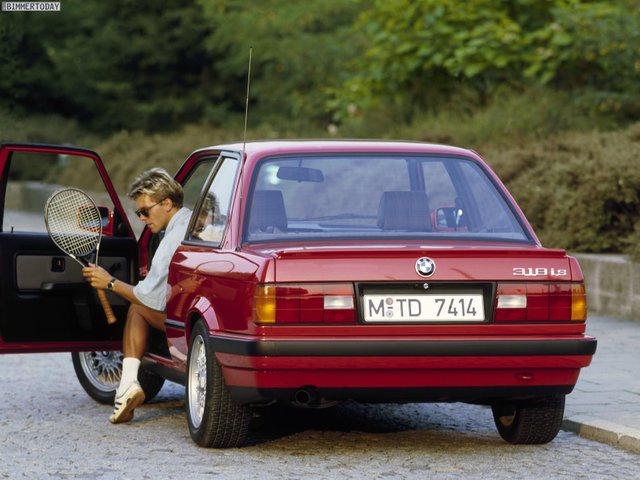
This picture is an offical press photo courtesy of BMW AG circa 1988. Note the era correct white tennis socks over adidas tennis shoes :). Anyway you can see the red over black below the rear bumper.
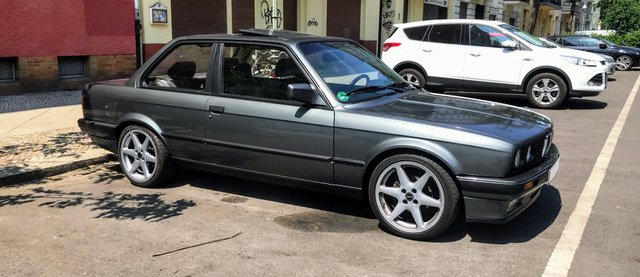
Now on my car this section was all black which doesn't look quite right and also tends to visually raise the rear end:
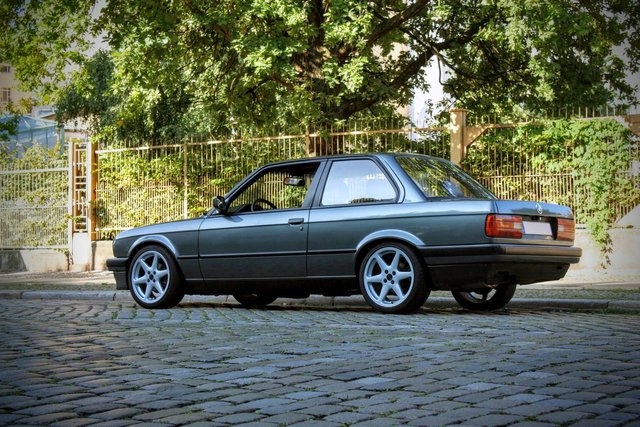
I've long been wanting to change that but never really got around to it...until now.
Step 1 - Tools and Paint
You want to get a simple can of clear-coat spray-paint, some primer and a can of paint of your specific car color which in my case is BMW Delphin-metallic. Yes, like a dolphin. It also looks like it depending on light conditions. If you want to go full factory look you also want to get a can of spray-on impact resistant rocker guard. In total these should run you less than $40/EUR40 depending on how expensive your car's paint is.
The only other thing you need is paint tape which you can get in any well sorted DIY store. It is a very fine tape which seals off areas and makes for very straight and even cutoff lines.
Then there's the location aspect. You don't want to do it anywhere where it's dusty, overly wet and temperatures need to be between 15C-25C. Anything below makes the paint too thick and uneven, anything above makes it less sticky and it quite frankly will just not look good and potentially take too long for the initial drying process.
Inside a well ventilated room/paintshop is ideal but actually I did it outside and it wasn't too bad.
Step 2 - Prepping the surface
First thing you need to do is clean the surface thoroughly and use something like a micro fiber cloth to remove any dirt/hairs etc. and then tape off the surrounding area. Once you're done apply the primer in even strokes across the surface with a distance of around 20cm.
The result will look sth like this:
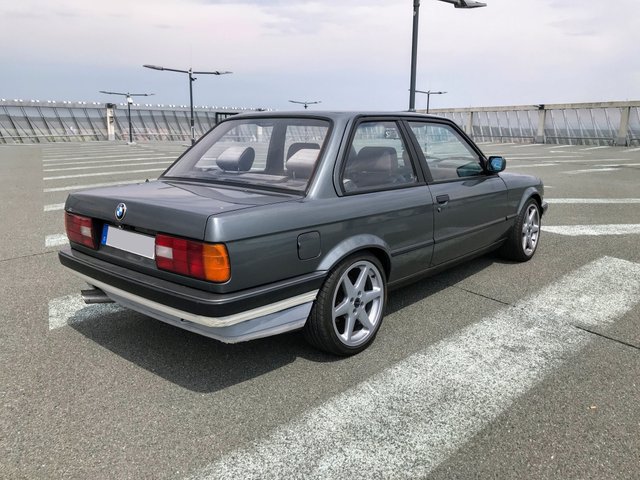
This is what it actually looked like after driving 500km as I just didn't have any time to paint right after applying the primer. After you apply the primer you need to wait 2 hours anyway. In my case I let it sit over 24hrs and then cleaned the surface again and checked that my tape still covered all parts that should not get painted.
Step 3 - Spraypaint that thing!
Now for the painting one of the most important things is shaking the can with the actual bodypaint at least 2 minutes, better a full 3 minutes. Then take a piece of cardboard and spray some on it to check that the paint comes out clean and without bubbles.
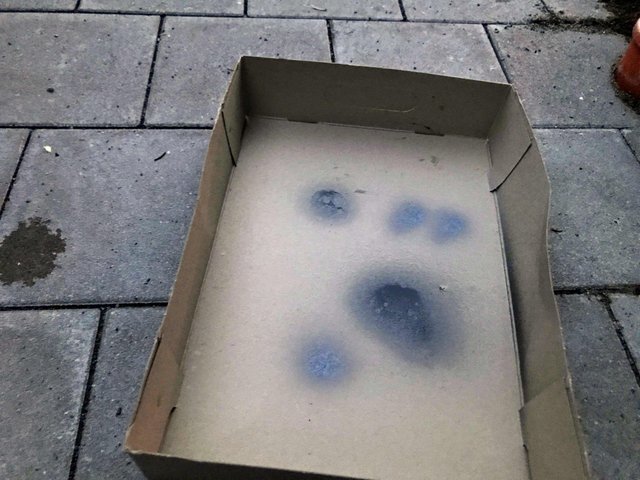
Now on to it, apply a few thin layers of evenly sprayed paint on the surface.
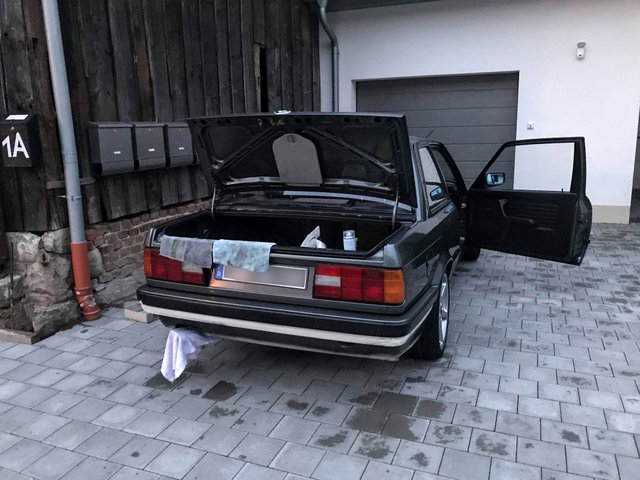
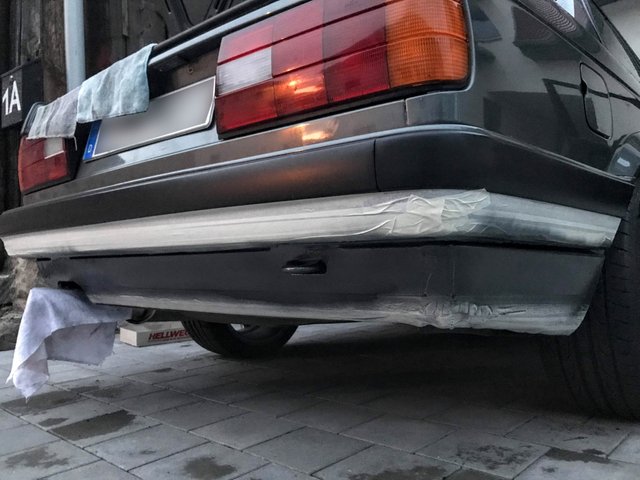
Don't worry if you see drops of paint here and there but watch out to not apply too thick a body of paint. Just cover the entire area once and let it sit for around 25 minutes. If you want to apply clear coat onto it you need to do it 30 minutes later at most.
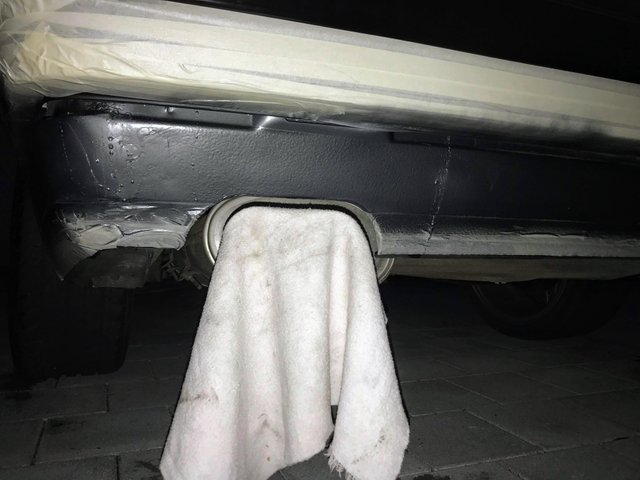
As you can see I put a cloth over the exhaust tips so they don't turn out 'dolphin colored'.
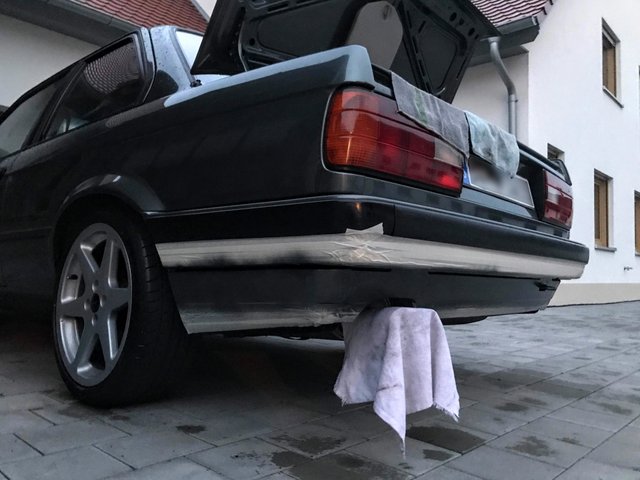
On to the clear coat then, which I did in the dark but as we'll see it turned out alright.
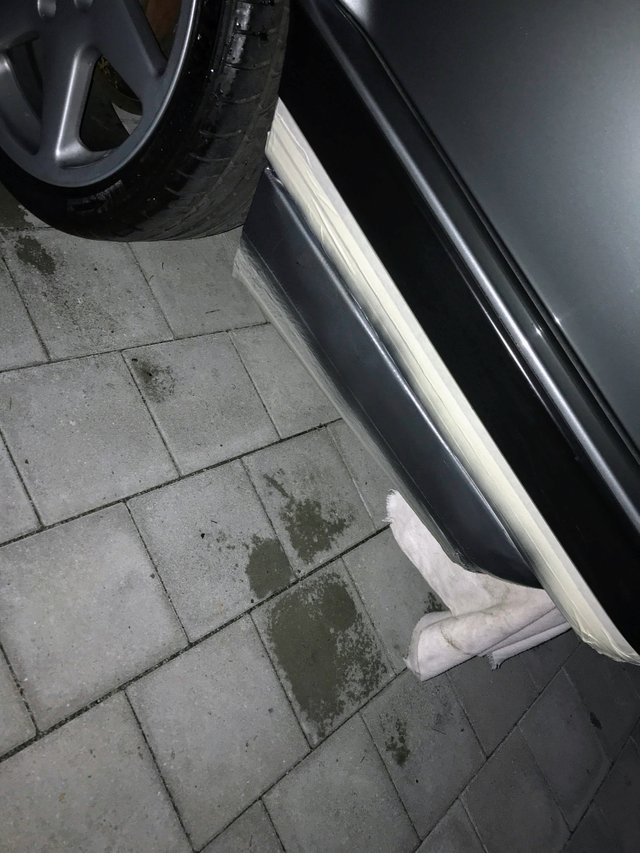
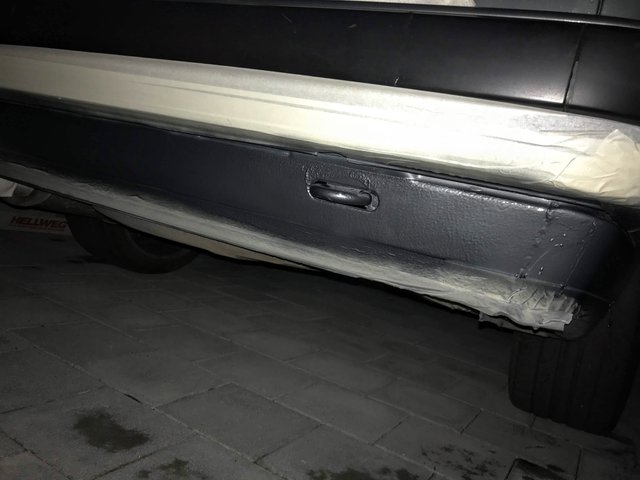
As you can see I did not sand down the surface and did not apply any of the rocker guard. The whole car will get a paintjob some time soon so for now I just wanted the area covered with paint and have it look good from a distance plus get some protection from weather and road residue. Also the rocker guard I had was very rough and grainy and looked nothing like the one applied from the factory so I figured what the hell.
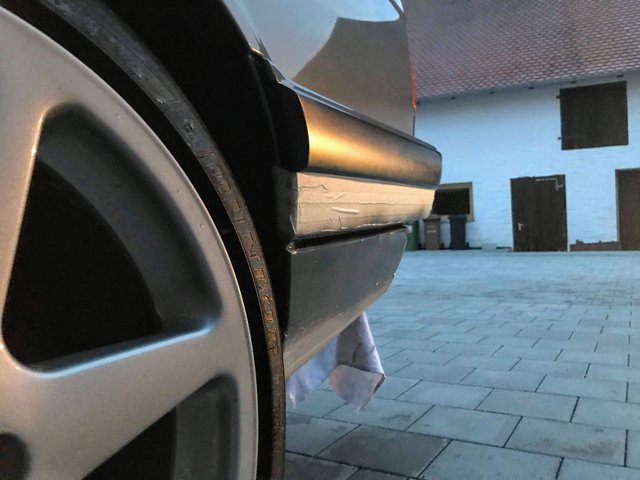
Now you need to be patient and wait 12 hours at least. The paint is solid 2 hours after applying the clear coat but only final after a full 24 hours. So best let it sit or be very careful with your driving.
The Result
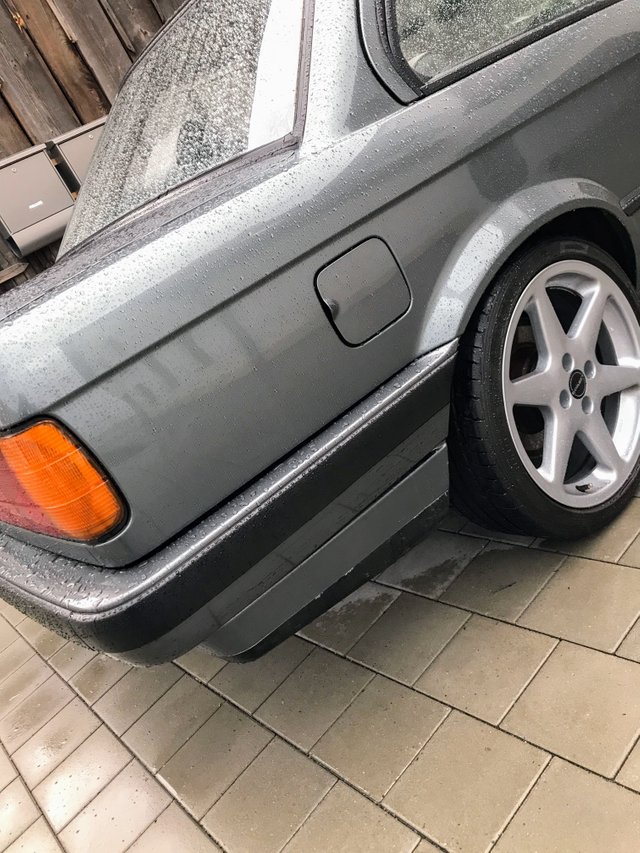
Here we go then, the white residue you see is some primer. I'll paint the lower half black soon but for now the important thing is that there is a straight and clean line of paint which luckily was achieved by carefully taping off the lower area. The bumper also didn't catch any of the spray.


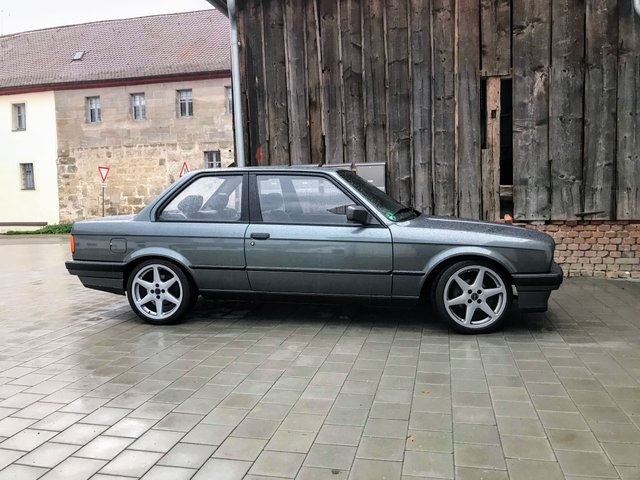
And a few days later...
Note the reflection and accurate tone of color in relation to the upper part of the rear body.
Now to make this factory finish you need to sand down and even out the surface before applying the primer and then apply a factory matching rocker guard as per BMW specs. Then spray the paint and clear coat in a dry and clean environment. For my requirements I'm happy with my amateur attempt :).
Steem on!
Nice job, DIY body work is the best way to go.
Downvoting a post can decrease pending rewards and make it less visible. Common reasons:
Submit
Join our Discord Channel to connect with us and nominate your own or somebody else's posts in our review channel.
Help us to reward you for making it ! Join our voting trail or delegate steem power to the community account.
Your post is also presented on the community website www.steemmakers.com where you can find other selected content.
If you like our work, please consider upvoting this comment to support the growth of our community. Thank you.
Downvoting a post can decrease pending rewards and make it less visible. Common reasons:
Submit