Habedere,
sorry for the delay, again.
Yesterday was a public holiday here in Germany and I forgot my usb-drive at work.
Shame on me.
If you missed the 14th part (Mounting); here it is:
Project: Casemod - Hardware@Wall - Mounting the components
The water loop was finished and I couldn't wait any longer.
I had to fill the system.
I bought some DI water and filled the loop with a funnel on the reservoir.
I didn't take care on the sealing of the reservoir. It was untight and the whole water flowed out.
So I had to drain and dissembled everything, fixed the problem with the sealing on the reservoir and mounted everything back.
After that I wired the pump and filled slowly the whole system.
There were no other leaks even after a full run thru the night.
Everything seems to be tight.
To clear the system from foreign objects and all that other garbage I flushed the system with 5l water.
Then I refilled new Di water and colored it with some products from mayhems.
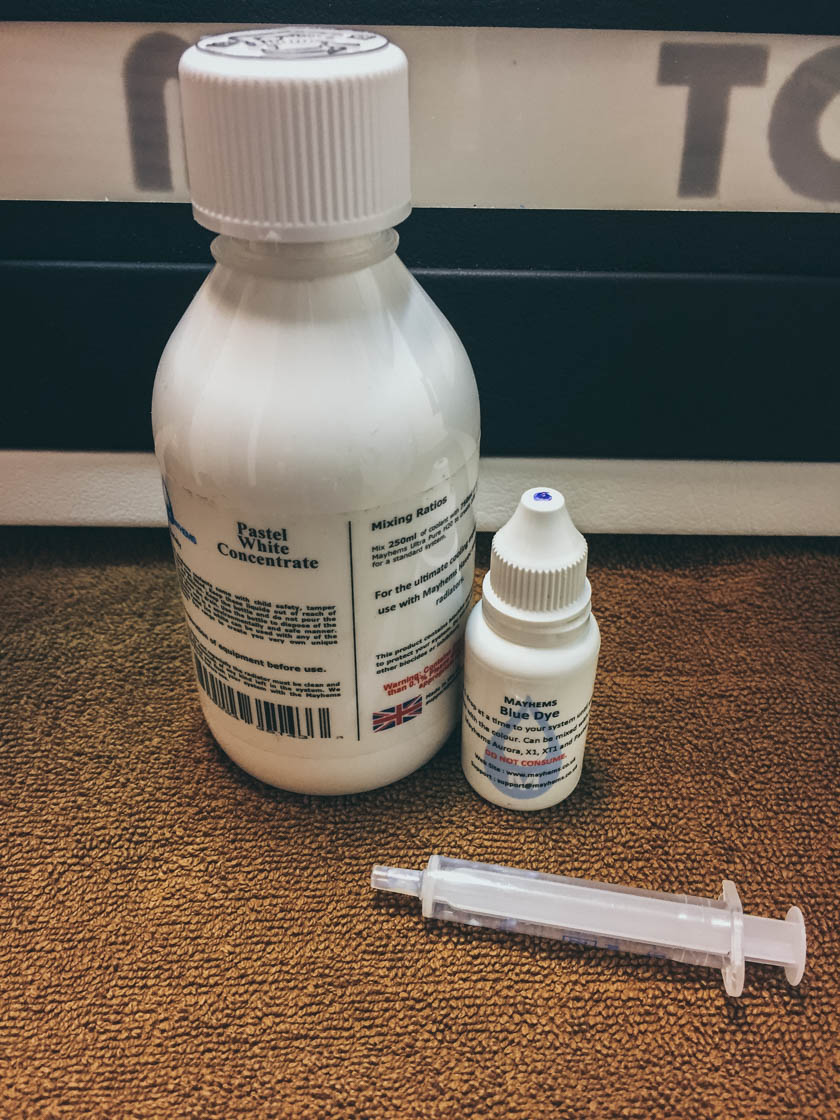
I did this really slow over days to find the right color.
The color should fit to the sleeves and to the fans.
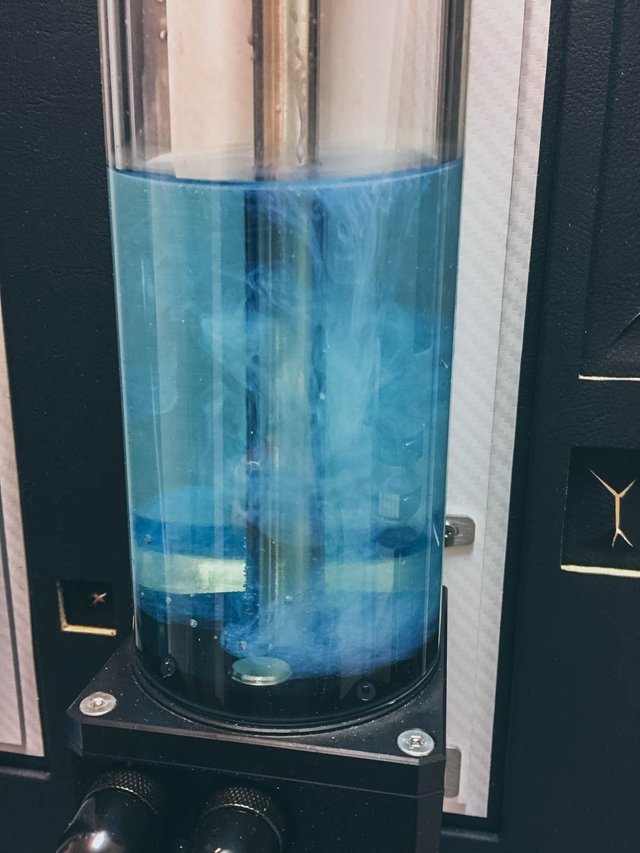
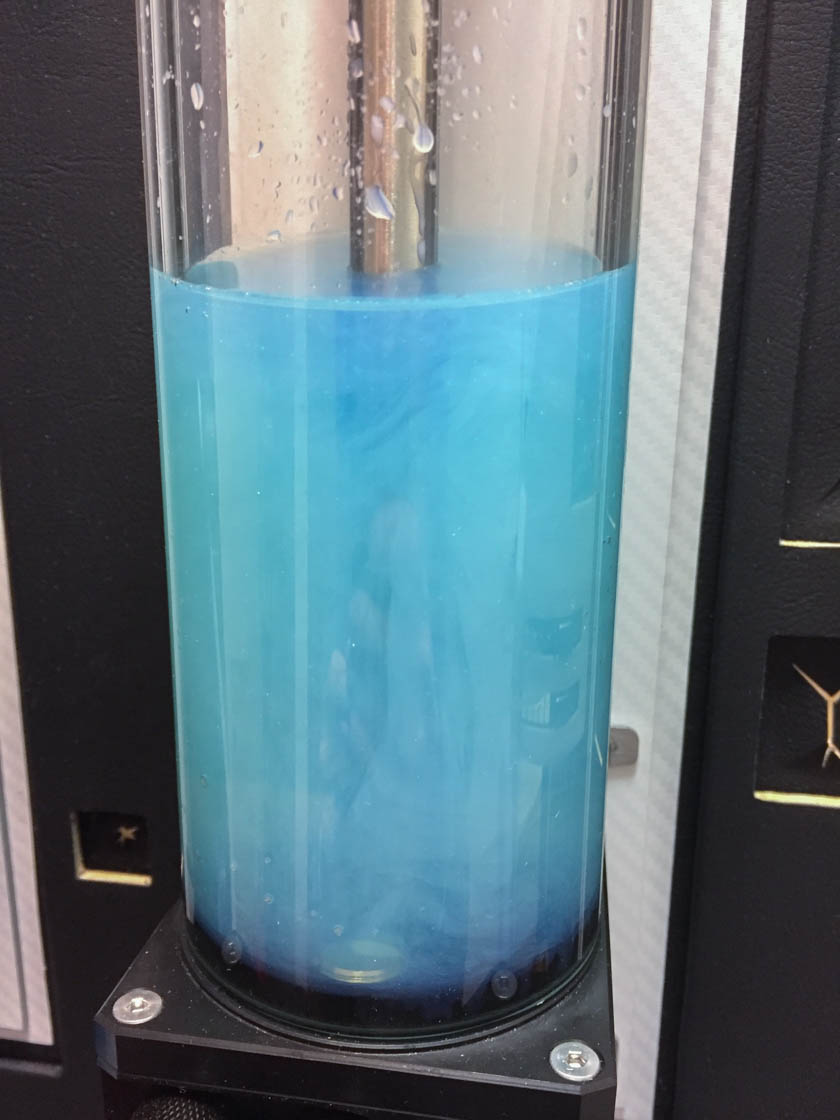
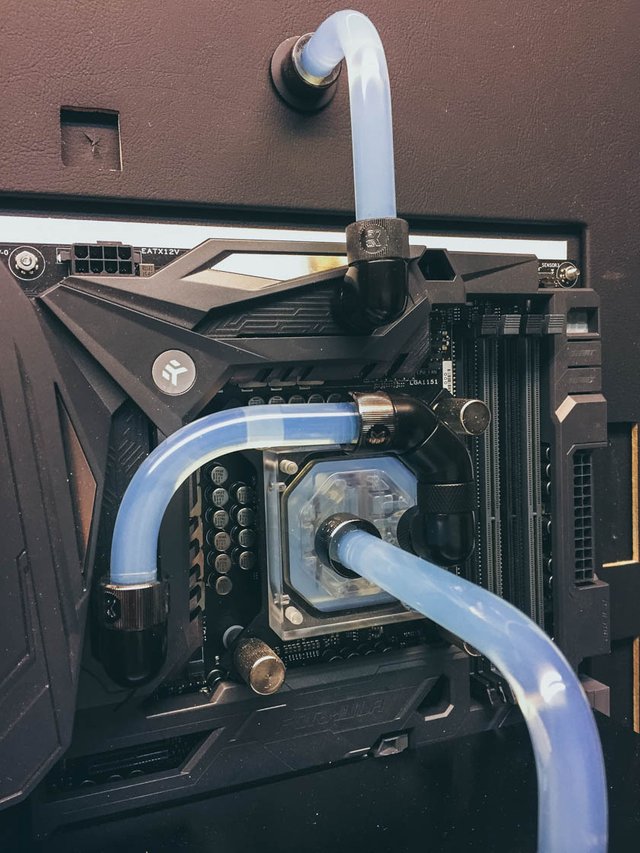
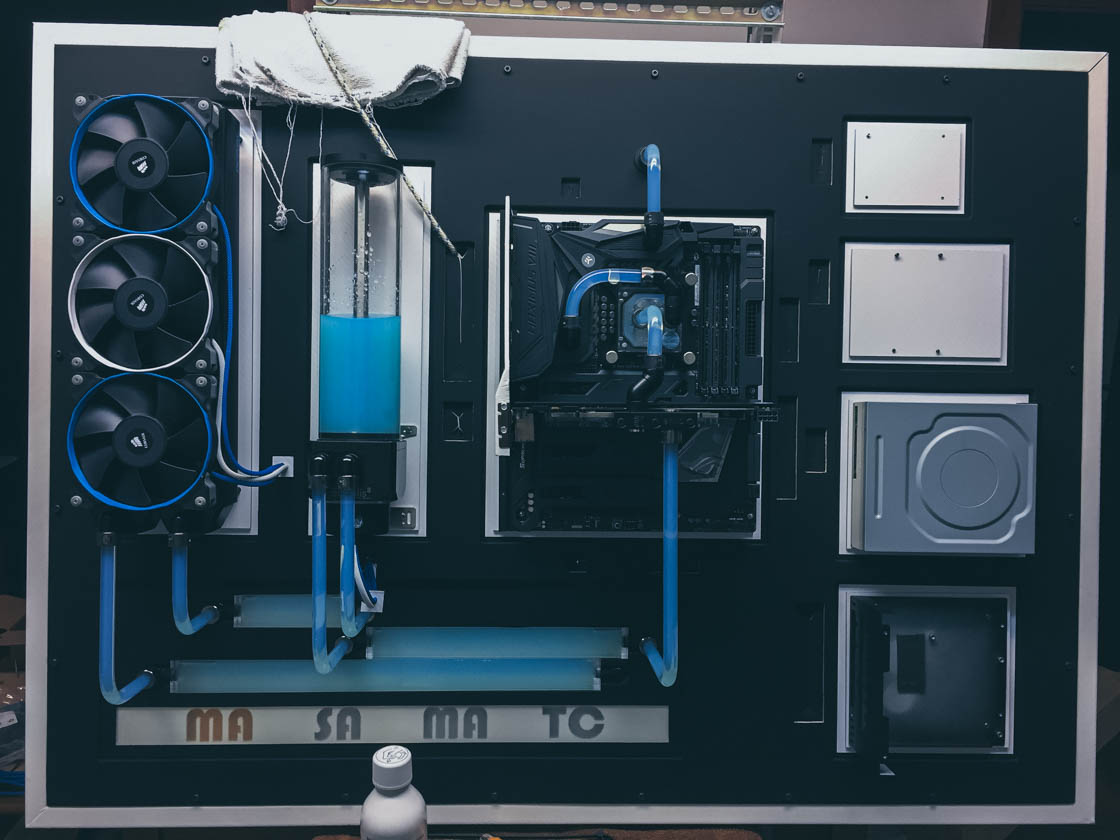

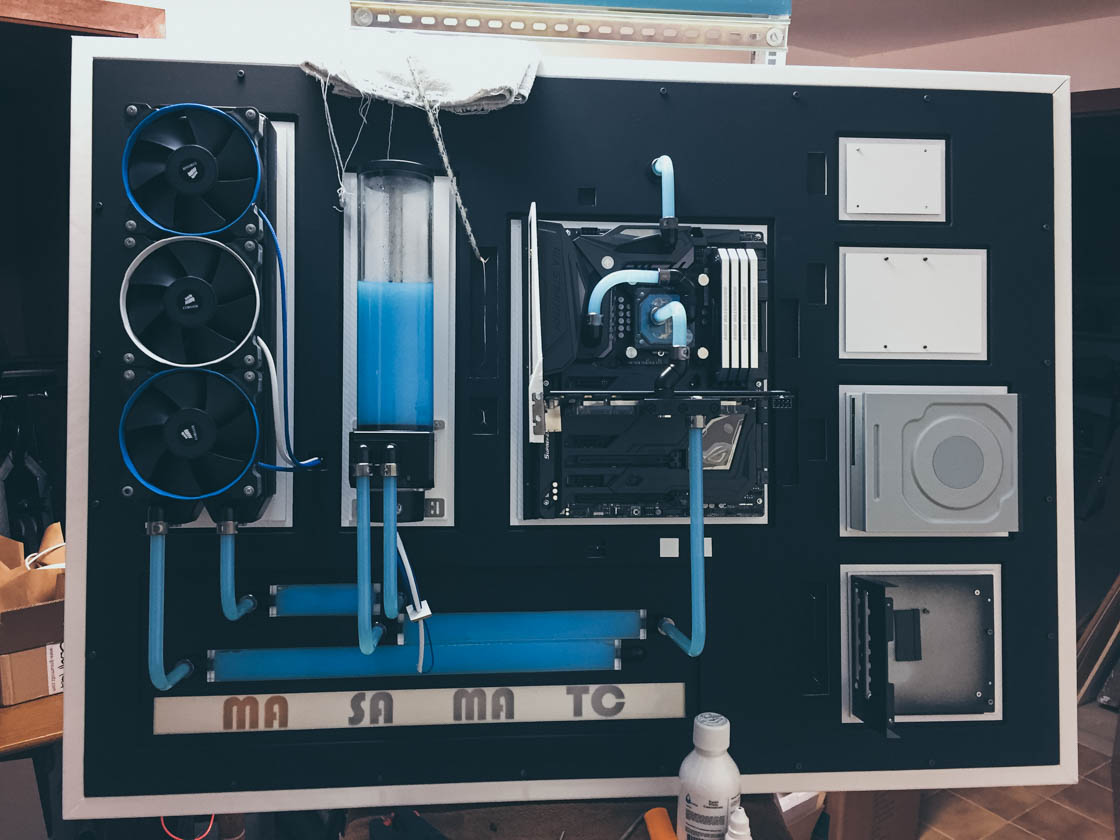
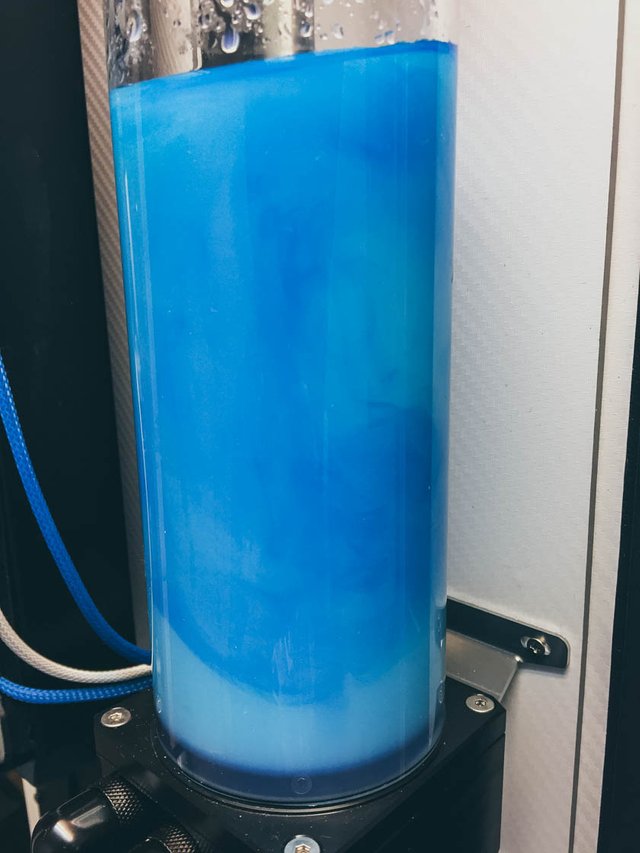
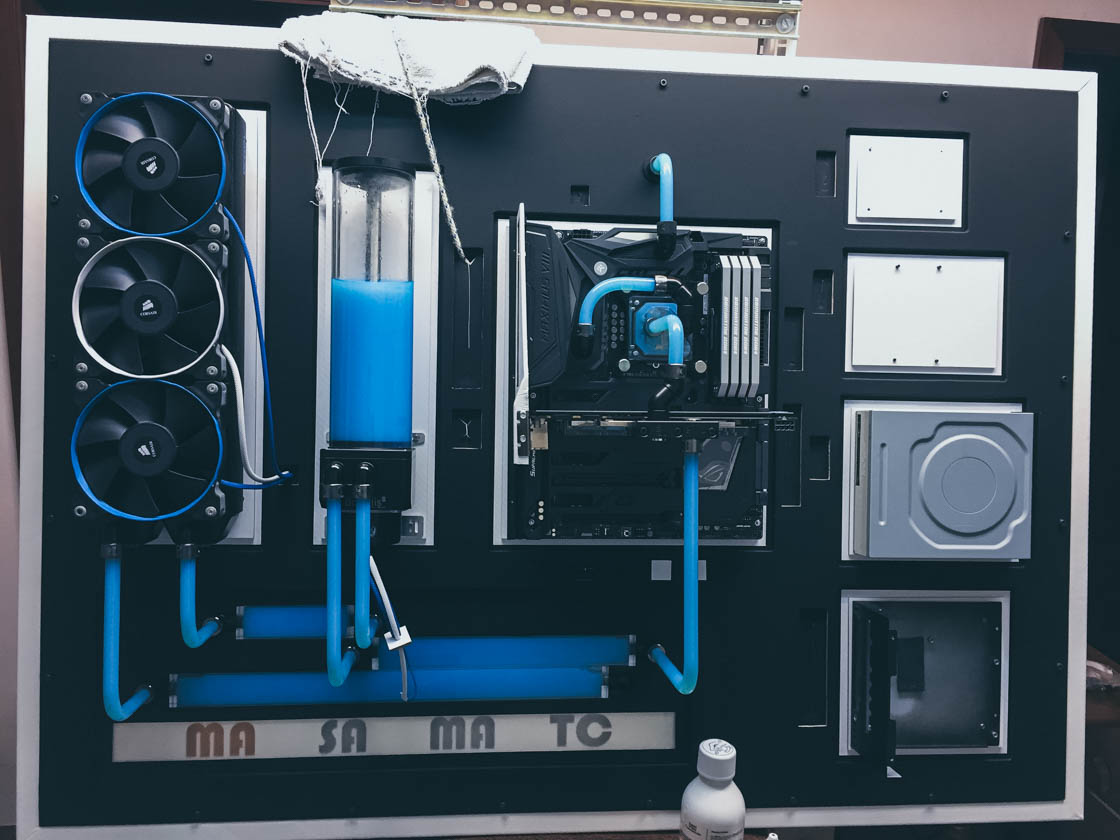
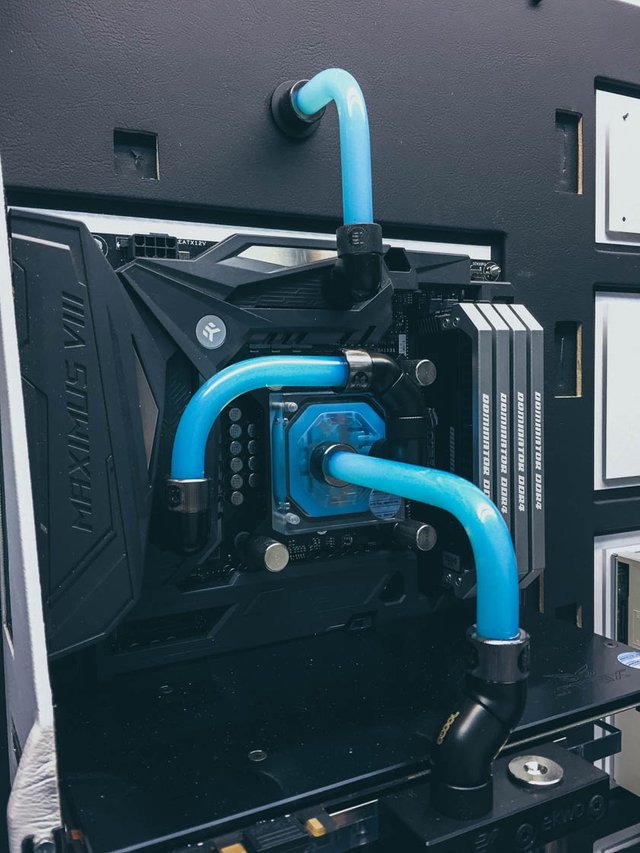
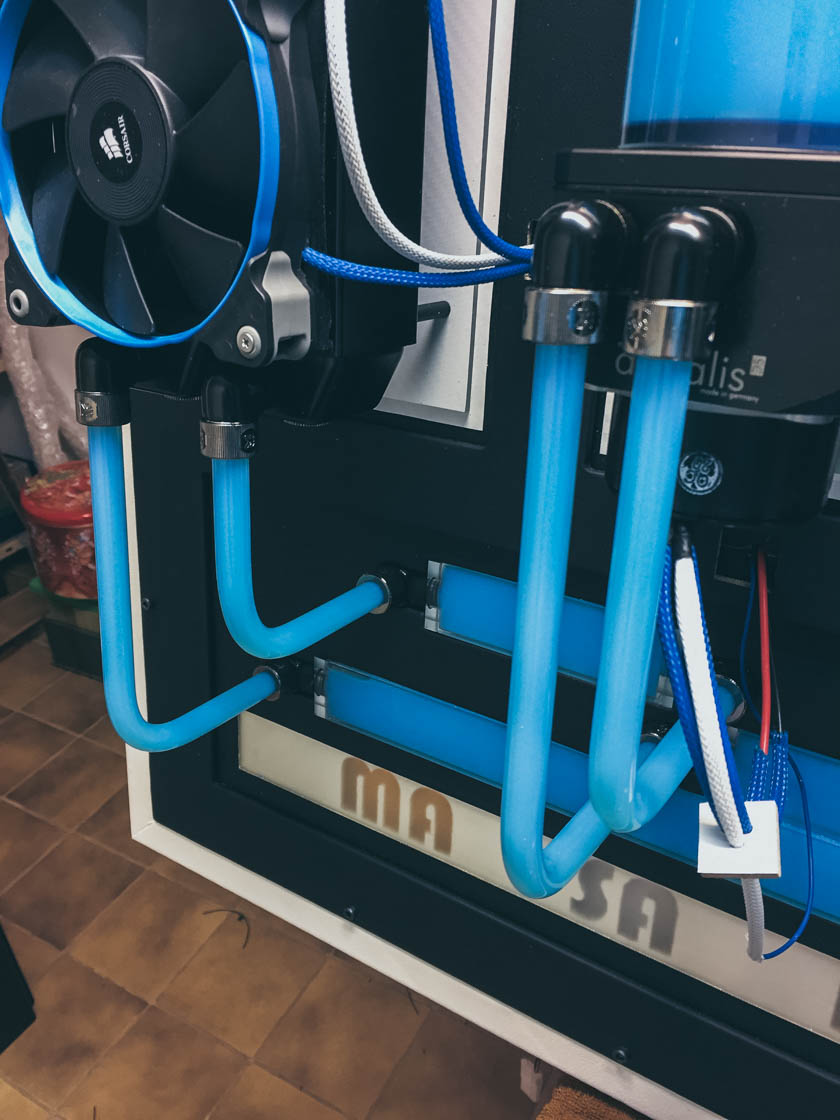
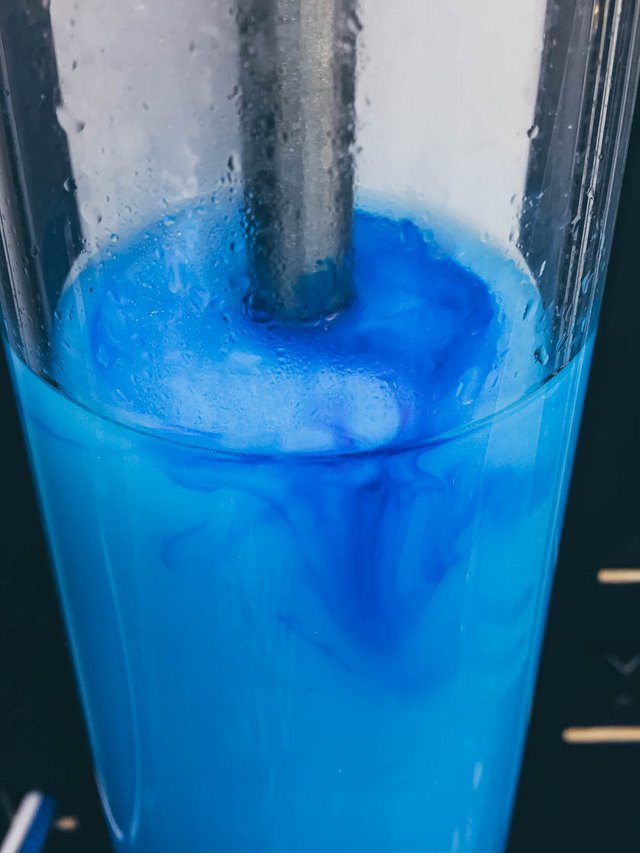
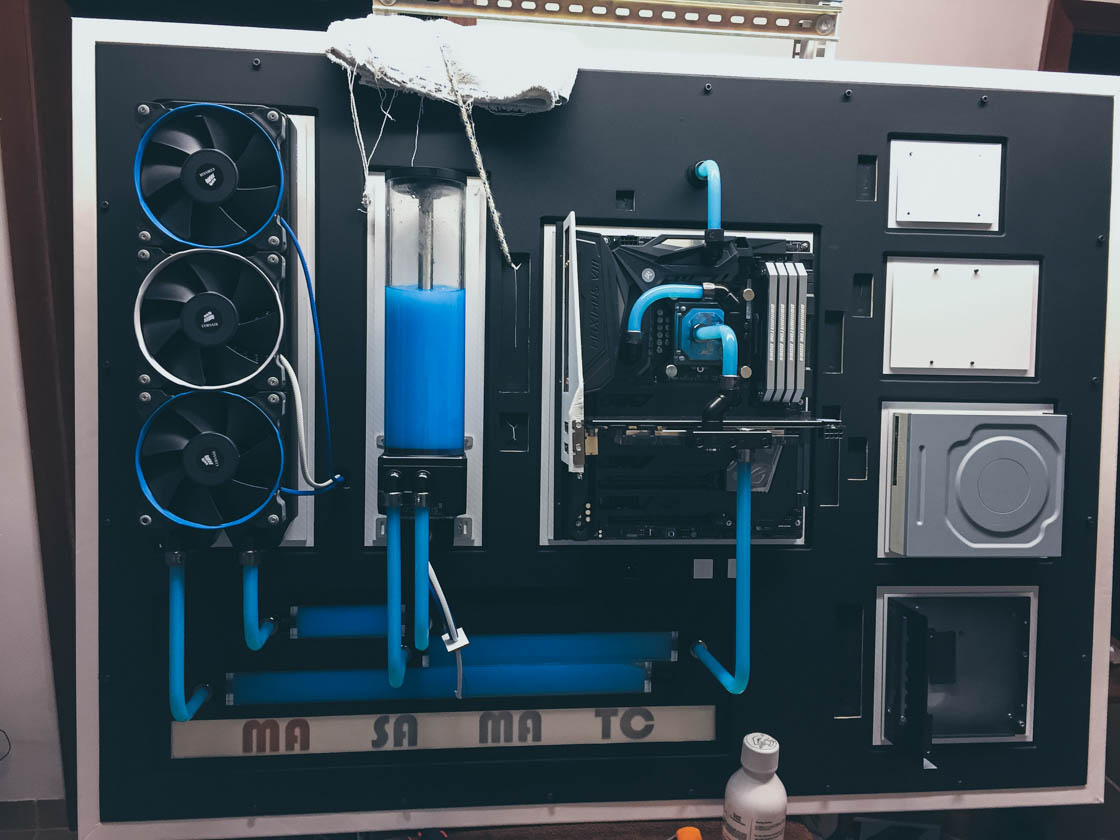
It's going to the right direction, but it has to be darker.
In the meantime I moved on with the sleeving.
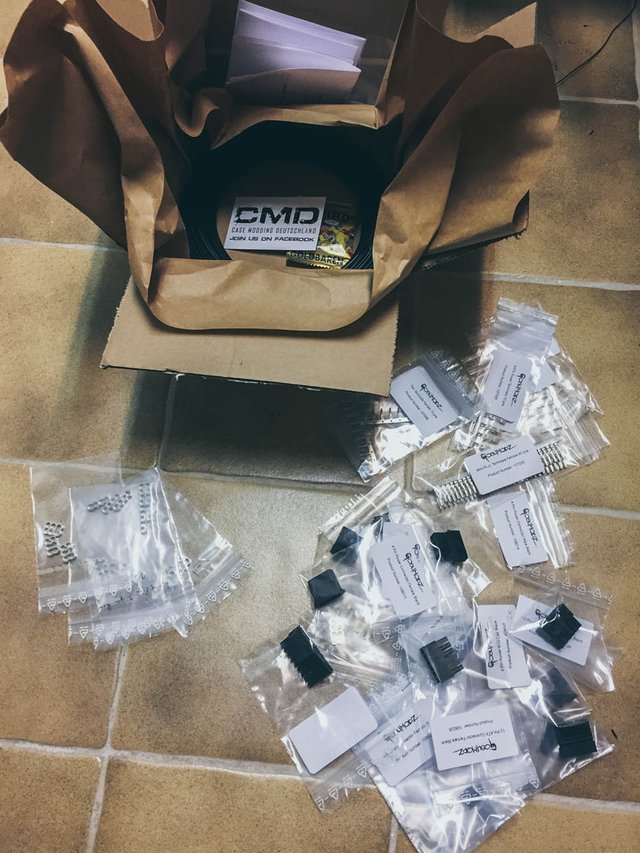
Here you can see my setup and the components that I’m using.
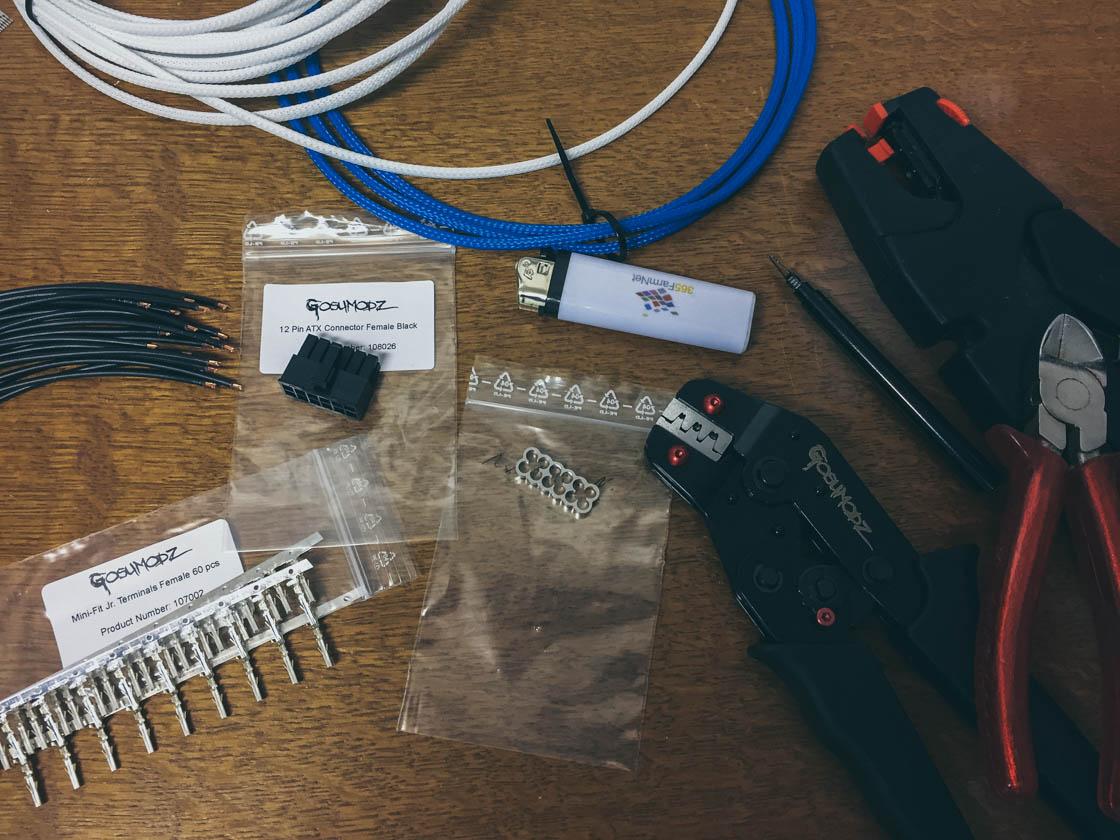
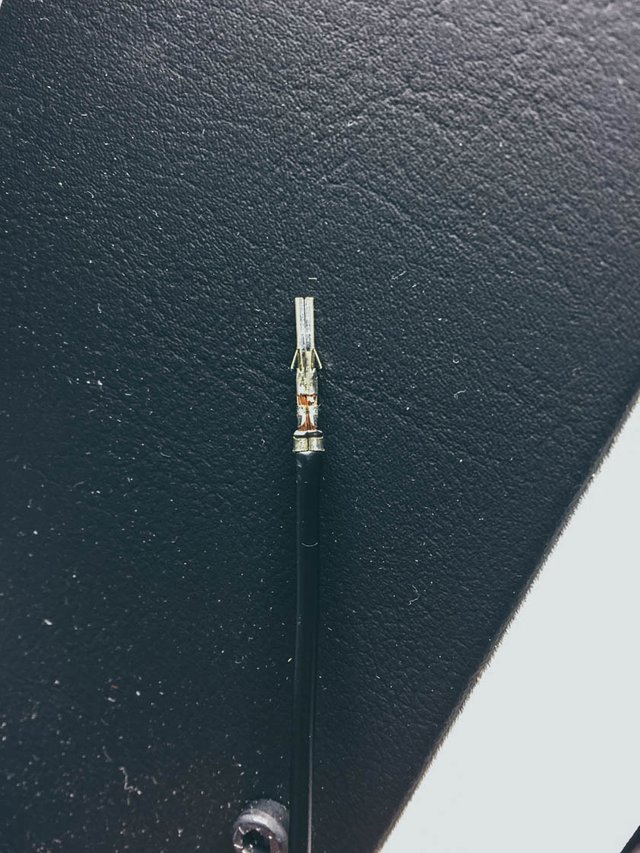
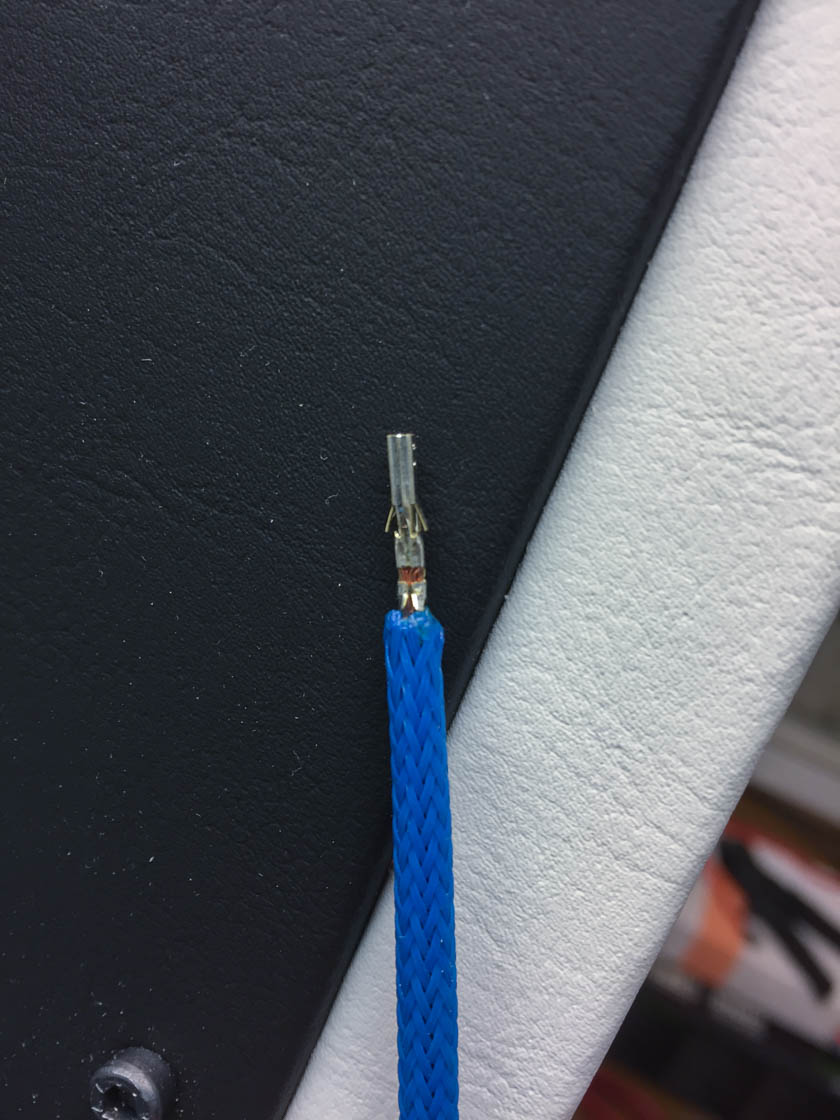
I created the sleeves without a heat shrink.
To do that I used a lighter and melted the sleeve to the wire.
Maybe not state of the art, but it worked.
To structure the wires I used "Alliance Combs Closed Natural" from gosumodz.
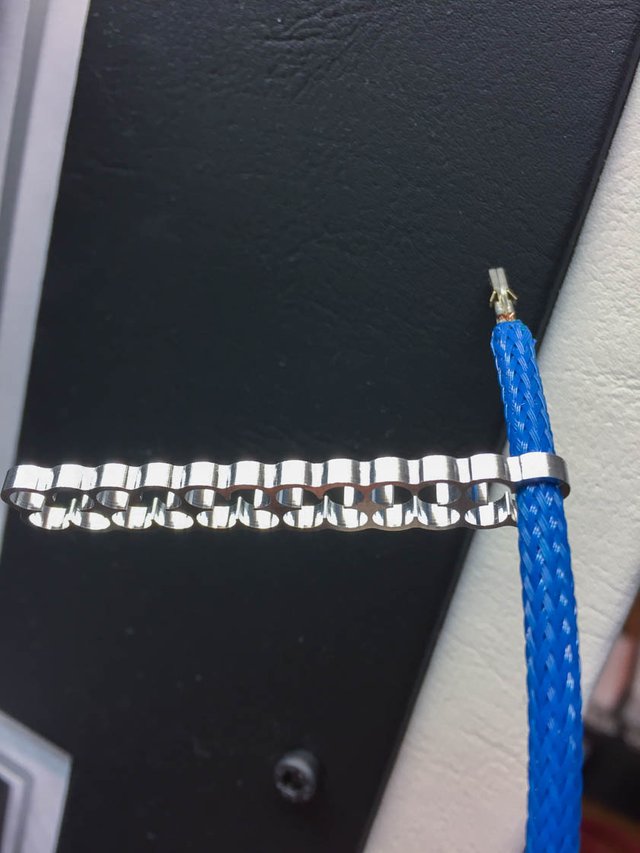
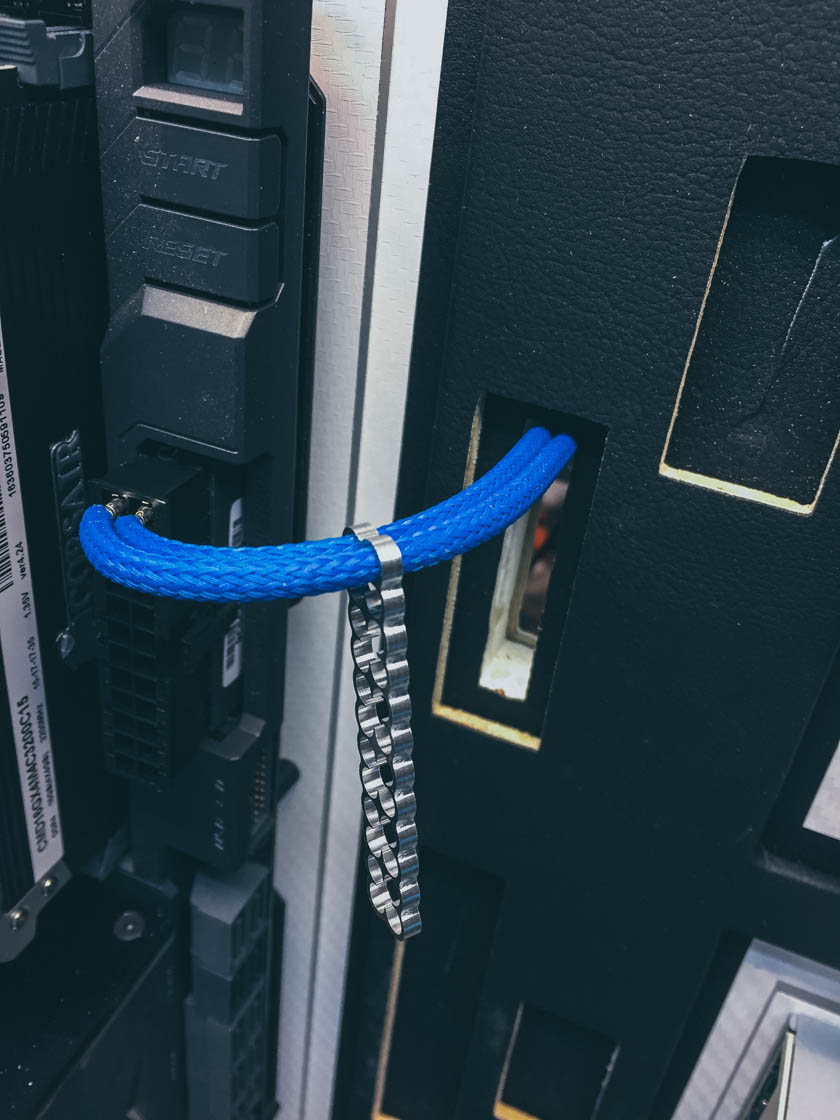
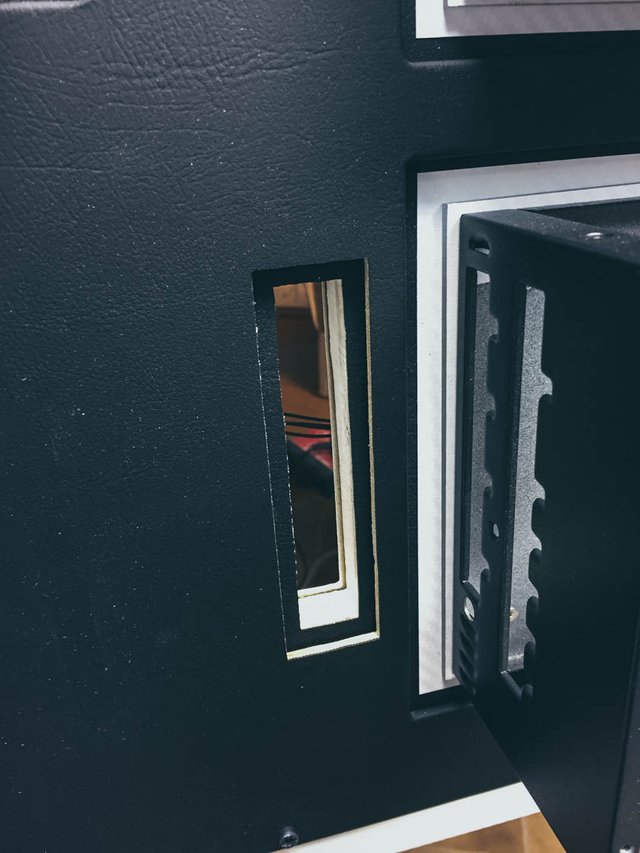
In that area where the wires will go to the backside I created the covers.
Here an example.
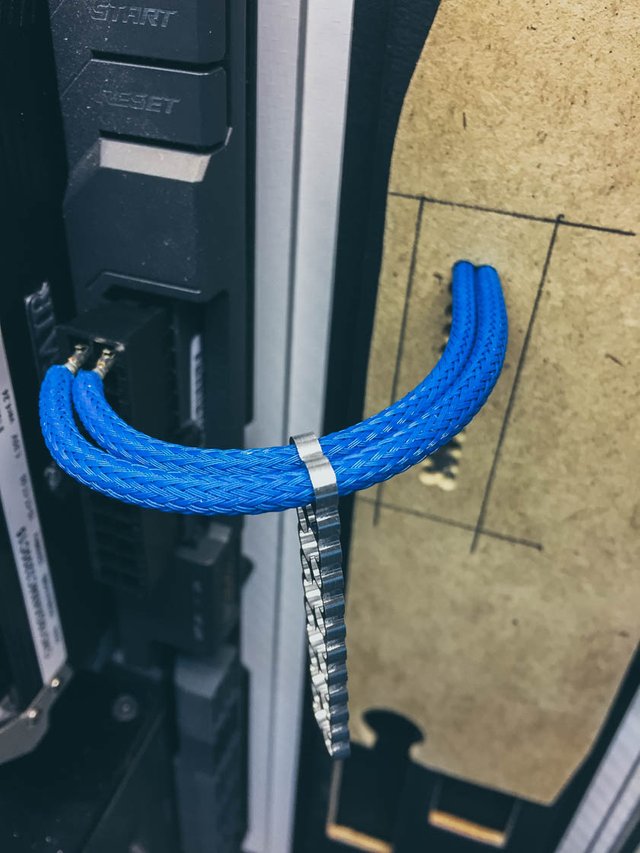
This is how it looks for the 24pol cable.
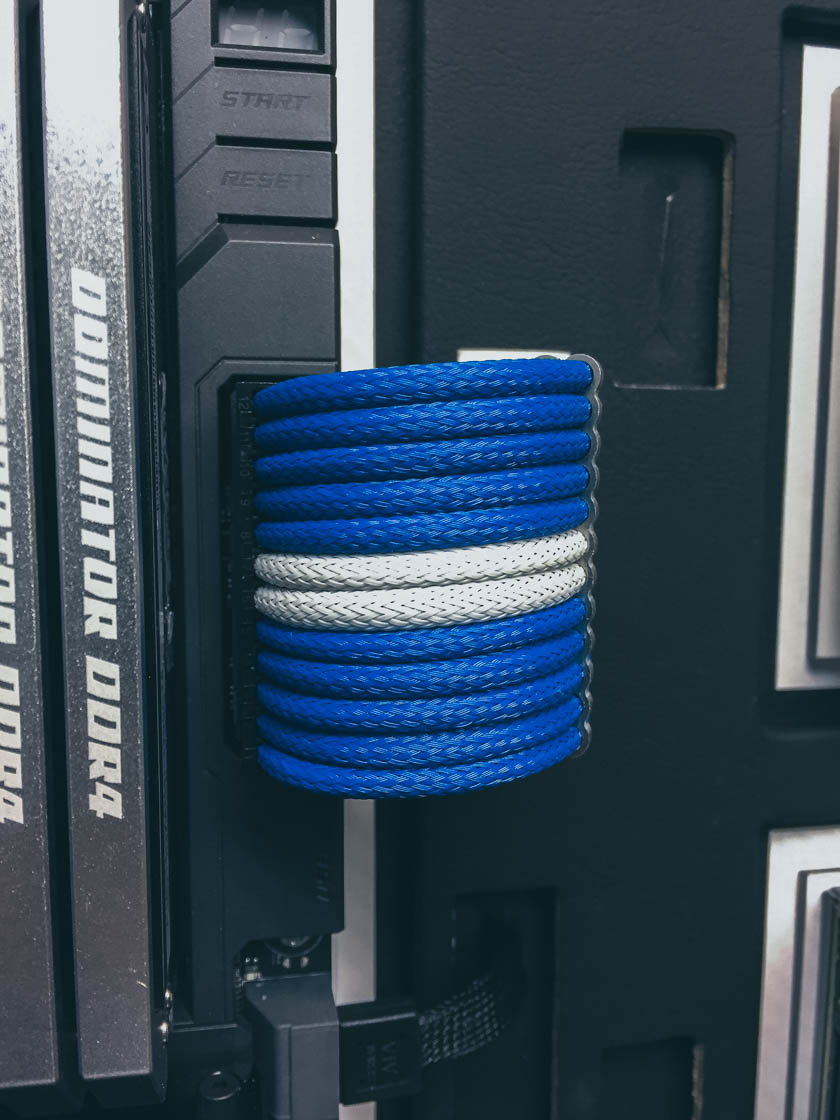
Not so tricky.
But the masterpiece would be the cover for the PSU.
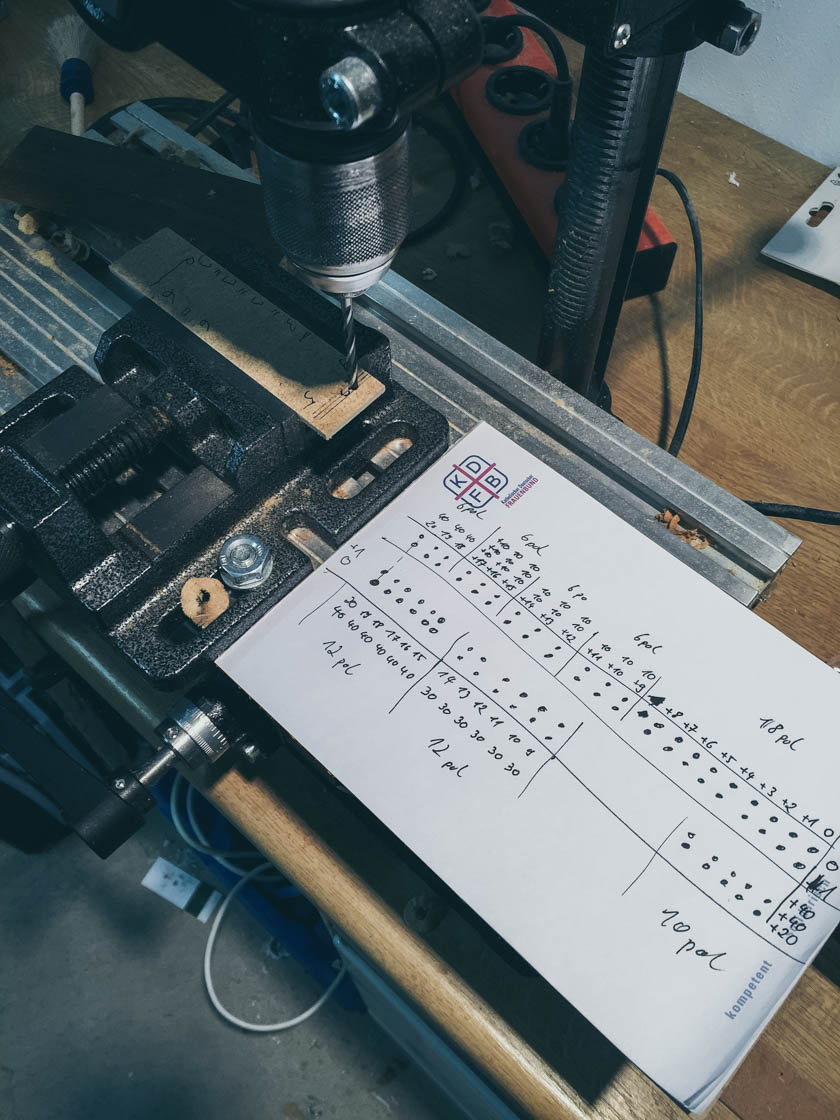
It is a huge cover with 76 holes.
I used a drill press and a "great technical document" :) for that
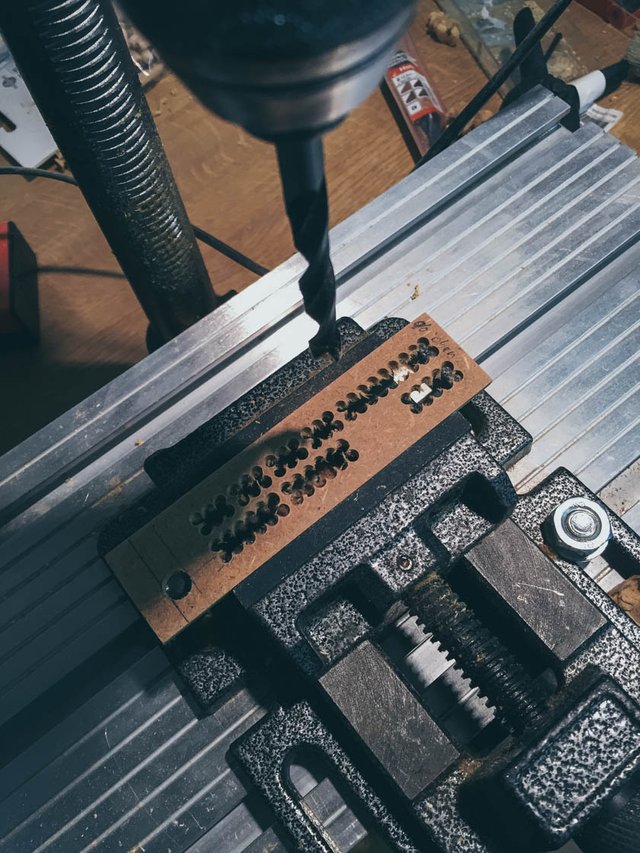
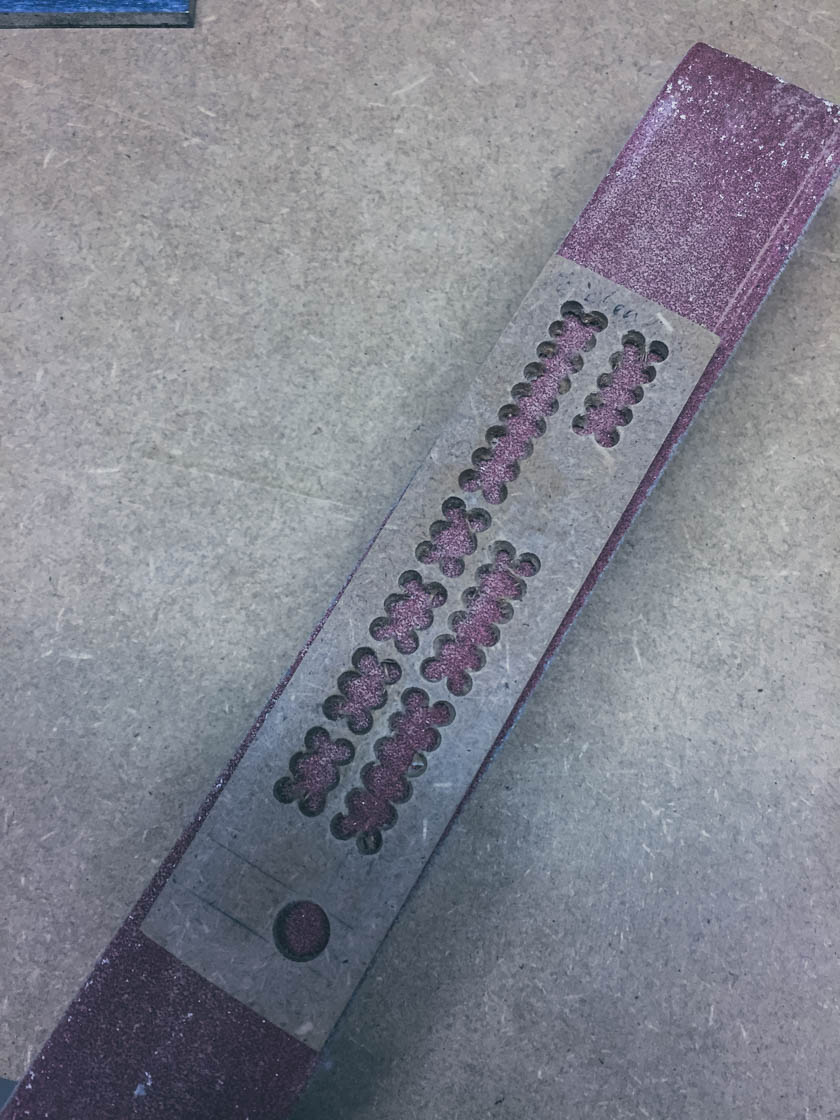
After that I applied a carbon foil and sleeved all wires.
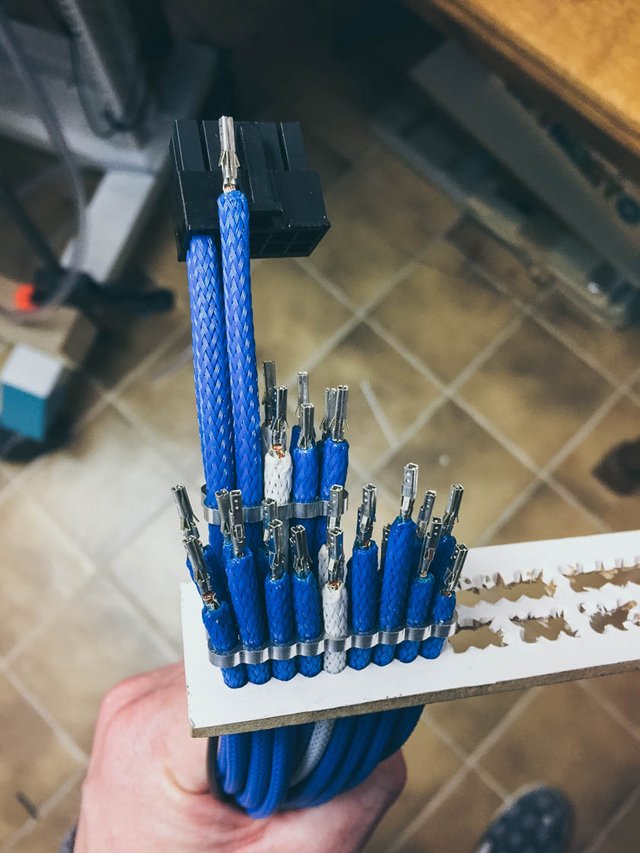
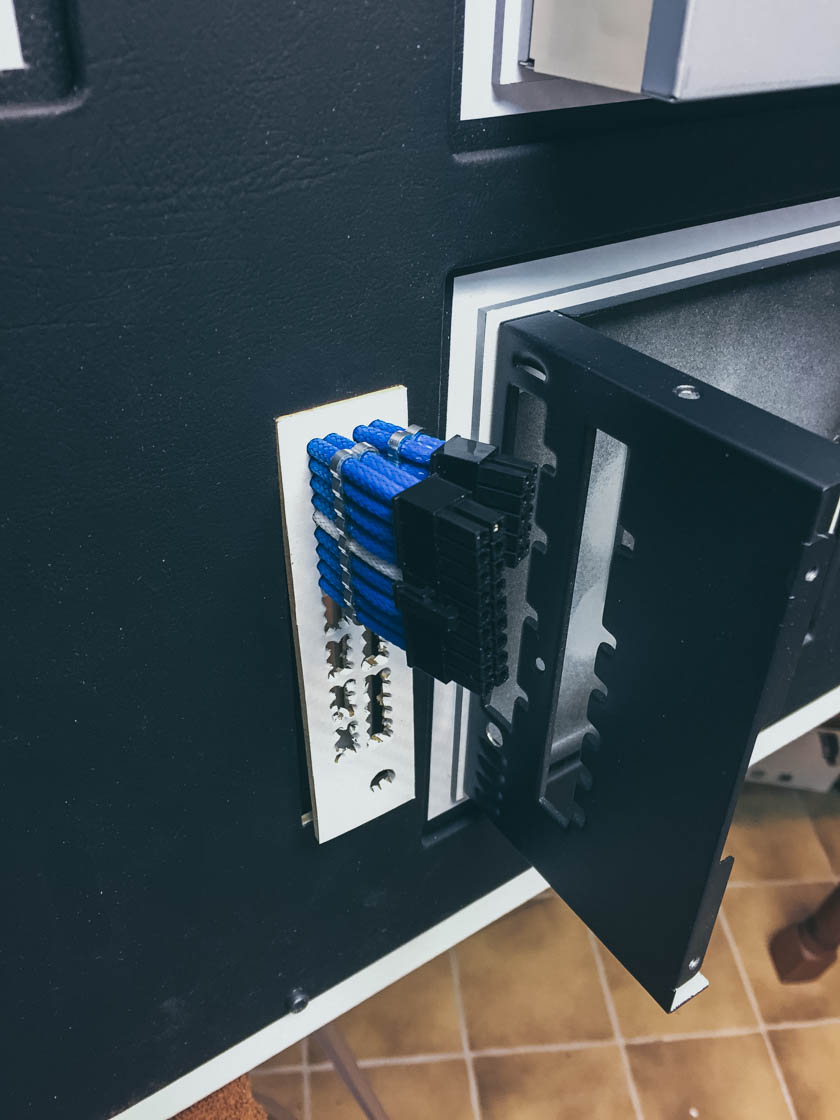
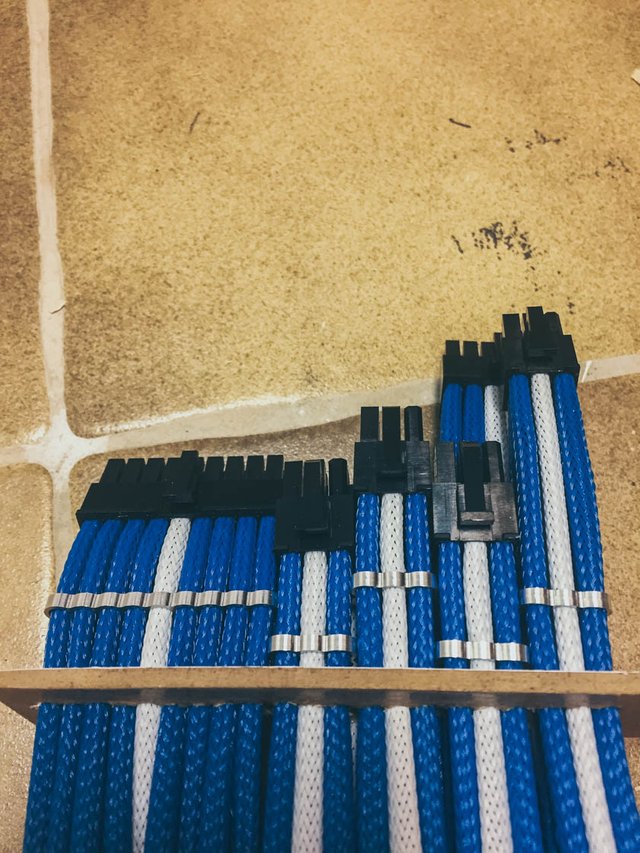
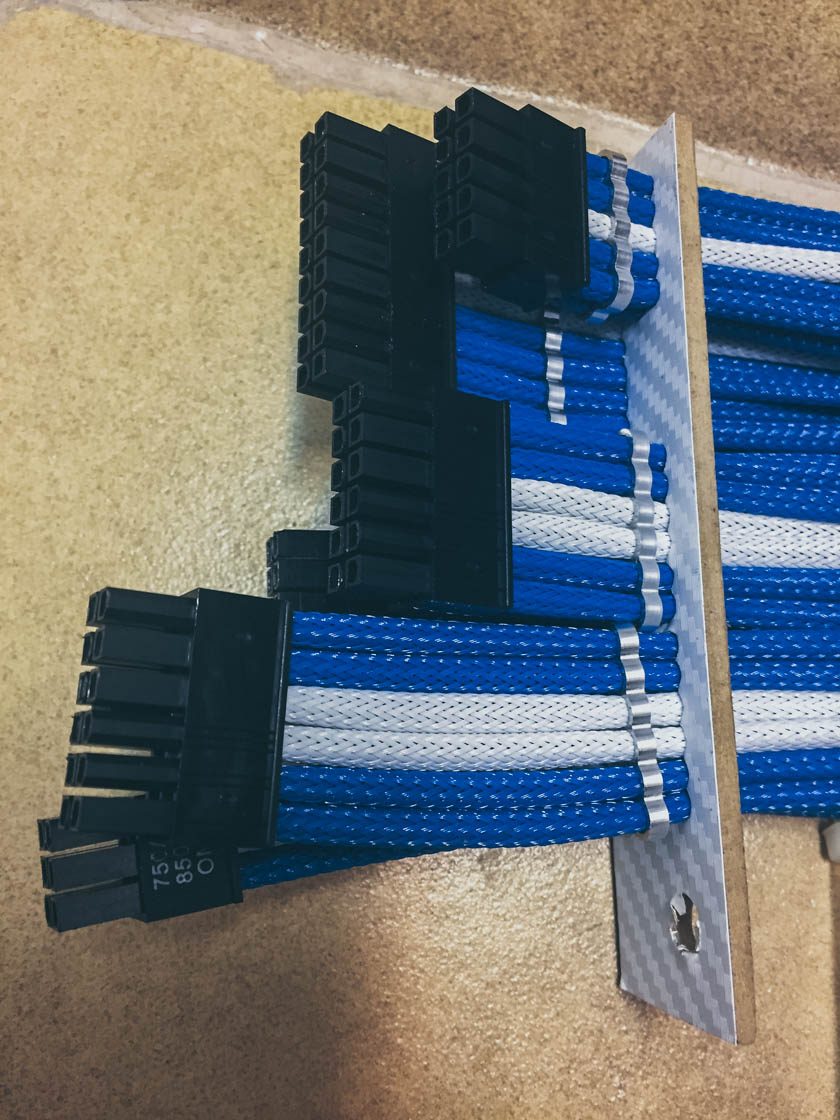
The big hole on the cover is the power supply for the psu.
To make this possible I had to modify my psu.
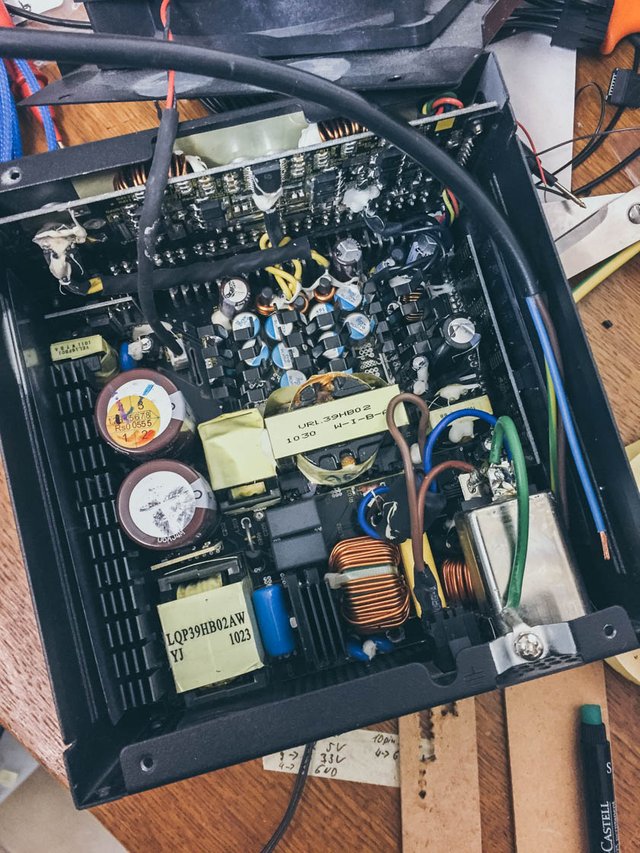
What's next?
More sleeving work.
Servus and cu next time.

Wahnsinn.... während ich überlege wie ich meinen Rechner aktuell bissl flotter bekomme zauberst du hier sowas.. irre.
Für die Zukunft fände ich es ultra Edel wenn du noch ne Deutsche Version des Artikels raushaust, wenn es zu lang wird mach halt paar Tage später nen Extra Post draus ;) . Dann kann ich es auch leichter in der deutschsprachigen Community kuratieren :-)
Grüße, ich wisch mir erstmal fix den Sabber ausm Bart :D
~Benny
Downvoting a post can decrease pending rewards and make it less visible. Common reasons:
Submit
Hi,
danke.
Klar, kann ich gerne machen. Den finalen Stand werde ich den 2-sprachig posten.
Für das nächste Projekt kann ich das auch gerne probieren.
Schönes Wochenende.
Downvoting a post can decrease pending rewards and make it less visible. Common reasons:
Submit
Was hast du den für Erfahrungen mit EN/DE gemacht?
Du bist ja primär deutsch unterwegs, hast du ein Feedback für den englischen Teil/Bereich?
Danke.
Downvoting a post can decrease pending rewards and make it less visible. Common reasons:
Submit