Hello steemians, its a cool afternoon here and really glad to be on this great platform sharing my little ideas and knowledge with the community. Yea i know am a photographer....lol but you know what, i never told you guyz i did other things apart from photography,gaming or football. Etc.
So today i will be making a tutorial post on how to make a drivers shoe (loafers), so you guyz could make for yourself too..lol. And i hope that after going through this post, you would know how to make a loafers on your own, and with the right materials that is.
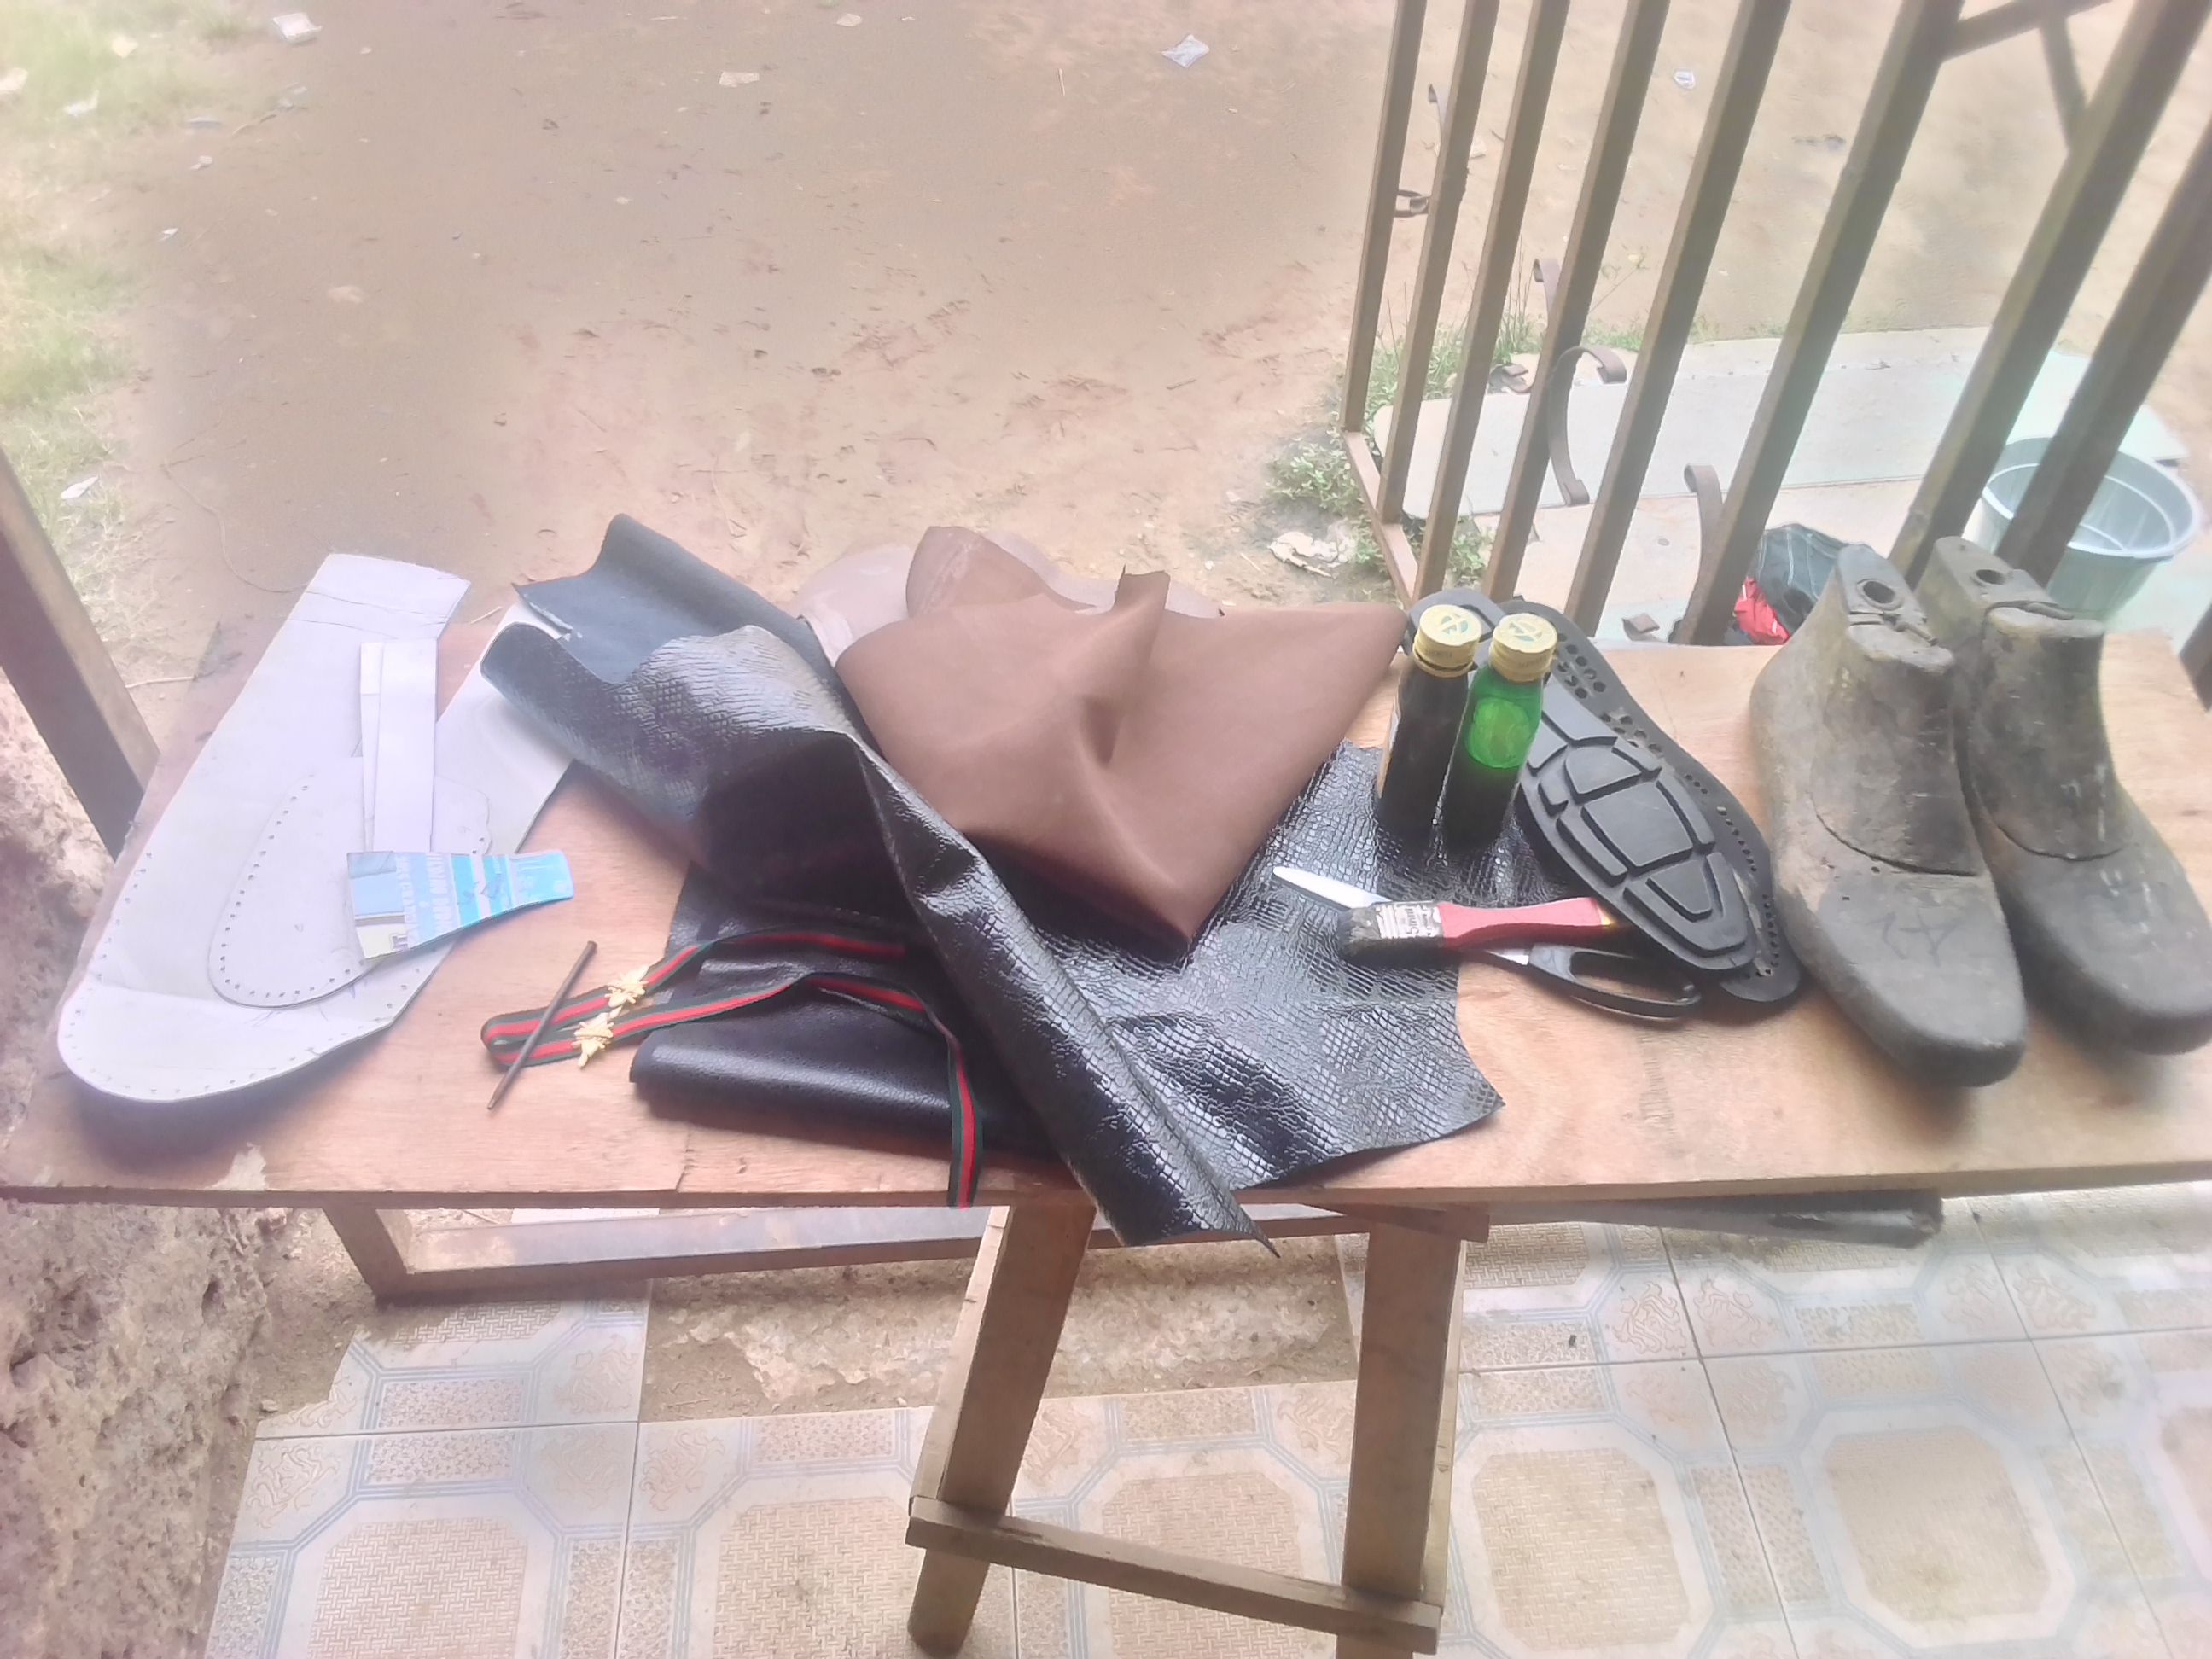
The above is a picture of the materials needed and listed below from the left hand side:
- Pattern: this is a cut out cardboard, giving the style of the shoe you are making.
- Punch: a nail like object for making holes (size 1)
- A gucci rope and a logo for design.
- Leather: for the body of the shoe. (Black)
- Lining: for supporting the leather (brown)
- Two bottles: containing gum.
- Scissors.
- Gum brush
- A sole (black)
- The last/mould: a feet-like structure giving the shape of the shoe.
- Sewing machine
- Filing machine
And also a needle and thread.
In this tutorial,i would be using the last/mould as the measurement
MEASUREMENT
The instrument for measurement is the mould/last: as stated earlier, this is a feet-like structure, and it fits perfectly for the intending user.
STEP-ONE
MARKING
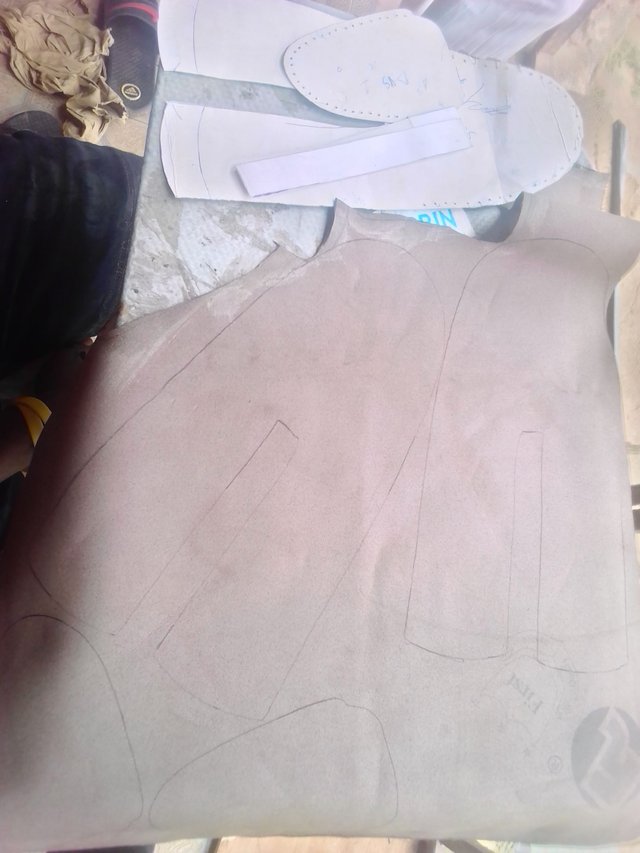
This is the process whereby you mark the cardboard pattern on the leather. And make sure to flip each side of the pattern to make each pattern a pair so you get the left and right. Each marked out shape would then be cut out with a scissors.
STEP-TWO
GUMING
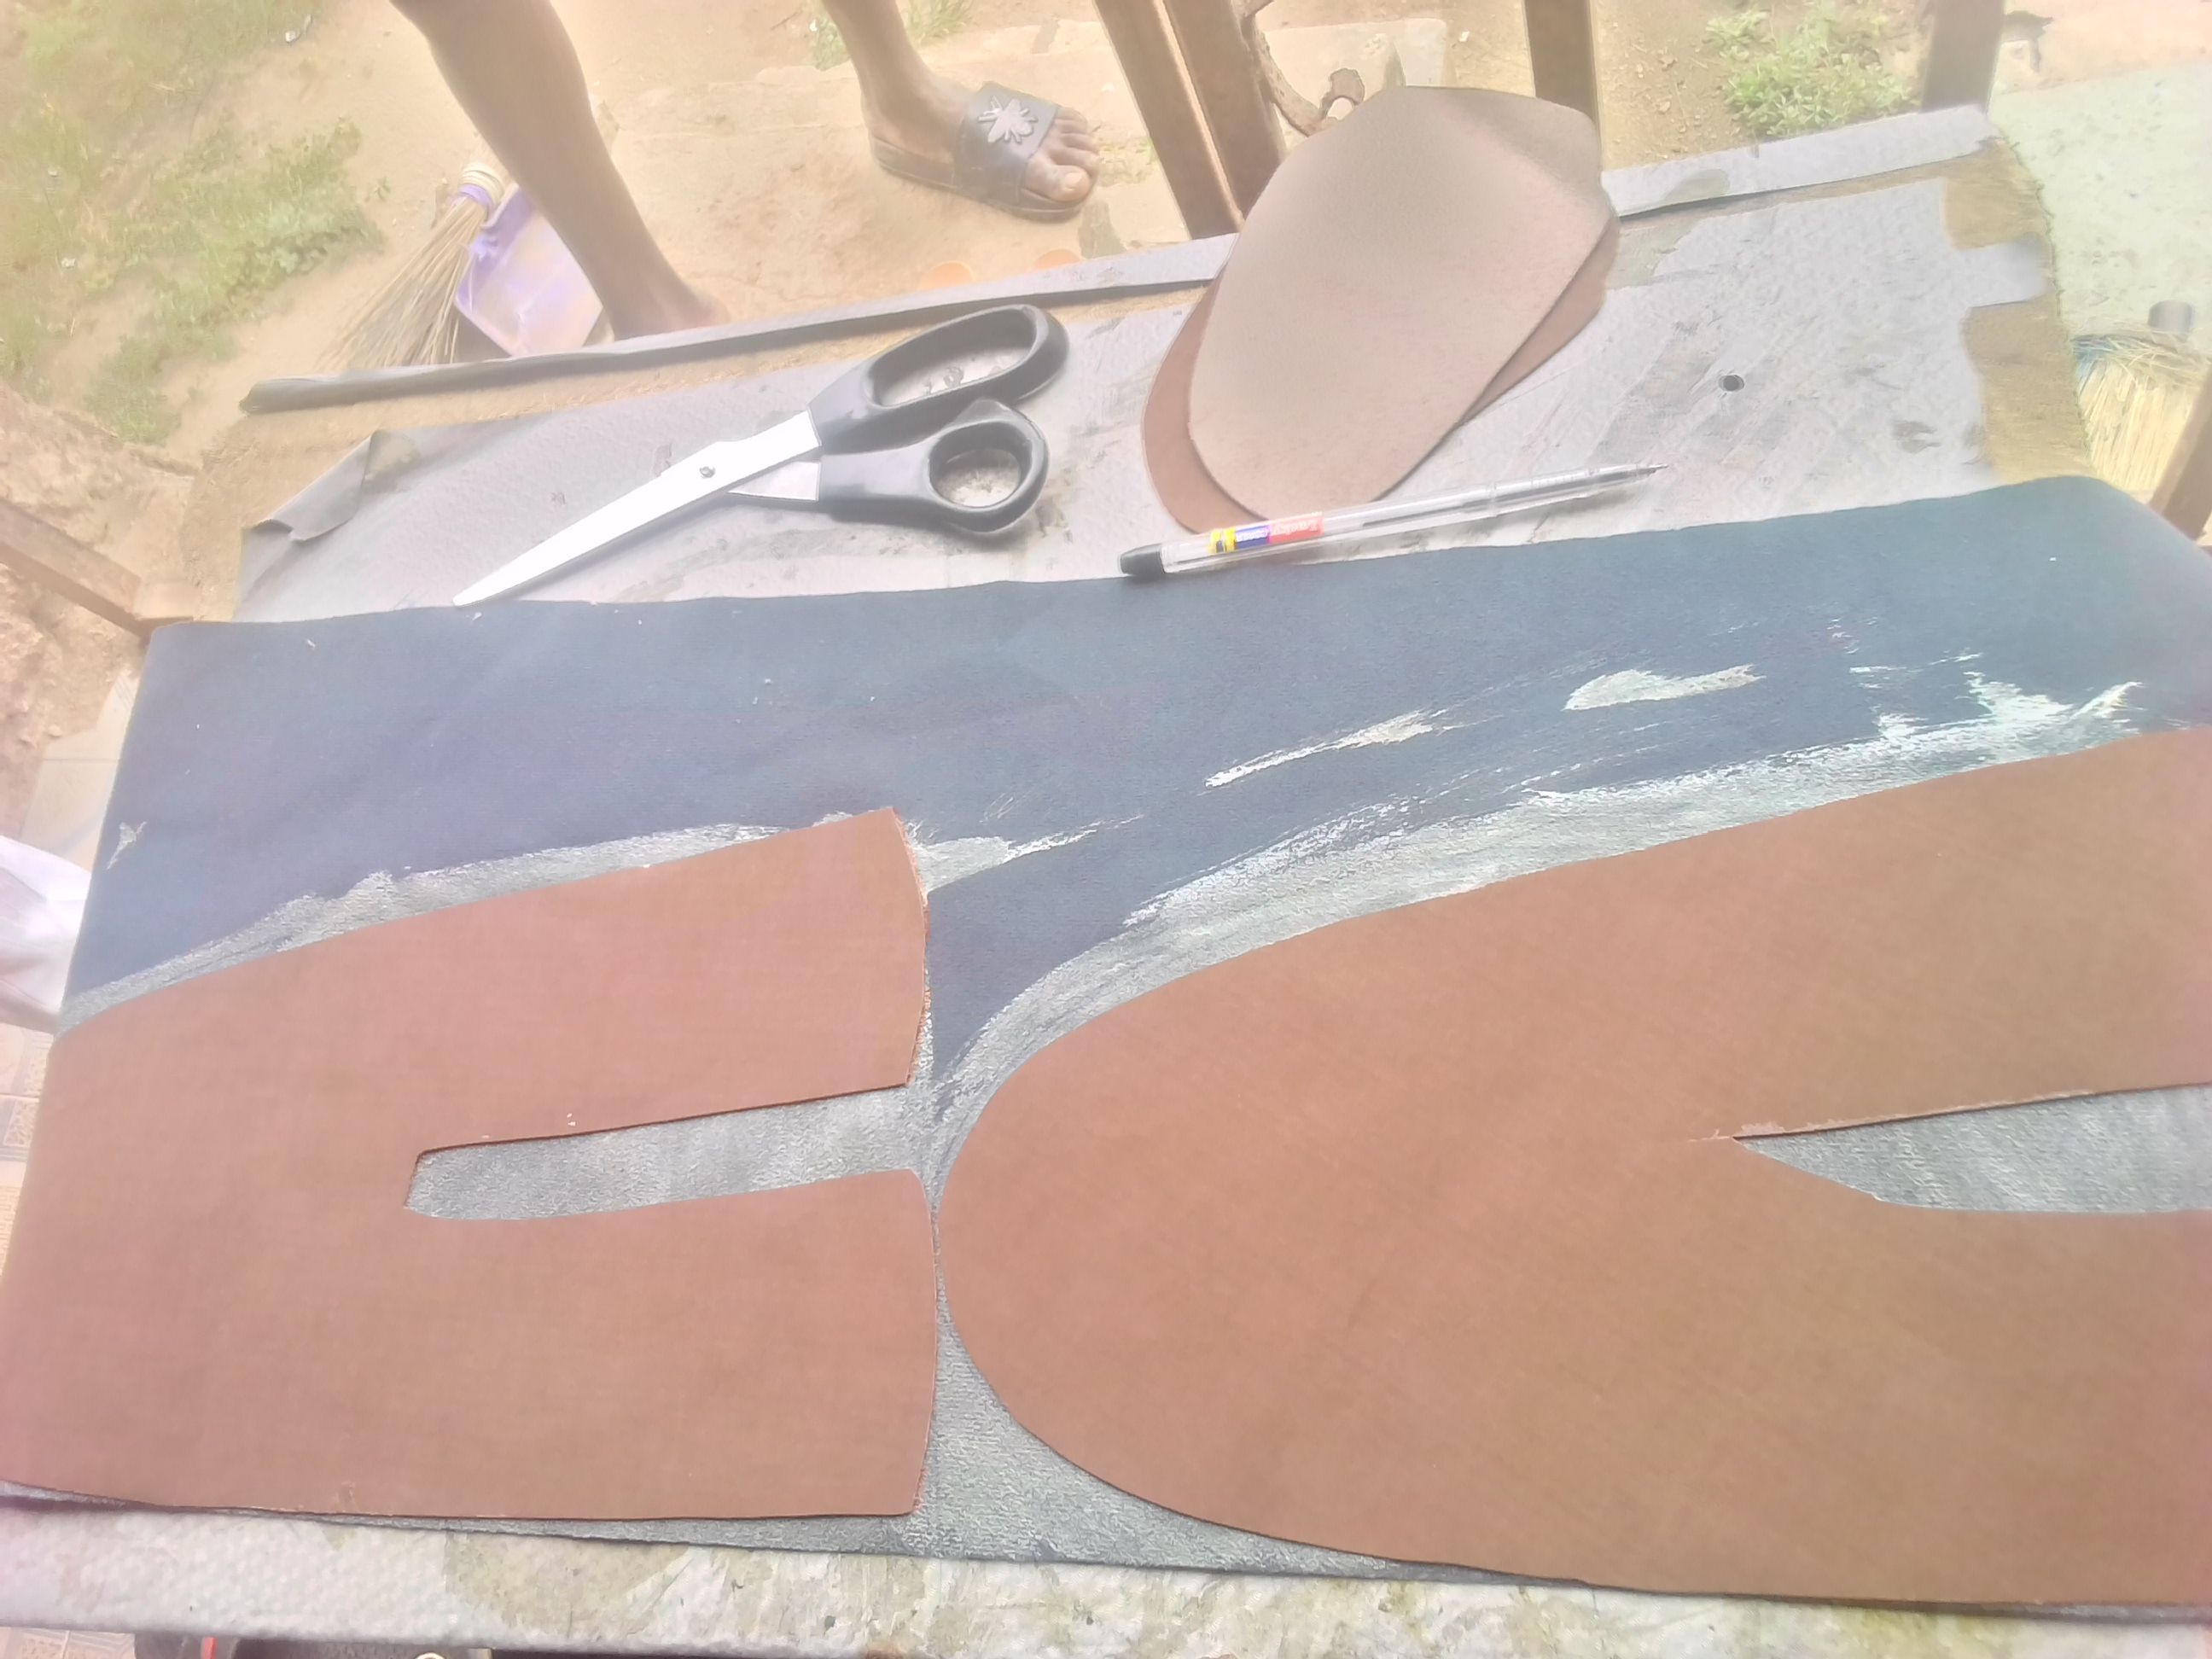
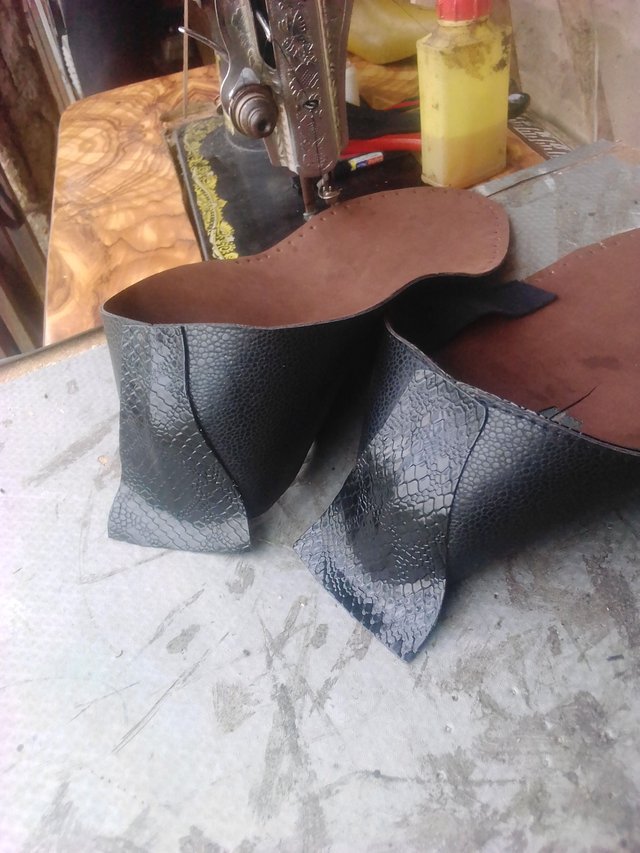
The cut out leather would then be glued to the lining, allow the gum to dry off properly then place the leather gently on the lining. After that you carefully cut our the leather from the lining following the shape.
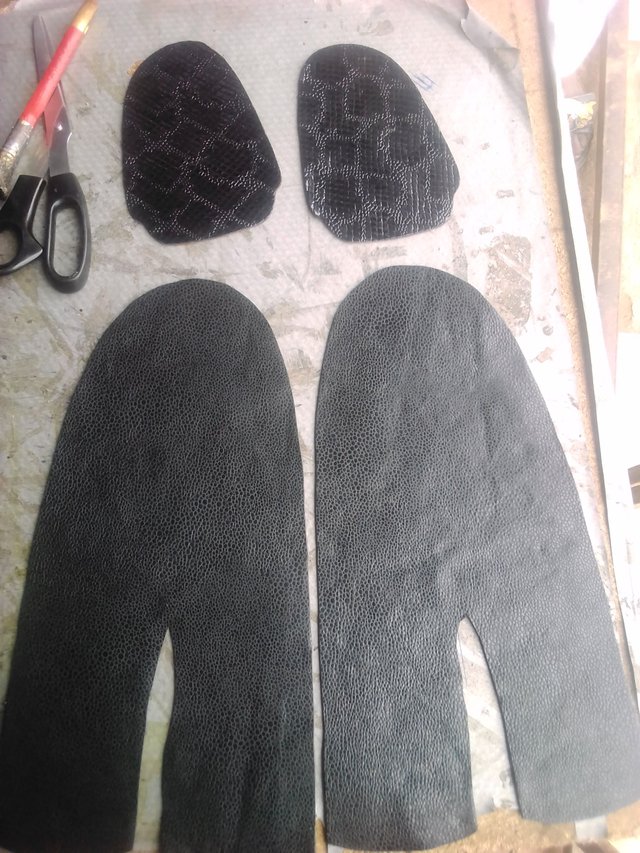
The above picture is the result of the cut out. As seen the lining is parallel to the leather, at this stage, your work has gotten to a significant stage.
STEP-THREE
MAKING HOLES ON THE EDGE OF THE SHOE FOR WEAVING
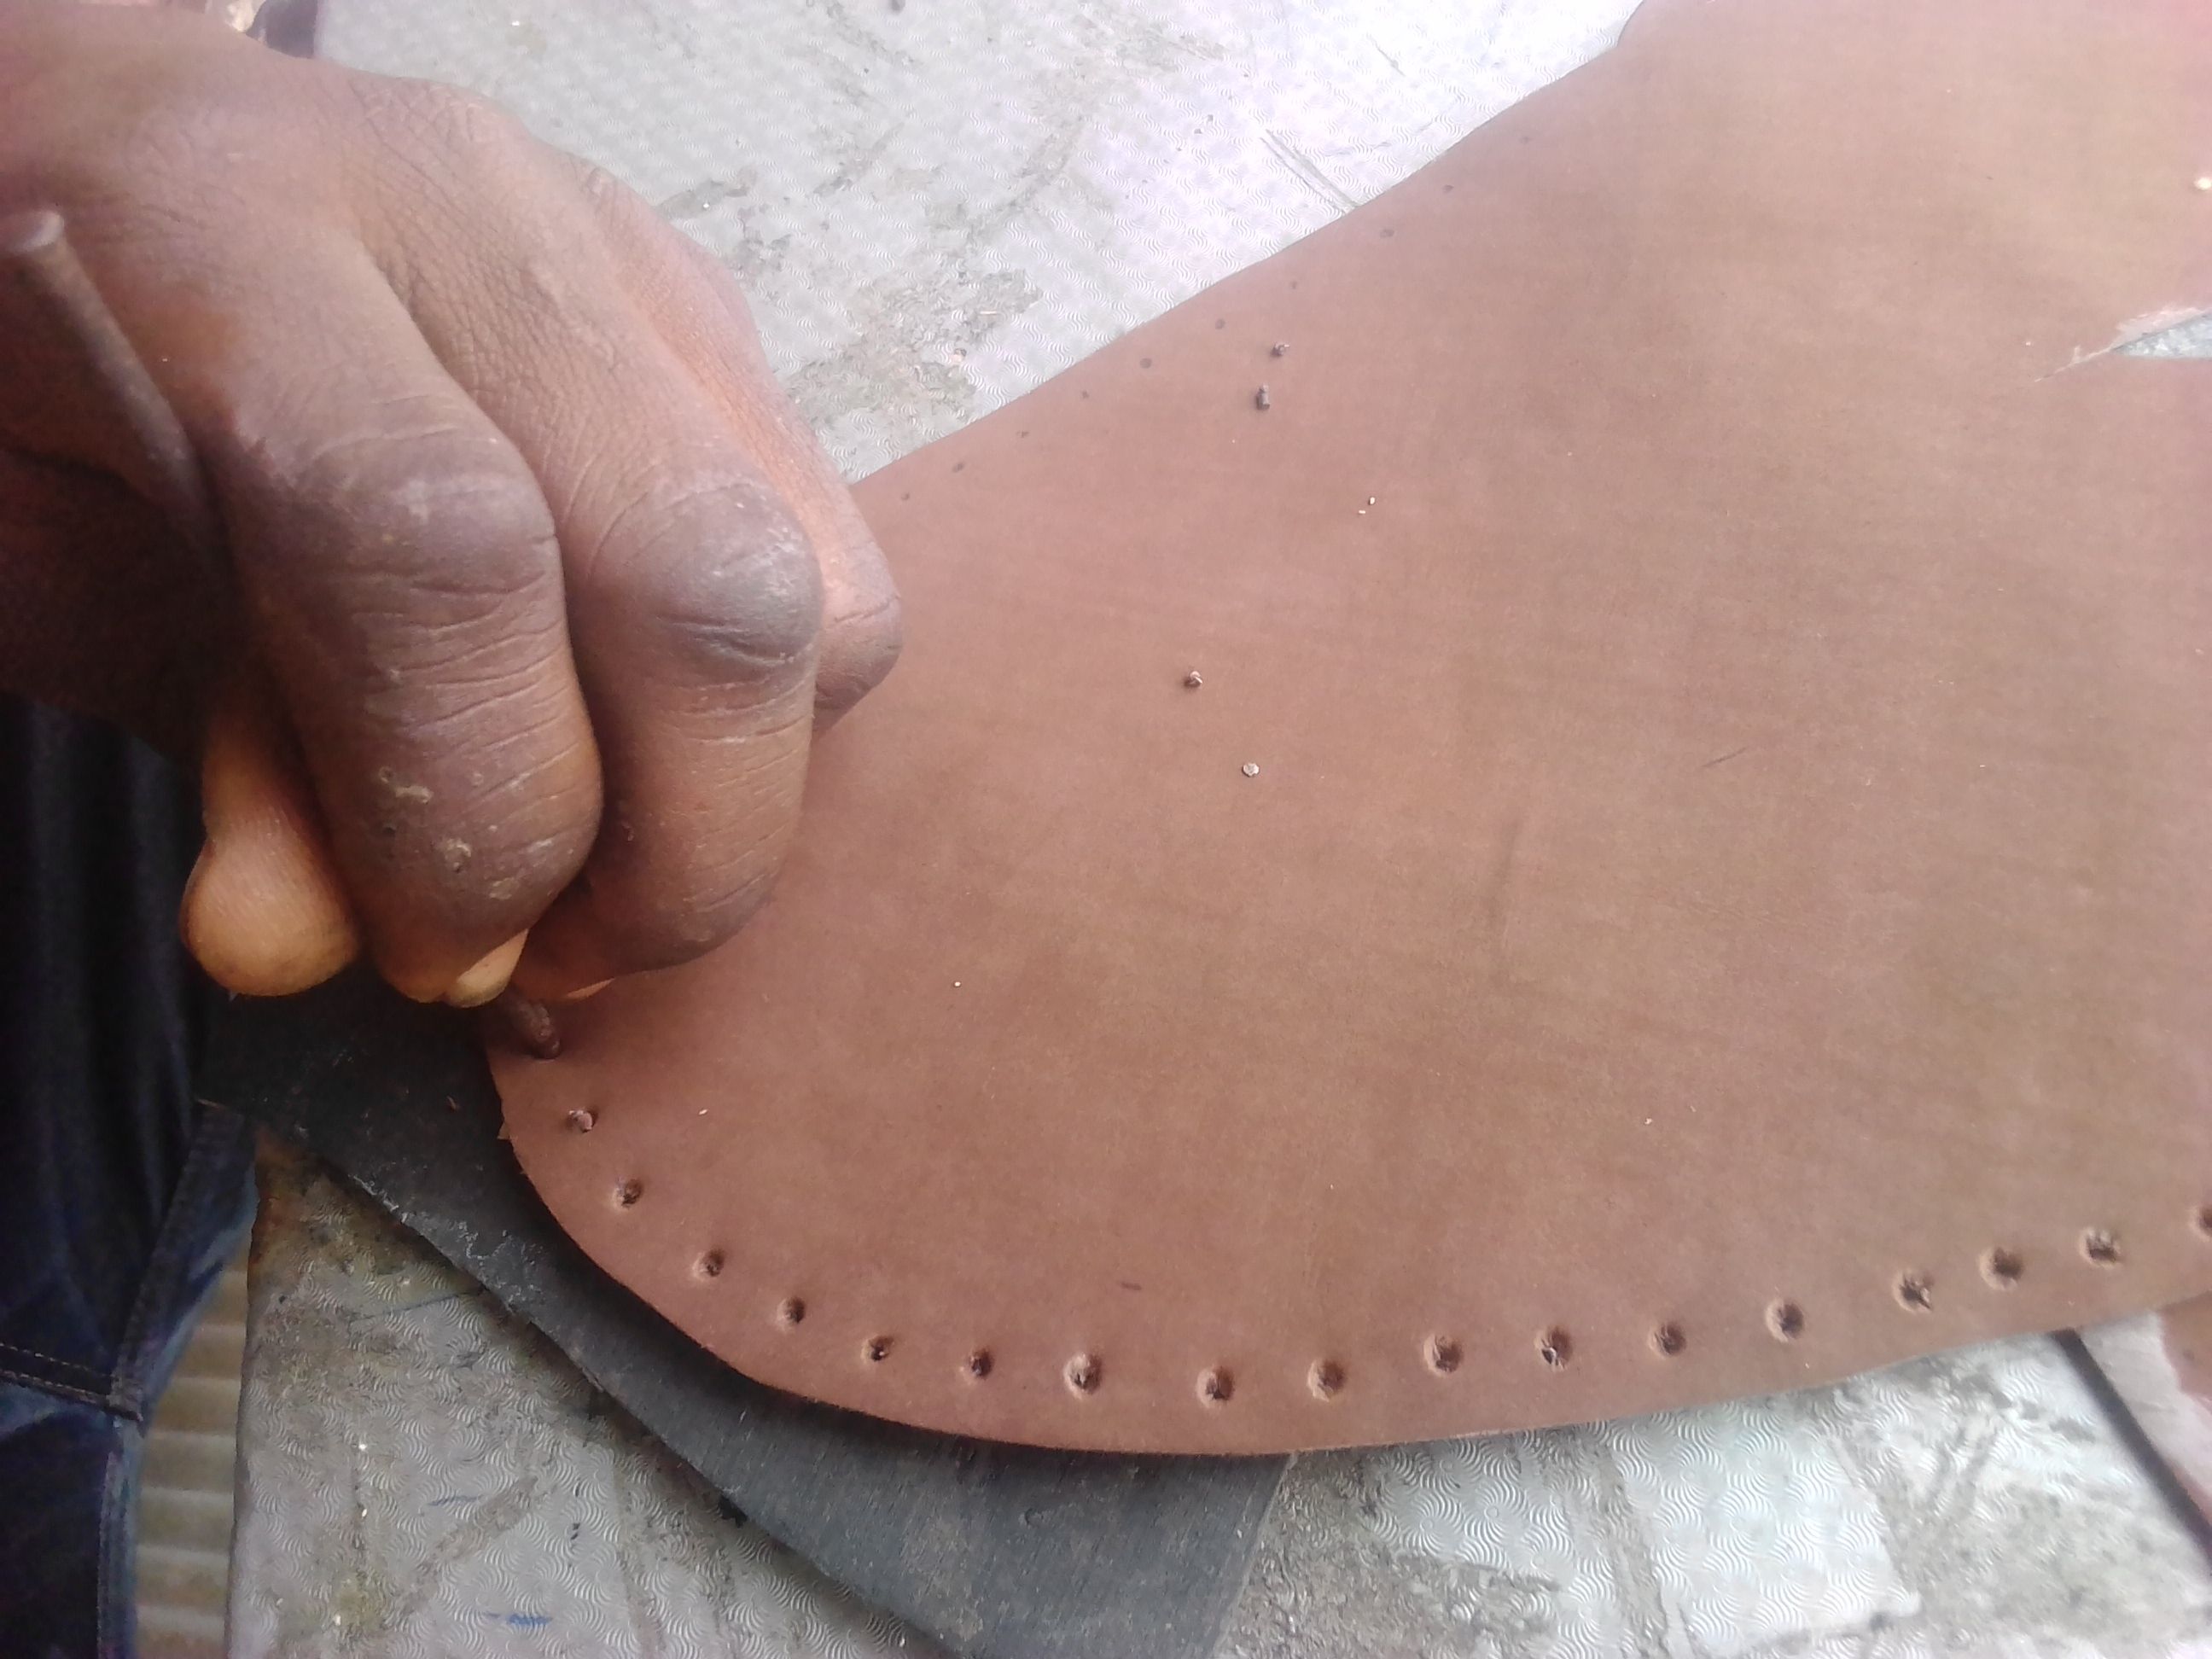
The stage involves you putting holes for the punching (making holes) for the weaving. You would need to put the holes on the edge as seen above and make sure the cardboard pattern is directly under the leather.
The next hole making which is for the top of the shoe.
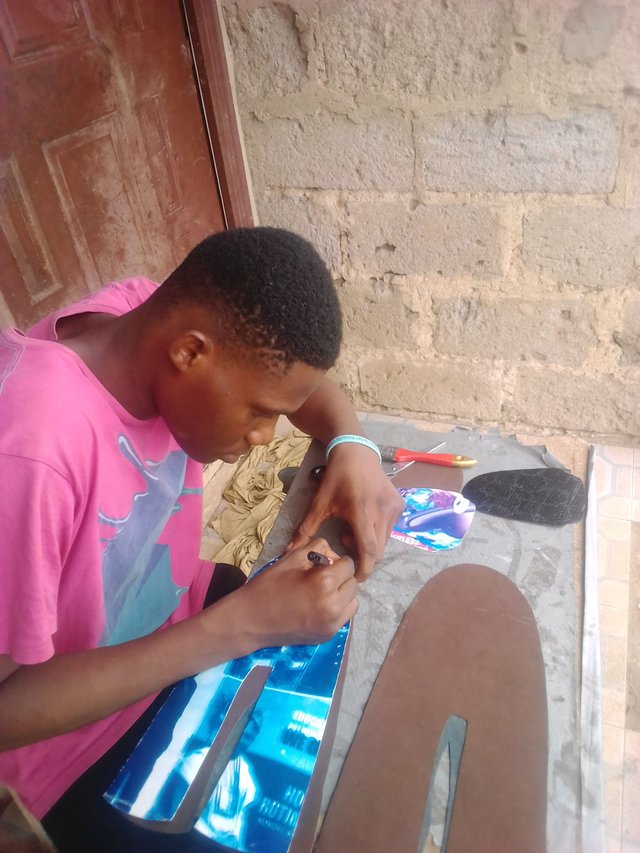
Use a pen to mark the hole before perforating.

Above is the process of hole making
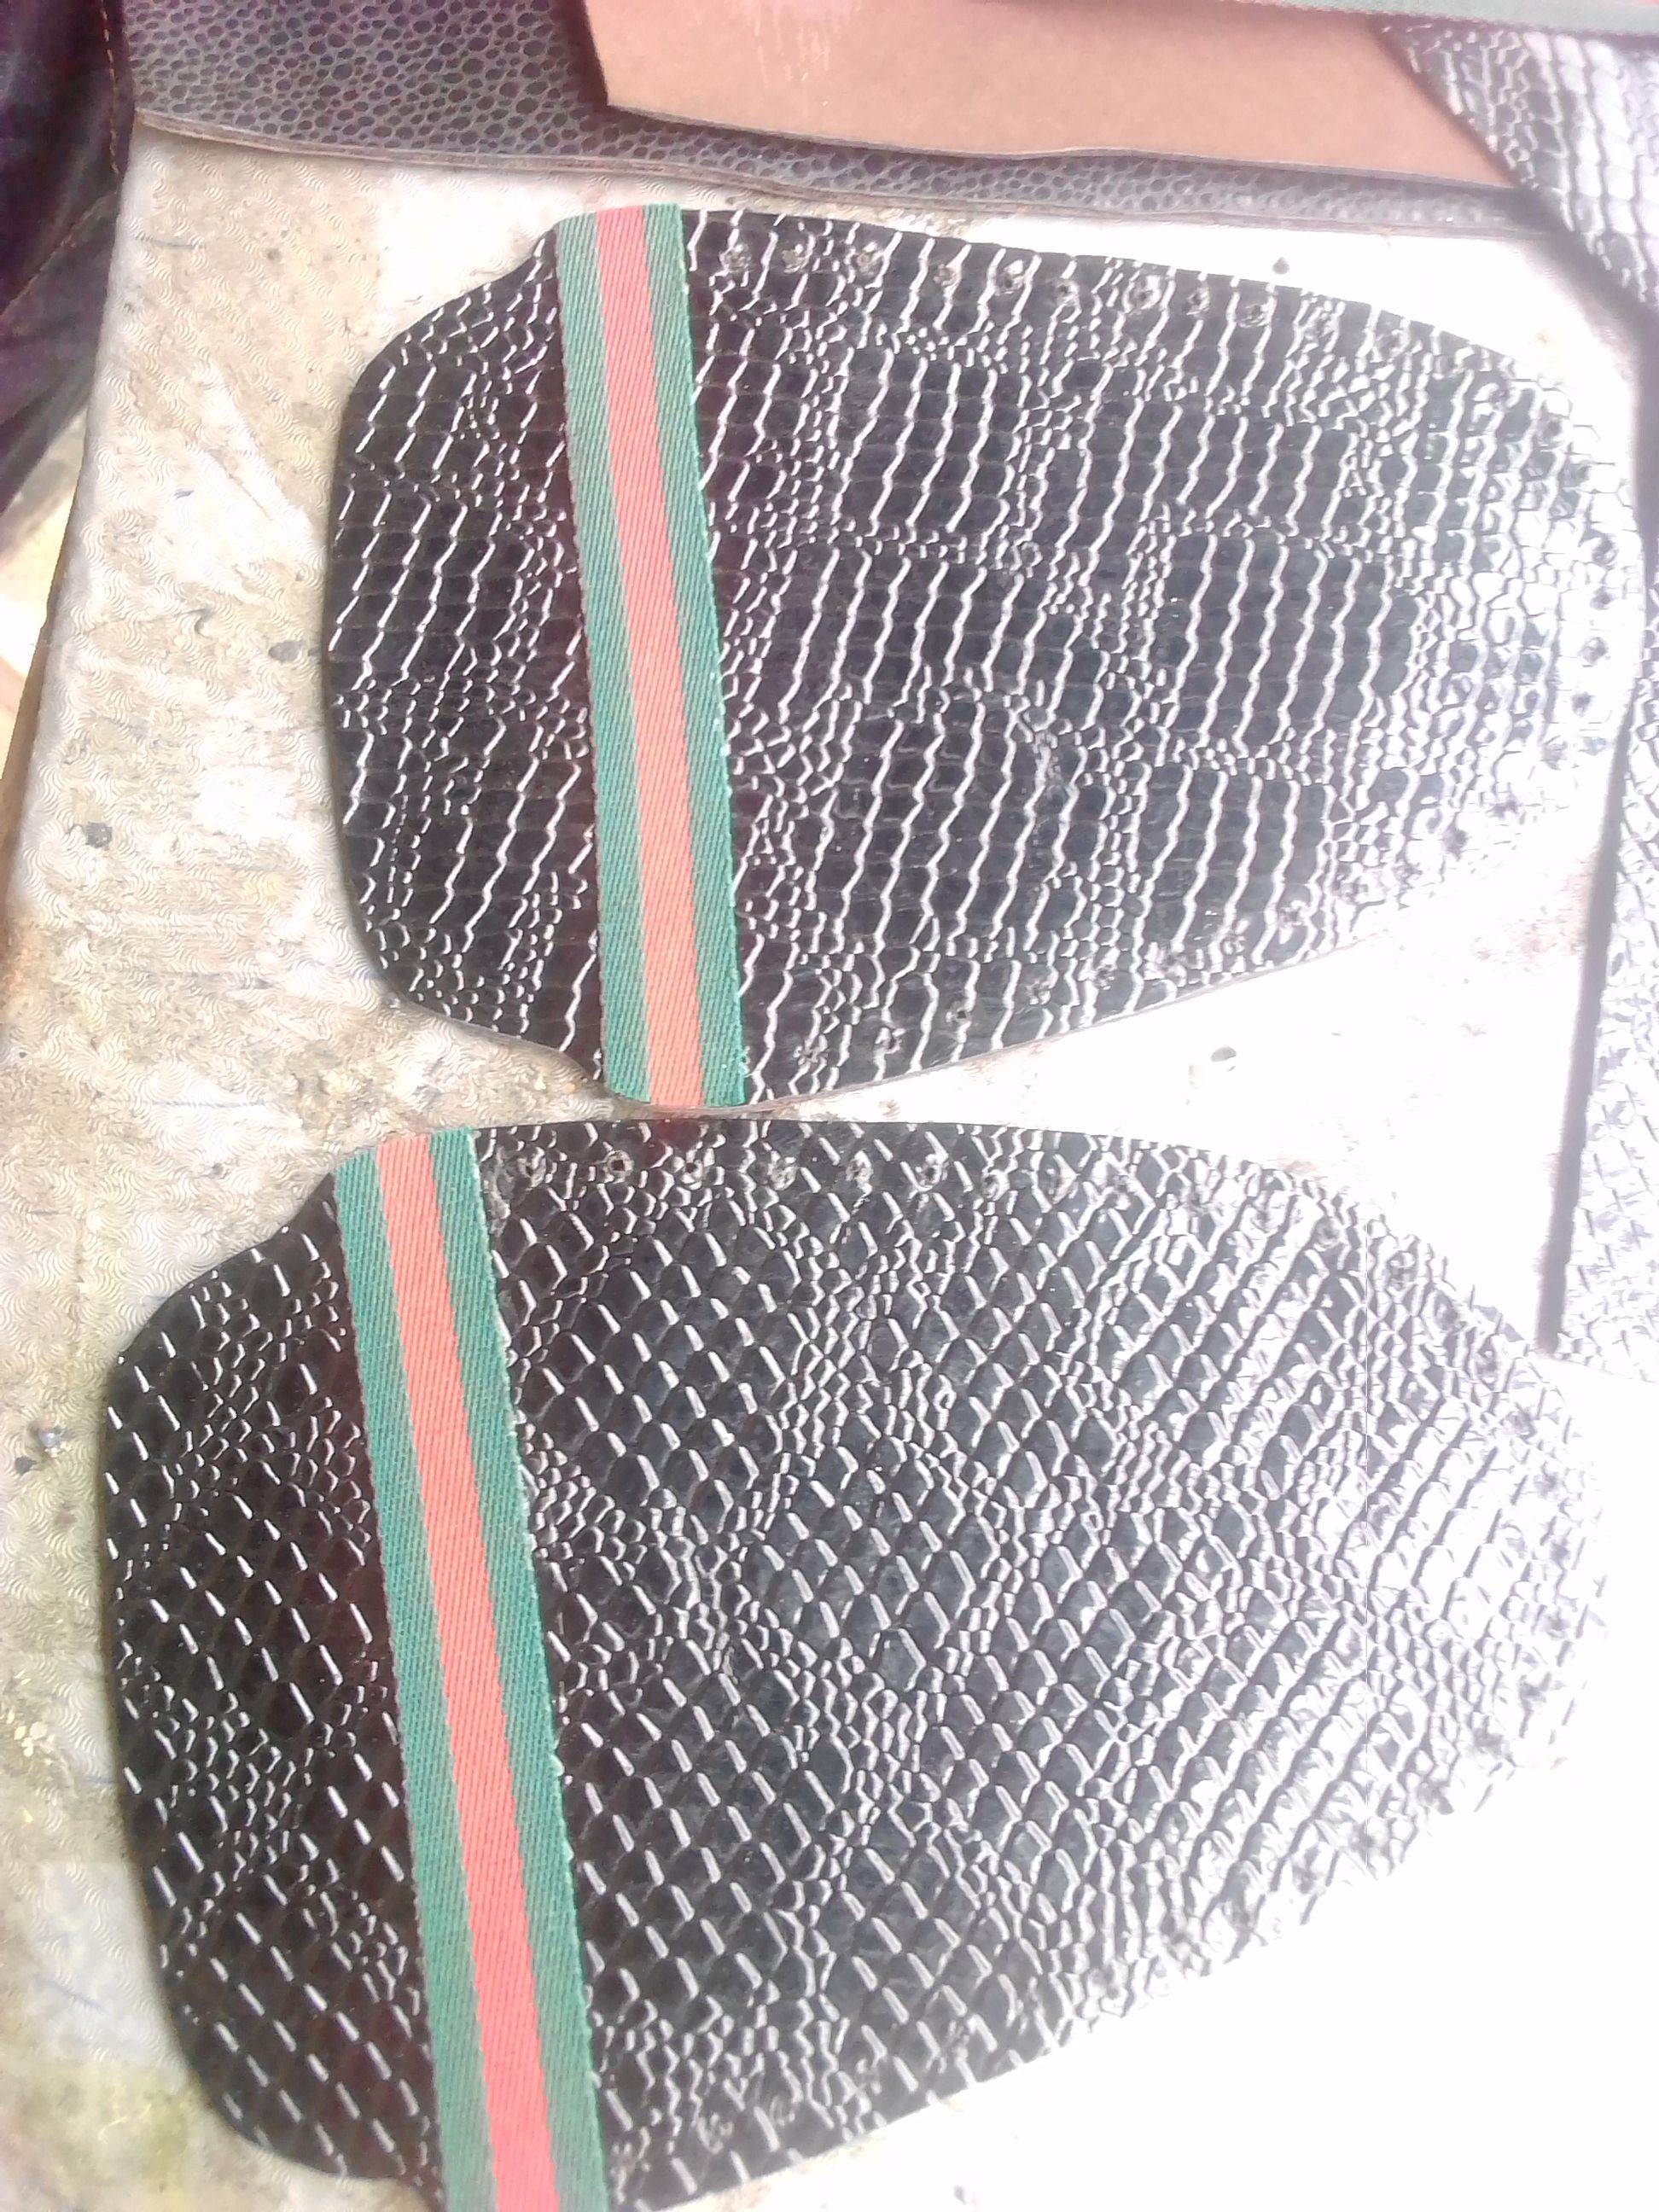
Then i applied the gucci rope to the top leather of shoe.
STEP-FOUR
BACK MARKING
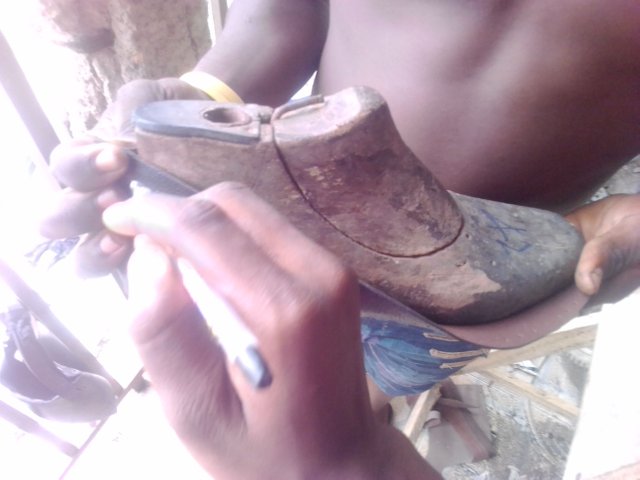
This is a very important stage. It involves marking the rear end of the leather to the size of the last/mould been used, as seen in the picture above. This is to make the size from the back not exceed the size of the mould/last which is the size of the shoe been made.
STEP-FIVE
SEWING
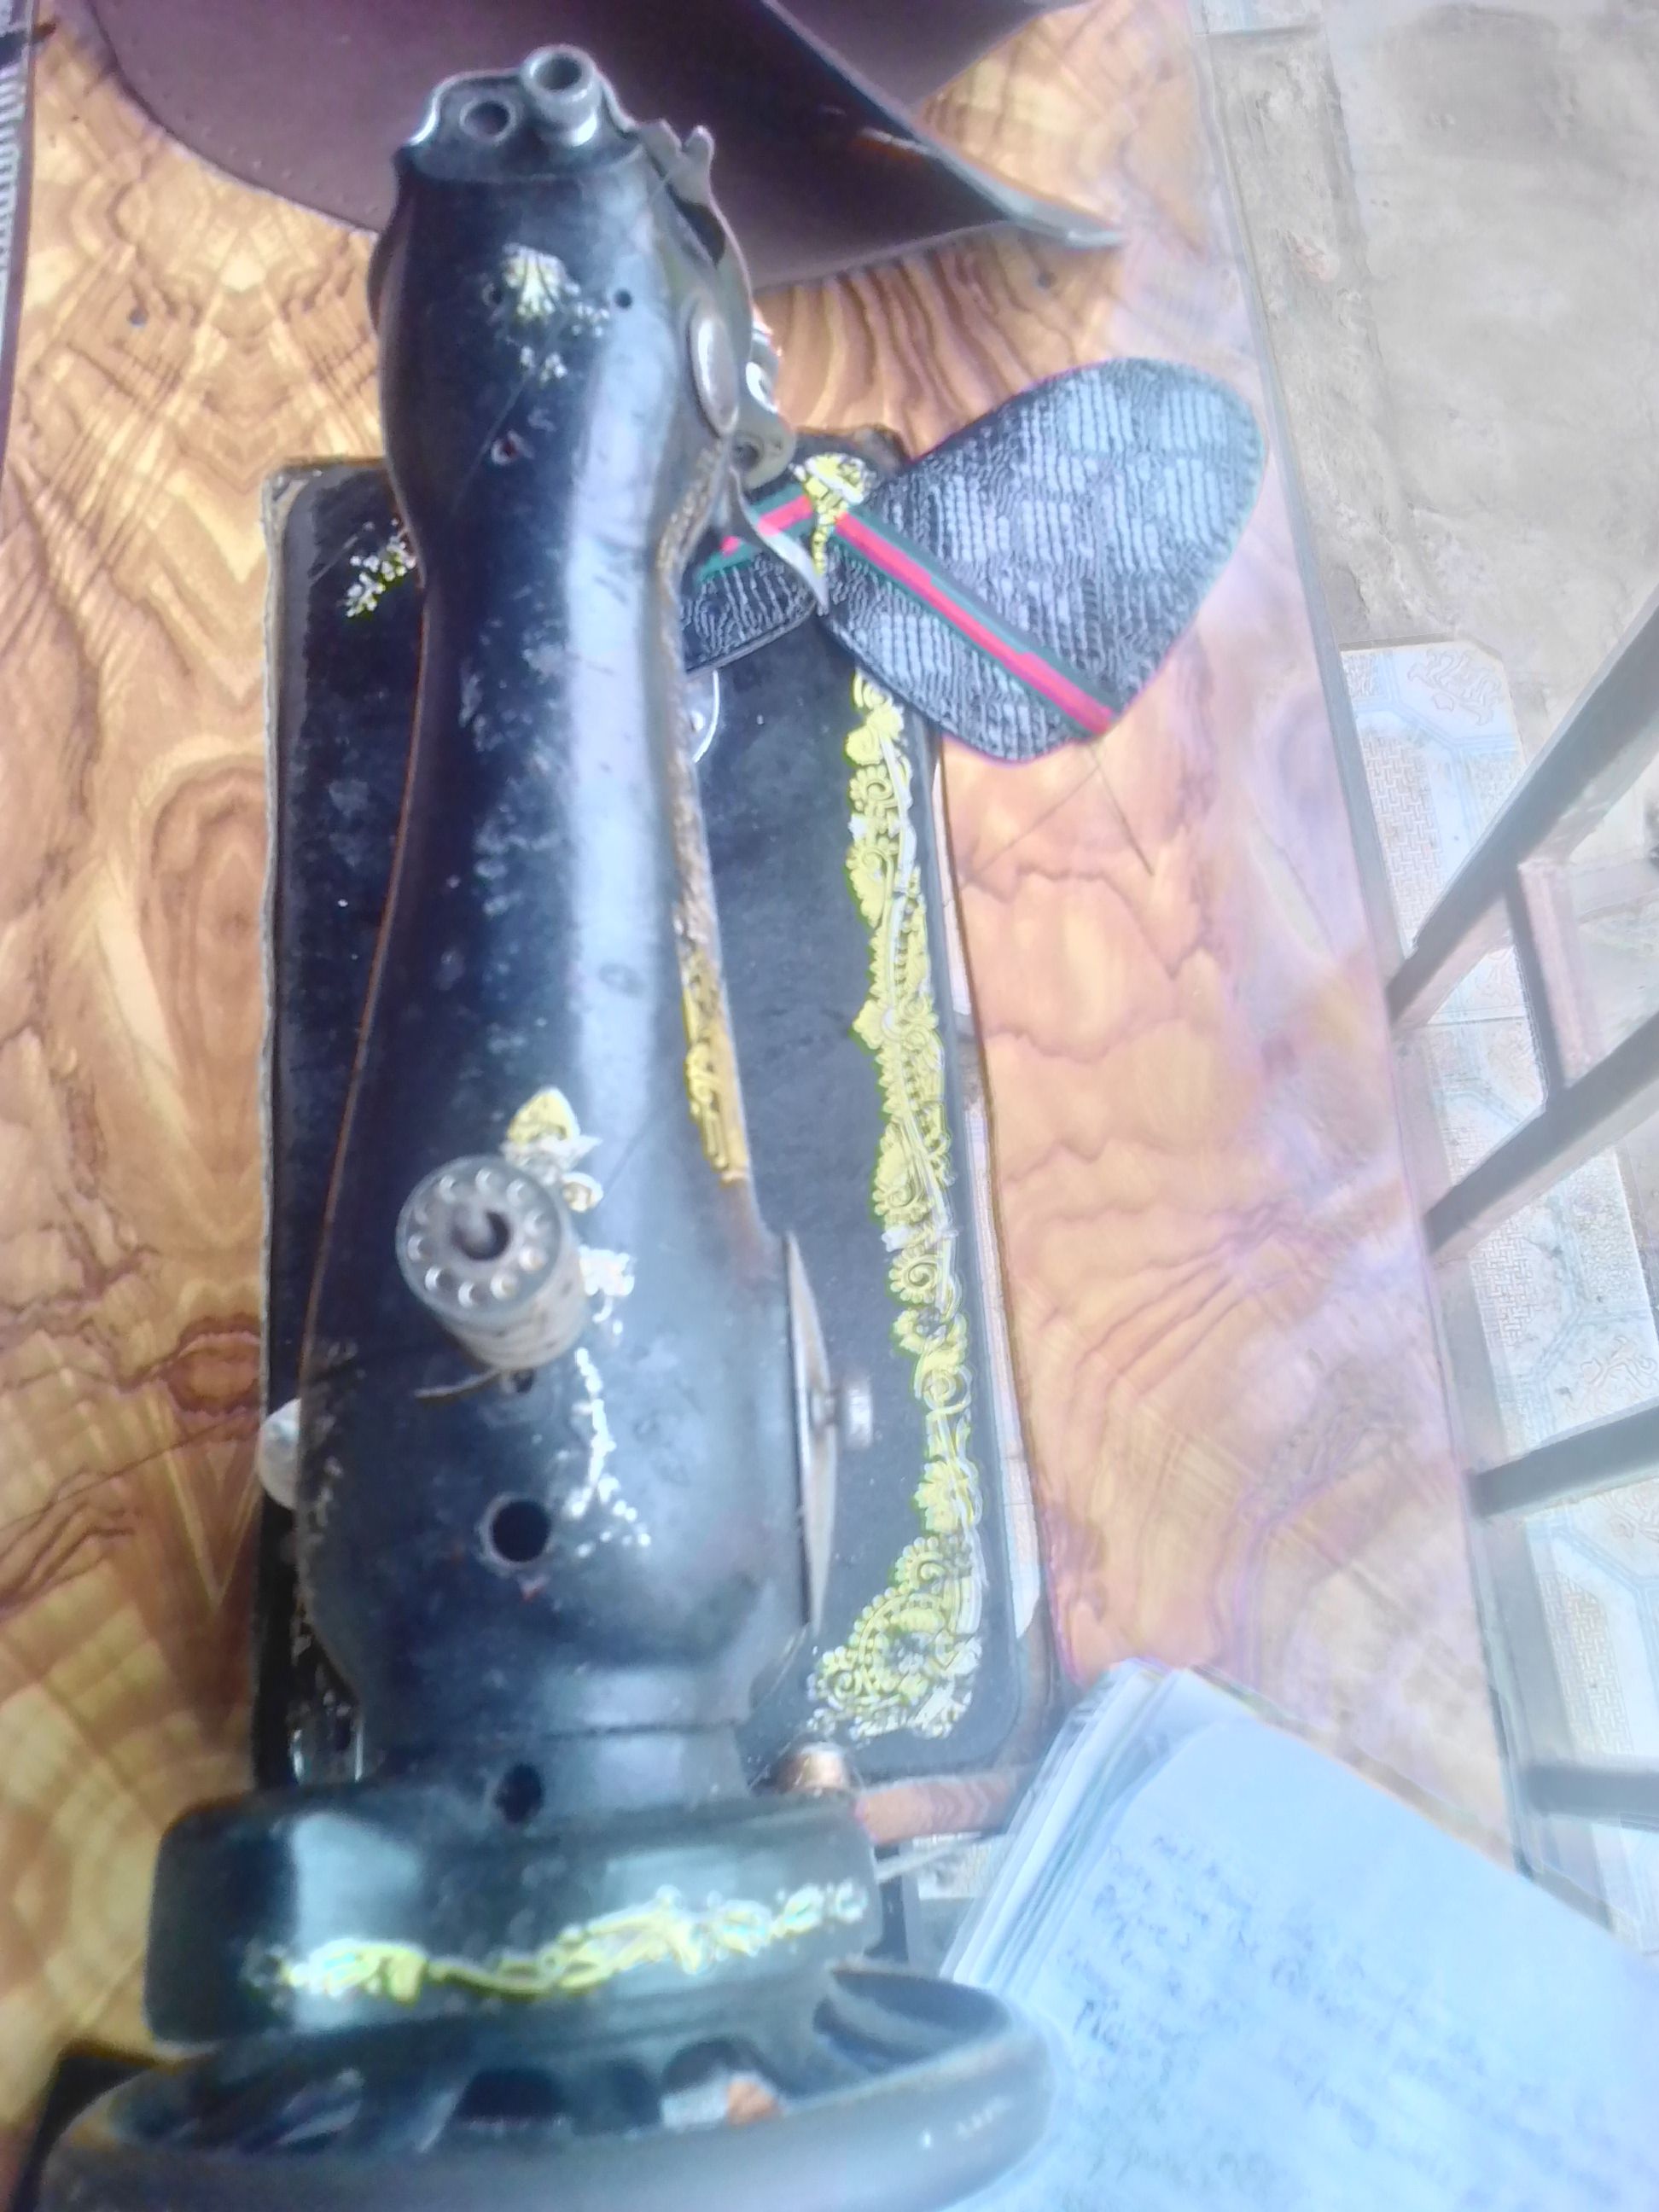
This is another important stage, it involves sewing all edges and parts together with the other end.

I sewed the gucci rope to the top part of the shoe. Then i cut off the exceeding part of the back marking and sewed the marked place together.
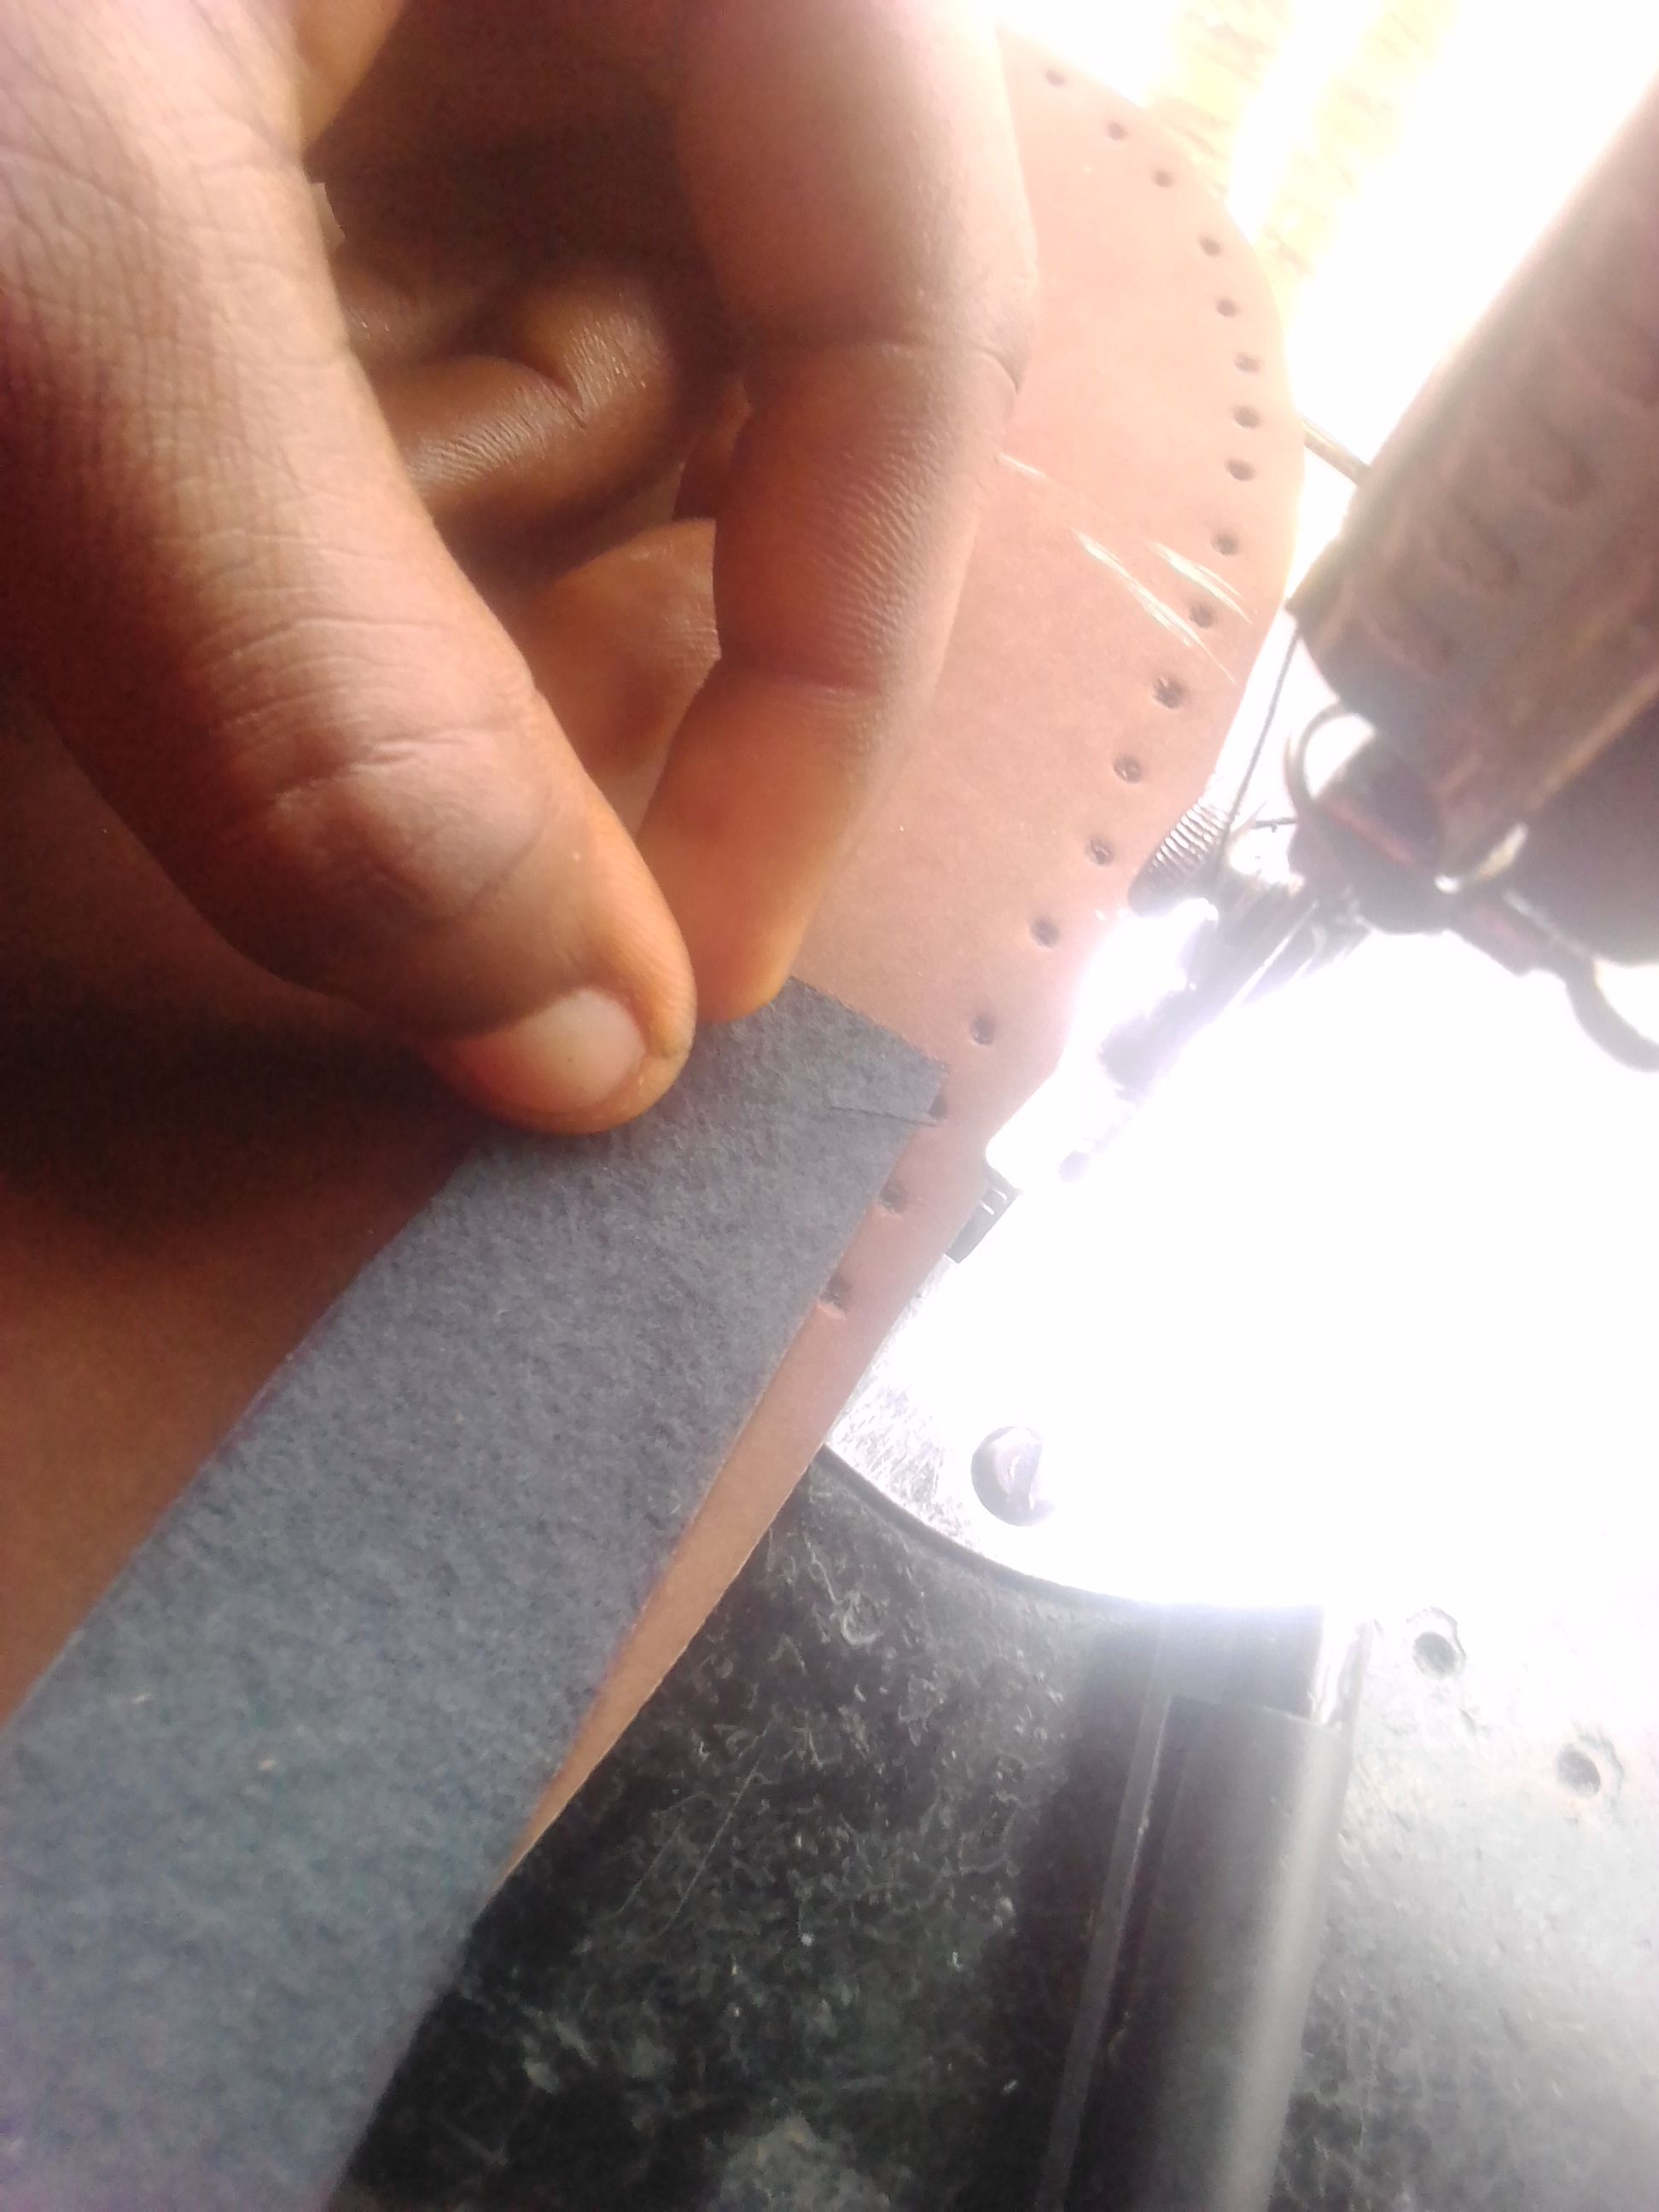
As soon from the above picture, before sewing one must use a tape like leather across the back end of the shoe and one must count three holes from the bottom.
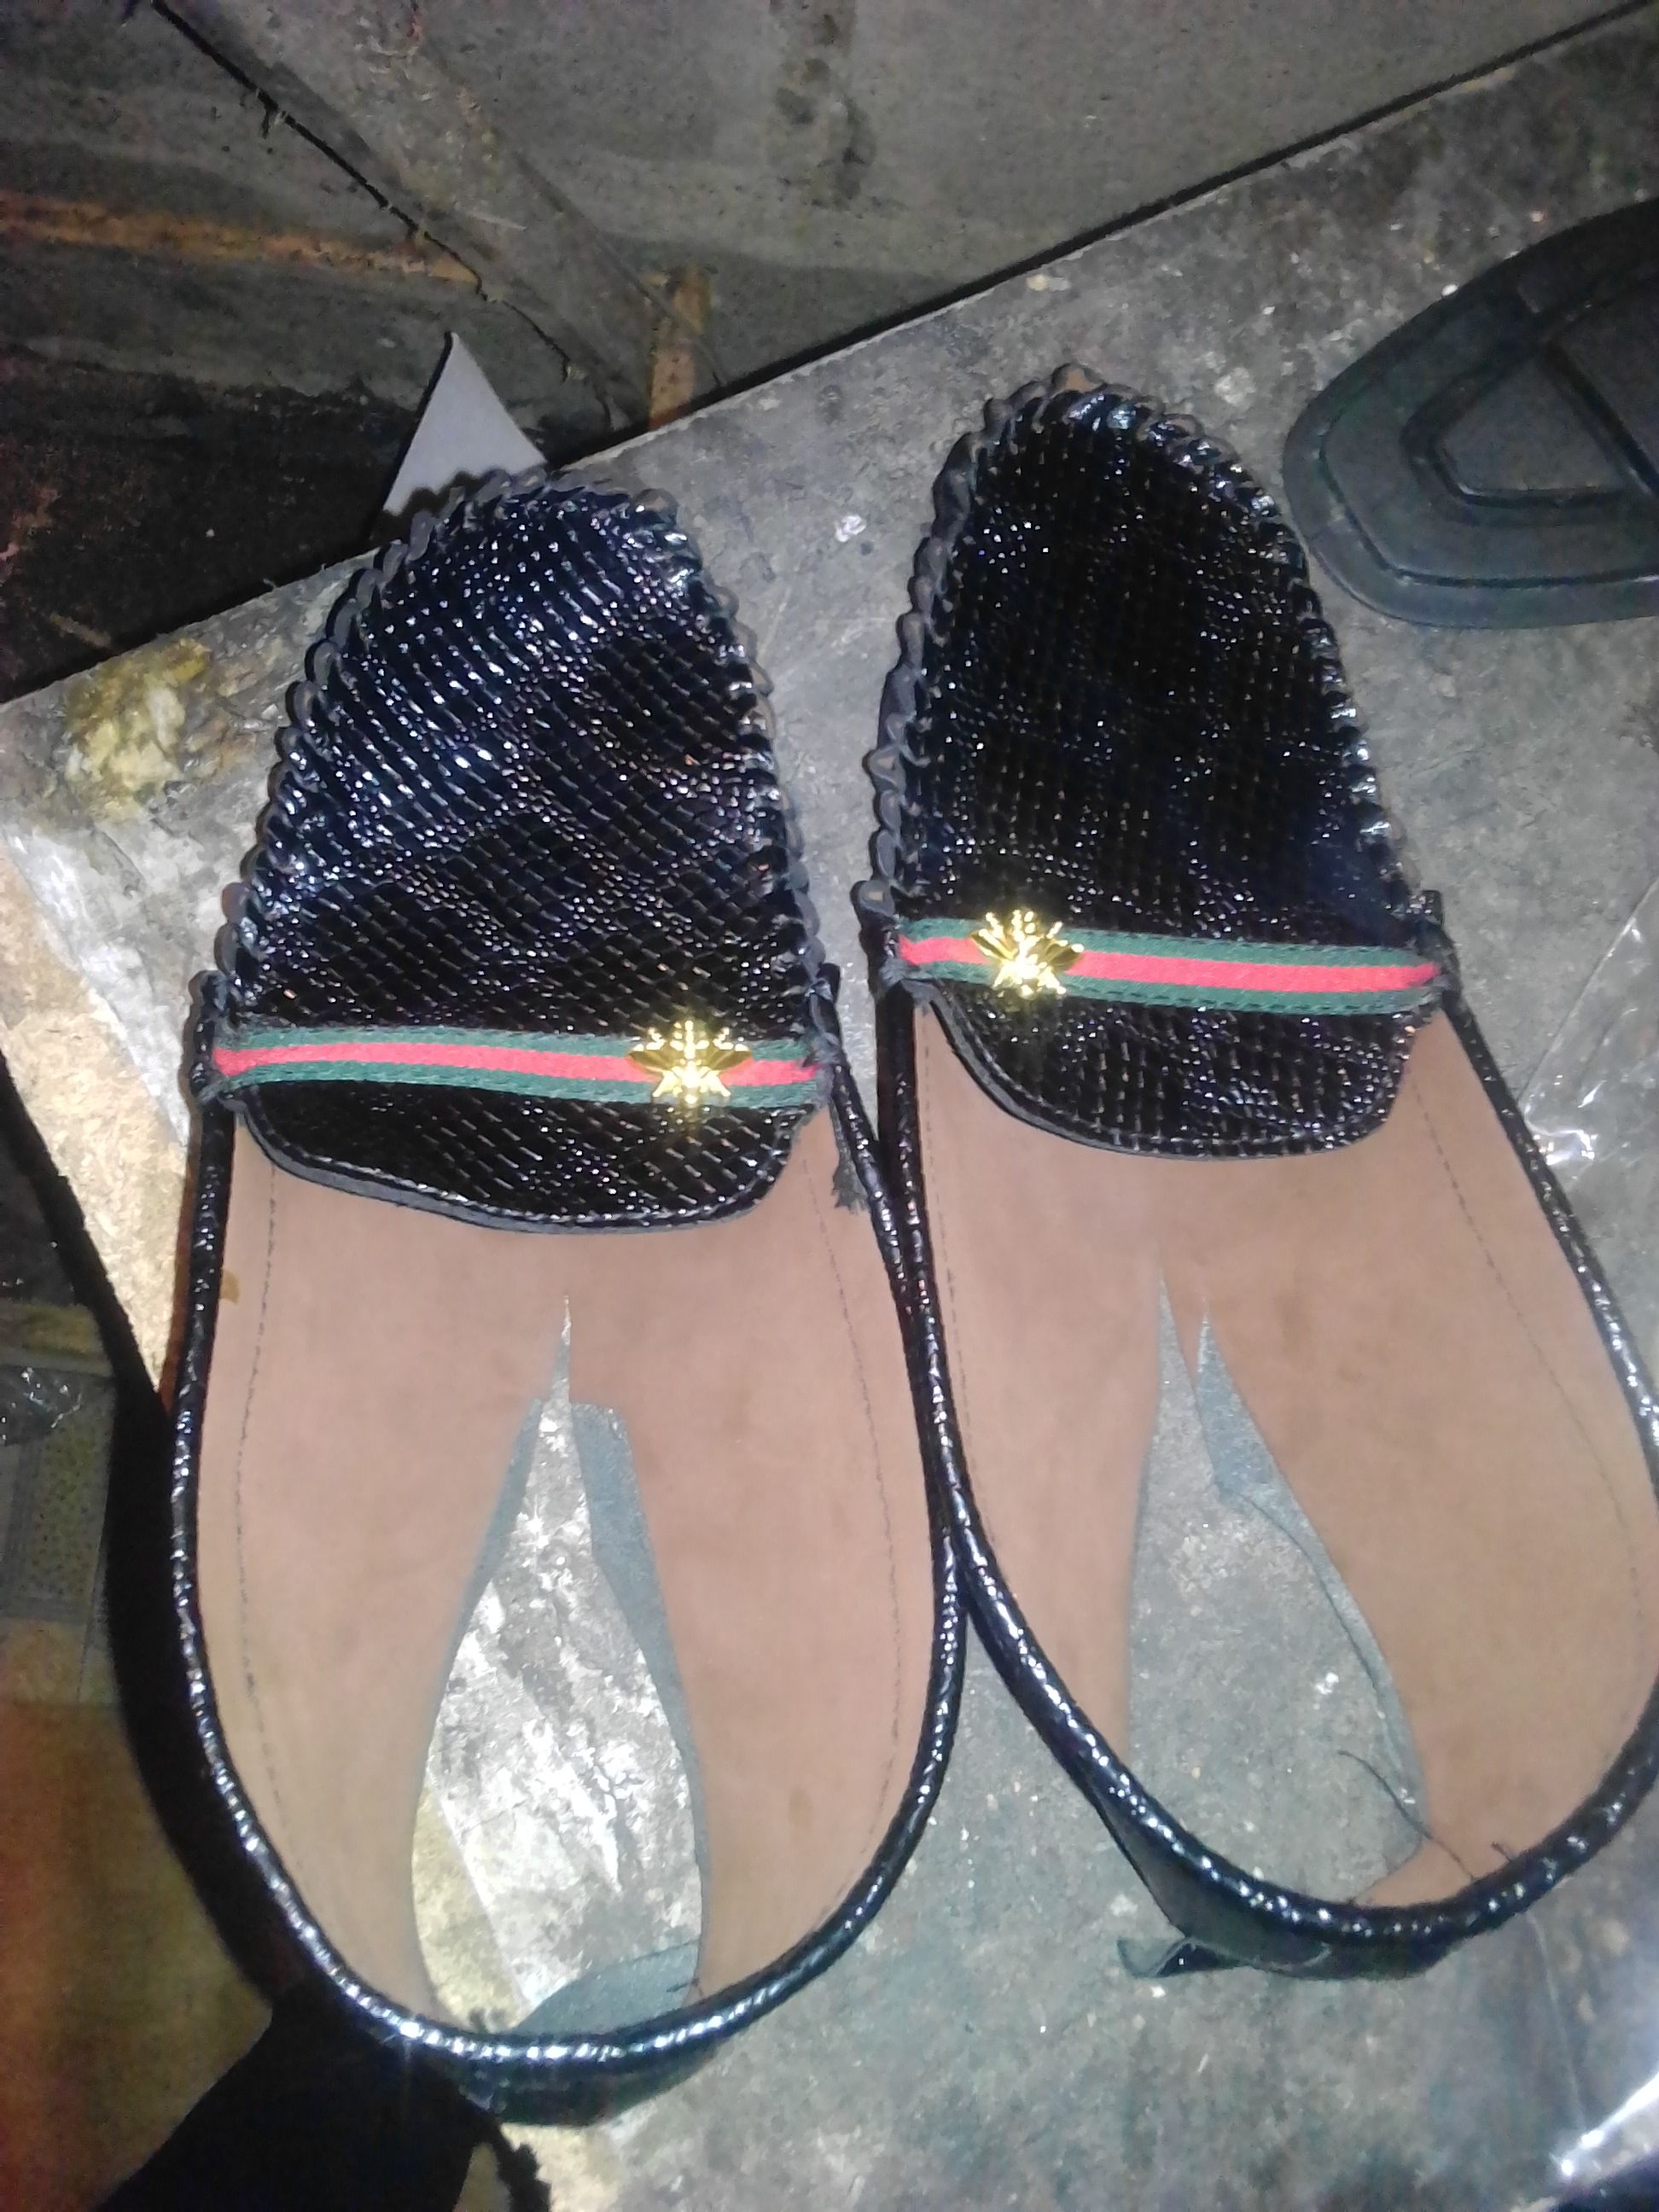
The above picture is the end product of the sewing of the tape and applying the logo.
STEP-SIX
WEAVING
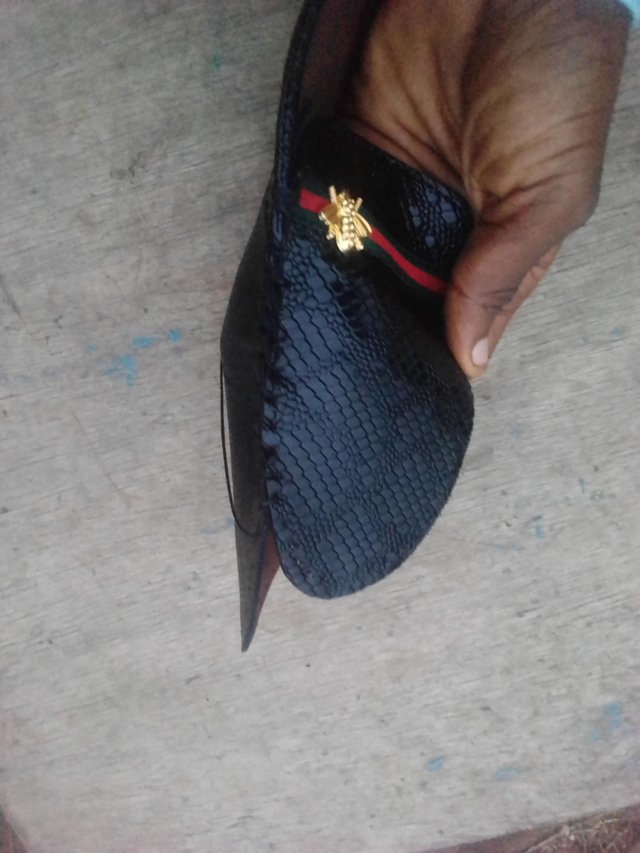
Here one weaves the top leather part to the lower body of the shoe to hold both part together, this could be done using a needle and thread and sewed through the earlier punched holes on the edge of the upper leather.
Note one must not miss any hole or i could hamper the durability and tear off.
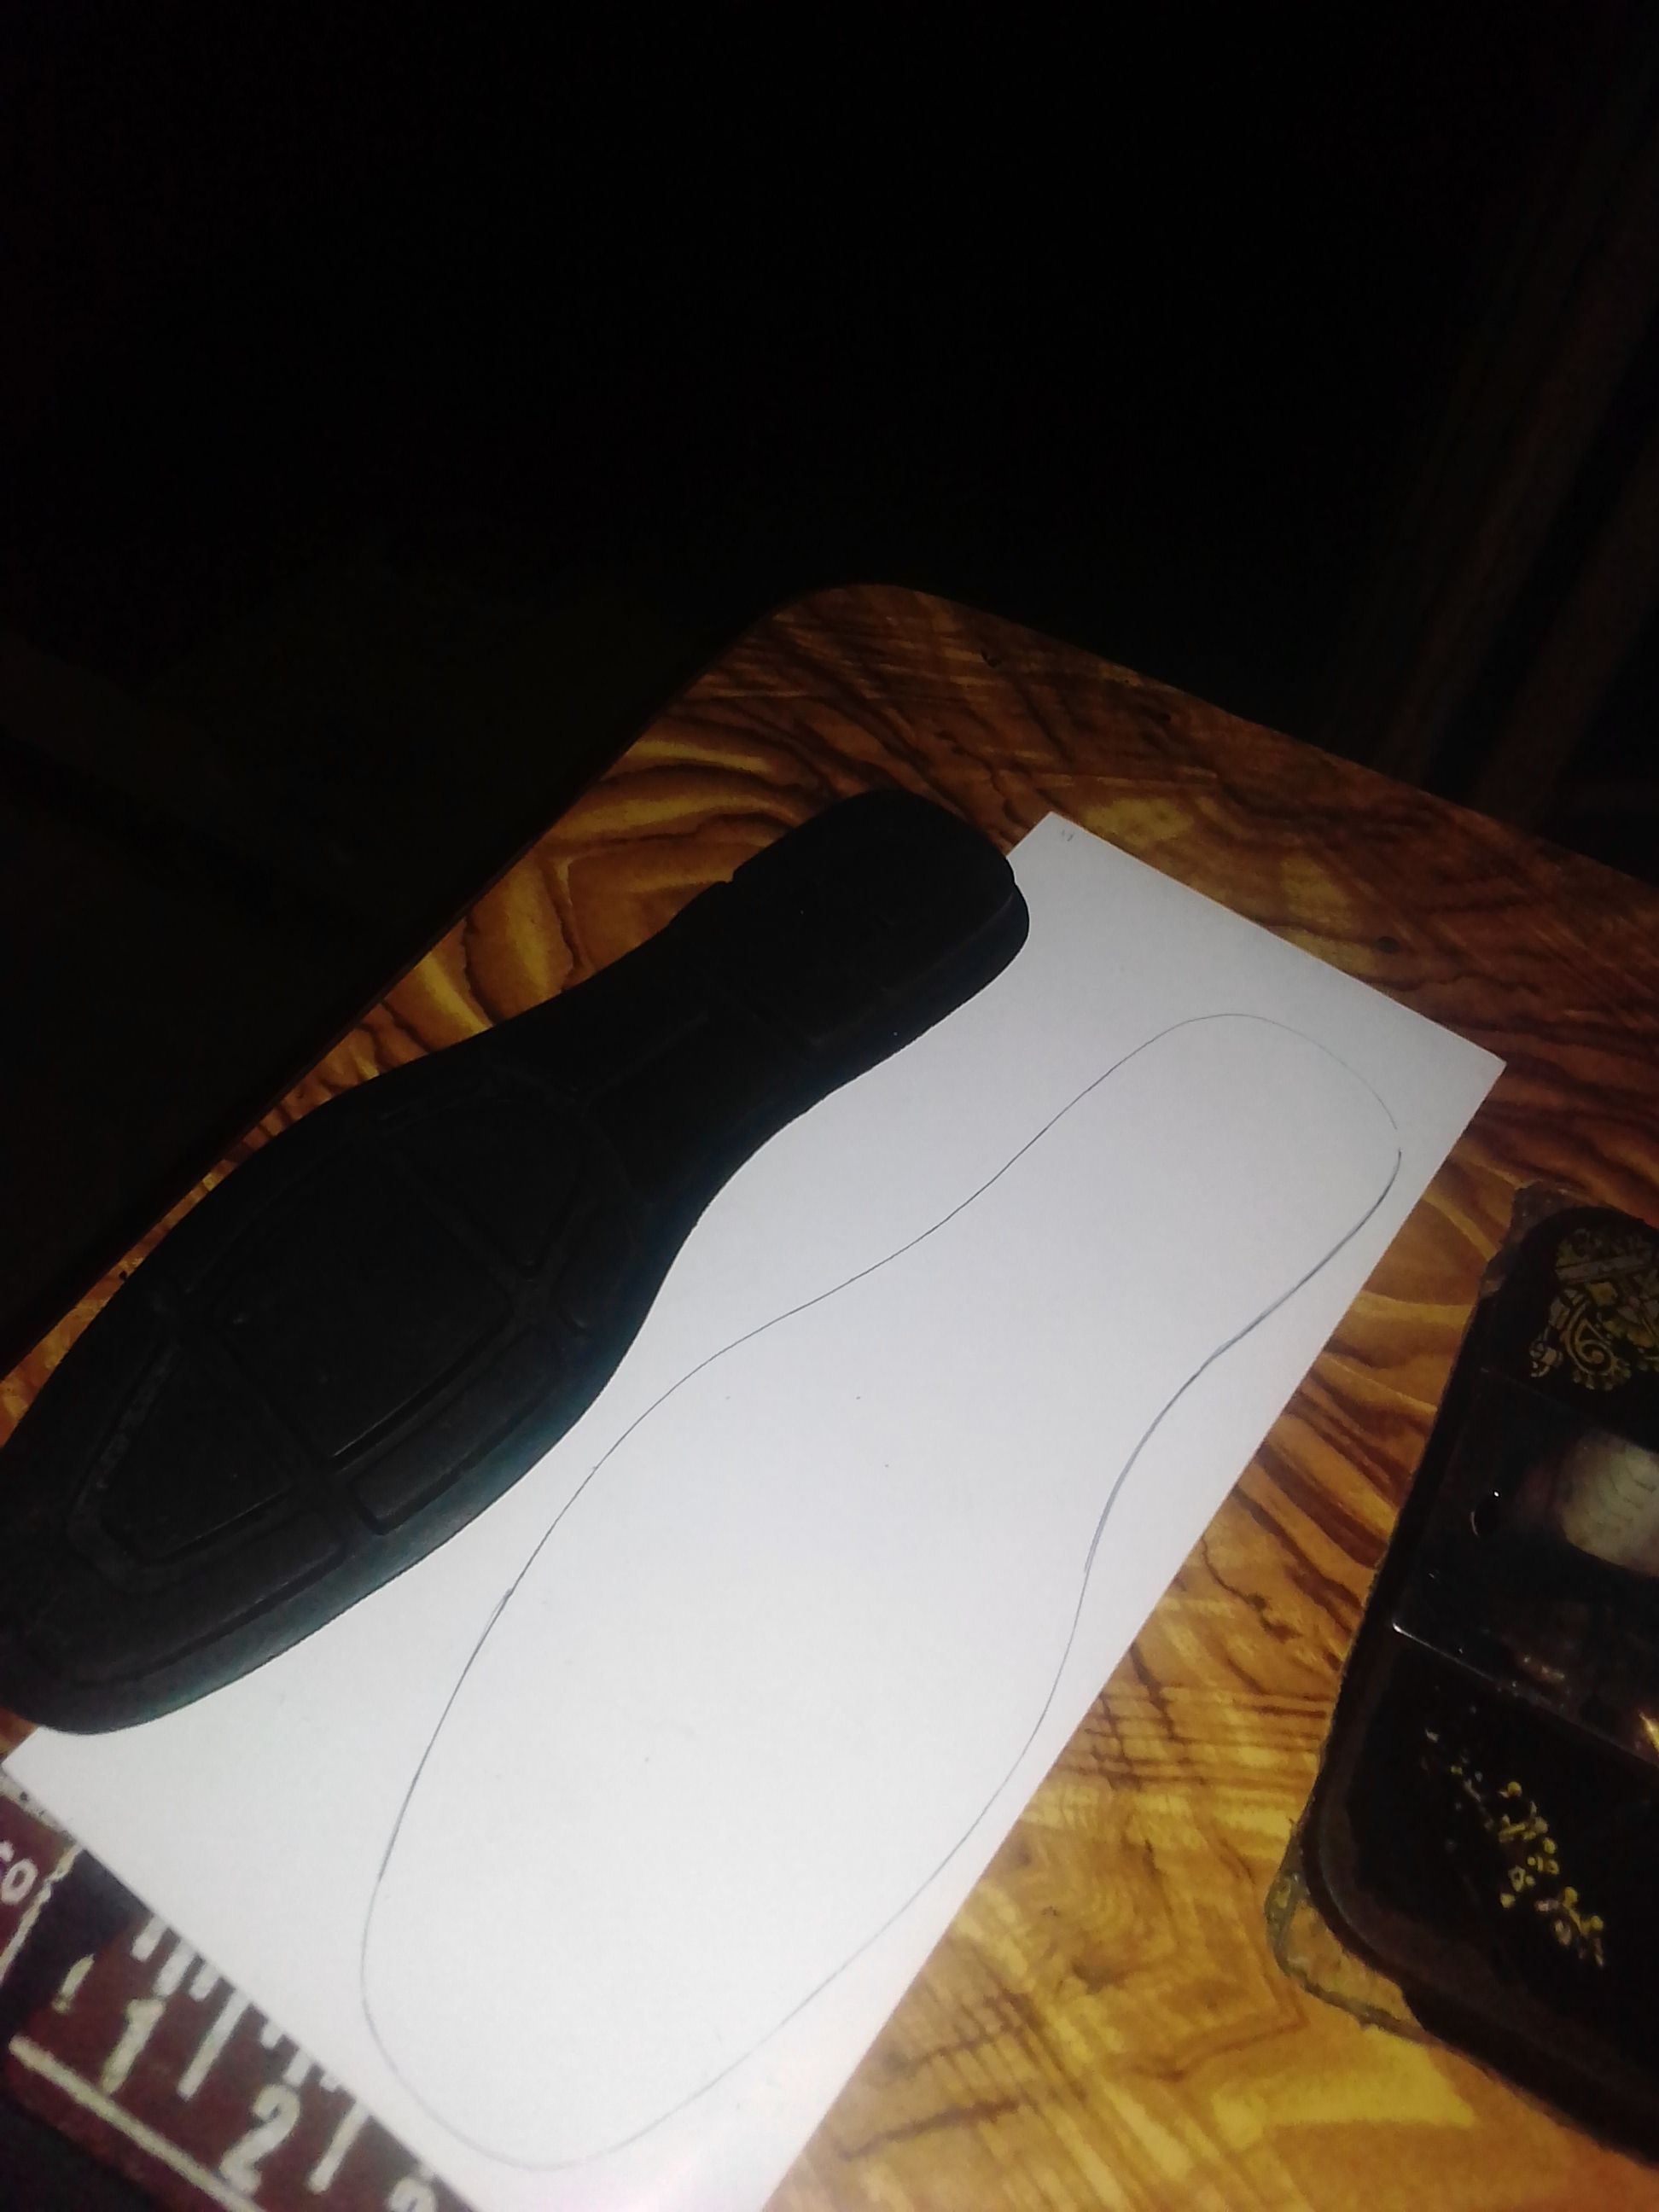
As seen above, after weaving we mark out the in sole on a cardboard using the sole itself and cut out the cardboard.
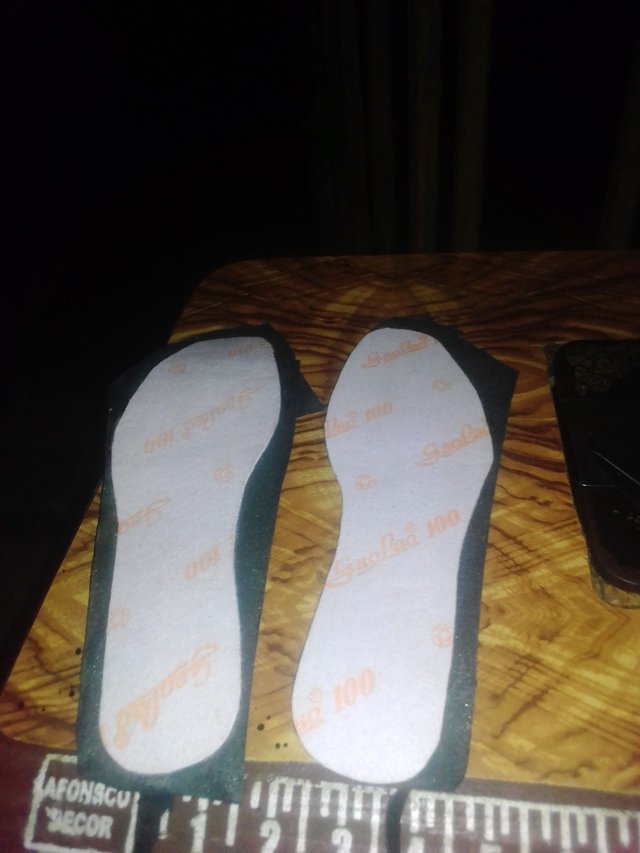
Now this cardboard (shoe pad i.e in sole) then we cut out a leather for the shape of the cardboard, apply gum to the cardboard amd the leather then stick them together for the shoe pad.
Next we nail the shoe pad to the last/mould. Then we force out the shape.
STEP-SEVEN
MOULTING
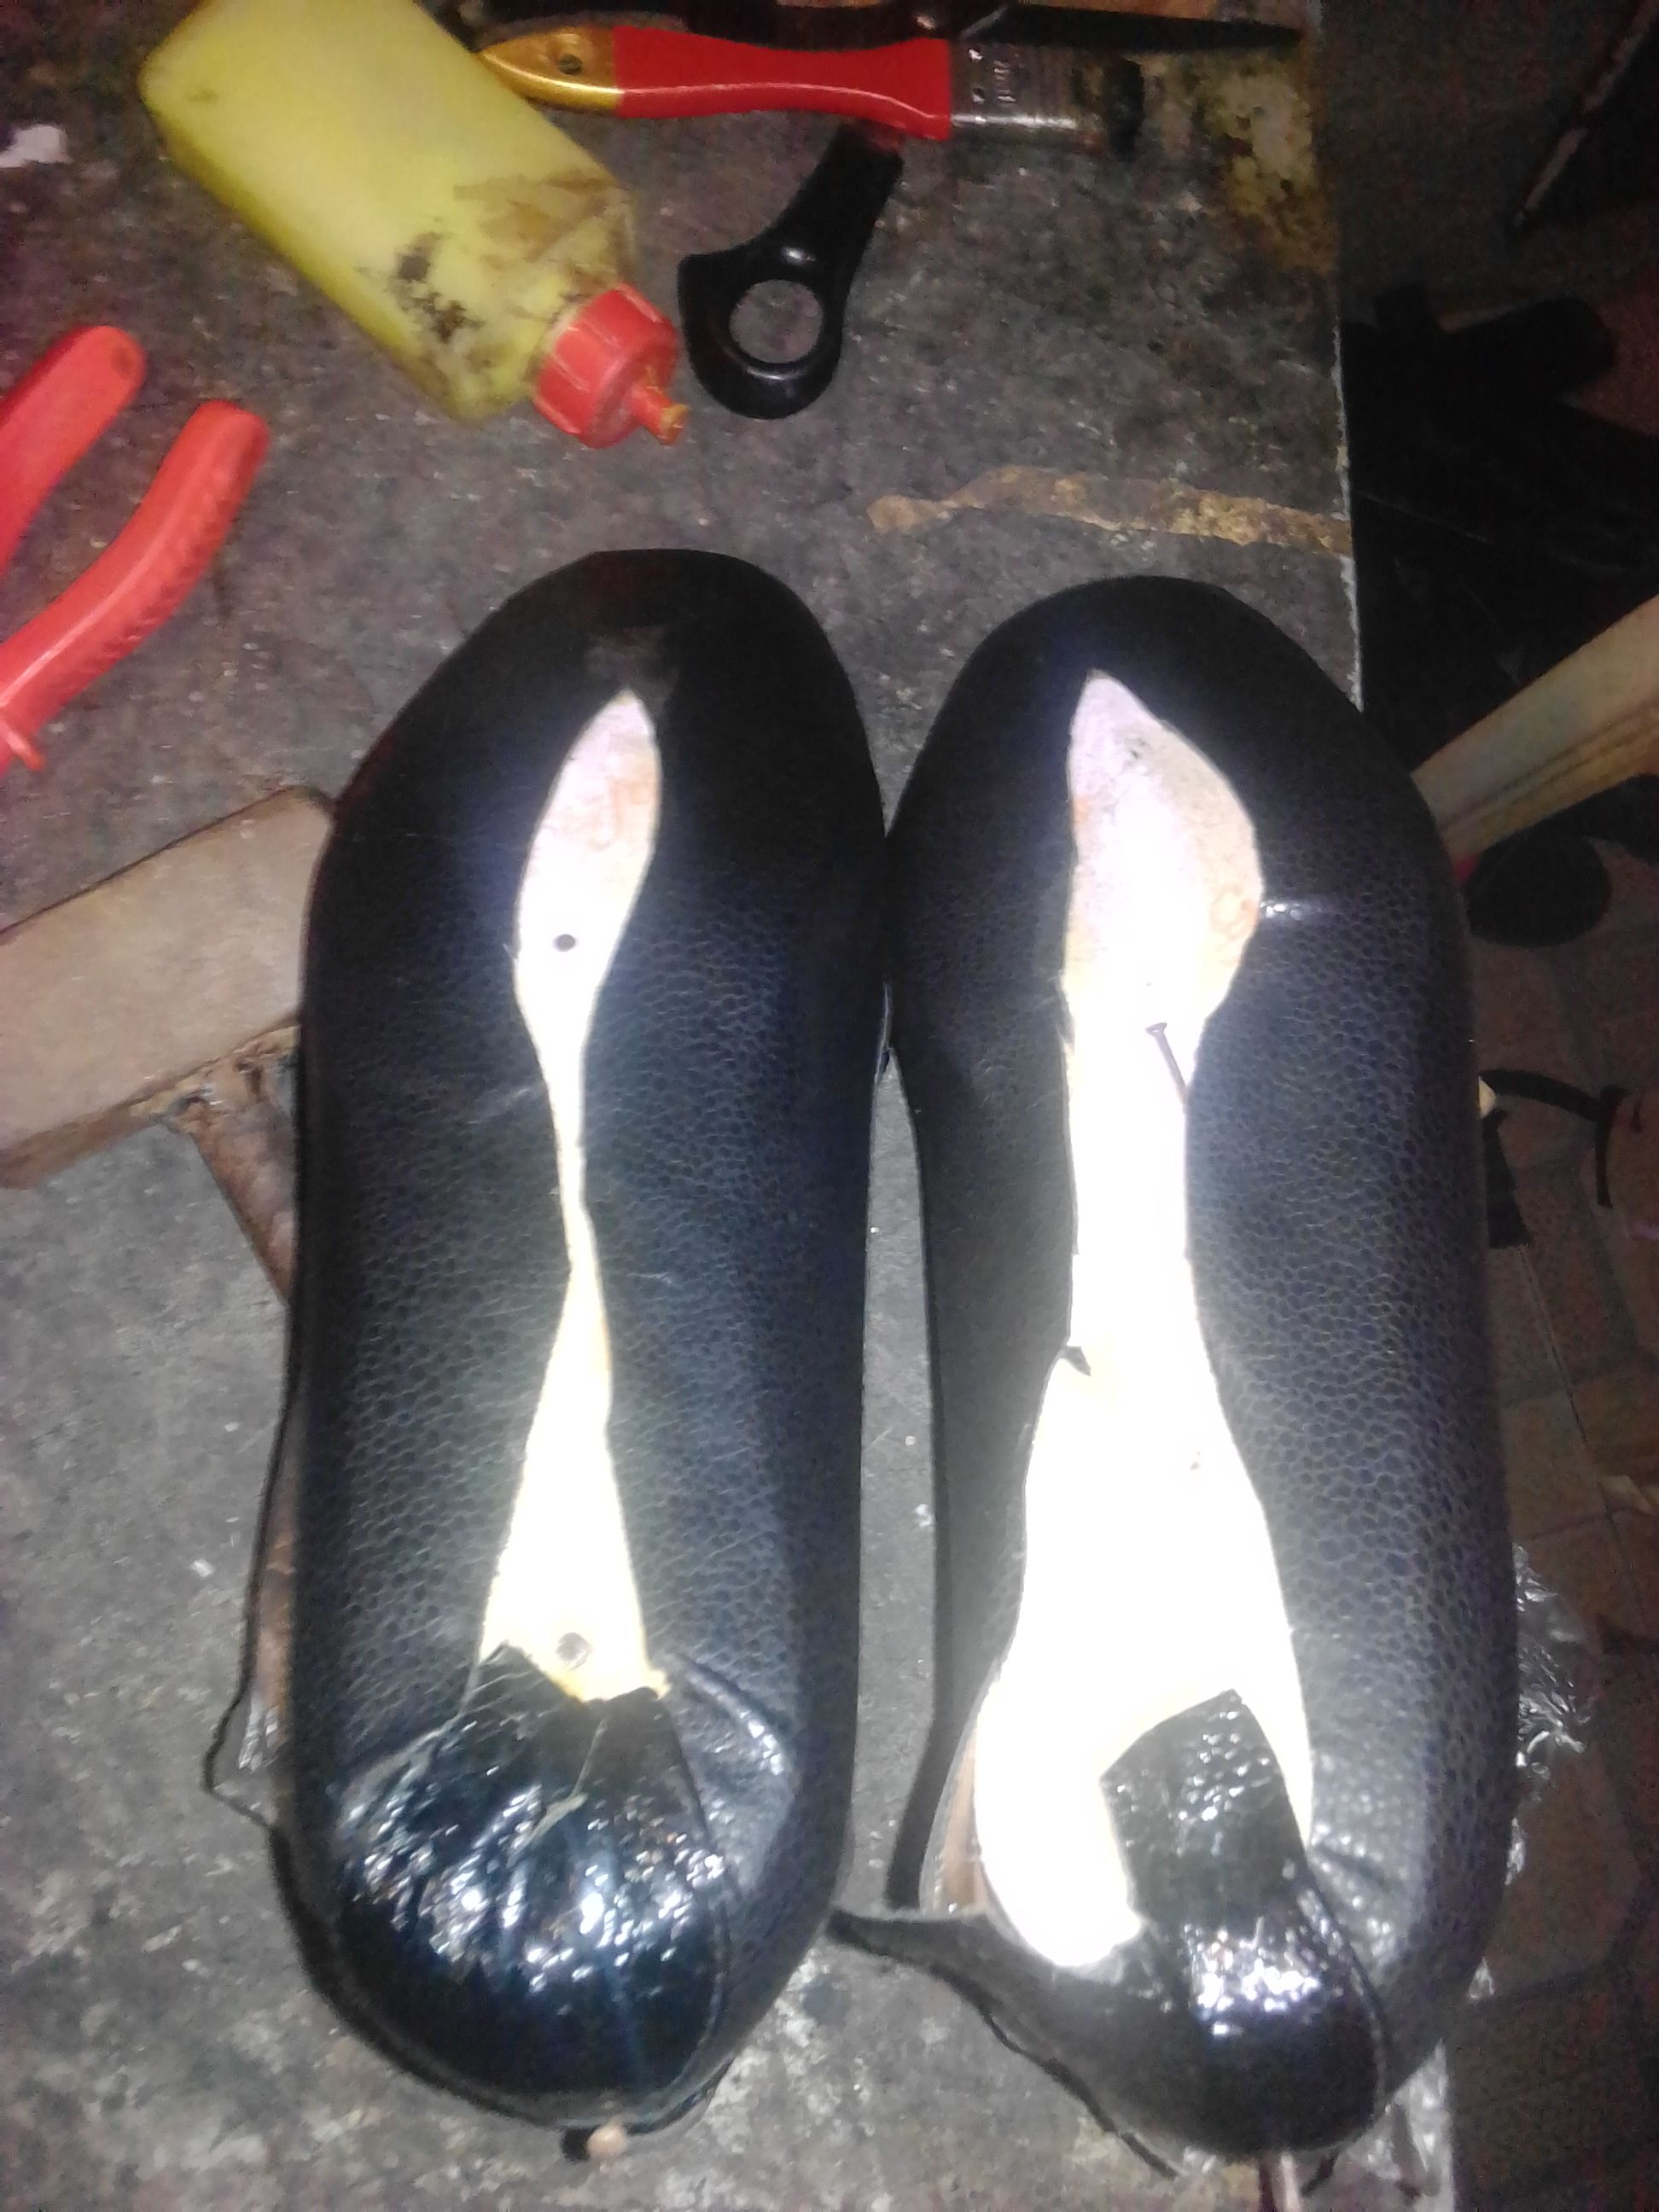
This is the simple step of cutting off the under part so the guming of sole to fit well.
On the above picture, on the left is moulted and on the right is unmoulted.
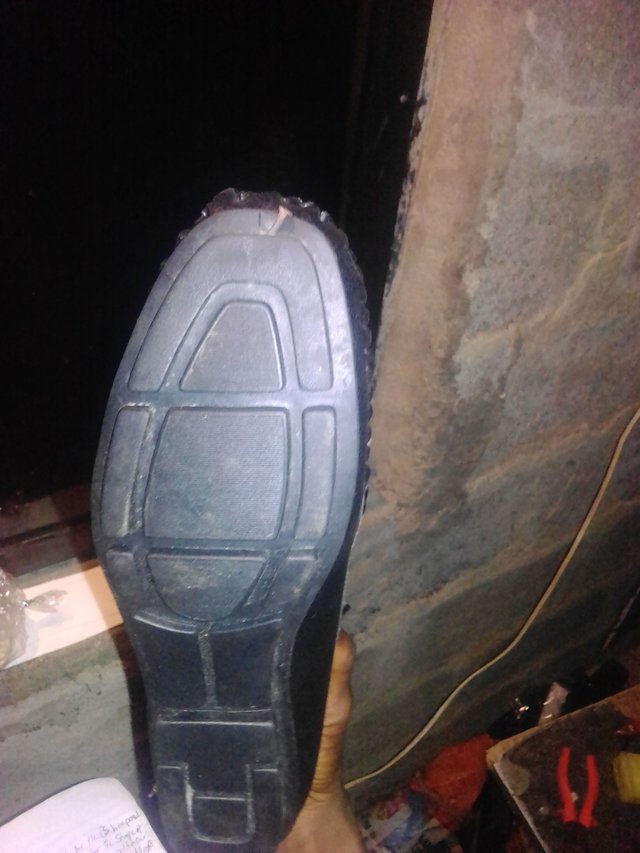
Picture above shows the nailing of the sole to the rest of the shoe.
FINAL-STEP
FILING AND GUMING
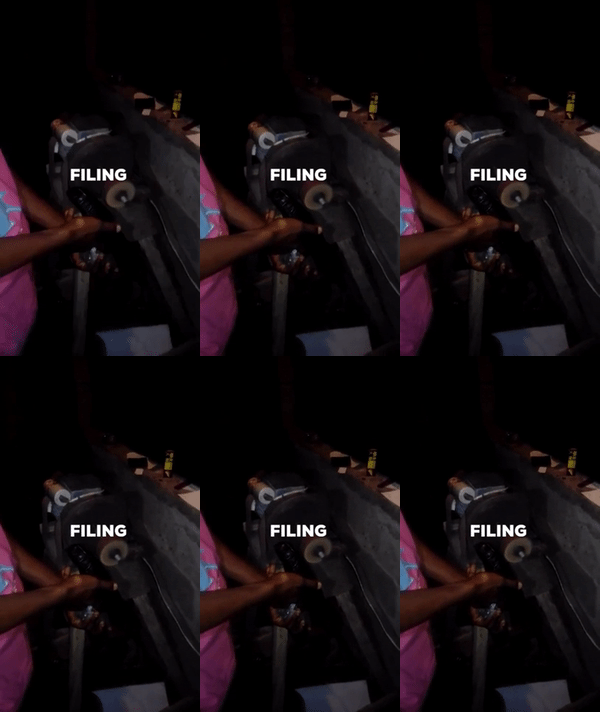
This is the process of making beneath the sole rough for it to absorb the gum and make it stick properly. Then applying the gum from beneath the shoe to the sole to stick and get ready for use.
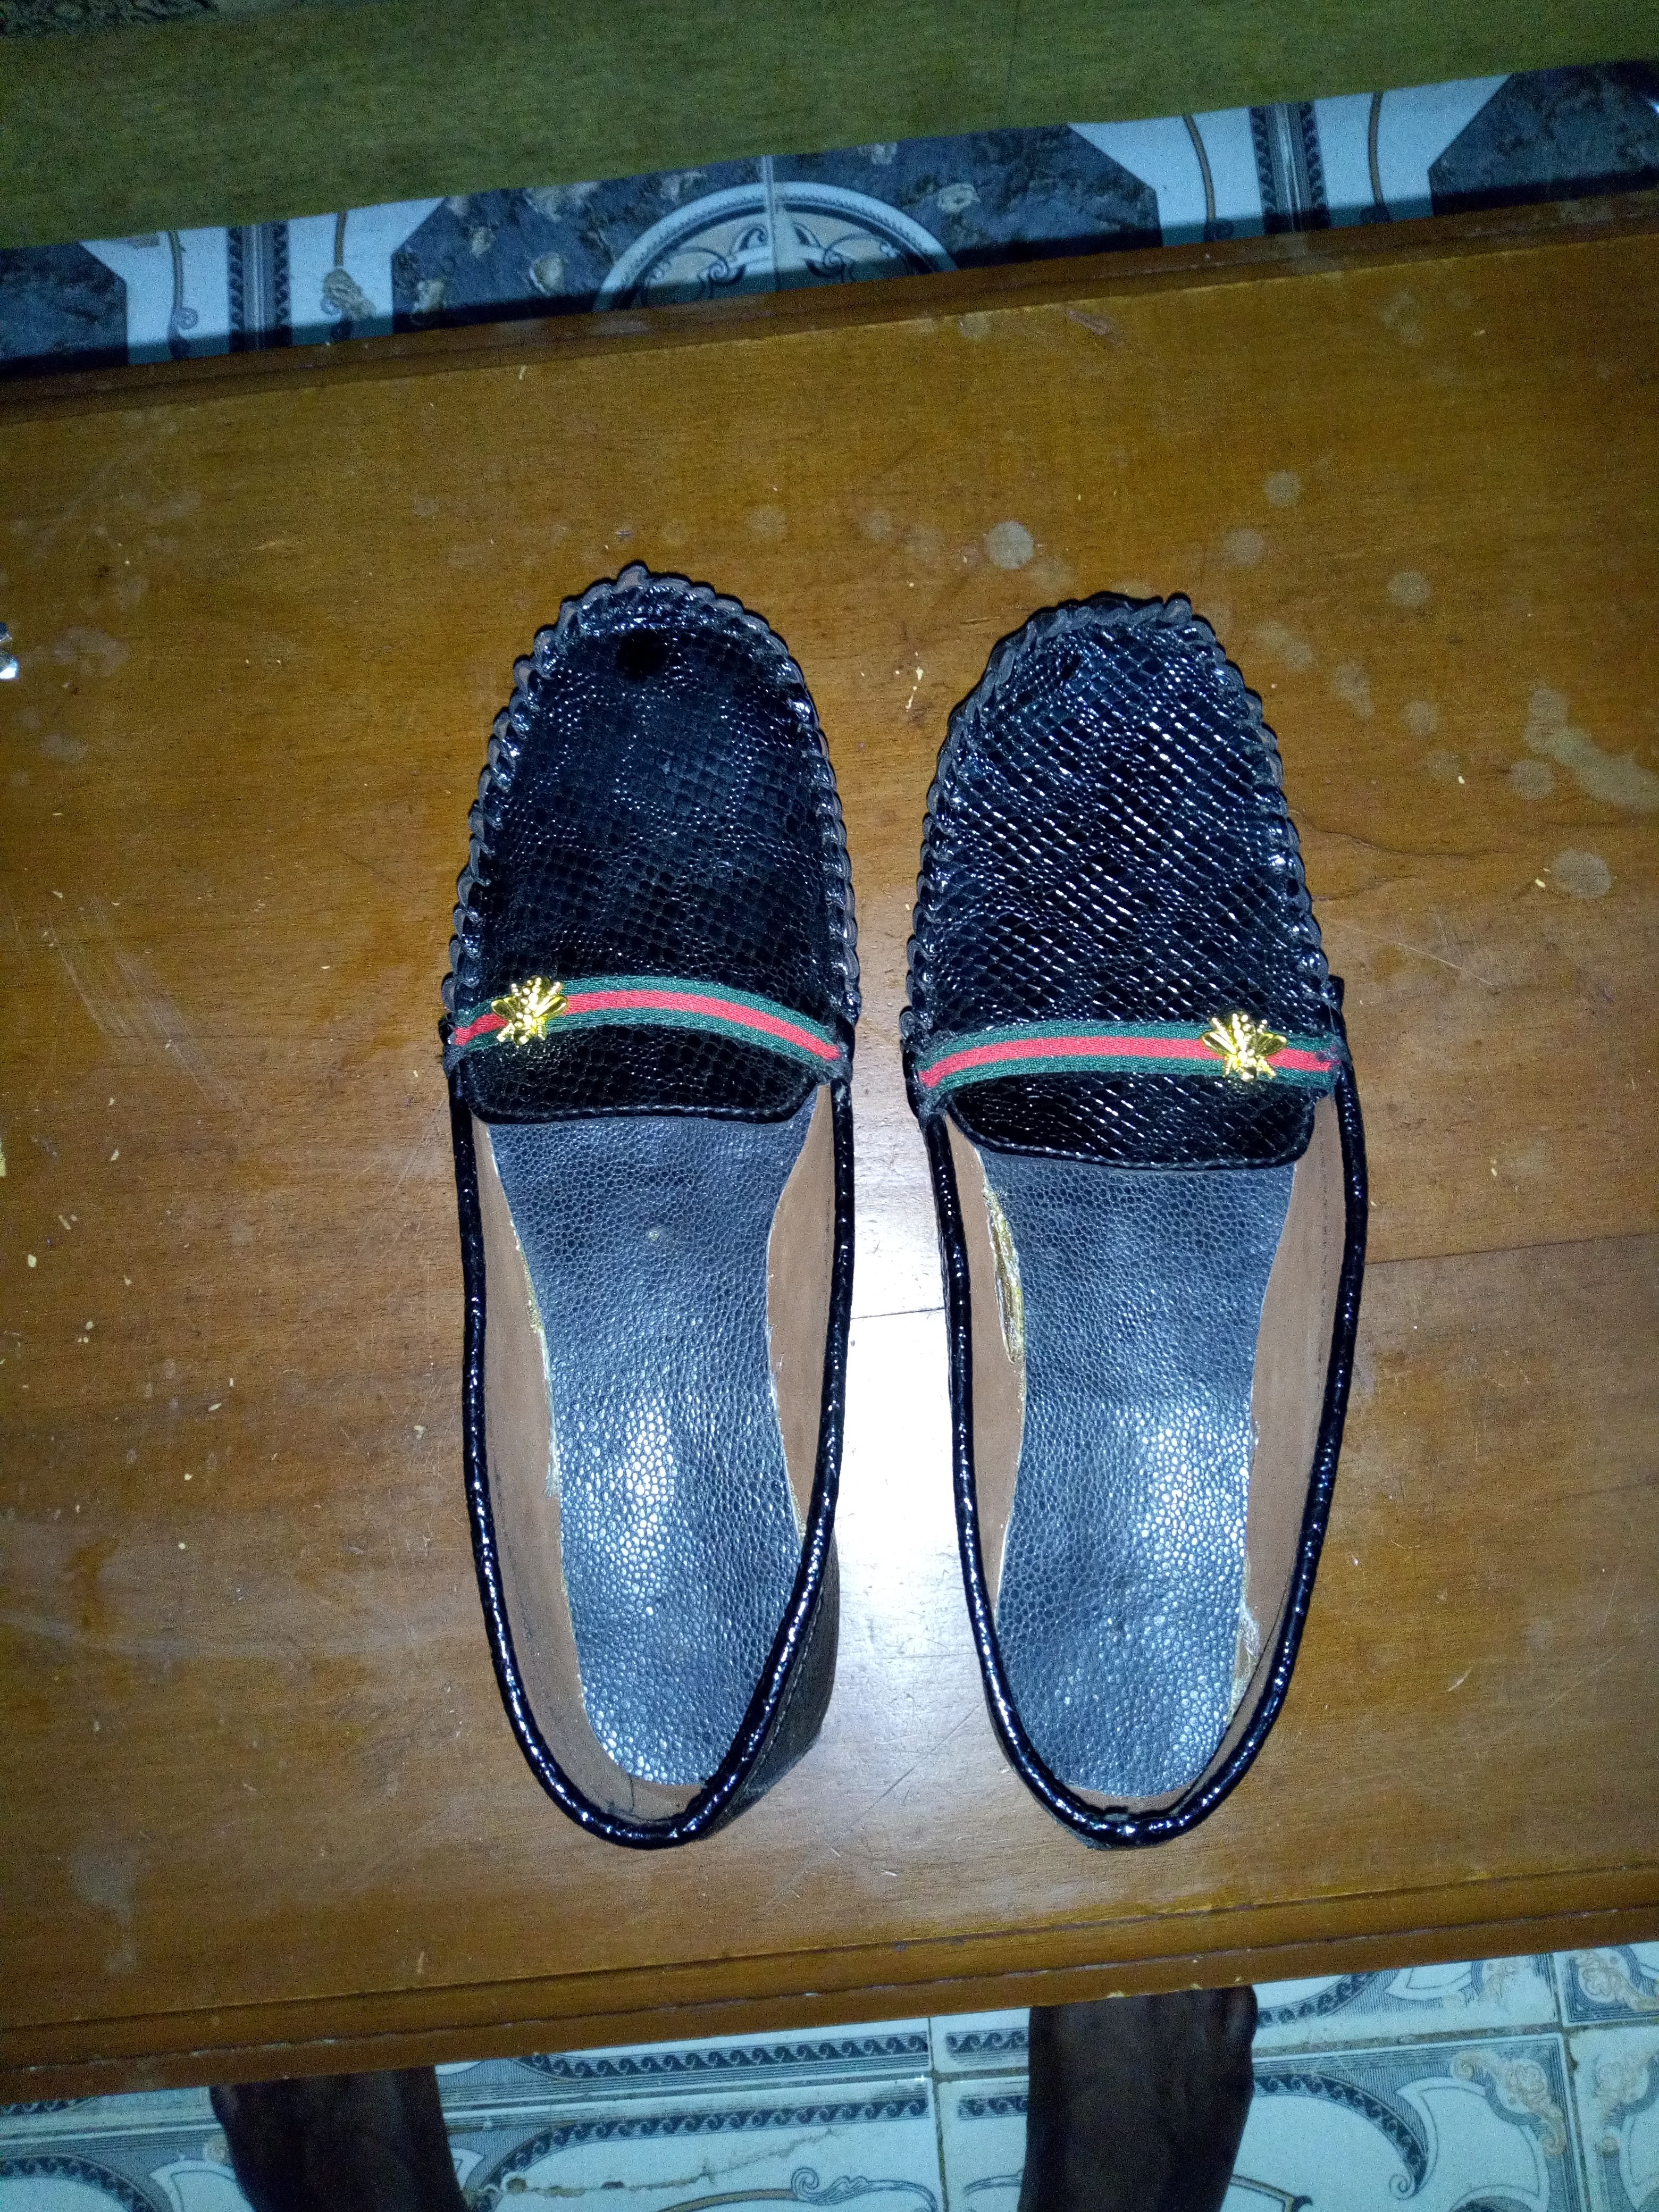
the final product of the work.
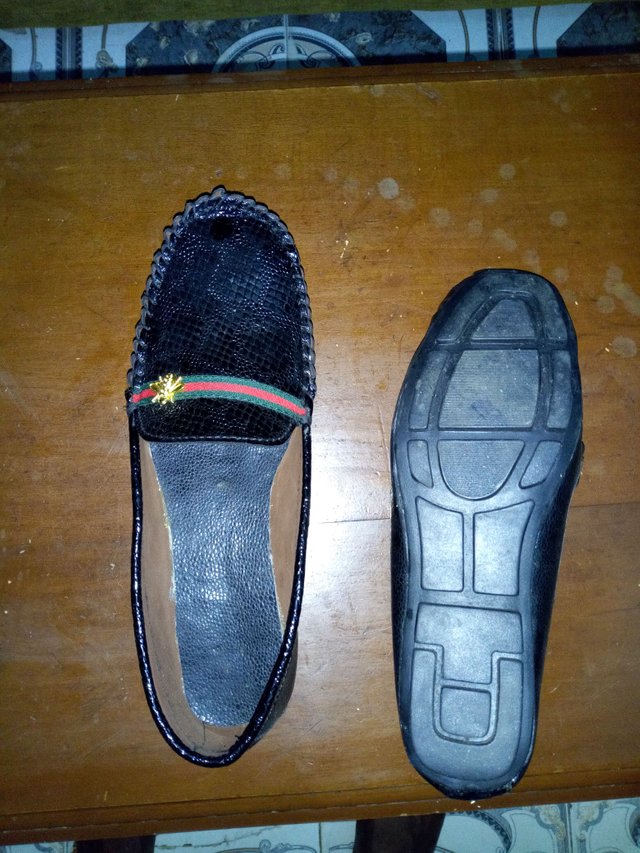
All pictures were taken with my itel 1503 and gifs there in are all my original work.
Wow this is pretty awesome! Shoes are one of those things that the average person just kind of... assumes that they come from a store LOL It is really cool to see the process of making shoes. They look great. I love the gifs and you did a great job of documenting this whole process. Wonderful post! Keep 'em coming, sir :)
Cheers - Carl "Totally Not A Bot" Gnash
@carlgnash from the @humanbot Human Certified Original Works Initiative has manually determined this post to be the original and truly creative work of the post author.
Learn more:
https://steemit.com/curation/@carlgnash/what-human-certified-original-works-means-to-me-a-totally-unofficial-mission-statement-from-just-one-person-in-a-decentralized
Thanks for being an original and creative content creator! You rock!
Downvoting a post can decrease pending rewards and make it less visible. Common reasons:
Submit
Thanks alot
I appreciate
Downvoting a post can decrease pending rewards and make it less visible. Common reasons:
Submit
Great tutorial. Welldone @stevenson7
Downvoting a post can decrease pending rewards and make it less visible. Common reasons:
Submit
Thanks alot
Sire
Downvoting a post can decrease pending rewards and make it less visible. Common reasons:
Submit
@originalworks
Downvoting a post can decrease pending rewards and make it less visible. Common reasons:
Submit
The @OriginalWorks bot has determined this post by @stevenson7 to be original material and upvoted(1.5%) it!
To call @OriginalWorks, simply reply to any post with @originalworks or !originalworks in your message!
Downvoting a post can decrease pending rewards and make it less visible. Common reasons:
Submit