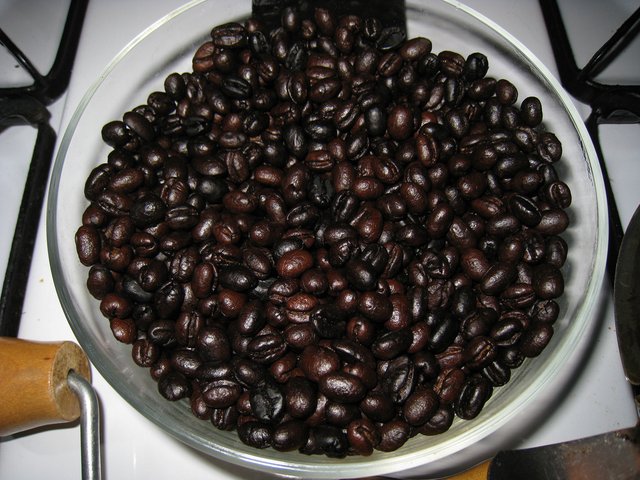
So finally you could lay your hands on a batch of green coffee (I hope it wasn’t too expensive) and now you are up to it: roast your own coffee at home! Now you could of course buy a real professional roasting equipment, but let’s start with something more basic and accessible: an ordinary frying pan (you would be surprised of the amount of people worldwide that still roasts their coffee that way) and let’s be honest: this is fun and you should enjoy yourself!
Roasting at home used to be normal until the start of the last century, so you might be able to find an elder person who still used to roast his own coffee. Common ways to roast at home are: in the oven, on the top of the stove (frying pan, pan with or without holes) or in a hot-air popper made for popcorn.

Experts say that roasting is both an art and a science and that may be true, but for me it is fun, joy and pride. Don’t be too disappointed if you cannot get it right at first try. It takes time and effort to learn how to roast. So .. let’s start!
The pan we use should be quite clean and dry of course, you would not want to pollute the taste of your coffee with burnt oil, food leftovers or even an aftertaste of soap! Next, you should check your green coffee: it should be clean, with only uniform and unbroken beans. If you have one pound, you should at least divide it into 4 to 5 parts because it takes some tries to get it all right and the first batch will most likely be lost.
There is one thing a lot of people don’t know or do not understand about roasting quantities: it does not matter if you toast 20 grams or 20 kilos of coffee, the roasting time should be the same, and never more than 12 to 15 minutes! This fact took me by surprise as well as I started learning how to roast, but in fact it makes a lot of sense. A toast should be uniform (everything the same color) and the physical and chemical reactions should be the same and for the same amount of time as well. This goes for industrial toasting as well, so you can imagine that there is a lot of pressure on a toaster because in a matter of seconds a whole batch can be ruined.

Coffee roasting pans (with holes)
First thing to do is to pre-head your pan. The time this takes depends on the kind of pan you use. The temperature has to rise to about 230⁰ C. If you do not trust yourself or are using a pan you do not know quite well, try toasting slices of bread first, so you get the feel for it. We need a temperature from over 200 because at the moment you throw in the coffee, temperature can drop quite something (depending on humidity). So put the flame high and keep it there after you add the green coffee, and start and keep stirring. You need to stir your coffee a lot, with a wooden spoon, so the roast will be uniform and have the same color on all sides.
We know that certain reactions take place at certain temperatures, but as we cannot use a thermometer, we depend on time, controlling the flame and checking the color. For the first minutes, put the flame high to bring the coffee up to roasting temperatures. This stage has to be done quickly enough (max. 5 minutes) to preserve some internal moisture but not so quickly that the outside of the beans are at risk of scorching. This stage ends when the color of the coffee has turned from green to yellow and the smell shifts from freshly cut grass to hay-like.
In the next 5 minutes the coffee undergoes changes at low roasting temperatures (around 200 degrees). The color turns from yellow to increasingly darker shades of brown and the smell turns from hay-like to that of baking bread. From 170-200°C the sugars of the beans get brown and caramelization of the beans starts with the releases of aromatic and acidic compounds. It might be necessary to lower the flame a bit at this point but remember that if you roast the coffee too lightly, the bitter tasting compounds won’t degrade.
Article continue here: https://steemit.com/coffee/@petrvl/roasting-your-coffee-at-home-2
Previous article from coffee series you can find under tag #cafescope.
You can see them all here.
Article was also published on Cafescope