Overview

This howto guide will help you to install the Bitcoin and Altcoin Wallets WordPress plugin with a web wallet back-end, using the CoinPayments.net platform, and the coin adapter for it.
If you are interested in installing the plugin and connecting it to a full node, please see this guide instead.
Installing the Bitcoin and Altcoin Wallets plugin from WordPress.org
1 Log in to your WordPress installation as an admin.
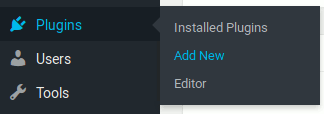
2 Navigate to Plugins → Add new.
3 Search for "wallets".

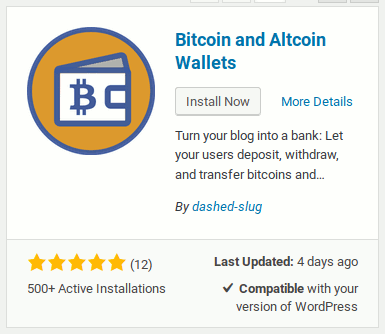
4 Find the Bitcoin and Altcoin Wallets plugin in the results, and click on the Install Now button:
5 Make sure to also activate the plugin. Click on Activate. (If you are installing network-wide in a multi-site environment, click on Network active to make the plugin available to all sites on your network.)
6 Once your plugin is activated, you will get an error message: The Bitcoin RPC API cannot be contacted. This is only relevant if you are attempting to connect to a full node Bitcoin wallet.
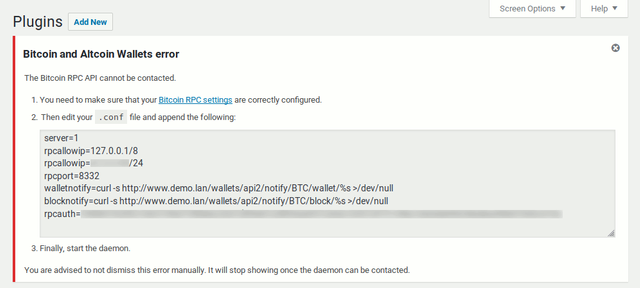
The plugin comes with one coin adapter built-in: The Bitcoin full node coin adapter. Since we will be installing the plugin with a web wallet, start by disabling the built-in coin adapter.
First, use the menu to navigate to Wallets → Bitcoin core node (BTC).
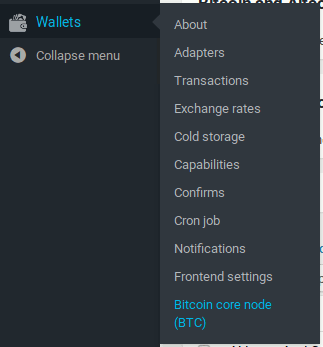
7 Then, disable the adapter. Untick the Enabled checkbox:
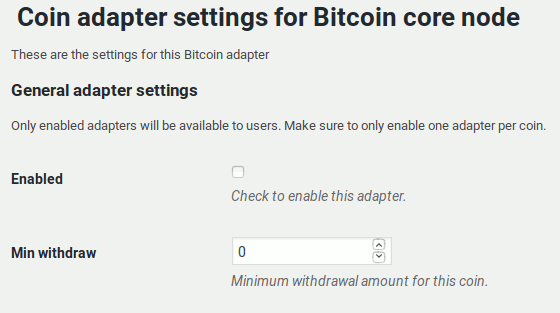
8 Finally, click on Save changes at the bottom of the page:

The error message should now disappear.
If you visit the Wallets → Adapters screen, you should not see any coin adapters listed at this stage.
Install the CoinPayments adapter extension from dashed-slug.net
You can now install the CoinPayments adapter to interface with the CoinPayments web wallets. To do this, you must first download the adapter extension.
Coin adapters are plugins that you can install to extend the parent plugin. All coin adapters are available for free download to anyone who signs up to dashed-slug.net.
9 Visit the signup page at https://www.dashed-slug.net/dashed-slug/subscribe/.
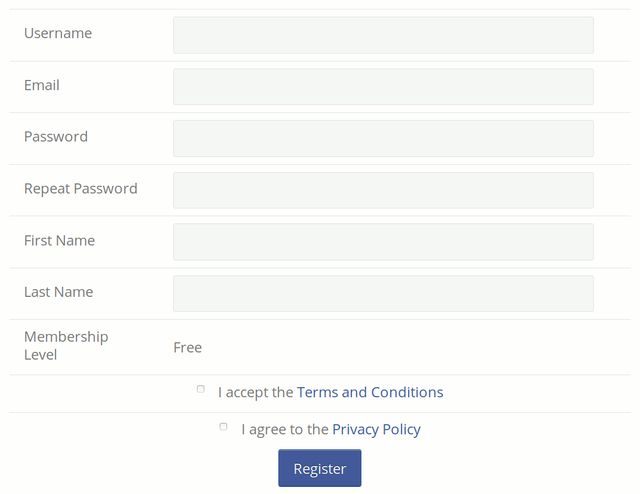
Fill in the form and make sure to tick the check boxes to indicate that you accept the legalese. You will get a confirmation message in your email.
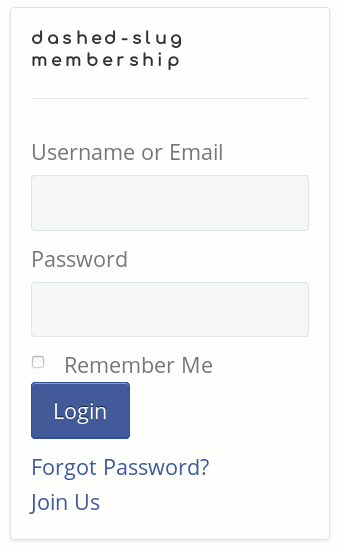
10 Visit the dashed-slug homepage and log in using the email and password you entered in the previous step:
11 Use the menu to navigate to the homepage of the CoinPayments coin adapter extension, or use this direct link.
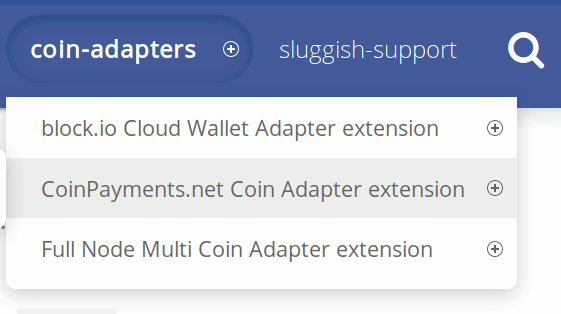
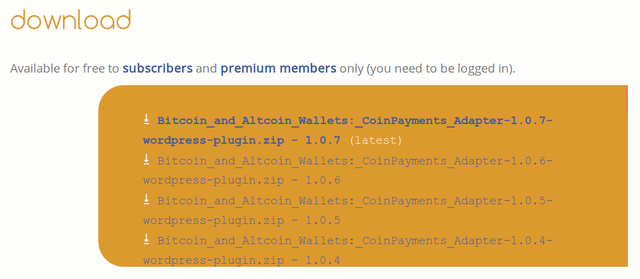
12 This page contains some information on the coin adapter, including a Troubleshooting section that lists some common pitfalls and solutions. For now, scroll down to the Download section, and click on the zip file with the latest version. Your browser will download the zip file.
13 Go back to the admin screens of your WordPress installation, and visit Plugins → Add new again.

14 This time, click on the Upload plugin button at the top of the screen.

15 Click on Browse and select the zip file you downloaded. Then click on Install now.

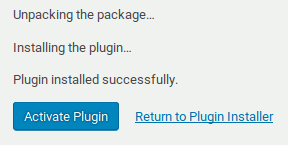
16 Once the plugin is unpacked, click on Activate.
Configure your CoinPayments.net account
17 To use the CoinPayments adapter, you must create an account on CoinPayments.net. While not strictly necessary, it is best if you use a separate account for each site you setup.
18 Go through the account registration process, then login to your CoinPayments account.
19 This wallet will hold the cryptocurrencies of all users on your site. It is best that you set up two-factor authentication. Visit your Account Settings, then go to the Login & Security tab to setup 2FA.

If you are not already using Google Authenticator on your phone or tablet, the link is here:
https://play.google.com/store/apps/details?id=com.google.android.apps.authenticator2
20 Go to the Coin Settings screen and select a few coins. It is best if you do not enable all the coins at once. For now, enable the Litecoin testnet coin. With this you can test connectivity with the wallet without transacting any actual coins. Click on Update Coin Preferences. You can later enable more coins as needed.

21 You will need to create an API key for the plugin to use. Visit the API keys section of your CoinPayments account.
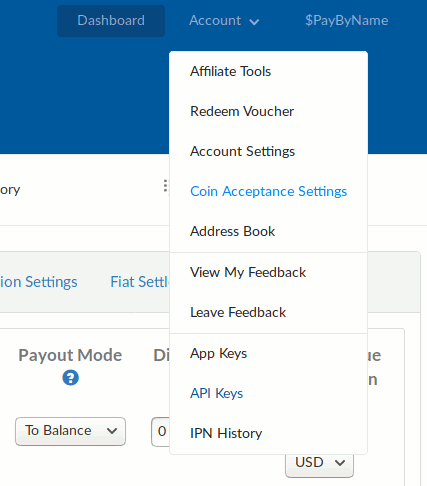
22 Generate an API key if none exist. Click on the Edit Permissions button for that key.

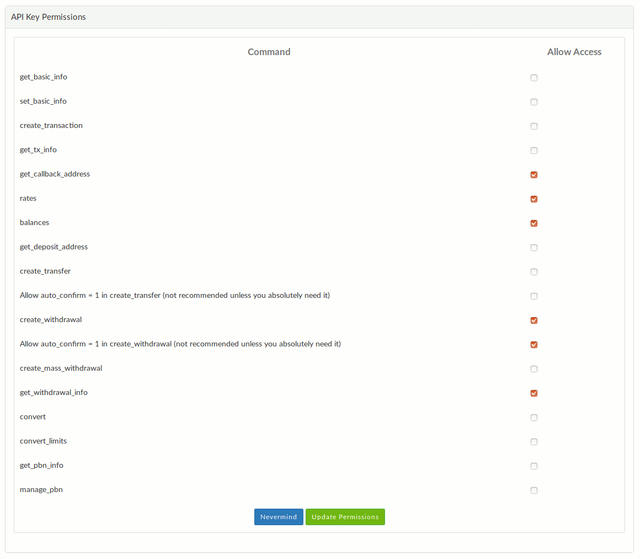
23 Make sure that at least the following permissions are set: get_callback_address, rates, balances, create_withdrawal, Allow auto_confirm = 1 in create_withdrawal, get_withdrawal_info. Then, click Update Permissions.
Configure your plugin
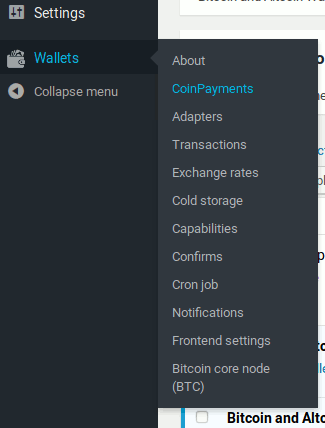
24 In your WordPress installation, go to the coin adapter settings via the menu Wallets → CoinPayments.
25 You will need to provide four pieces of information to connect to the online wallet.
- The Public and Private keys are those of the API key you created in step 21. Revisit the API Keys section and paste the two keys into the plugin form.
- Your Merchant ID can be found in your Account Settings under the Basic Settings tab.
- Your IPN Secret is a string that you choose. Enter a random string in your Account Settings under the Merchant Settings tab. Enter the same string in your plugin.
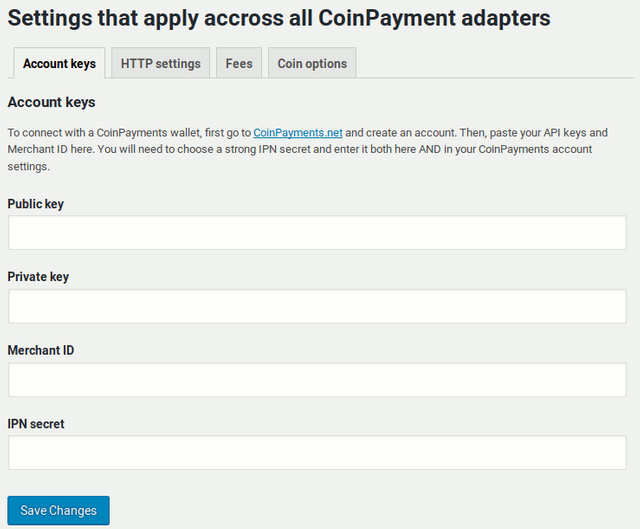
Once all the information is entered correctly, click on Save Changes.
26 To make sure that the list of available coins is downloaded, go to the HTTP Settings tab, and click on Clear HTTP cache.

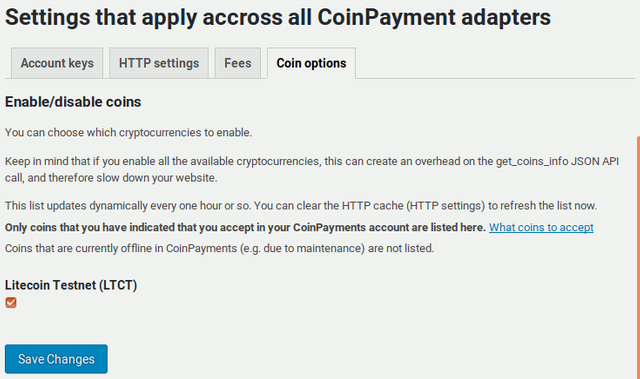
27 Visit the Coin options tab. Here you will see a list of all the coins you have enabled on the CoinPayments platform, such as the Litecoin testnet (LTCT) coin. Check to enable the coins you wish to make available to your users. Then, hit the Save changes button.
Making sure that everything works as expected
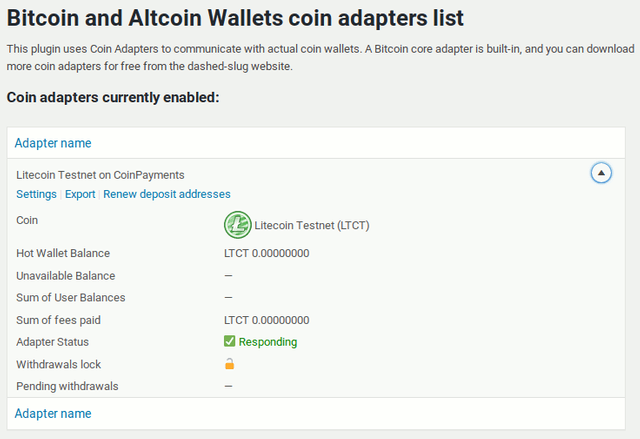
28 Visit the coin adapters list via the menu Wallets → Adapters. You should see the Litecoin Testnet on CoinPayments adapter. Its Status should be Responding.
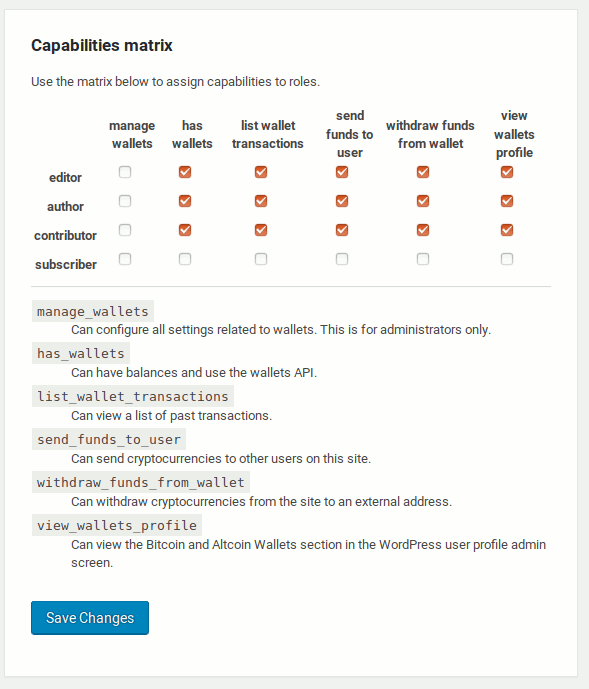
29 Visit the Capabilities section to make sure that users with the correct capability have wallets. Go to Wallets → Capabilities in your menu. The default user role in WordPress is the Subscriber role. If you wish subscribers to be able to use all of the wallet features, assign all the available capabilities to them, except manage_wallets. The manage_wallets capability must be reserved for administrators only, as it gives access to the Wallets admin menu.
30 At this point, you may use the wallet shortcodes on your site's pages. Alternatively, you can use the same UIs as Widgets in your theme's widget areas.
31 To test deposits, first enter the [wallets_deposit] shortcode into a page. Display that page in your front-end. You will see an LTCT deposit address and a QR code for it.
![The [wallets_deposit] UI](https://steemitimages.com/640x0/https://www.dashed-slug.net/wp-content/uploads/2018/08/wallets-deposit-ui.png)
32 Test a deposit by sending some Litecoin testnet coins to that address, using this testnet faucet: http://testnet.litecointools.com/
Allow a few minutes for the deposit to be mined, and to be discovered by the CoinPayments platform and the WordPress plugin.
If the deposit appears in your CoinPayments account but not in the plugin, please check the Troubleshooting section in the coin adapter's homepage. The IPN mechanism requires that your WordPress installation is facing the internet and can be accessed by it (i.e. is not behind a firewall).
33 If you have followed this tutorial, you have downloaded the coin adapter as a free subscriber to dashed-slug.net. If you decide to become a premium member, you will gain access to automatic updates to this extension, and to all other extensions you choose to install. To enable easy updates via the Plugins admin screen, you should follow these instructions to enter your member code.
If you are not a paying member, you can still keep your coin adapter up-to-date by manually downloading and installing the latest zip file from the dashed-slug page.
Getting help
That is all!
- If something does not work, first check the Troubleshooting section in the coin adapter's homepage.
- You can also check the support forum for this Coin Adapter extension. Others may have had a similar problem in the past. If not, you are welcome to post any question.
- If your issue is with the parent plugin rather than with the CoinPayments adapter, please use the support forum on WordPress.org instead.
- If you prefer, you can email me directly.
Congratulations @dashed-slug.net! You have received a personal award!
Click on the badge to view your Board of Honor.
Downvoting a post can decrease pending rewards and make it less visible. Common reasons:
Submit