I am a huge fan of Pizza! Cheese, tomato, sweet chili sauce, chicken and bacon. That would be my preferred choice.
Now we have all had that situation where we are ordering a pizza and you just can't agree what toppings to have. One want mushrooms, the other cringes at the thought. One person wants only spicy beef and the other wants all the meats!
Arrggghh!!! What a frustrating situation. Well, you will be happy to know that I have a solution, and it is one that involves getting a bit messy (But what's so bad about that?).
This idea was suggested to me while at a friends house. I was trying to impress them with my new found love for homemade pizza, when I forgot to flour the surface I was using to lay the pizza dough upon. This caused a very sticky situation and the only thing we could think of, to save my shame and our dinner, was to steadily roll the uncooked pizza into a log. This then led to the next problem. How the heck do we coiled a 2ft long pizza-conda into the oven?
Let me show you ;)
Ingredients: (This will serve at least 4 people)
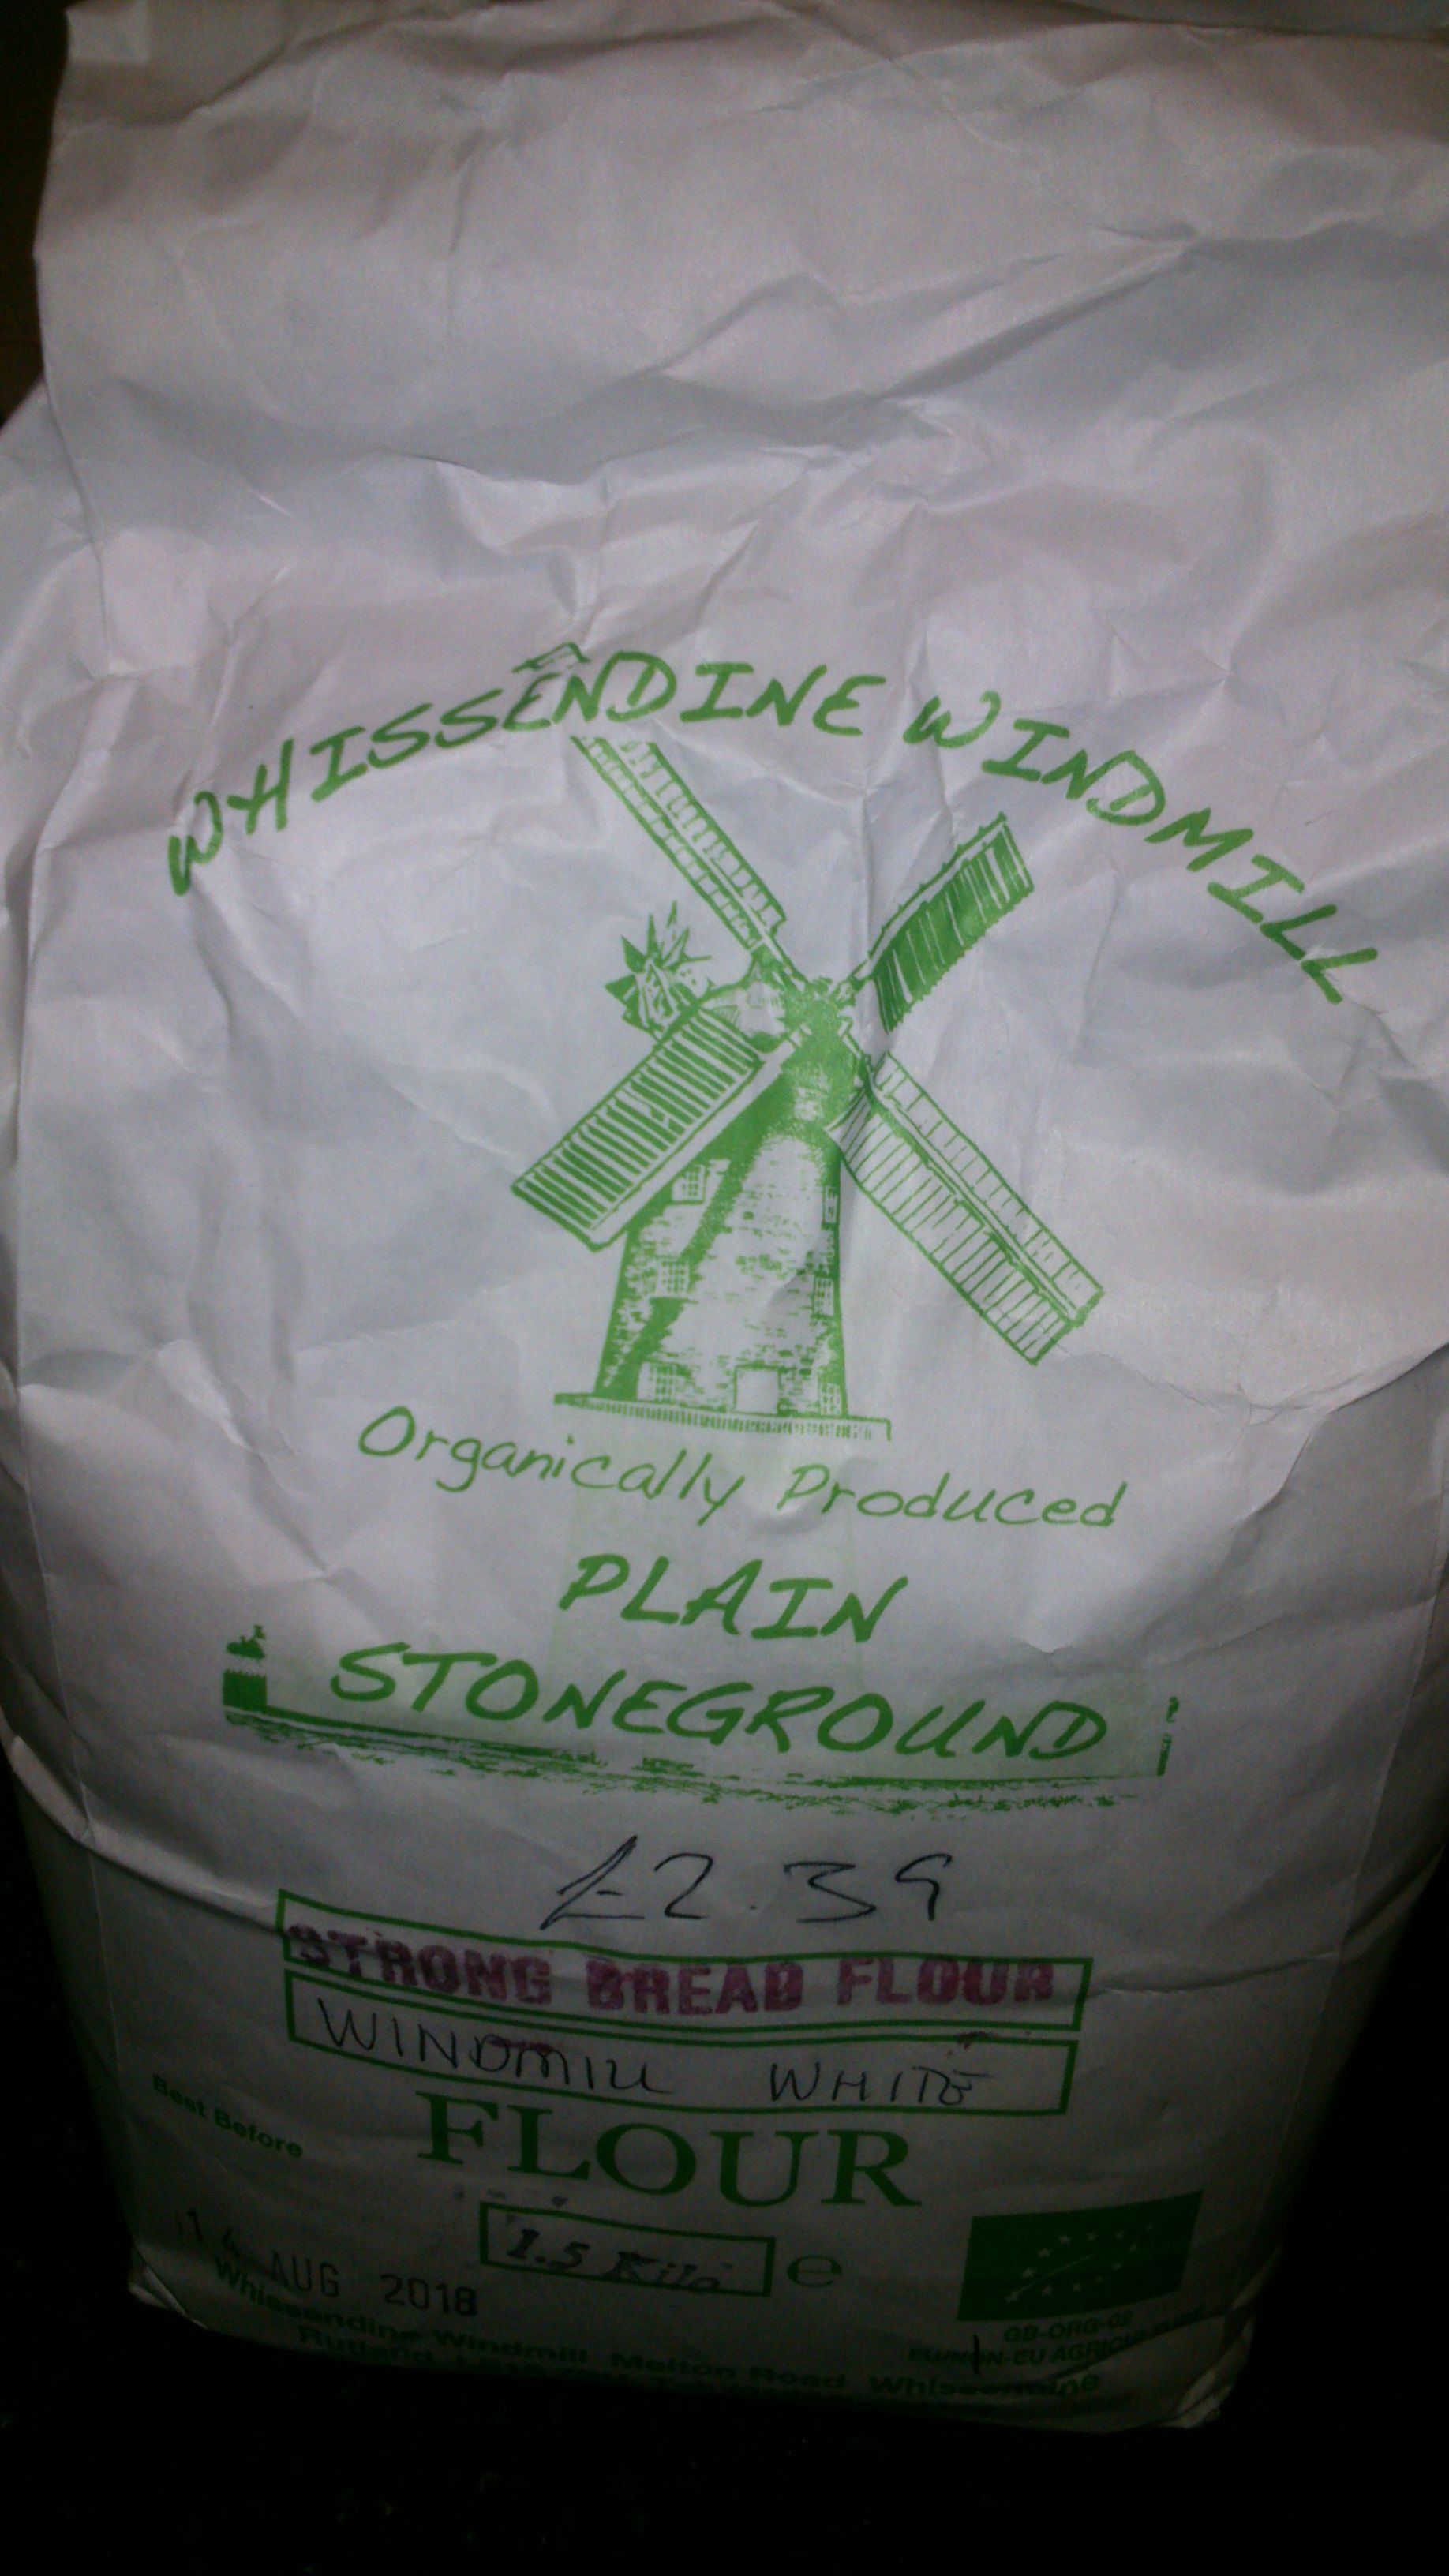
800g Strong bread flour.
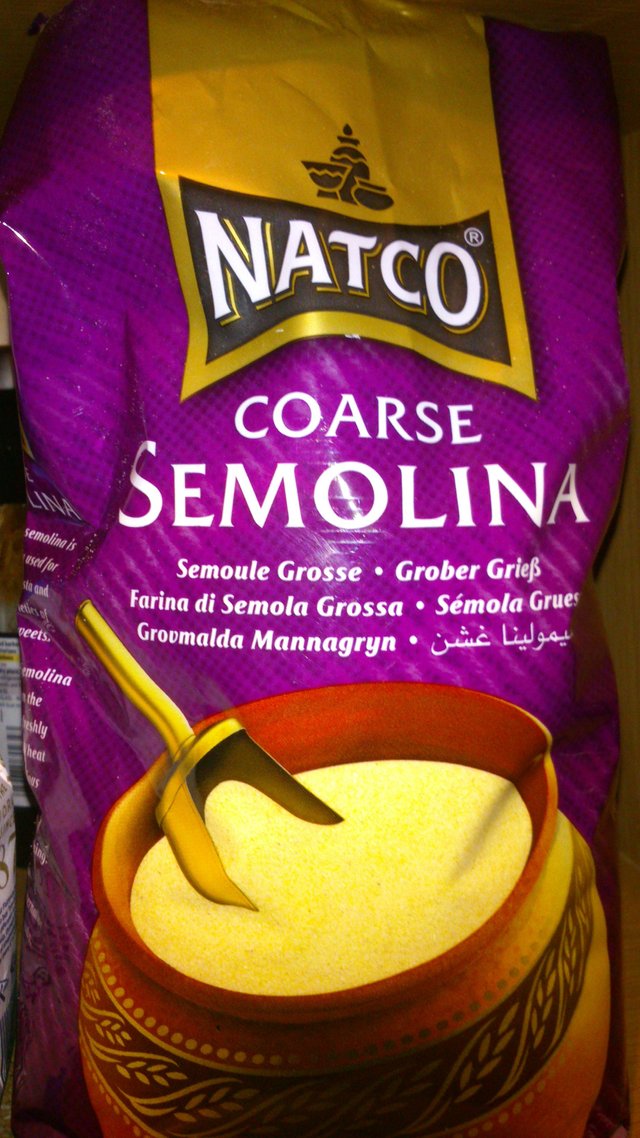
200g of Semolina. Fine semolina is better but not sometimes hard to find (This just gives the dough a golden colour. If you don't use Semolina then just use 1kg of flour)
14g Yeast - or 2 sachets -
1 teaspoon of salt
1 tablespoon of Golden caster sugar
650ml of luke-warm water.
Tomato puree
Grated cheese
Any topping you desire
A very empty belly!
Method:
Pour the yeast and sugar into your, luke-warm, water. Stir and leave for 10-15 minutes to react, while you make your dough. (Yeast is a living organism and it's always an interesting point to make when doing this with the kids)
Mix together your flour, semolina and salt. Sift out onto a clean dry surface (You will need to give yourself a decent bit of room)
With your big floury mountain in front of you, make a well in the center.
Now this is the
messyfun bit! Gradually, pour your yeasty water into the well and mix in the flour as you go. Try to keep the walls of you 'well' nice and tall. You don't want a breach, as this can lead to wet feet (Funny for the kids but not so funny for me and my favourite trainers). The best technique I have found, is to use a fork and after filling the well with liquid, stick your fork into the well and pull the edges of the flour-wall into the mix. Once you have managed to mix in all of your liquid, use your hands to fold your mixture. Do this for about 5 minutes, until your dough is nice and stretchy.Leave your dough in a floured bowl and cover with a damp cloth over - The dough will rise to double its size! Make sure the kids are the first to go check if it's ready. My daughter's reaction was one to remember, so don't forget to get your parental kick out of this. After all, you're the one who will be doing the pots! -
After about an hour your dough should have risen. Now it's time to do what's called 'knocking back the dough'.
This part can be great fun. Especially when it's done whilst performing your best impersonation of an Italian pizza chef.
Make sure your work-surface is floured!! Now, fold your dough, over and over, giving it a good beating as you go (Mike Tyson style if you like). This again, should make the dough nice and stretchy.It is up to you whether you repeat this process, once your dough has done a J.C. and risen again. I prefer not to when I am making the tear and share because it is good to let the dough swell when it has been cut and placed in your tray.
Now it is time to practice your pizza spinning....(Don't blame the kids if this goes wrong). Spread you dough out to about half a centimeter thick - You can just use a rolling pin - Don't forget to flour the surface -
Time for toppings!!! Go for broke, that's what I say. I personally like to use some sweet-chilli sauce, to go along-side the tomato puree base. Use plenty of cheese and sauce as this method produces a very doughy treat!
Roll up! Roll up! Yep, your almost there. Now take your time with this bit as you want to try do this without splitting your base(You don't want any of that yummy sauce escaping). Not much need to explain this bit in too much detail. Just roll it into a pizza-log and you're almost done.
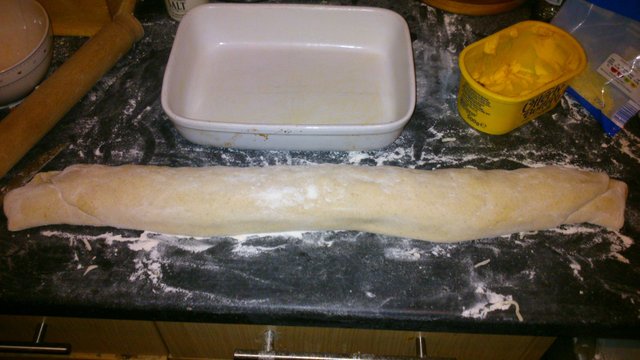
Now just cut you pizza-conda into sections. The size of these should match the height of your baking tray.
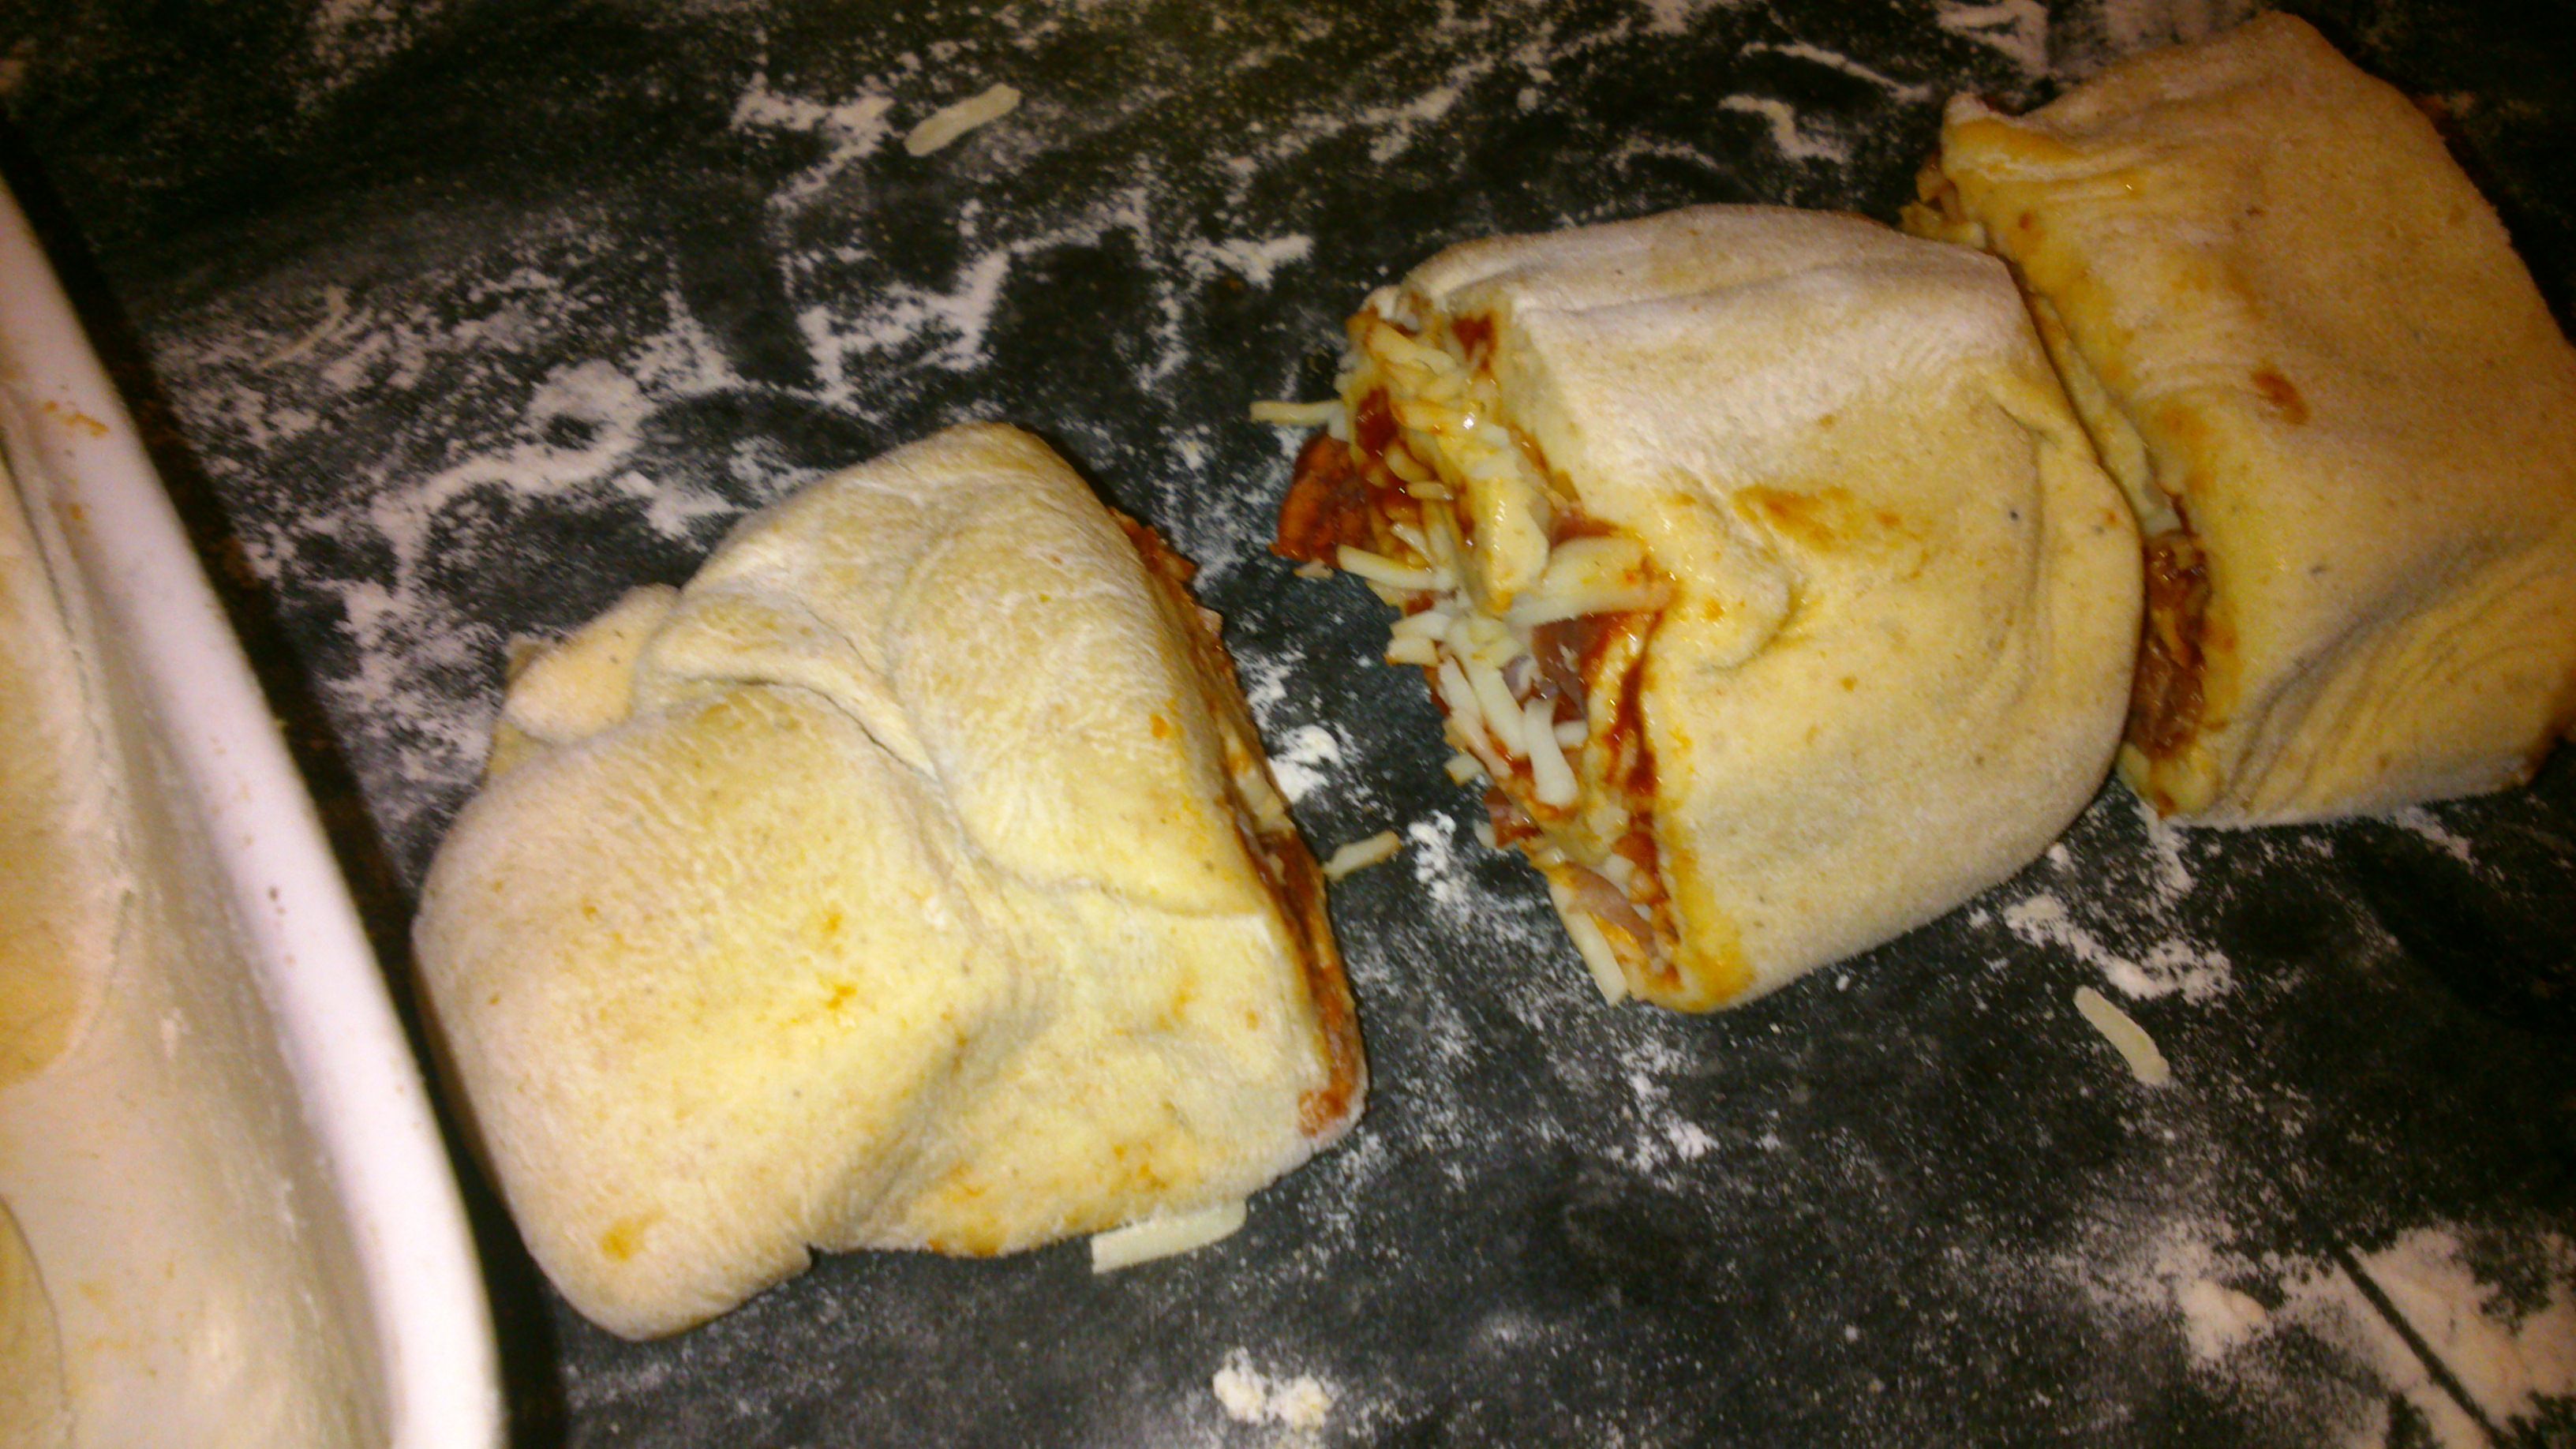
Place your pizza-rolls side-by-side in your tray. Leave for about 15-20 minutes(This allows the rolls to swell up and squish together)
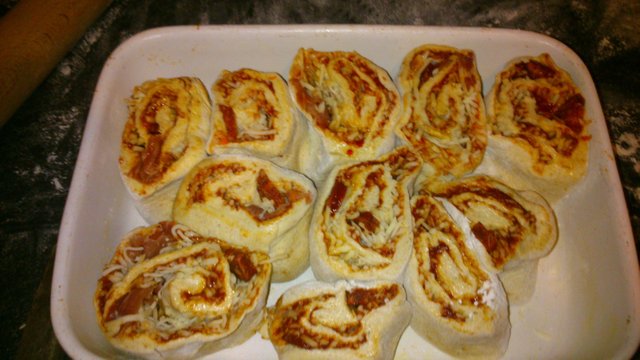
Place in the oven for around 20-30 minutes
Tear, share and enjoy!
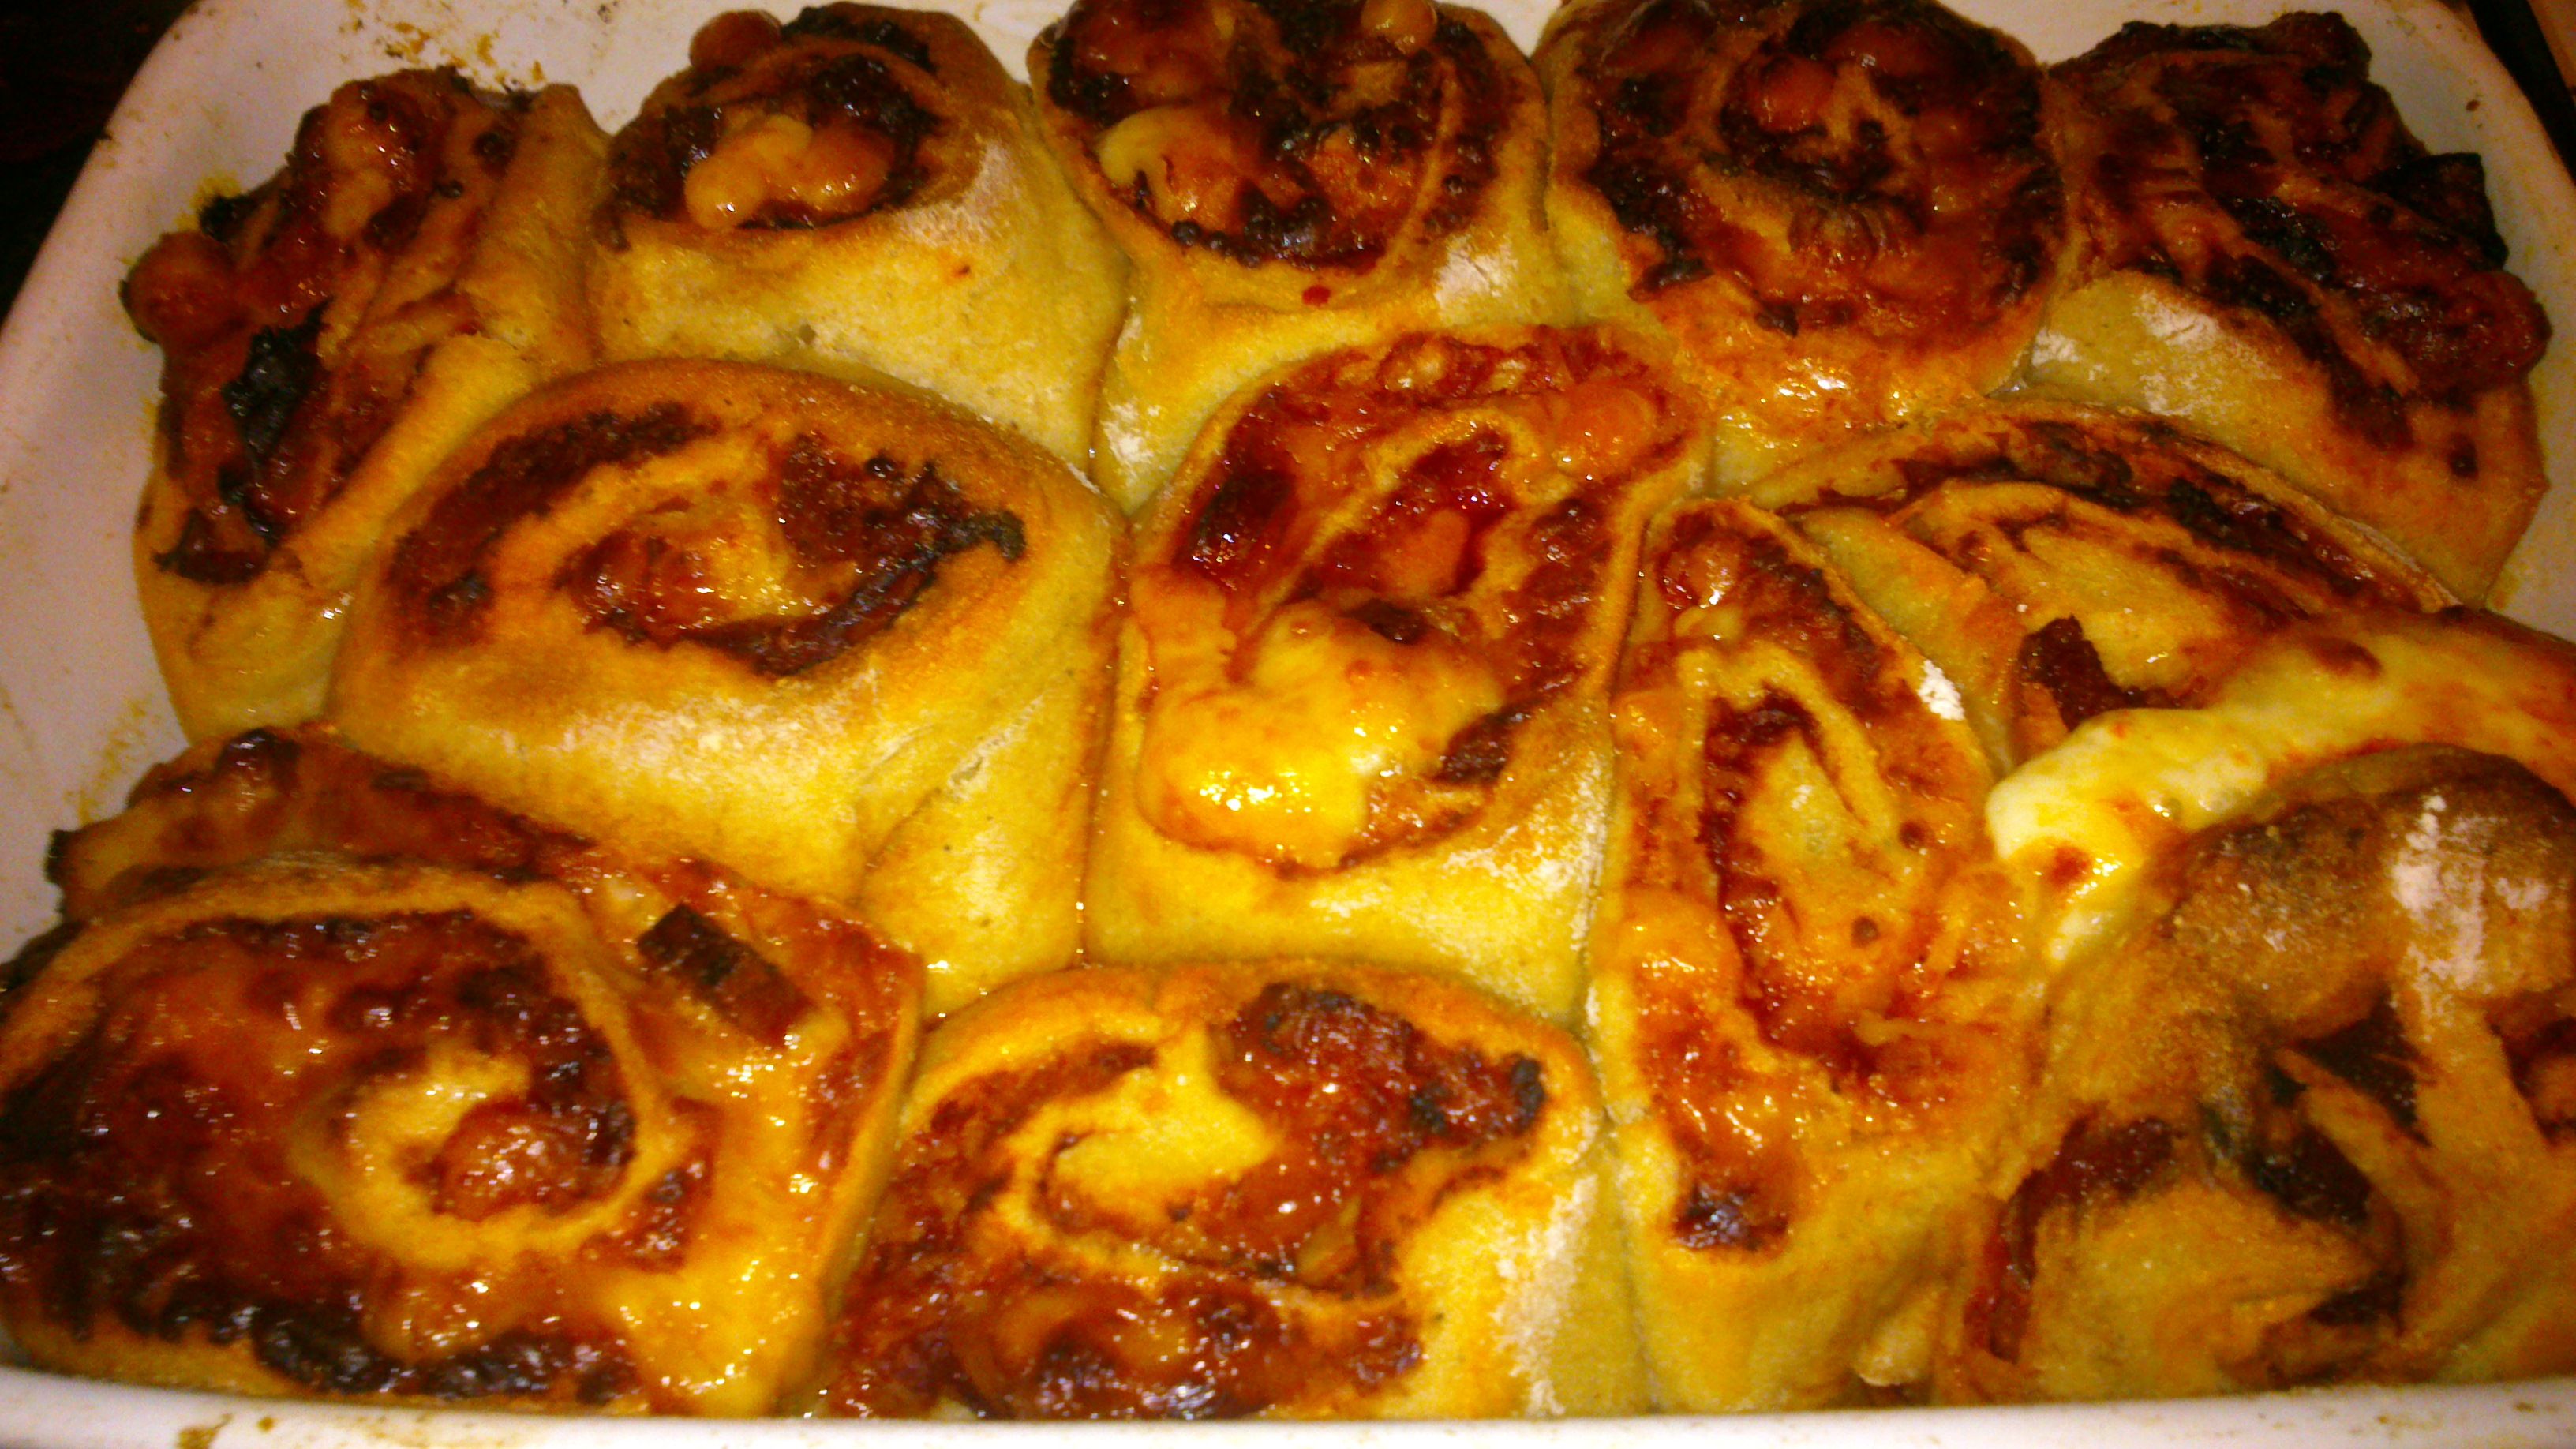

PTYAY
By Rebel Dan.
Congratulations @article61! You have completed some achievement on Steemit and have been rewarded with new badge(s) :
Click on any badge to view your own Board of Honor on SteemitBoard.
For more information about SteemitBoard, click here
If you no longer want to receive notifications, reply to this comment with the word
STOPDownvoting a post can decrease pending rewards and make it less visible. Common reasons:
Submit
This post has received a 8.79 % upvote from @kittybot thanks to: @article61.
Downvoting a post can decrease pending rewards and make it less visible. Common reasons:
Submit