
In this guide, I'll walk you through your Kraken sign up. Step by step, you'll learn how to sign up for an account and verify your account quickly.
At the end, I'll show you the how to set up Two Factor Authentication to secure your account. Then I'll walk you through each Tier of Kraken verification levels.
Step 1: Visit the Kraken Sign Up Page
Visit the Kraken sign up page at kraken.com/signup. Here you'll enter your email, username and password.
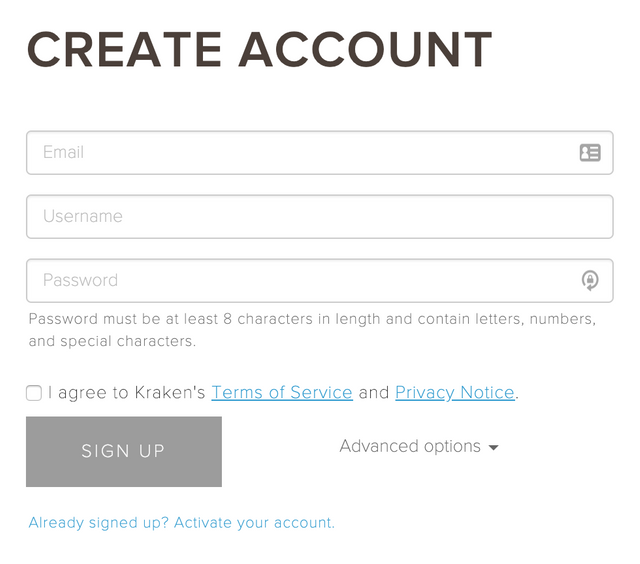
Be sure to enter a secure password. According to the Kraken sign up page your password “must be at least 8 characters in length and contain letters, numbers, and special characters.”
Once you fill in the form with your information, check the “I agree to Kraken's Terms of Service and Privacy Notice.”
Now click the “Sign Up” button to continue.
You'll then be sent to the Kraken Account Activation page, requesting you to activate your account.
Step 2: Activating Your Kraken Account
In order to activate your Kraken account, you'll want to check the email account you used in the Kraken sign up page. The email you're looking for will be titled “Registration to Kraken” from “Kraken”.
Open that email and click or paste the link they give you in your browser's address bar. This link will start with “https://www.kraken.com/activate-account?key=”.
You'll be taken to the Kraken account activation page. Enter the username and password you used on the Kraken sign up page, check the “I'm not a robot” box and click the “ACTIVATE ACCOUNT” button to continue.
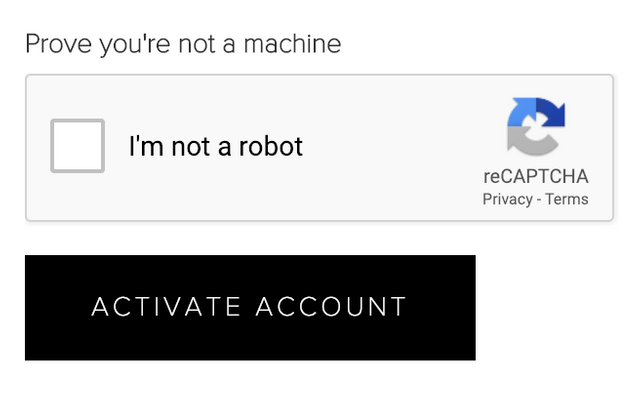
Upon successful account activation, you'll be redirected to the Kraken Trade page. Here you'll see your account overview with your balances and currency pairs with their rates.
Step 3: Securing Your Kraken Account With Two Factor Authentication
To make your Kraken account as secure as possible, we'll be adding Two Factor Authentication.
Two Factor Authentication (or 2FA) is used to better secure your account from potential hackers. By using 2FA, hackers will have to take it a step further to break into your account.
By using 2FA, you will confirm logins with your phone, email or sometimes an authenticator app.
In this case, Kraken uses the Google Authenticator or Yubikey for 2FA protection. To continue with the next steps ensure you have the Google Authenticator app for IOS or Android.
Enabling 2FA on Your Kraken Account
To begin setting up Two Factor Authentication (or 2FA), sign in to Your Kraken Account. After signing in, click your username in the top right corner and select “SECURITY” from the drop down menu.
Once on the security page, you'll see a section titled “Login”. Inside that section is a setting for “Two-Factor Authentication” — enable it by clicking the toggle button.
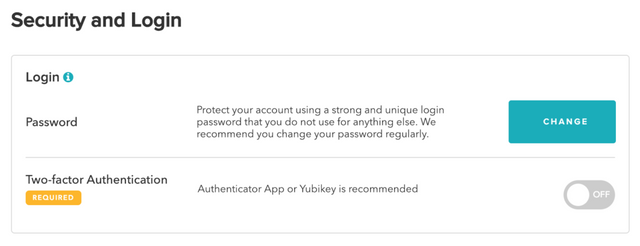
You'll be given a popup menu asking which method to use to enable 2FA. Choose the Authenticator App method to continue.
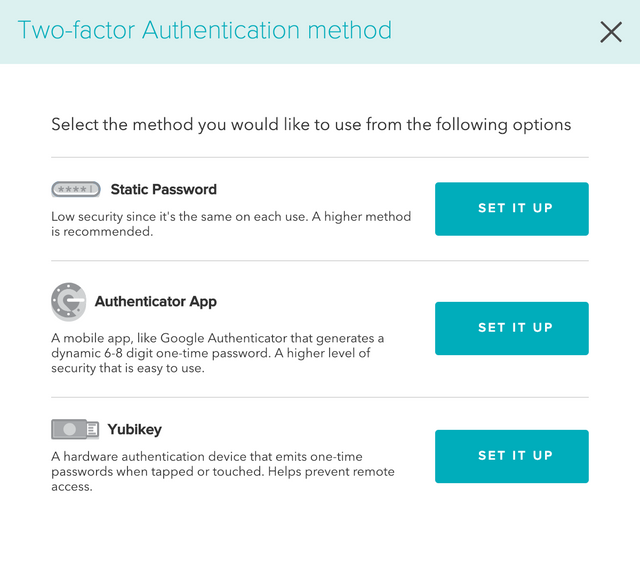
Keep the recommended settings and click the “NEXT” button. Now you'll be given a popup with a 24 digit secret code and QR code. Write this number down on a piece of paper and store it in a secure place.
We will now add this code to our Google Authenticator app.
Keep in mind once you disable Kraken 2FA, you will need to repeat the above steps, as the 24 digit secret code will change.
Activating 2FA With Google Authenticator
Open the Google Authenticator app on your phone and tap the “+” plus symbol in the upper right corner. This will give you two options — “Scan barcode” or “Manual entry”.
- Scan barcode: Scan the barcode on the Kraken 2FA setup screen. This will capture your 16 digit key and add your account to Google Authenticator.
- Manual entry: Enter the email used for signing up on Kraken in the “Email” field. Then type the 16 digit key into the “Key” field. Hit the check mark in the upper right corner to complete setup.
Once you add your account to Google Authenticator, the app will begin generating Kraken authenticator codes. Copy the 6 digits from the Google Authenticator app into the Kraken secret code field.
Finally click the “Save” button to complete your 2FA setup.
If you receive an error message stating that the code is incorrect, wait a minute and try a new authenticator code.
Verify that 2FA was enabled on your account by visiting your Kraken Account Security page once more. It should have a lock in place of the previous toggle button.
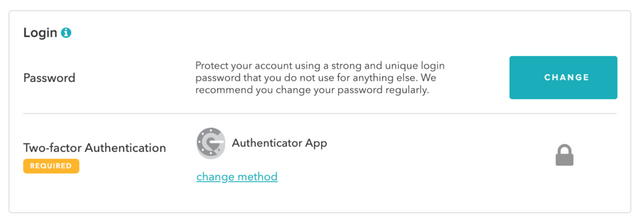
If you ever lose your phone or Google Authenticator code, use the 24 digit code you wrote down to manually add it to the Google Authenticator.
This next part is optional, but highly recommended in case someone is able to bypass your login 2FA.
Use 2FA to Secure Your Kraken Deposits, Withdrawals, Trading and Master Key.
Enable 2FA on your “Deposits & Withdrawals”, “Trading” and “Master Key” options. These options are located under the Login section of your Kraken Account Security page.

Follow the same steps for enabling your account login 2FA. Your Google Authenticator app will generate different codes for each of these options.
Step 4: Getting Your Kraken Account Verified Easily
To begin your Kraken account verification, click your username at the top right corner of the Kraken website. Then select “GET VERIFIED” from the drop down menu. You'll be taken to the Kraken Get Verified page.
By default, your Kraken account is given the Tier 0 verification status. You can check your verification status on the Kraken Get Verified page.
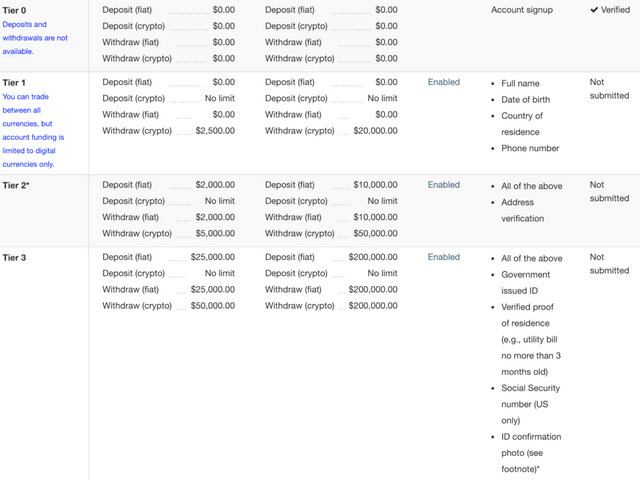
As shown above, Kraken Tier 0 verification means you can't make any deposits or withdrawals. To allow deposits and withdrawals were going to get verified for Tier 1 on Kraken.
Here's a quick outline of the different Kraken Verification Tier levels.
Step 5: Increase Your Kraken Deposit and Withdrawal Limits
Unlock Kraken Tier 1 Verification
To get started verifying Tier 1, scroll down on the Kraken Get Verified Page until you see the Tier tabs.
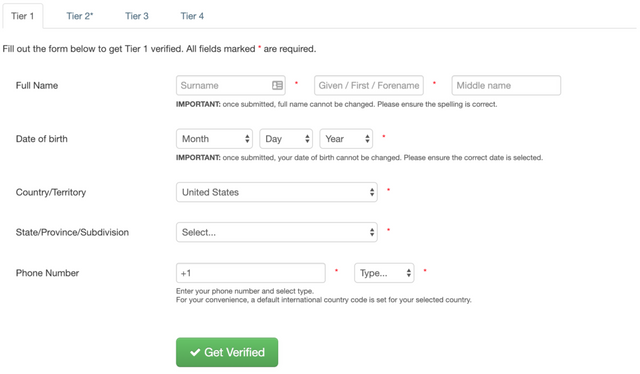
On this form you'll fill out your full name, date of birth, country, state or province and phone number. Click the “Get Verified” button to continue.
Upon successful completion of the Kraken Tier 1 verification form, you'll be given this message confirming your application submission.
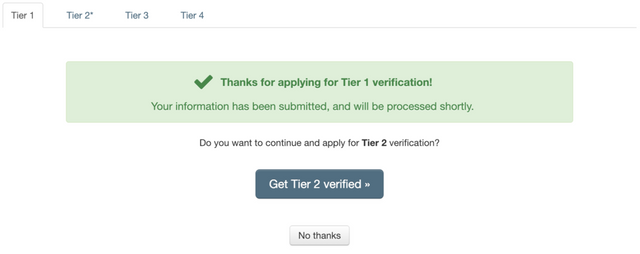
Let's continue and apply for Kraken Tier 2 verification. Click the “Get Tier 2 verified” button to begin. Read more about Kraken's Tier 2 form.
Unlock Kraken Tier 2 Verification
On the bottom of the Kraken Get Verified page, you'll see the Tier 2 verification form.
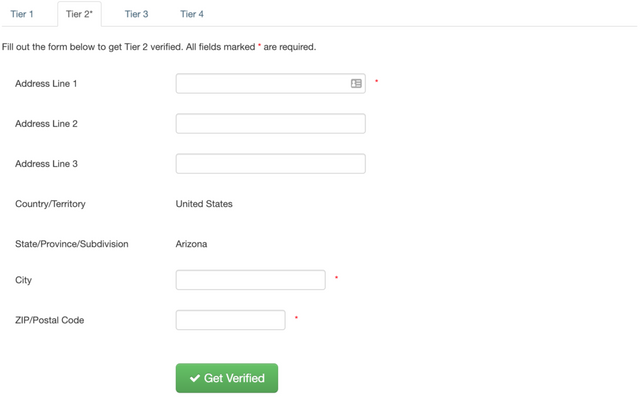
Here you'll enter your address, city or province and ZIP or postal code. Click the “Get Verified” button to submit your Kraken Tier 2 verification.
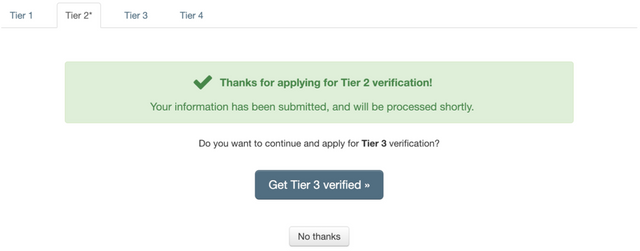
Upon submission, you'll be given the option to continue with Kraken Tier 3 verification.
Kraken Tier 3 verification requires proof of citizenship and proof of residence. Also, the proof of residence must be dated less than 3 months old.
Read more about Kraken's Tier 3 required documents.
If you have these documents ready, click the “Get Tier 3 verified” button to continue.
Unlock Kraken Tier 3 Verification
On this form you'll start by entering your social security number. Then select the identity document you wish to submit.

You'll then upload a high quality photo of your chosen identity document. Some documents will also require a high quality photo of the back.
Next you'll choose your proof of residence document. This document must have the same address given on the Kraken Tier 2 verification form.

Finally click the submit verification button to continue. Upon success you'll be asked to get verified for Tier 4. We'll skip this part as it requires that you contact Kraken support to apply.
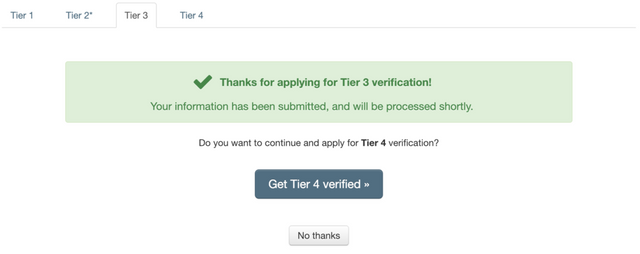
Click the “No thanks” button to end verification for Kraken.
If you want to apply for Tier 4 Kraken verification, contact Kraken customer support to get started.
Conclusion
By now you should have your Kraken sign up completed, verified and secured with Two Factor Authentication. You also learned how to save your Kraken 2FA secret code and how to generate authentication codes using the Google Authenticator app.
By the end of this tutorial you will have gained Tier 3 verification on Kraken and have increased your account's deposit and withdrawal limits.
Posted from my blog with SteemPress : https://xrpontop.com/kraken-sign-up-step-by-step-guide/