Preparation
Before you can start the KYC process, you first register or login to the Legolas website.
You can login at https://lgo.legolas.exchange/
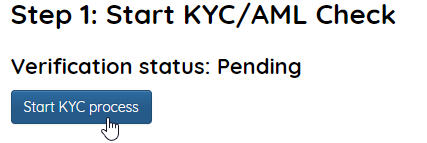
Step 1: Start KYC/AML Check
Now you are logged in scroll a bit down, here you’ll see the KYC block.
![1_43CSr1Sw8Nb0qBrtc0-_QQ.png]
( )
)
If you clicked on the Start button your browser will open a popup.
Make sure to let your browser allow popups.
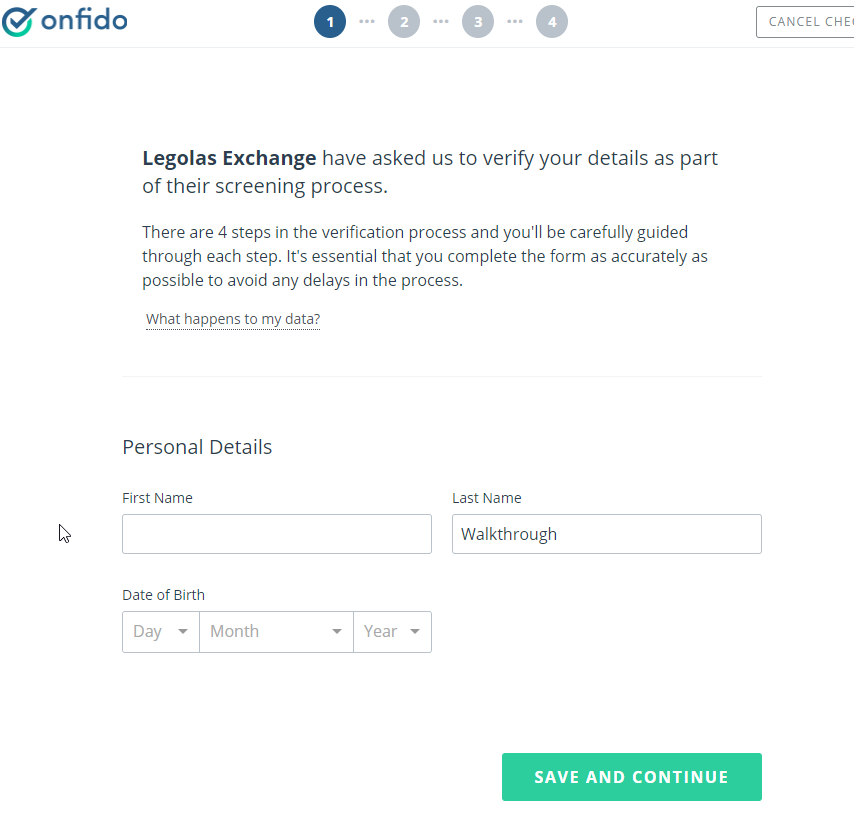
In part 1 you will be asked for your first name, last name and date of birth. Fill in your info and click on the save and continue button to go to part 2.
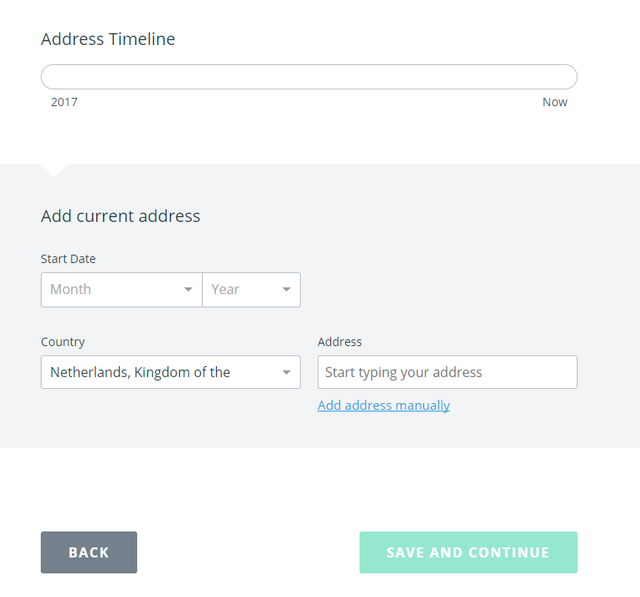
Now you are at part 2 you will be asked for our current address. Fill in your Country and your Address. If the system can’t find your address click on “add address manually" to add it manually. As soon as you filled in our address we get more options.
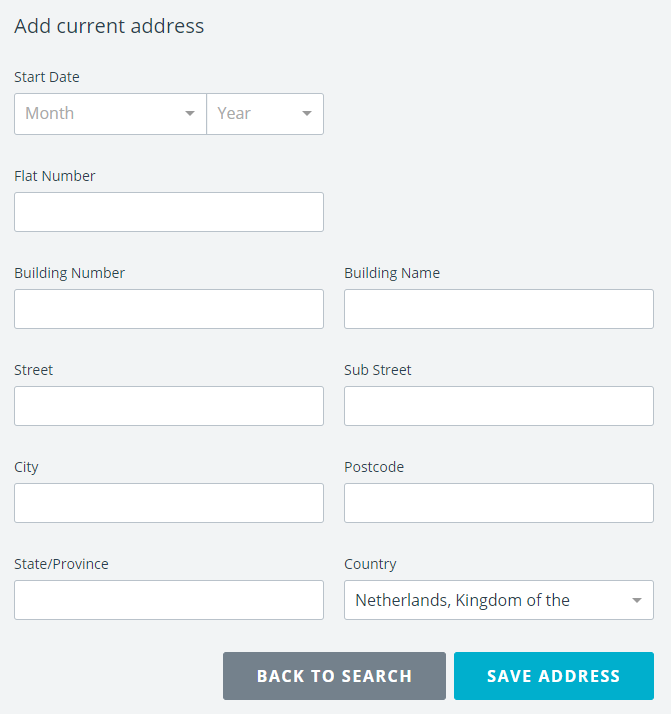
At Start Dateyou’ll choose the date you moved to the place you live in at this moment.
A big chance the system has already put in most of the info, make sure to double check it all and fill in the left over info.
Click Save Address to save the info.
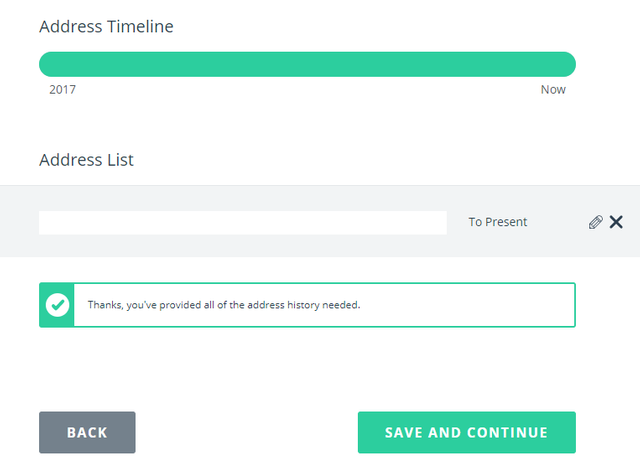
When you saved your address you will see your address list. Again make sure all info you wrote down is valid and click on “Save and continue” to continue the KYC process.
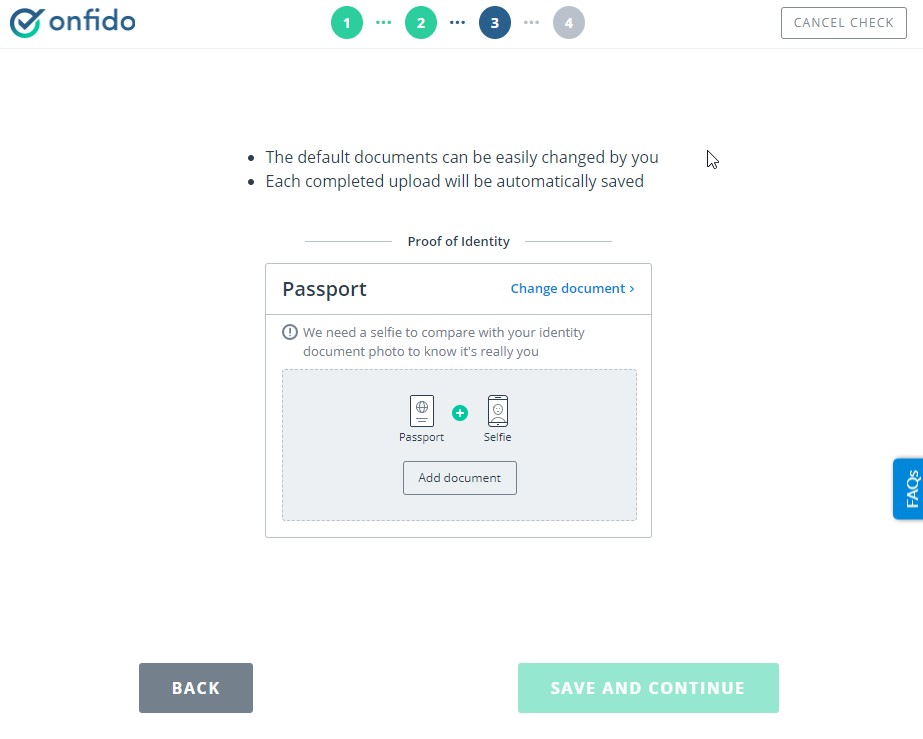
You are now at the step were you will show your beautiful face and ID!
Make sure you use a clear picture or copy of an valid ID and selfie or you have a chance of being declined.
You can use your passport or driving licence for example.
Ready? 1.. 2.. 3 Selfie!
Click on the “Add document” button to upload your files.
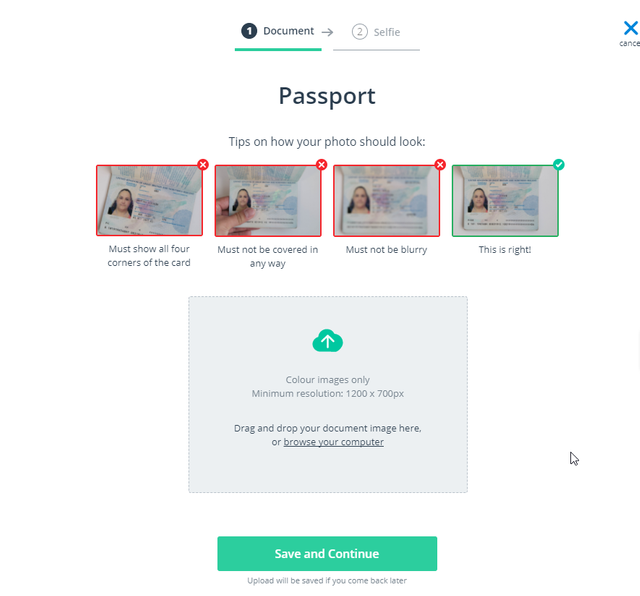
After you clicked the button you’ll see this screen. It gives you a fair warning to use color images only. Also make sure the minimum resolution is 1200 x 700px! You can drag and drop the file from your explorer or simply click the block to open your file browser. First upload a picture of your ID. The selfie will be in the next step
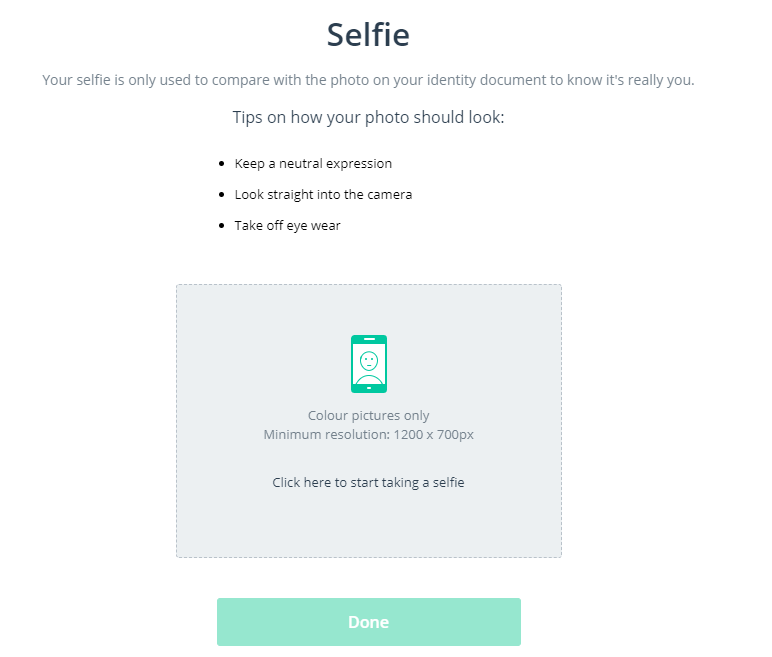
Now after uploading the passport, it’s time for the fun part: the selfie!
Tips to have a successful selfie:
- Keep a neutral expression.
- Look straight into the camera.
- Take off eye wear.
Upload your picture and click on Done to finish this part.
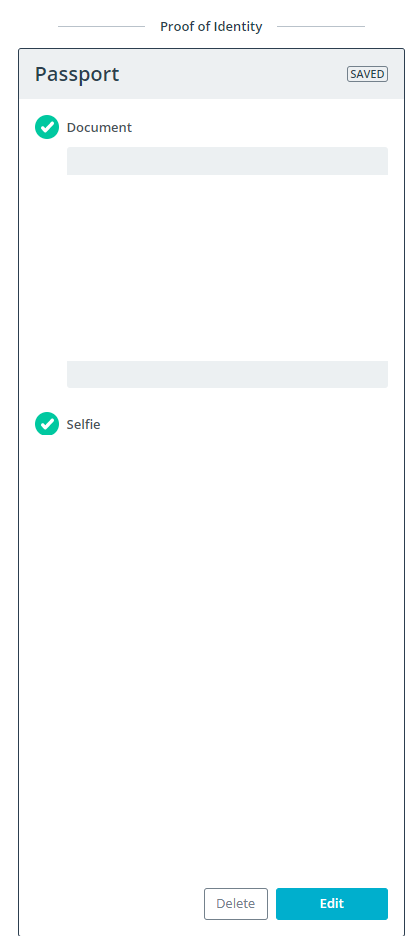
Now in this part you can double check if you are happy with both pictures. You have the options to Delete the pictures or Edit them in case you made a mistake.

You are almost done with part 1! Double check everything for the last time and check the box that reads “I confirm..”.
If you are sure, click the green “Confirm” to finish part 1.
\This is the window you will see when you followed all the steps correctly!
Step 2: Fill in additional information
Fill in additional information on the Legolas website.

We start by answering the question if we are a US citizen. I’m not a US citizen.
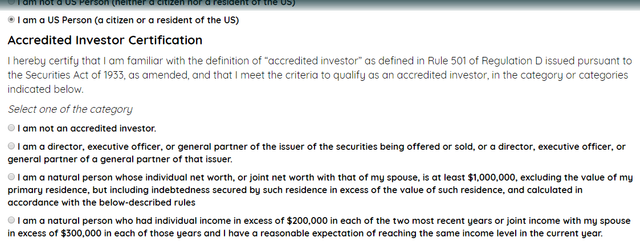
If you are an US citizen, you will have a few more check boxes you will have to choose from. Select one of the categories.
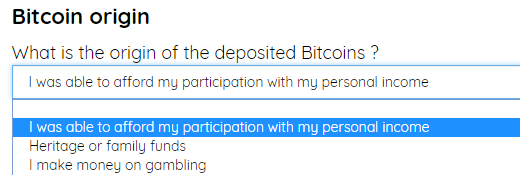
Now you will tell Legolas the origin of our deposited bitcoins. There will be three options:
- I was able to afford my participation with my personal income.
- Heritage or family funds
- I make money gambling.
Choose the option that fits you most.

Now you will tell Legolas since when we bought into crypto. There are four options:
- I have been a crypto buyer for more than 5 years
- I have been a crypto buyer for more than 2 years
- I have been a crypto less than 2 years
- I bought cryptos in order to participate in the Legolas ICO
Again, choose the option that fits you most.
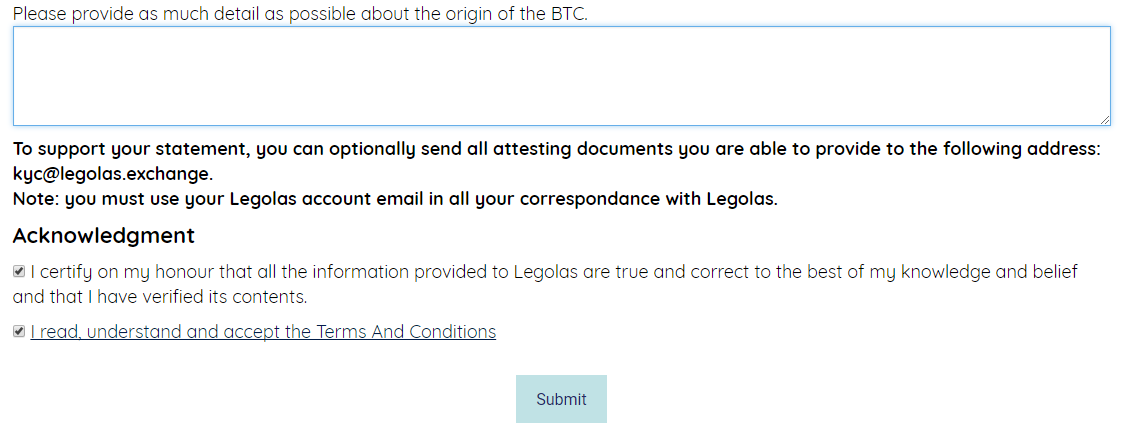
Now you will finish step 2 by providing as much possible detail about the origin of our bitcoins. You can support your statement by sending attesting documents to [email protected]
You will end step 2 with checking the Acknowledgment boxes
- I certify on my honour that all the information provided to Legolas are true and correct to the best of my knowledge and belief and that I have verified its contents.
- I read, understand and accept the Terms And Conditions
Step 3: Provide an Ethereum token address
Step 3! The step you have been waiting for. It’s time to provide Legolas with your Ethereum address so you can receive the tokens!

Enter your ETH address to receive your $LGO tokens, click Validate to receive the confirmation mail.
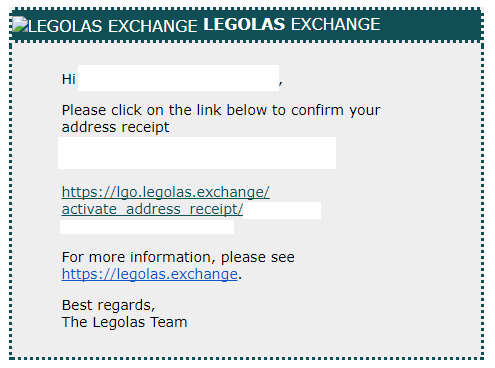
This is the look of the e-mail you will receive.
BEFORE YOU CLICK ANY LINKS: Make sure the sender is [email protected].
After you’ve clicked the link, Legolas will tell you the address is confirmed with success!
Good luck!
Any more questions?
Feel free to contact us or join the Legolas discord.
I did it, and it went smooth. Good experience :))
Downvoting a post can decrease pending rewards and make it less visible. Common reasons:
Submit