Tierion Masternode Setup
Before we set up our node there are some thing that we first need to do. Were going to need to set up a VPN and then download software to communicate with our VPN. You will also need 5,000TNT coins and an ether wallet to both store the coins and to recive the node rewards. You can set up a wallet using https://www.MyEtherWallet.com if you don't have one already.
For the VPN I will be using DigitalOcean.com for this, by using link https://m.do.co/c/87242f190abd you can get $10 free credit upon account creation, so you wont even need to pay a penny for the first two months. Once on digital ocean you will need to create an account and sign in.
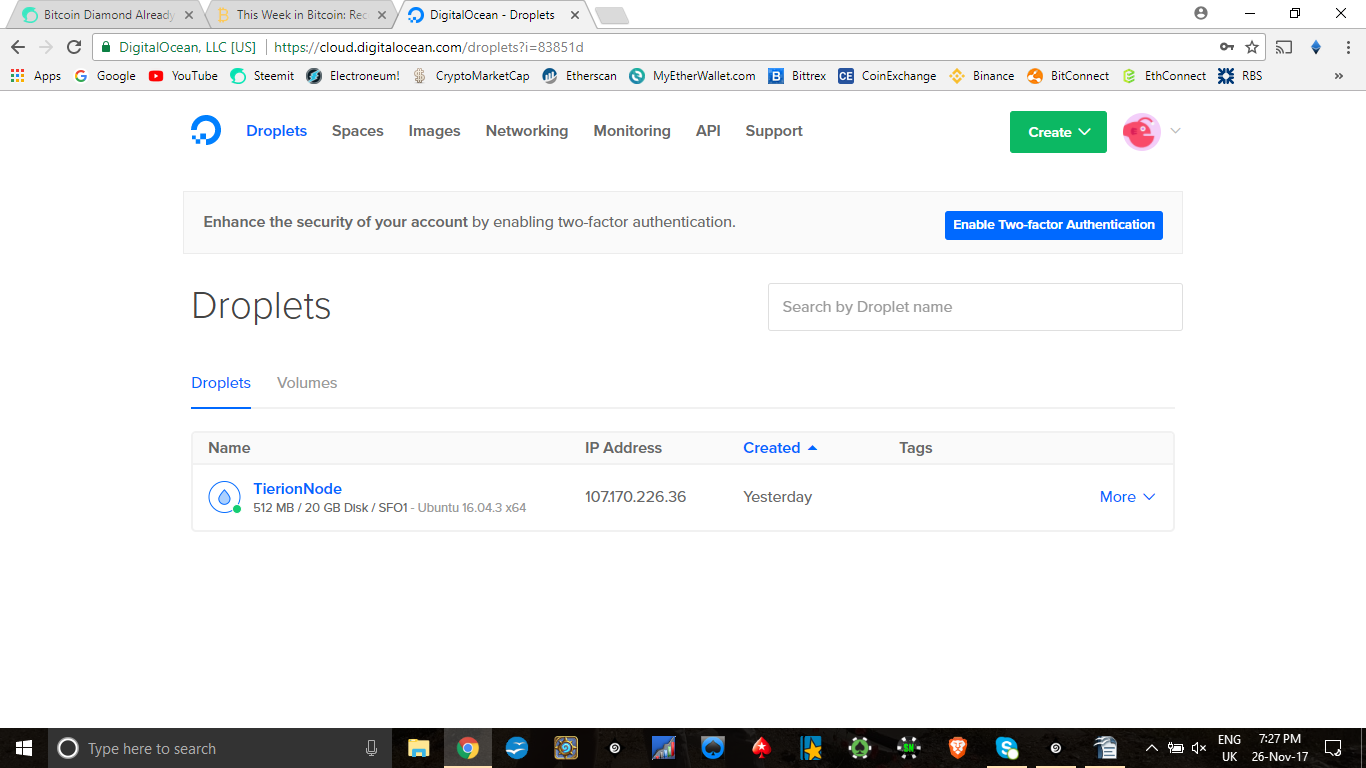
Once signed in you will see the screen below were we will create our VPN by clicking the 'create' button in the top right of the page and select 'create droplet'.

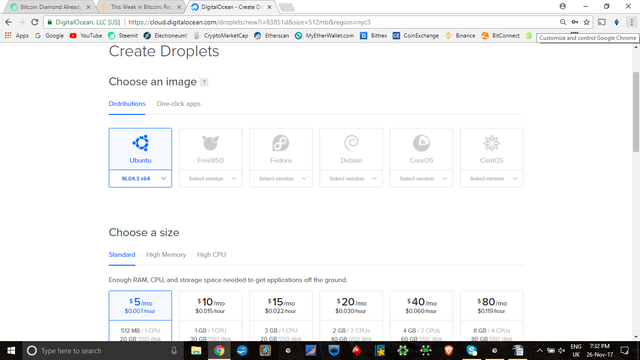
On the next page you will be asked to select the specifications of the VPN. Where it asked you to choose an image we just select 'Ubuntu', and for the size we only need the $5 per month option for the purpose of running a Tierion node.

After selecting our specifications, just scroll to the bottom of the page and click 'create'. You will now receive an E-mail containing the details of the newly created VPN including our IP address.
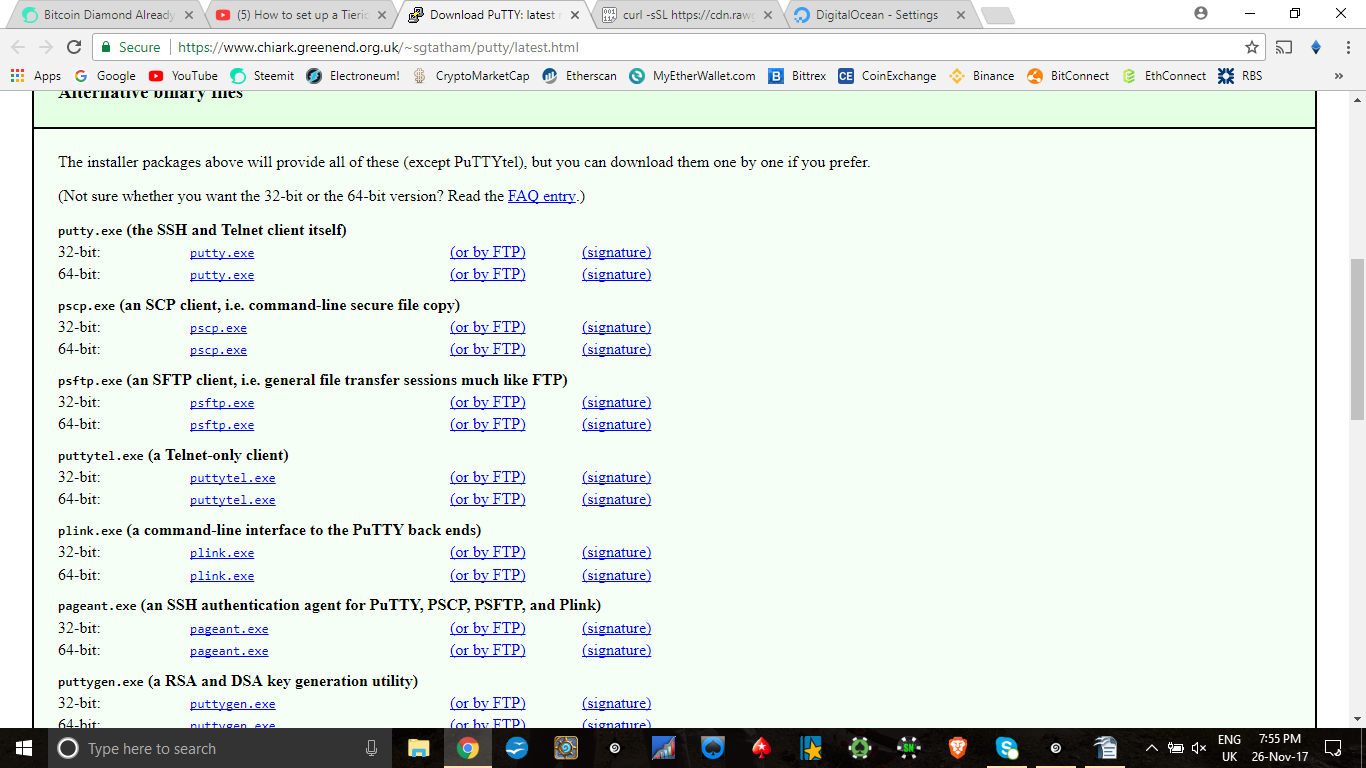
Now that part is out of the way we need to download a program called Putty so that we can communicate with our VPN, you can do this by using the following link https://www.chiark.greenend.org.uk/~sgtatham/putty/latest.html and selecting either the 32bit / 64bit putty.exe link to download and install.

With Putty downloaded its time to start setting your node up, first you need to open Putty and insert the IP address that you reviced in the E-mail from digital Ocean into the IP field in Putty and click open at the bottom of the window, to open the console.

Once this is done you will see a new screen open, and will be asked to login. We want to log in as 'root'
and will be next asked for a password, this is also contained in the E-mail we revived earlier, copy this password and to insert it into Putty we just right click ( the password will not show on the screen ) and then hit enter. Next we will need to reset the password first by copying the old on in ( just right click again ) and then we will be asked to make own own password. Once this is set, close down the session and open it back up again. Log in as 'root' and use your new password.

Now we have that set up its time to install the required software to run our node. Inset the following command and hit enter.
' curl -sSL https://cdn.rawgit.com/chainpoint/chainpoint-node/58a84a8822b8d79b1041c4fcf1d6e5d8e2fc431a/scripts/docker-install-ubuntu.sh | bash'
Once this is complete close the session again and reopen a new one and sign in again. Now enter the following commands to edit the .env file.
'cd ~/chainpoint-node'
'nano .env'

You will now see the above screen where we are required to enter our wallet address that holds the TNT tokens needed to run the node. And finally you will need to insert the chainpoint-node public URL which needs to be entered by using the IP address given to you in the digitalocean.com E-mail received earlier. You will need to enter this in the following format https://your.ip.address.here . Once done hit Ctrl+X to exit and then hit 'Y' to save the changes.
Congratulations you have almost set up your node, now lets get it running
Now the changes have saved, close the session and open a new one and log in again.
Enter 'cd ~/chainpiont-node' into the console and hit enter, now enter 'make up' and hit enter again.
Then enter 'make ps' to check that everything is running and finally enter 'Make logs' to tail the logs
That's it, you should now have your node up and running, you can exit the session and leave you node running and earning you a nice reward.
Thanks for reading and if you have any questions let me know and I will try my best to help resolve any issues.
