In this tutorial I like to show you how I designed the worlds first DASH Keychain with fitting shopping card coin (Size of a 50 EUR Cent). For more information about DASH please visit http://www.dash.org)
Sketch - Shopping card coin
Before we start the sketch (I used the Front face) we need to prepare some information.
- The diameter of a 50 EUR cent coin is 24.25mm (Thank you Wikipedia!)
- Next I downloaded an image of the DASH logo and imported it into Onshape.
- Now choose insert image and place the logo inside the circle
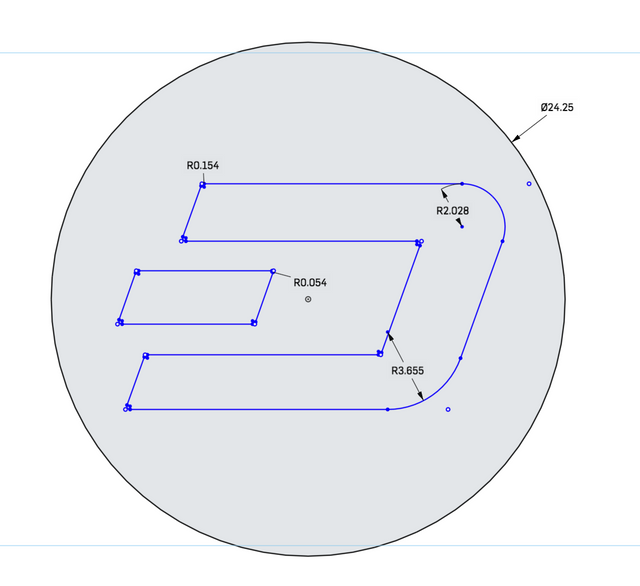
Next please use the regular "Line" tool (Not spline) and sketch along the logo. Don't worry about the rounded corners at this point, just draw along the outlines.Once done simply use the "Sketch Fillet" tool, select the corner that need to be rounded and click and drag until it matched the shape.
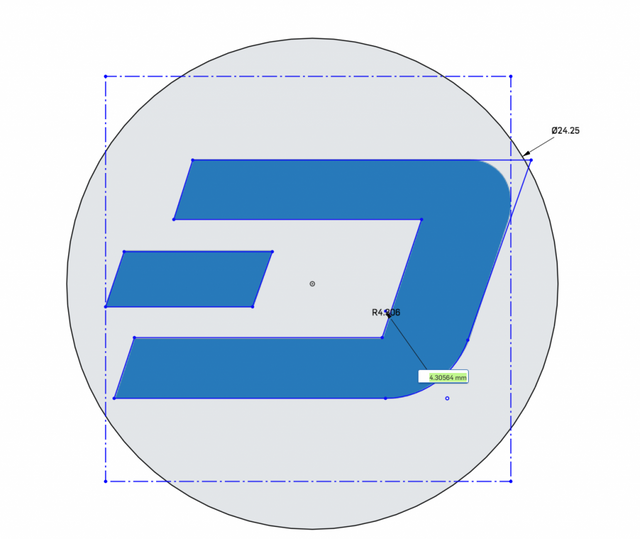
Once you completed above steps the coin sketch should like this.
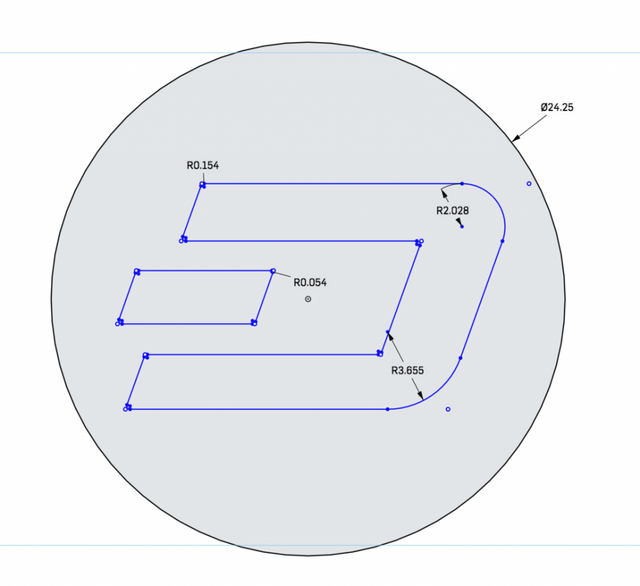
With this being complete we can start to "Extrude" the coin to the right thickness, which is 2.38mm (50 EUR cent)

Final thing left to do to complete the coin is to apply some fillets. My result looks like this.

Sketch - Keychain
Now is a good time to practise sketching yourself.Below picture shows my final coin holder sketch, feel free to take it over or make any changes as you see fit.Key to remember is that you need to have some "offset" (e.g. 2mm) to give your coin enough room to fit into the holder!
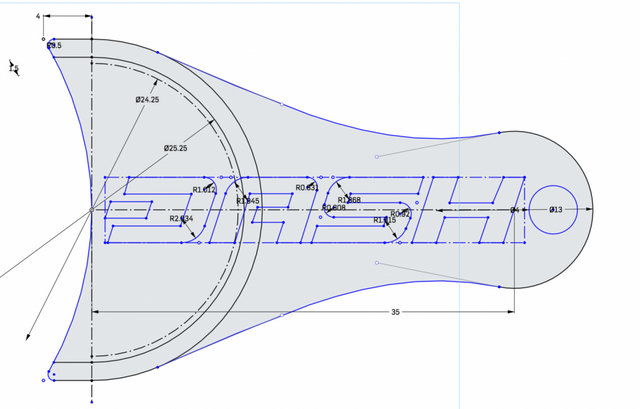
After you completed your sketch we can start to extrude. Please try this also your self. Little tip ...
- Extrude everything by 1-2 mm for the bottom part
- Than think about how the coin need to fit in and extrude only the parts that are relevant for that
- Last close the sketch so the coin will not fall out.
There are many ways possible! My final design looks like this.
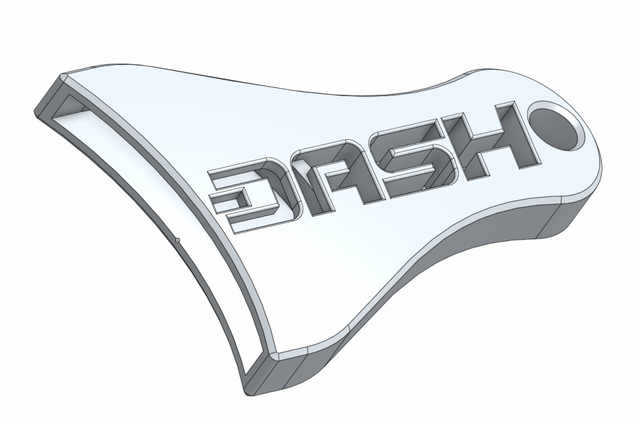
Well done, you did it! At this point you should have a unique keychain (holder and coin).

I have put the model also public on Onshape, you can view it here