Hello everybody! I want to show you how in the 3D design program Blender you can create room design sketches, lay tile flooring, and set up lighting. These are just basic actions — I'm not an interior designer, so don’t judge me too harshly.
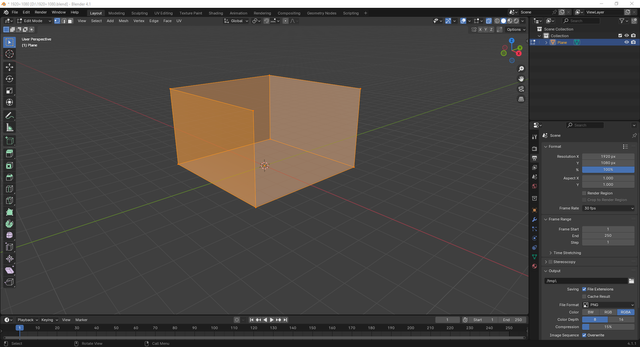
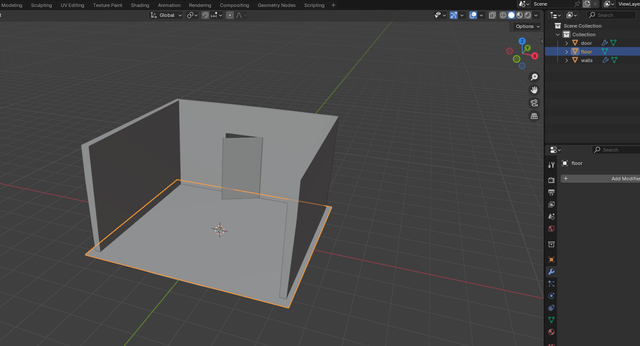
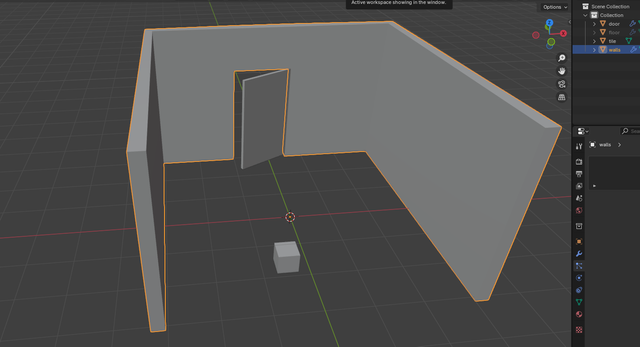
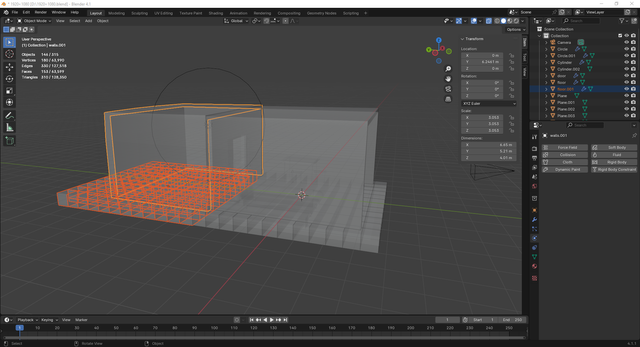
At the initial stage the basic room geometry is created with pre-planned dimensions. For convenience I removed the ceiling and one of the walls to simplify scene setup and working with objects inside the space.
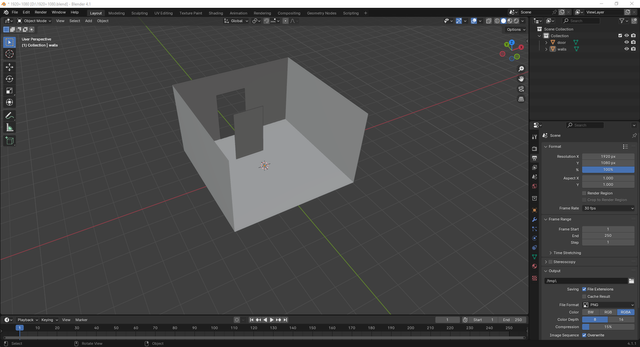
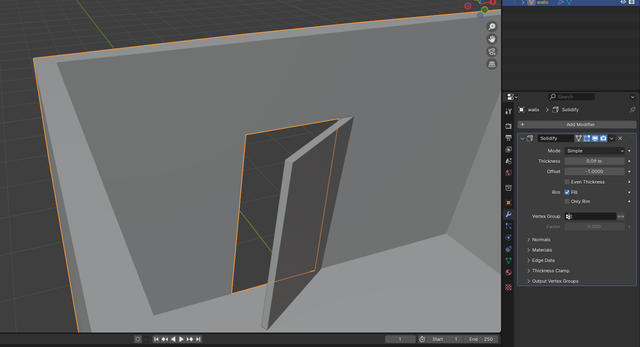
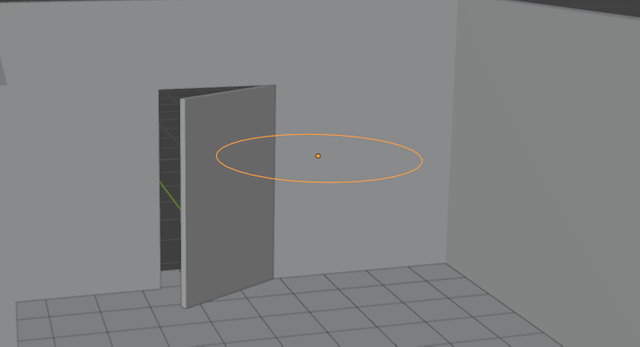
The doorway is positioned on the far wall. It’s made by cutting out a door-shaped hole in the wall geometry — just like in the physical world =)) Then separate object is added as the door, and its size is adjusted to fit the doorway exactly.
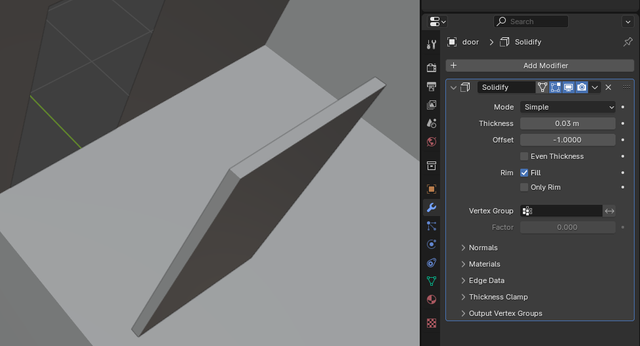
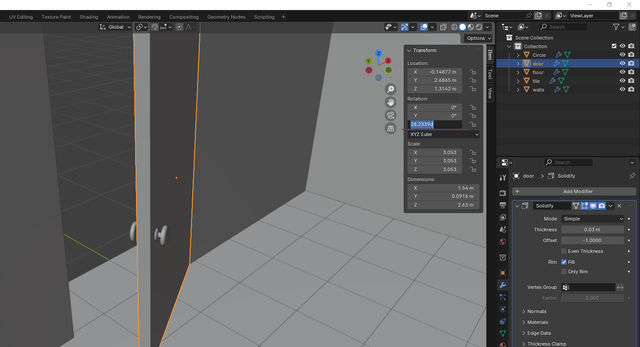
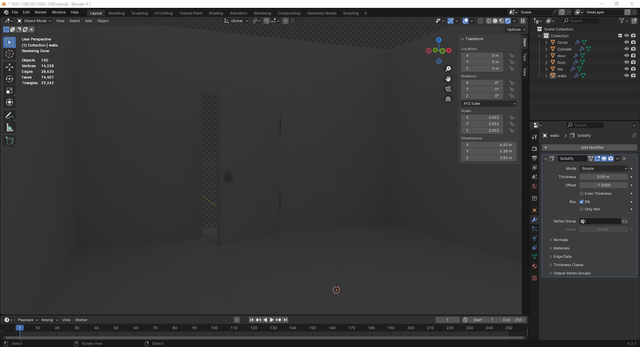
A door can’t be flat, so we need to add some volume. To do this, we apply the Solidify modifier to the plane, which will give the object depth. The door thickness is adjusted visually, keeping realistic proportions in mind. Imagine what a real interior door should look like and tweak the Thickness parameter in the Solidify modifier accordingly.
The wall thickness is added the same way using the Solidify modifier. Keep in mind that walls should be more massive than the door, so set the Thickness parameter with some extra depth to make the construction look realistic.
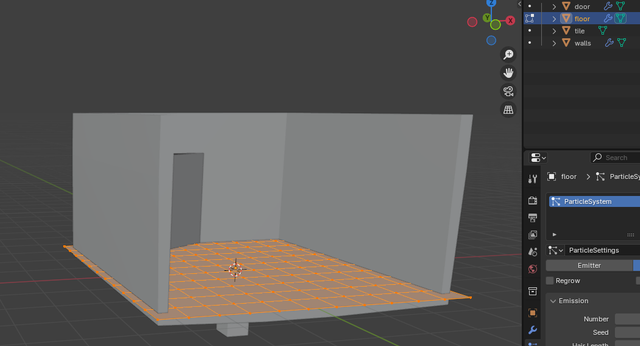
Next, we create an additional object Plate which will later serve as the tiled floor. We scale it up so that it slightly exceeds the room’s dimensions.
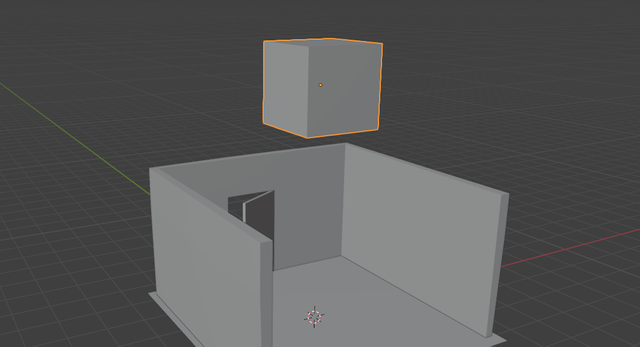
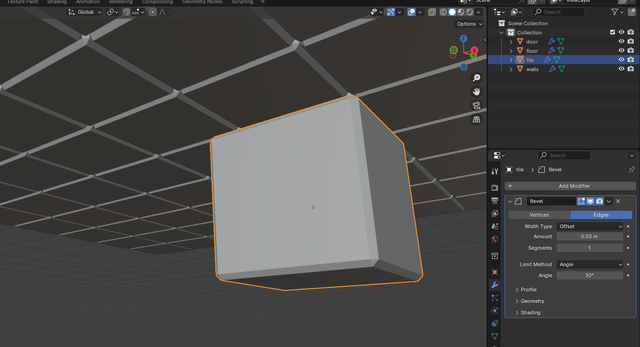
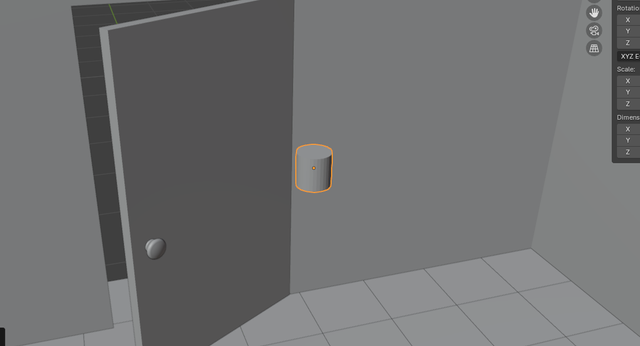
Now, we add a new object Cube. This cube will help us design the floor tiles.
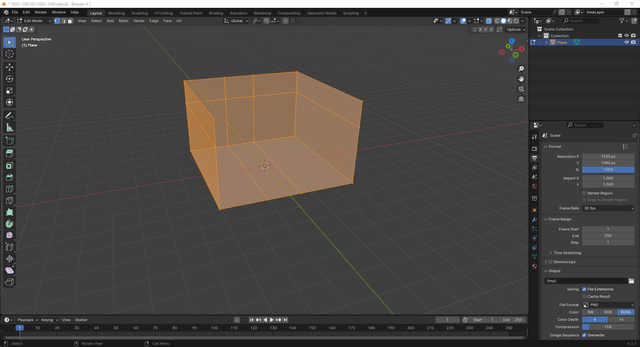
Select the created floor plane and switch to edit mode by pressing Tab. Then, right-click and choose Subdivide from the menu. At the bottom left of the screen, adjust the Number of Cuts parameter to define the number of subdivisions needed to achieve a realistic tile size and proportion.
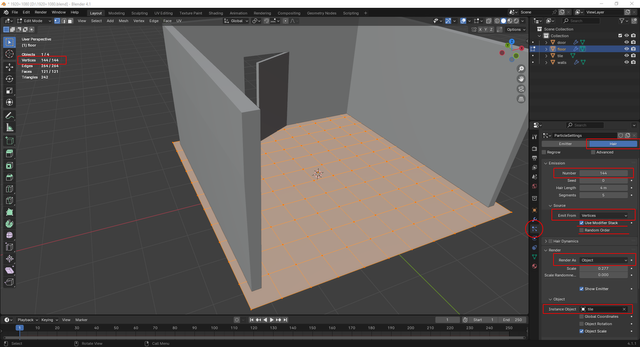
In Object Mode select the object where you want to place particles — in this case the floor. Then go to the Particles Properties tab (the particle icon in the properties panel) and click "+" to add a new particle system. Under Emitter select Hair instead of Emitter. In the Emission section, set the Number to 144, which corresponds to the number of points where particles will be generated. In the Source section, choose Emit From: Vertices so that particles emit from the object’s vertices, and enable Use Modifier Stack to account for any modifiers. Next, in the Render section, change Render As to Object, then in the Object section, set Instance Object to tile as the object to be used as particles. You can adjust the Scale parameter to match the tile size and disable Show Emitter if you don’t need the emitter object to be visible. After these steps, the particle system will arrange the "tile" object on the floor vertices, creating a tiled grid.
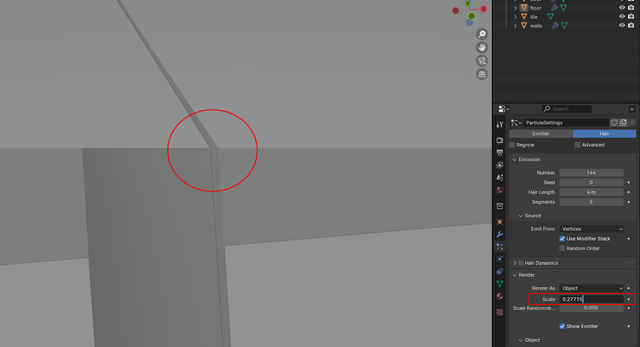
To adjust the seams and remove gaps between "tiles," the particle scale and emission parameters must be fine-tuned. In the particle system settings under Render, increase the Scale value until the tiles fit tightly together. The optimal value is determined "by eye."
The next step is to delete the bottom face of the wall object, as it will overlap the new tiled floor and create unnecessary intersections.
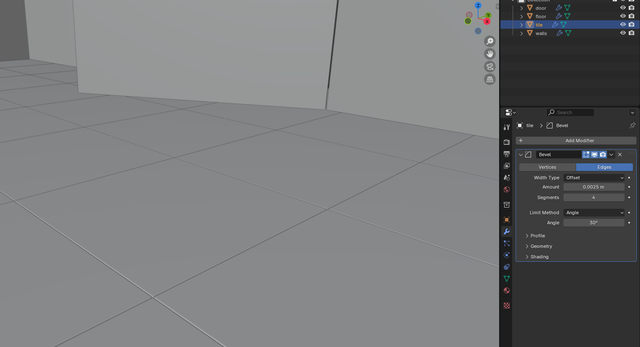
To refine the tile design and make it look more realistic, we need to use the Bevel modifier. Select the tile object and go to the Modifiers panel. Add a Bevel modifier and tweak the Amount and Segments parameters. These settings will add slight edge rounding, making the tiles look more visually appealing and natural.
After applying the modifier, it's a good idea to check the tiles from different angles to ensure the seams look correct.
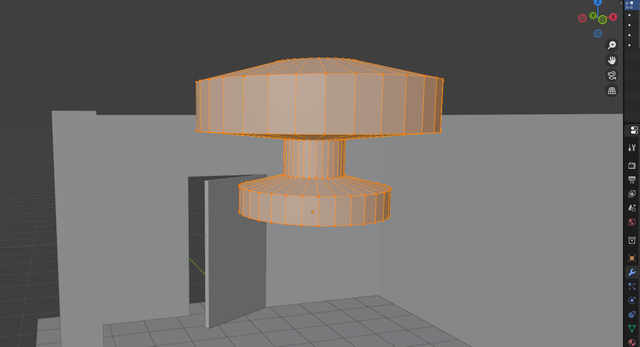
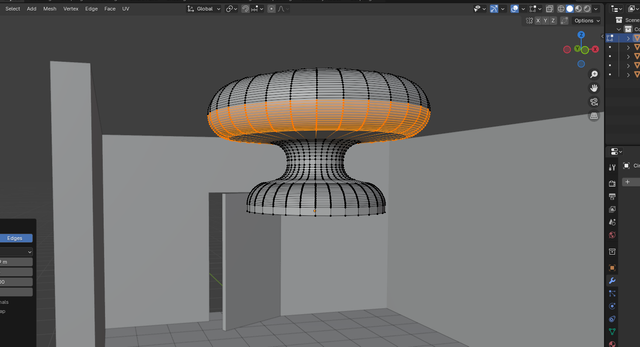
Now let's create a doorknob using a layered modeling approach. Add a Circle (Add → Mesh → Circle). In edit mode (Tab key), extrude (E) and scale (S) each new face sequentially to form a smooth transition from the base to the main part of the handle.
To smooth out the edges, select the circular edge, then press Ctrl + B (Bevel) and move the mouse to set the bevel thickness. Use the mouse wheel to increase the number of segments for a smoother curve.
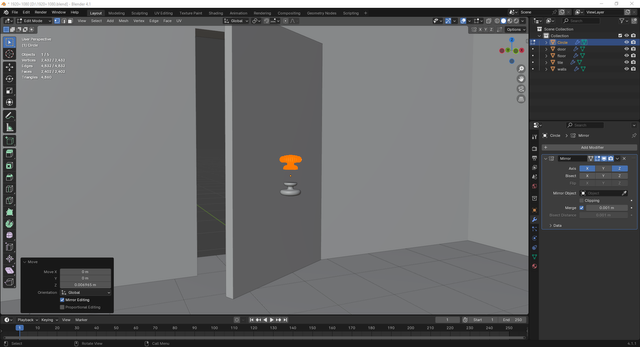
The next step is to create a symmetrical doorknob using the Mirror modifier. Add Modifier → Generate → Mirror. In the modifier settings, enable mirroring along the X and Z axes. Any new changes will automatically apply to the mirrored half of the model. In edit mode (Tab key), you can adjust the distance between the object and its mirrored copy by moving the main object.
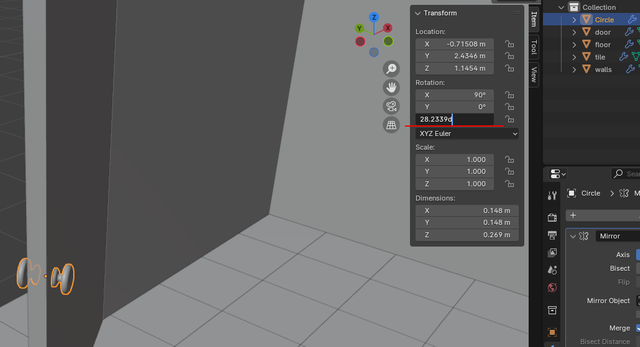
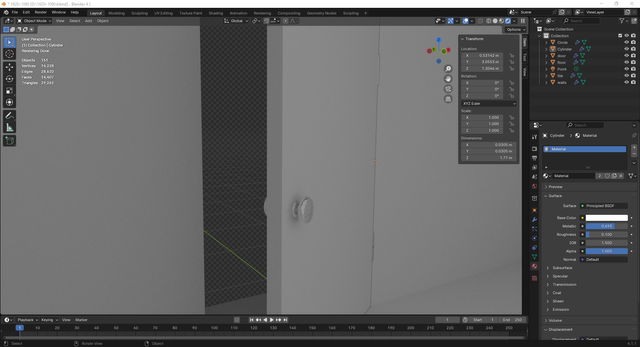
How do you position the doorknob at the right angle? Simple. Just copy the door’s rotation value and apply it to the doorknob. The attachment point of the handle to the door is determined visually.
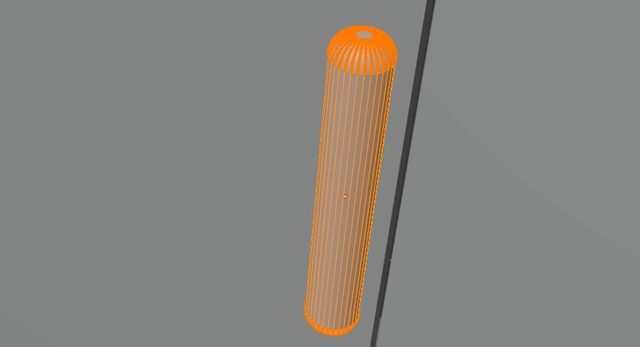
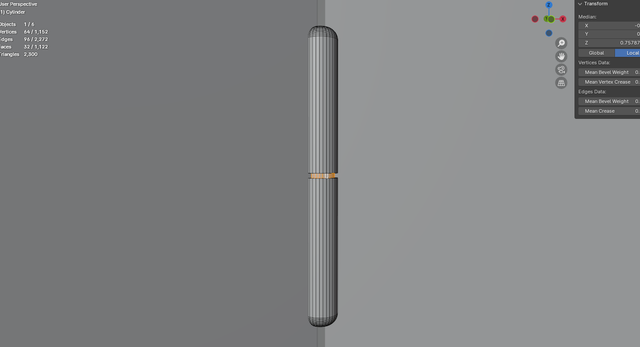
Using a Cylinder mesh, we model the geometric base for the door hinges. It’s straightforward — round off the top and bottom edges and cut a transverse indentation in the center.
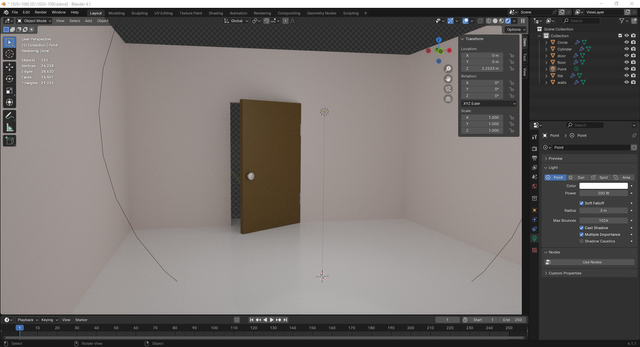
Now let's launch the render preview. Without lighting, the room looks very gloomy, like something out of the Underworld.
The doorknob and hinges are given a white material with a metallic tint and a low Roughness value.
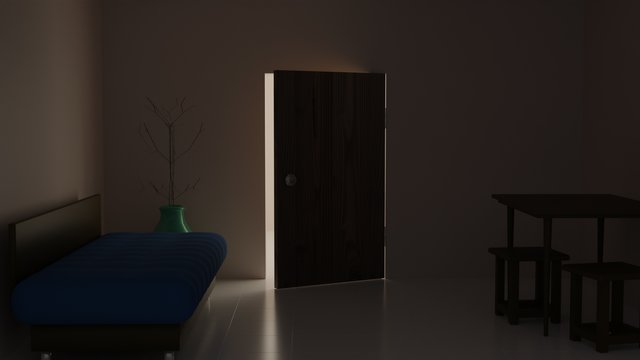
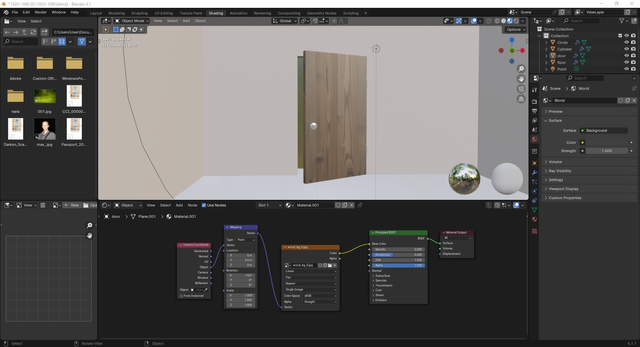
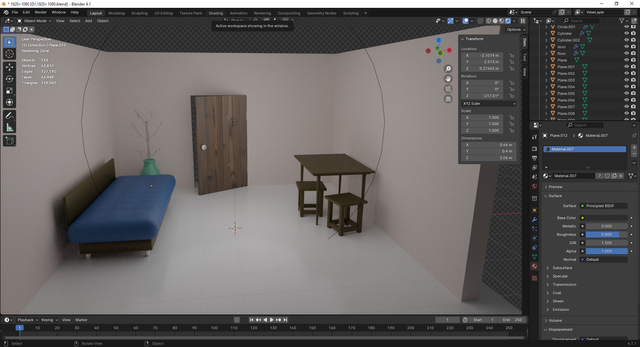
In the next screenshot I added more material settings. I decided to make the walls light beige, the doors brown, and the floor glossy white. The lighting was added only to help adjust the color scheme. I don’t like the door color. In my opinion, it needs some kind of texture, like wood grain. To do this I used an AI image generation service — piclumen.com.
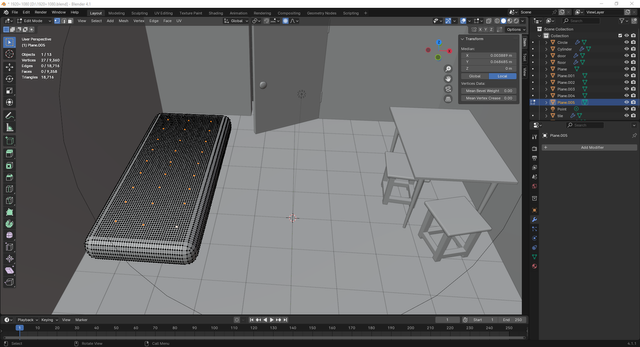
I wasn’t planning to fully furnish the room, but I decided to add a table with two stools and a sofa. The mattress was made from a cube. The cube shape was stretched to the required form, then subdivision surfaces were added for more surface flexibility, and the edges were rounded. After that using vertex pushing and pulling I added slight bumps to the mattress surface for more realism. The tables and stools were created from a Plane mesh by stretching and duplicating layers.
The vase in the corner was created using the same layered modeling method as the doorknob. In edit mode, each new face was duplicated and scaled until the desired shape was achieved.
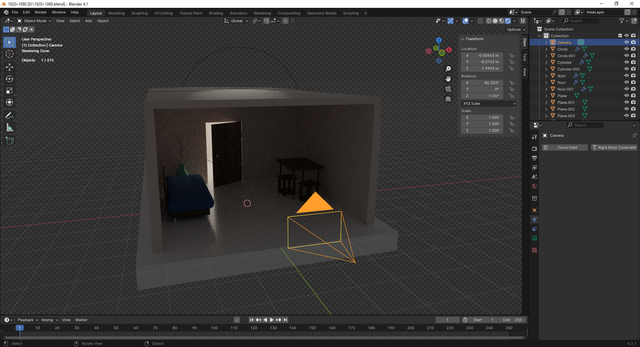
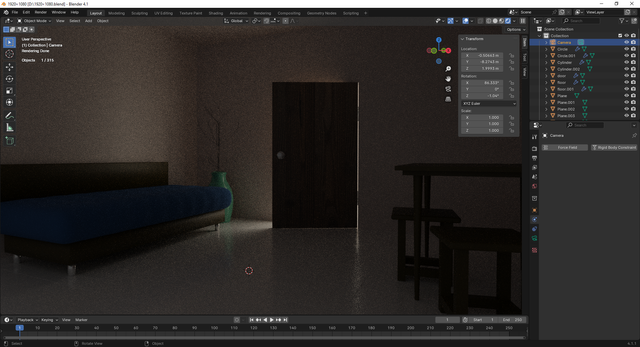
In the end, to eliminate the empty space where the ceiling should be I had to close it off. And to prevent an empty void "behind the door" I duplicated the entire floor and walls, moved them to the background of the scene, so there would be a visual continuation of the "living space". I also moved the light source behind the door into the adjacent room.
That’s it. Yes, the room still lacks many objects and signs of human life — like scattered toys, a throw blanket on the couch, a rug by the door, or a half-eaten sandwich on a plate. But this article isn’t about that.
Enjoy!
