How to Design Layers of the Earth Using SelfCAD
Understanding the structure of the Earth is fundamental to comprehending various geological and environmental phenomena. The Earth is composed of several layers, each with distinct properties and characteristics. Traditionally, these layers have been illustrated through diagrams and physical models. However, with advancements in technology, especially in 3D modeling software, it has become possible to create more detailed and interactive representations of the Earth's layers. SelfCAD, a user-friendly 3D modeling tool, offers a versatile platform for designing intricate models of the Earth's layers. This article aims to guide readers through the process of designing the layers of the Earth using SelfCAD, highlighting the software's features that make it suitable for educational and professional purposes. By the end of this article, readers will have a clear understanding of how to utilize SelfCAD to create accurate and visually appealing models of the Earth's structure, enhancing their grasp of geological concepts.
To access the interactive tutorial to this article, visit https://www.selfcad.com/tutorials/3q6d6a1r1i4339a3e3g1x2t433z592n94c1n
Once you’ve launched the editor;
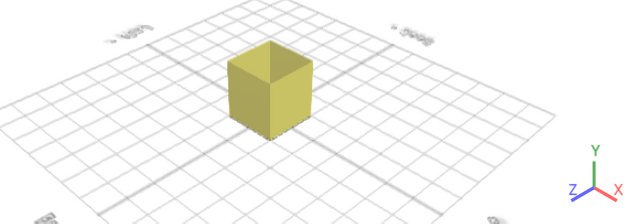
From the 3D Shapes category on the toolbar choose cube; Set height to 110
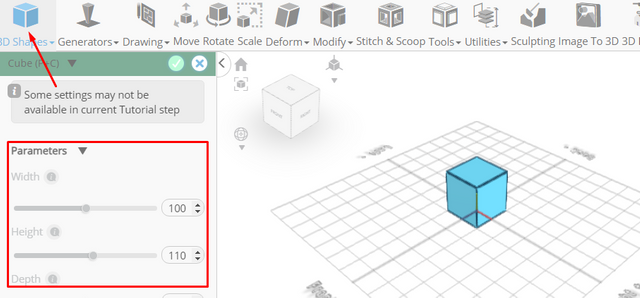
Tick the checkmark to finalize cube
Click to activate polygon selection; Click on highlighted region to select it
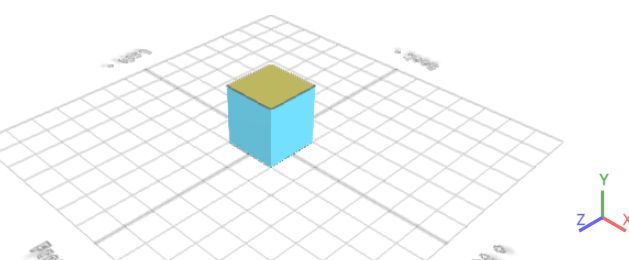
From the right panel choose materials

Set settings to textures, Set texture category to custom, Click add image button to load new image
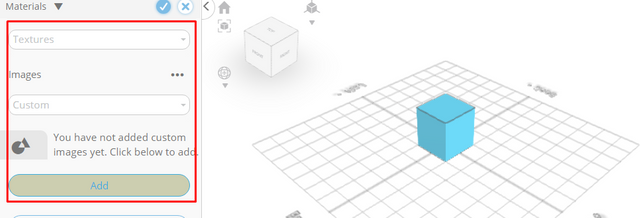
Click load image from tutorial button to add image; Click grass1.jpg button to apply texture
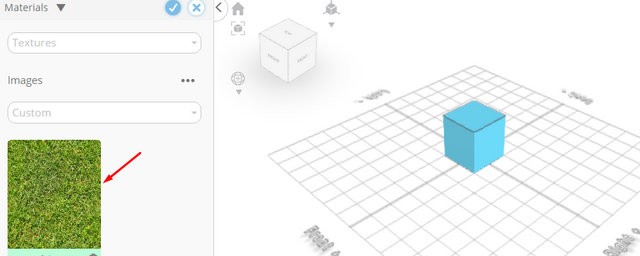
Click on highlighted region to deselect it
Click on highlighted region to select it
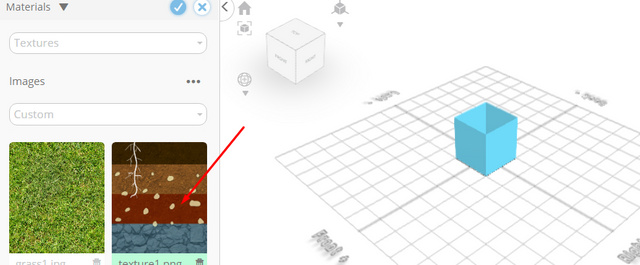
From the right panel choose materials; Set settings to textures, Set texture category to custom, Click add image button to load new image

Click load image from tutorial button to add image, Click texture1.png button to apply texture
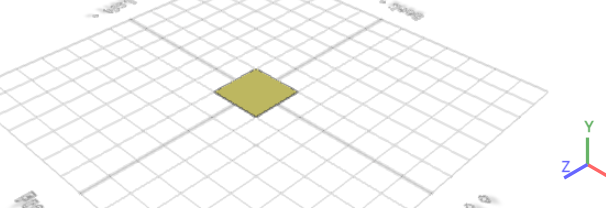
Click on highlighted region to deselect it
Click on highlighted region to select it
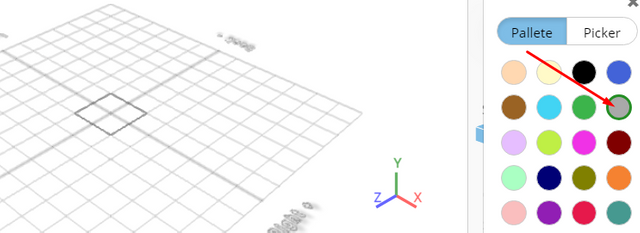
Click color picker button to change color of selected object; Click grey
Click OK button to confirm color change
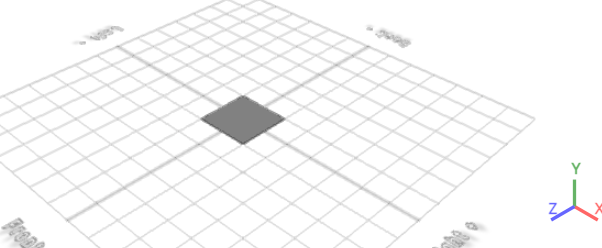
Click highlighted part on selection cube to turn off region selection
From the file menu on the top toolbar click import
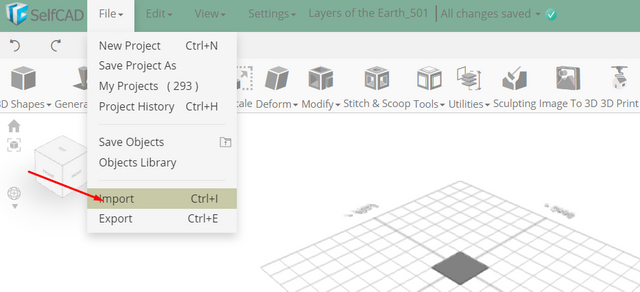
Click load object from tutorial button to add object
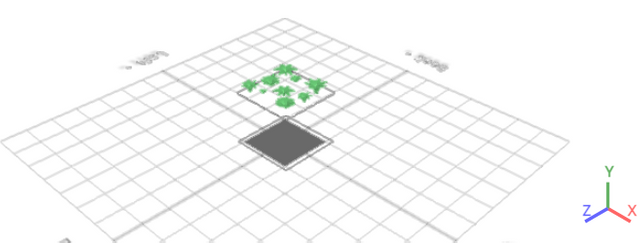
From the generators category on the toolbar choose text generator; Set text to humus topsoil, height to 11, position y to 93, position z to 46,
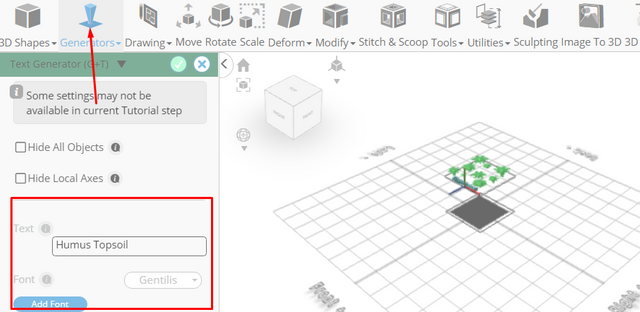
Tick the checkmark to finalize text generator
From the generators category on the toolbar choose text generator; Set text to subsoil, height to 11, position y to 69, position z to 46
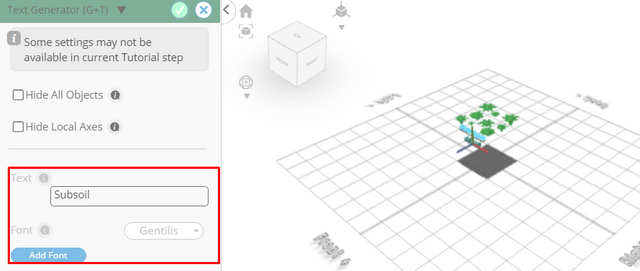
Tick the checkmark to finalize text generator
From the generators category on the toolbar choose text generator; Set text to weathered rock fragments, height to 8, position y to 38, position z to 46
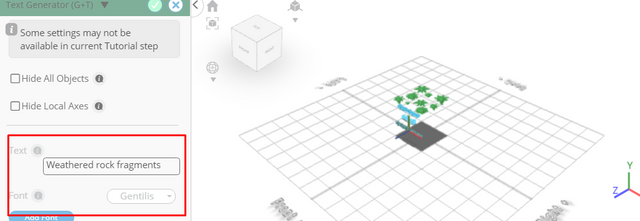
Tick the checkmark to finalize text generator
From the generators category on the toolbar choose text generator; Set text to bedrock, height to 11, position y to 11, position z to 46
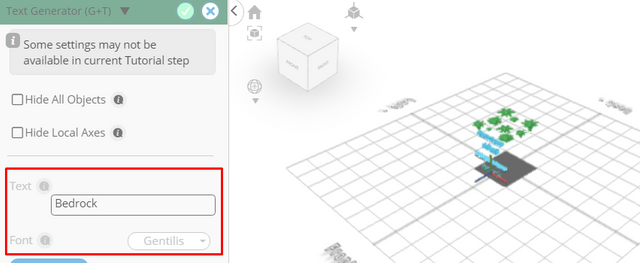
Tick the checkmark to finalize text generator
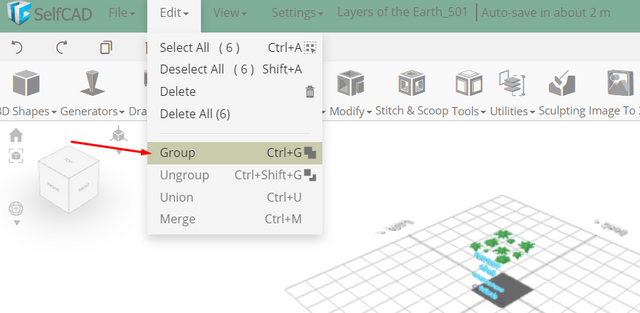
Click on text 3, text 2, text 1 to select; From the edit menu on the top toolbar choose group
Click color picker button to change color of selected object; Click white

Click OK button to confirm color change
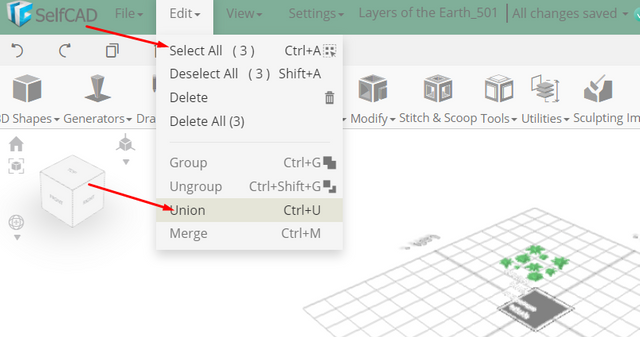
From the edit menu on the top toolbar click select all, followed by union
As you continue honing your design skills, remember that SelfCAD offers a wealth of resources to support your learning journey. To deepen your understanding and explore more advanced features, consider checking out the interactive tutorials (https://www.selfcad.com/tutorials) available on the SelfCAD website. The tutorials page provides a treasure trove of guides, tips, and tricks that cater to designers of all levels.
More structured learning experience can also be accessed at the SelfCAD Academy (https://www.selfcad.com/academy/curriculum/), https://www.youtube.com/@3dmodeling101, and 3D Modeling 101 series (https://www.youtube.com/playlist?list=PL74nFNT8yS9DcE1UlUUdiR1wFGv9DDfTB). This comprehensive resource offers in-depth courses taught by industry experts, allowing you to master the intricacies of SelfCAD at your own pace.