How to Design a 3D Printed Coaster Set Using SelfCAD
Among the many items that can be crafted, coaster sets stand out as both functional and decorative elements, offering a perfect blend of practicality and style. Designing a custom 3D printed coaster set allows you to infuse your unique taste into everyday items, transforming them into conversation pieces that reflect your personality. SelfCAD, an accessible and powerful 3D modeling software, makes it easy for both beginners and experienced designers to bring their ideas to life. This article will guide you through the process of designing a 3D printed coaster set using SelfCAD, covering everything from initial design concepts to the technical steps required for 3D printing. By the end of this guide, you'll be equipped with the knowledge and skills to create your own distinctive coaster set, ready to enhance your home or serve as a thoughtful, personalized gift.
To access the interactive tutorial to this article, check out https://www.selfcad.com/tutorials/4g731w6ot1n6qs4k70721653ne123lh6d1oe
Once you’ve launched the editor;
From the 3D Shapes category on the toolbar choose cylinder; Set top radius to 100, bottom radius to 100, height to 5, vertical segments to 30
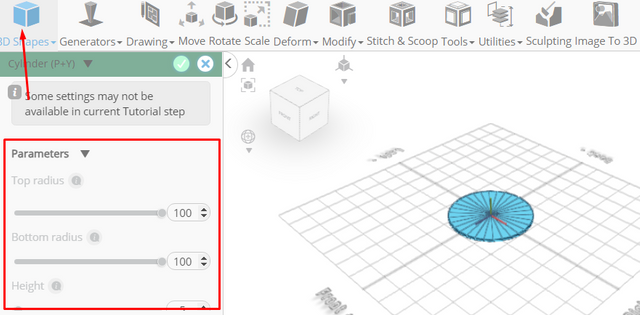
Click to finalize cylinder
From the 3D Shapes category on the toolbar choose torus; Set ring radius to 49, tube radius to 2, position x to 46, position y to 2
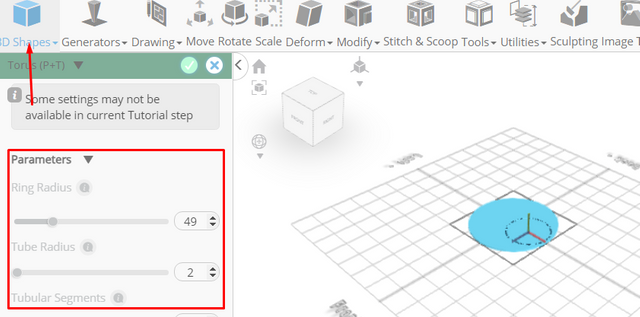
Click to finalize torus
From the tools category on the toolbar choose copy offsets; Set operation to pivot, Set amount of copies to 15, Click copy button to create copies
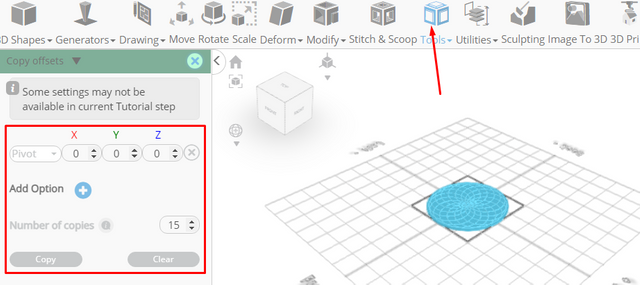
Click ‘x’ to close copy offsets panel
Click on mesh 4 to select it
Click stitch & scoop on the toolbar; From the tool panel choose union
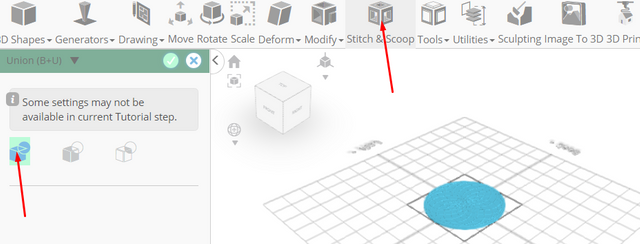
Click to finalize union
From the 3D Shapes category on the toolbar choose torus; Set ring radius to 99, tube radius to 4, radial segments to 30
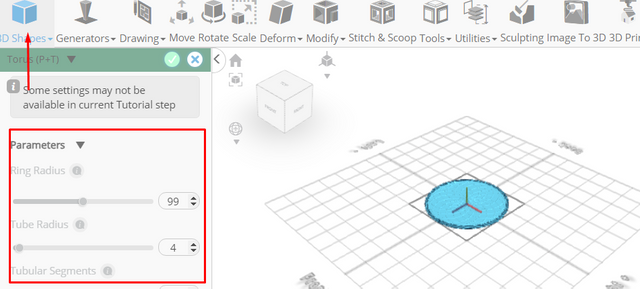
Click to finalize torus
Click on union 1 to select it
Click stitch & scoop on the toolbar; From the tool panel choose union
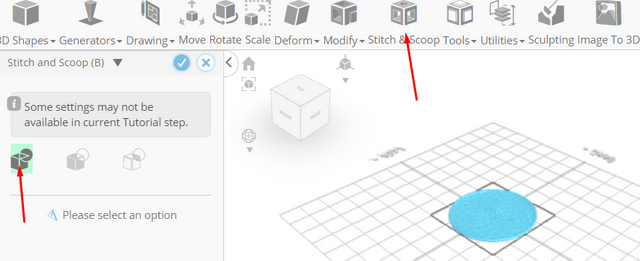
Click to finalize union
Click color picker button to change color of selected object; Click white
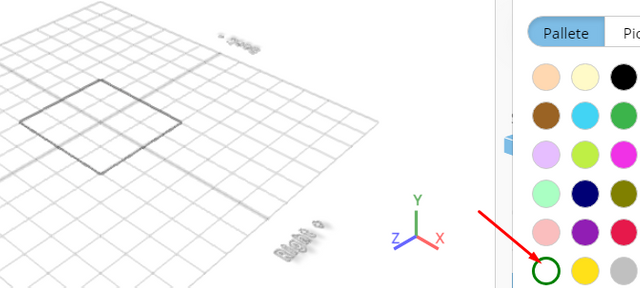
Click OK
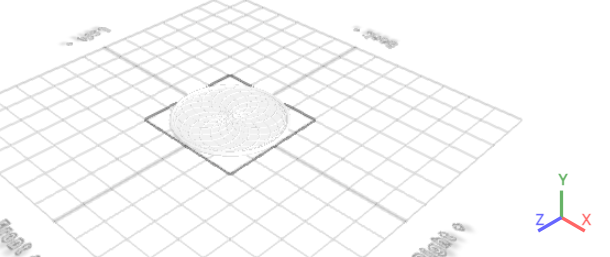
From the tools category on the toolbar choose copy offsets; Set y to 8, Set amount of copies to 5, Click copy button to create copies
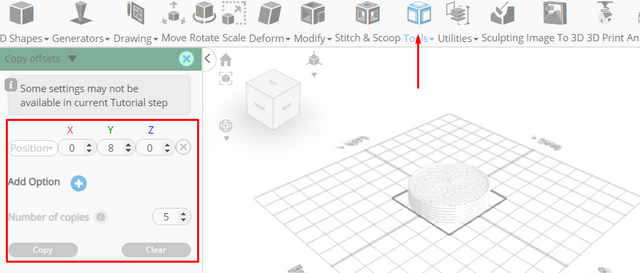
Click ‘x’ to close copy offsets panel
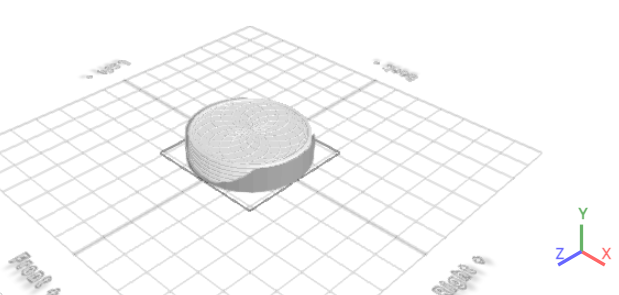
From the 3D Shapes category on the toolbar choose cylinder; Set top radius to 108, bottom radius to 108, height to 45, vertical segments to 30
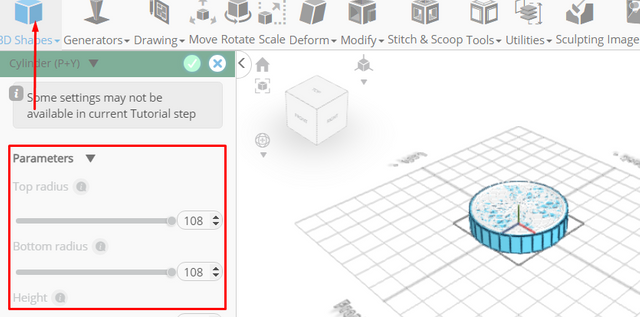
Click to finalize cylinder
From the 3D Shapes category on the toolbar choose cylinder; Set top radius to 106, bottom radius to 106, vertical segments to 30, position y to 2
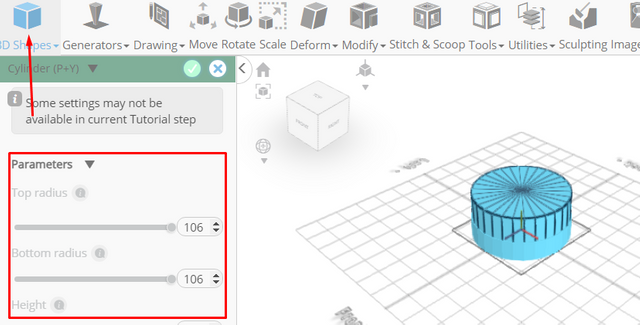
Click to finalize cylinder
Click on mesh 16 to select it
Click stitch & scoop on the toolbar; From the tool panel choose difference
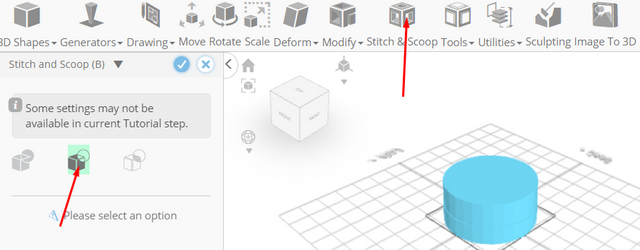
Click on mesh 20 to subtract
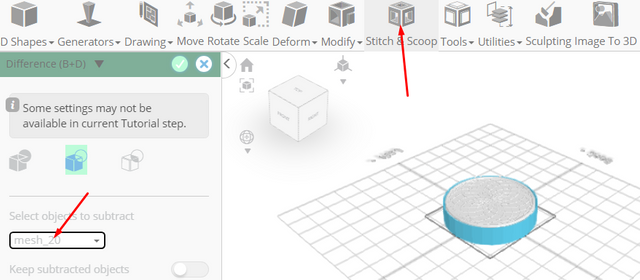
Click to finalize difference
From the 3D Shapes category on the toolbar choose cylinder; Set top radius to 100, bottom radius to 100, height to 300, position y to 3, rotation x to 90
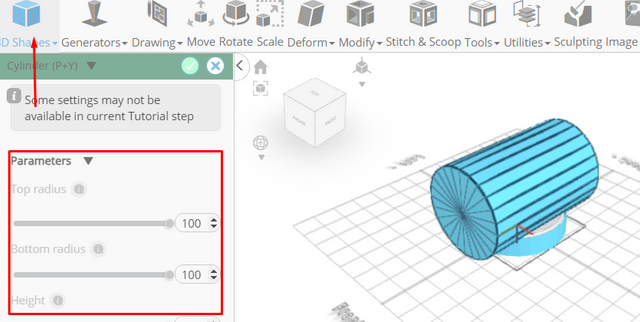
Click to finalize cylinder
Click on difference 1 to select it
Click stitch & scoop on the toolbar; From the tool panel choose difference, Choose mesh 24 to subtract
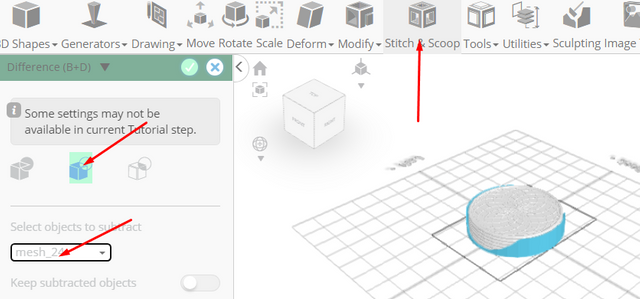
Click to finalize difference
Click color picker button to change color of selected object; Click silver
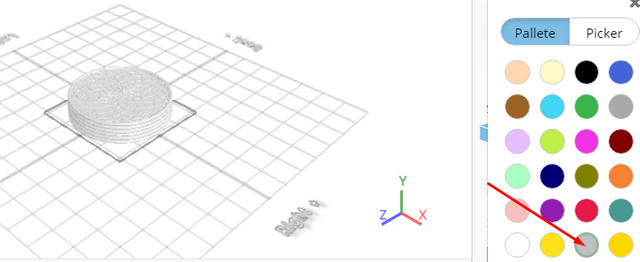
Click OK
As you continue honing your design skills, remember that SelfCAD offers a wealth of resources to support your learning journey. To deepen your understanding and explore more advanced features, consider checking out the interactive tutorials (https://www.selfcad.com/tutorials) available on the SelfCAD website. The tutorials page provides a treasure trove of guides, tips, and tricks that cater to designers of all levels.
More structured learning experience can also be accessed at the SelfCAD Academy (https://www.selfcad.com/academy/curriculum/), https://www.youtube.com/@3dmodeling101, and 3D Modeling 101 series (https://www.youtube.com/playlist?list=PL74nFNT8yS9DcE1UlUUdiR1wFGv9DDfTB). This comprehensive resource offers in-depth courses taught by industry experts, allowing you to master the intricacies of SelfCAD at your own pace.