How to Design Redvine Candy Using SelfCAD
The world of candy design is an exciting fusion of creativity and precision, where even the most delightful confections start as meticulous plans. Among the many treats that captivate our taste buds and imaginations, Redvine candy stands out for its vibrant color and iconic twisty form. With the advancement of digital design tools, creating such intricate and visually appealing designs has become more accessible than ever. One powerful tool in this realm is SelfCAD, a comprehensive and user-friendly 3D modeling software.
SelfCAD offers a unique blend of intuitive interface and robust features, making it an ideal choice for both beginners and experienced designers. Its versatility allows users to bring their confectionery visions to life with precision and ease. This tutorial will guide you through the process of designing Redvine candy using SelfCAD, from the initial concept to the final design. Whether you're a candy enthusiast looking to explore a new hobby or a professional designer seeking to expand your skill set, this step-by-step tutorial will provide valuable insights and practical techniques for mastering candy design in the digital age.
To access the interactive tutorial, visit https://www.selfcad.com/tutorials/1n47622e2n315q5dk701u5a4862105a3v695
Once you’ve launched the editor;
From the Drawing category on the toolbar choose 3D sketch
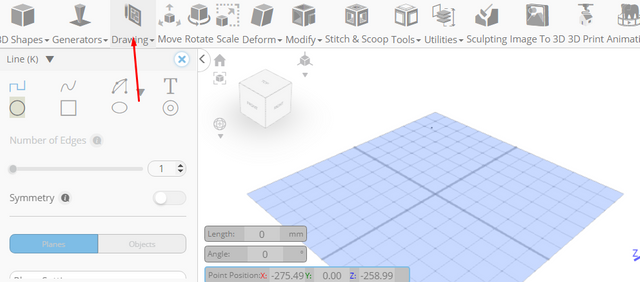
From the tool panel choose circle; Set snap to grid vertices to true
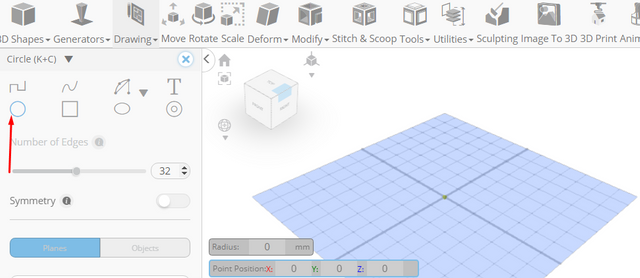
Click on highlighted point to draw circle
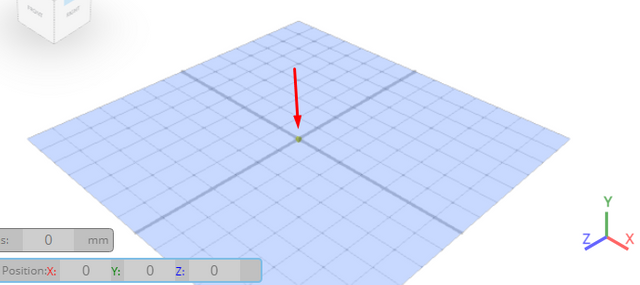
Type in 6 value into the radius measurement, Click on highlighted point to draw circle
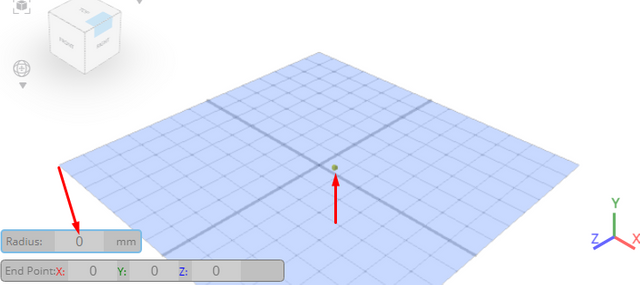
Click on profile 1 to deselect it, Click on highlighted point to draw circle
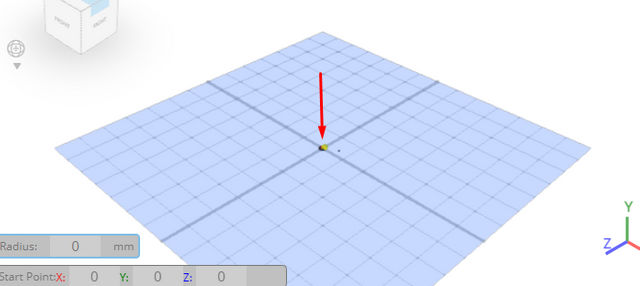
Type in 1.5 value into the radius measurement, Click on highlighted point to draw circle
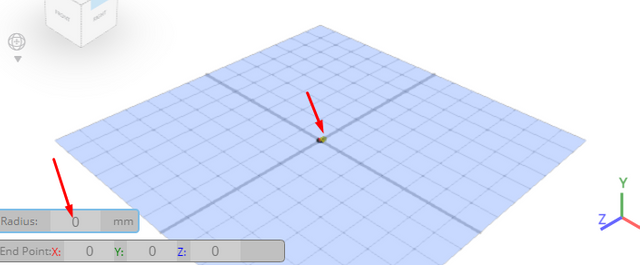
Click ‘x’ to close 3D Sketch panel
From the tools category on the toolbar choose copy offsets; set operation to pivot, set amount of copies to 5, click copy button to create copies
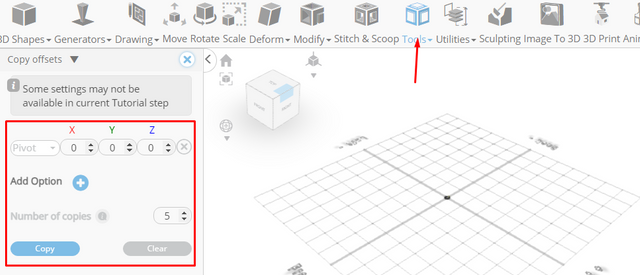
Click ‘x’ to close copy offsets panel
Click on profile 1 to select it; From the edit menu on the top toolbar choose merge
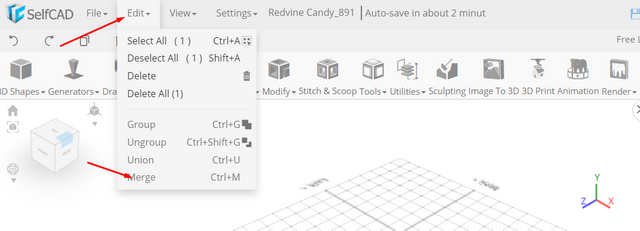
Click to activate polygon selection; Click on highlighted region to select it
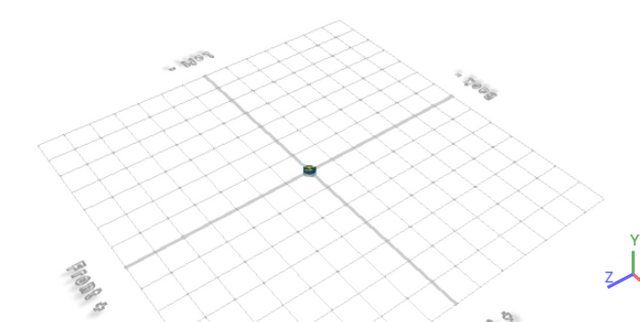
Click delete button to delete selected object
Click move on the toolbar; Set y to 11
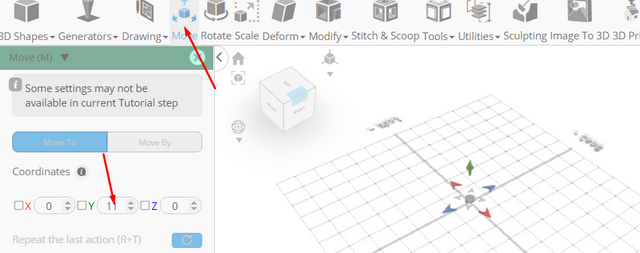
Click ‘x’ to close transformation panel
From the drawing category on the toolbar choose 3D sketch; From the tool panel choose rectangle, Set snap to grid vertices to false
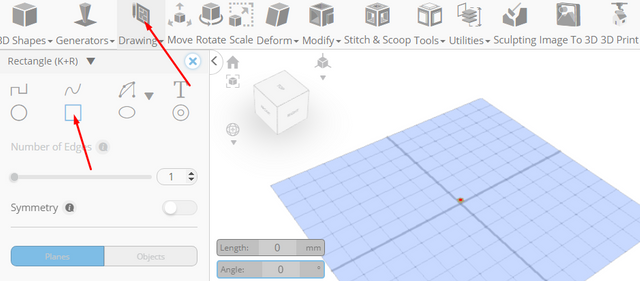
Click on profile 1 to deselect it
Click on highlighted point to draw rectangle
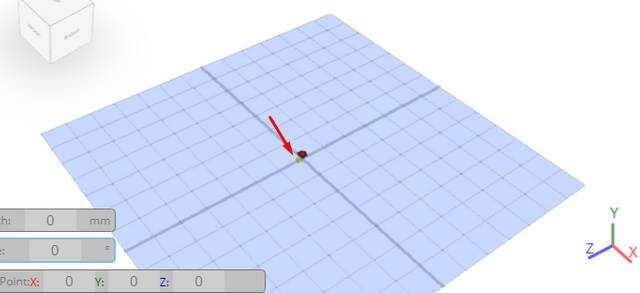
Click on highlighted point to draw rectangle
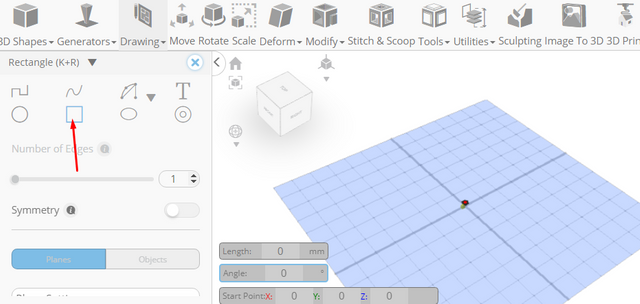
Click ‘x’ to close 3D Sketch panel
Click on profile 1 to select it
From the utilities category on the toolbar choose mirror; Set create copy to true, Set direction to top, offset to 75
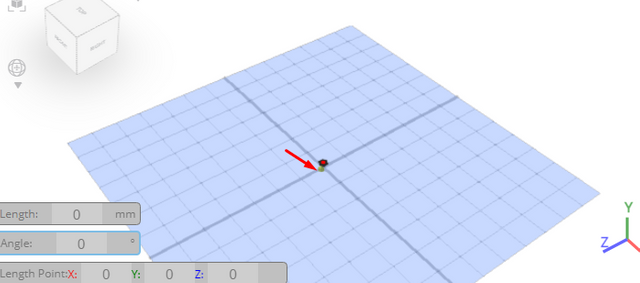
Tick the checkmark to finalize mirror
Click on profile 1(1), 3(1) to select it
From the tools category on the toolbar choose bridge; Set linear to false
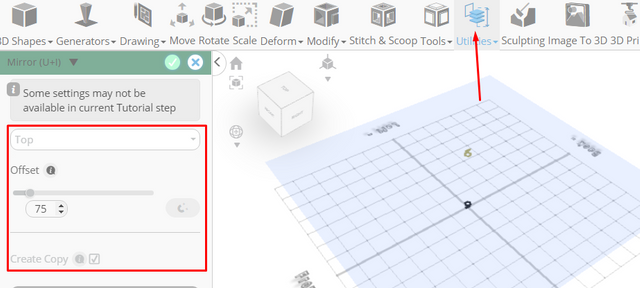
Tick the checkmark to finalize bridge
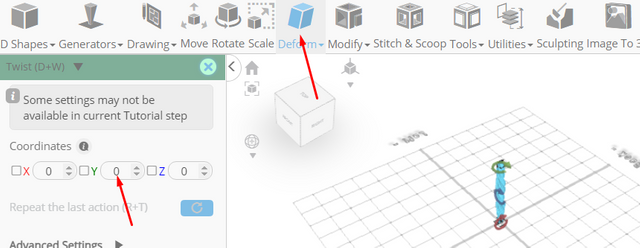
From the deform category on the toolbar choose twist ; Set y to 500
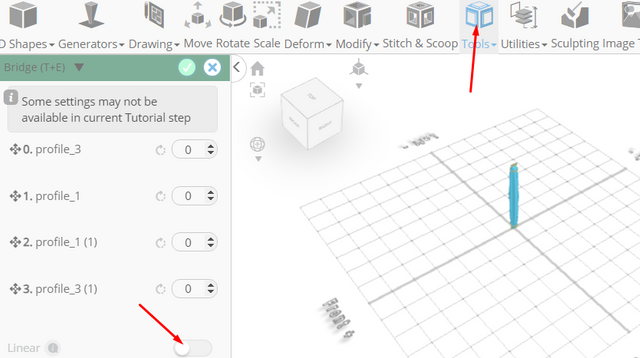
Click ‘x’ to close transformation panel
Click isolate button to isolate selected object
Click smooth button to enable smooth rendering
Click color picker button to change color of selected object; Click red

Click OK button to confirm color change

As you continue honing your design skills, remember that SelfCAD offers a wealth of resources to support your learning journey. To deepen your understanding and explore more advanced features, consider checking out the interactive tutorials (https://www.selfcad.com/tutorials) available on the SelfCAD website. The tutorials page provides a treasure trove of guides, tips, and tricks that cater to designers of all levels.
More structured learning experience can also be accessed at the SelfCAD Academy (https://www.selfcad.com/academy/curriculum/), https://www.youtube.com/@3dmodeling101, and 3D Modeling 101 series (https://www.youtube.com/playlist?list=PL74nFNT8yS9DcE1UlUUdiR1wFGv9DDfTB). This comprehensive resource offers in-depth courses taught by industry experts, allowing you to master the intricacies of SelfCAD at your own pace.