"Shoot!" A button pops off your shirt and you know you will never make time to repair it. H.ave no fear, Button Art is Here!
I love finding ways to make recycled crafts, and buttons are the perfect companions for that task. Most of my buttons for crafting come from thrift stores. I have found bundles of buttons in all sorts of pretty colours and sizes for only $1. With just the buttons, and a couple of dollar store items, you can turn one Man's button junk, into your own DIY Treasure.
Here are two of my favourite ways to craft with buttons. They are both extremely easy, fun to do, and make perfect gifts for young children.
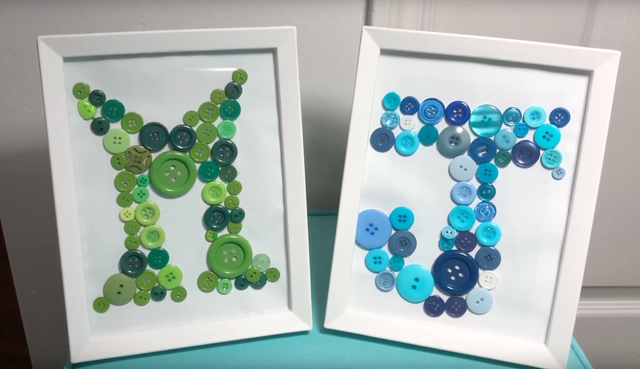
How to Make Framed Letter Button Artwork
(click above to watch how it's done)
White construction Paper
Pencil
Buttons of desired colour
Glue Gun & Glue Sticks

Directions
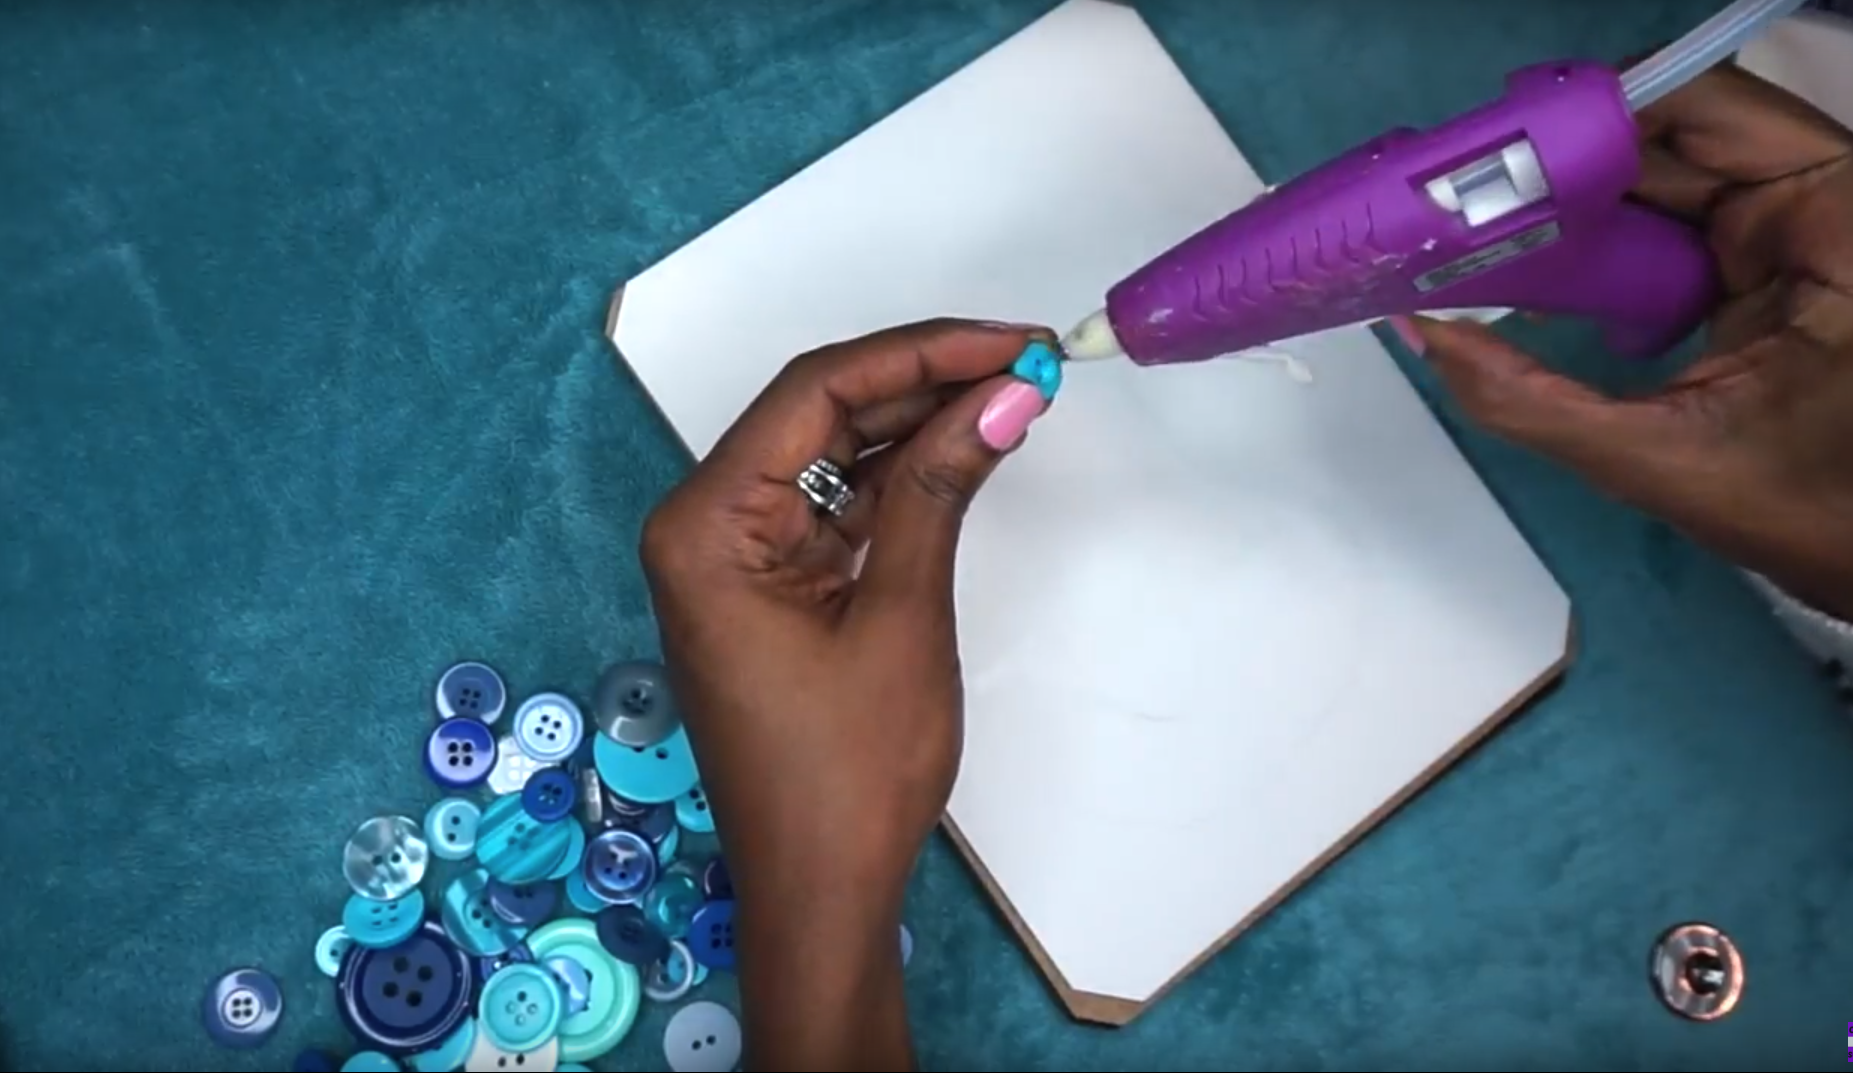
- Lightly draw in pencil the first initial of whoever the artwork is for (as seen in video 🔼 ensure to double check that the area you are writing the letter will not be blocked by the frame).
- Outline & fill in the initial by glueing the buttons on. Be mindful of the different buttons sizes in order to maintain shape
- When buttons are in place, erase any visible pencil marks and pull off any excess glue

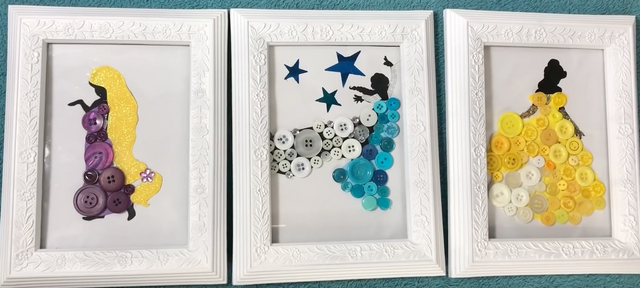
How to Make Disney Princess Button Artwork
(click above to watch me show how to make these on Aunty Tay's YouTube channel )
Coloured construction Paper that matches the gown of the Princess
Buttons that match the gown of the Princess
Princess silhouette shape (you can search to find and print this image online)
Glue Gun & Glue Sticks
glitter (optional)
liquid crafting glue (optional)
stick on jewels (optional)

Directions
- Glue printed Princess silhouette to the frame backing, ensuring that it is proportioned well within the frame
- trace the shape of the gown on white paper, cut out shape
- Use tracer to cut out the shape of gown from the appropriate coloured construction paper
- Glue on the coloured cut out of gown, onto the black Princess silhouette
- Hot glue appropriate coloured buttons to fill in the shape of the gown
- As seen in video above 🔼 feel free to embellish your art with glitter and stick on jewels

Steemit: https://steemit.com/@cluelessmamad
Youtube: https://www.youtube.com/channel/UCEA7-yZ_sG7ySw8NI4vEAbQ
Instagram: https://www.instagram.com/cluelessmamad/
Facebook: https://www.facebook.com/cluelessmamad/
Twitter: https://twitter.com/cluelessmamad
I love the Disney princess button pictures. Really cute craft and idea.
Downvoting a post can decrease pending rewards and make it less visible. Common reasons:
Submit
So easy to make as well. Thank you for reading!
Downvoting a post can decrease pending rewards and make it less visible. Common reasons:
Submit
Great post. kids are going to love it. Isn’t many people out there doing button crafts.
Downvoting a post can decrease pending rewards and make it less visible. Common reasons:
Submit
Thank you! Yes I LOVE Button art.
Downvoting a post can decrease pending rewards and make it less visible. Common reasons:
Submit