Ikea hack!!!!!!!!
Yes. Of course. It’s a Rast chest of drawers. £25 worth of 70cm x 30cm x 62cm pine storage goodness.
I got two of these just after we moved into the house; when it became clear that I’d need a bit more clothes storage. At 30cm depth and 62cm width, the two of them were taking up over a metre of floor space. Not actually that much, but if you don’t have that much space to begin with, it gets eaten up quickly.
I had a couple of ideas of what to do with these; maybe put them both on top of an existing chest of drawers and painting it to look like a Chinese lacquered chest. That would have required more construction and work than I was really prepared to put in at the time. So how about putting one on top of the other and making it look like one tall unit?
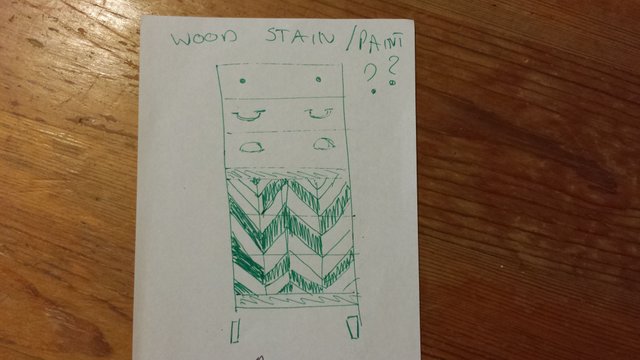
After a few sketches and change of ideas, I decided on Pattern-of-the-moment: tumbling blocks. I considered using paint, but settled on wood stain. I already had some dark oak wood stain from a previous project; which is actually what inspired this one.
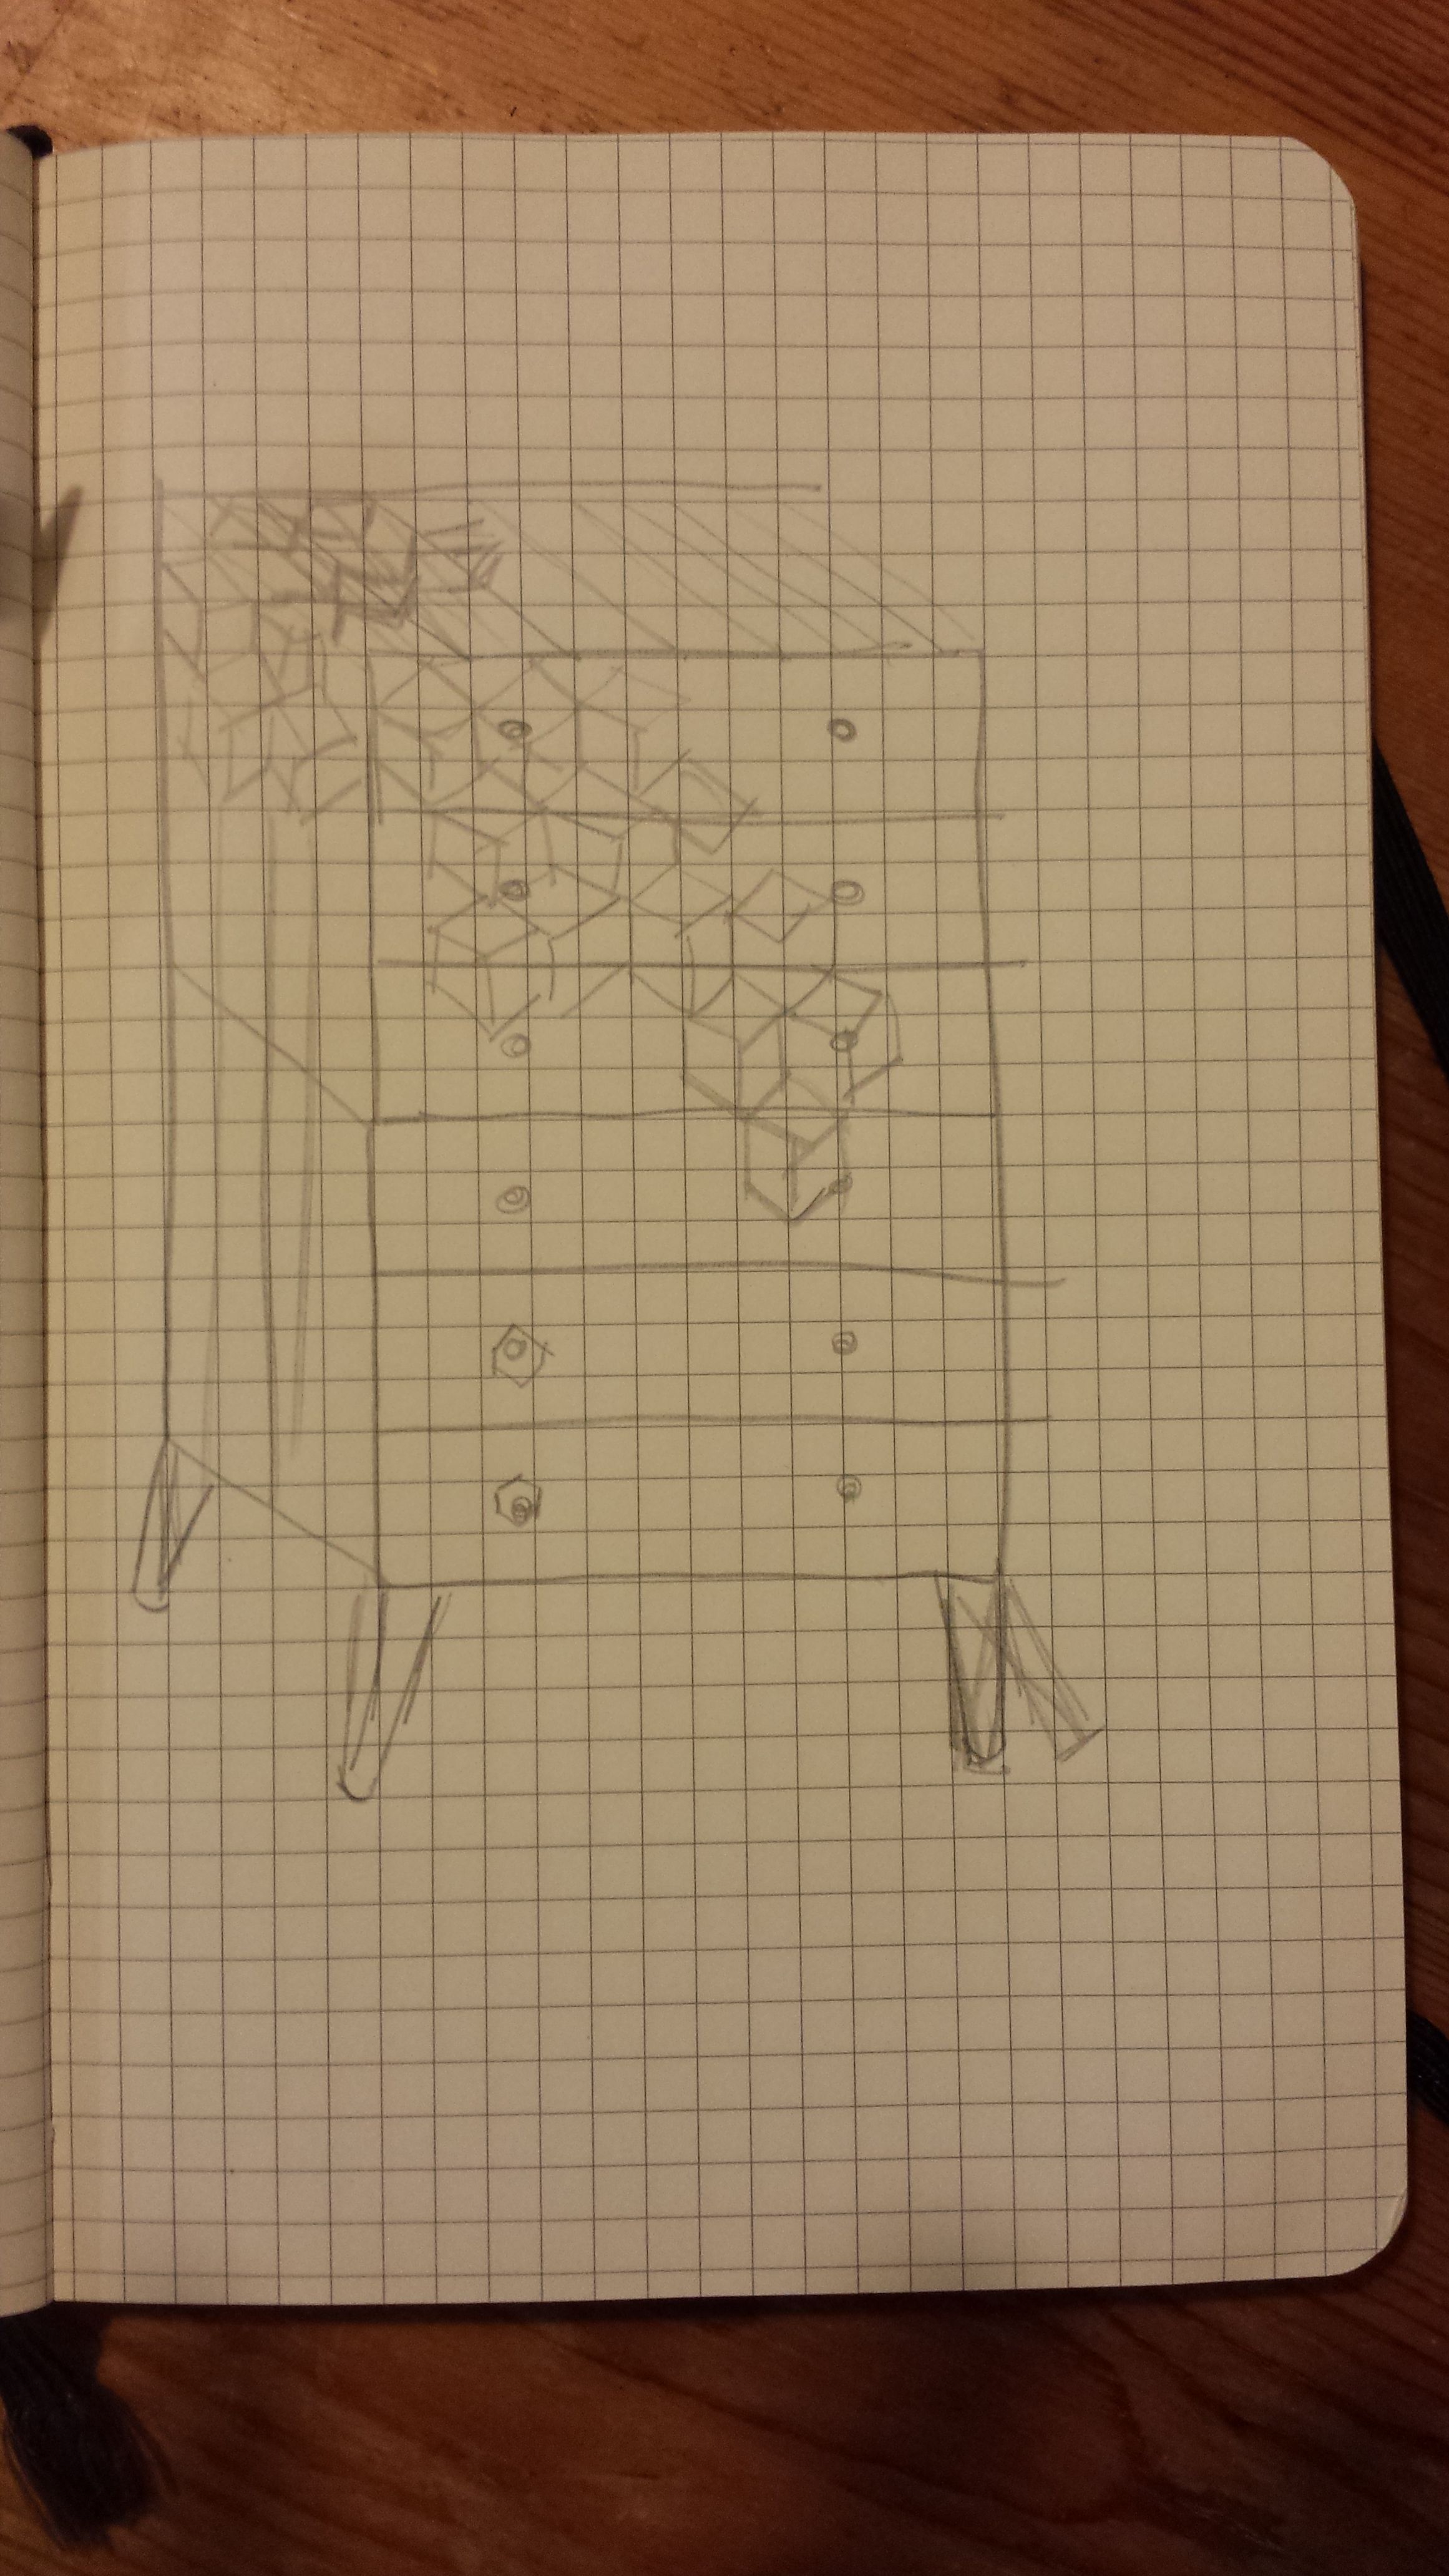
I knew that I wanted to put the chest onto legs. Something like these Mid Century Modern style wooden legs from Amazon.

The way Rast is built means that the side panels extend longer than the bottom of the drawers to form the legs, with a wooden panel between them to cover the gap. If you were to start from scratch and combine 2 chests as you’re building them, you could use this gap as a spade to store papers etc. I had already built the chests some time ago, and I knew I wanted the top three drawers to go directly above the lower 3.
I found these delightful knobs on the Bombay Duck website. I thought the hexagonal design would fit perfectly with the tumbling blocks pattern.

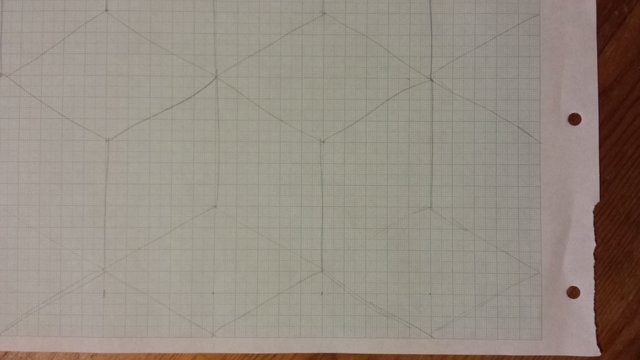
I started by measuring the chest so that I could draw out the pattern on graph paper and work out the dimensions of the blocks. To make the blocks fit evenly onto each side of the chest, I made the blocks on the side a different size to those on the front and top of the chest. I personally don’t mind this, as I think it looks neater than having the blocks on the sides being cut off in the middle of the design.
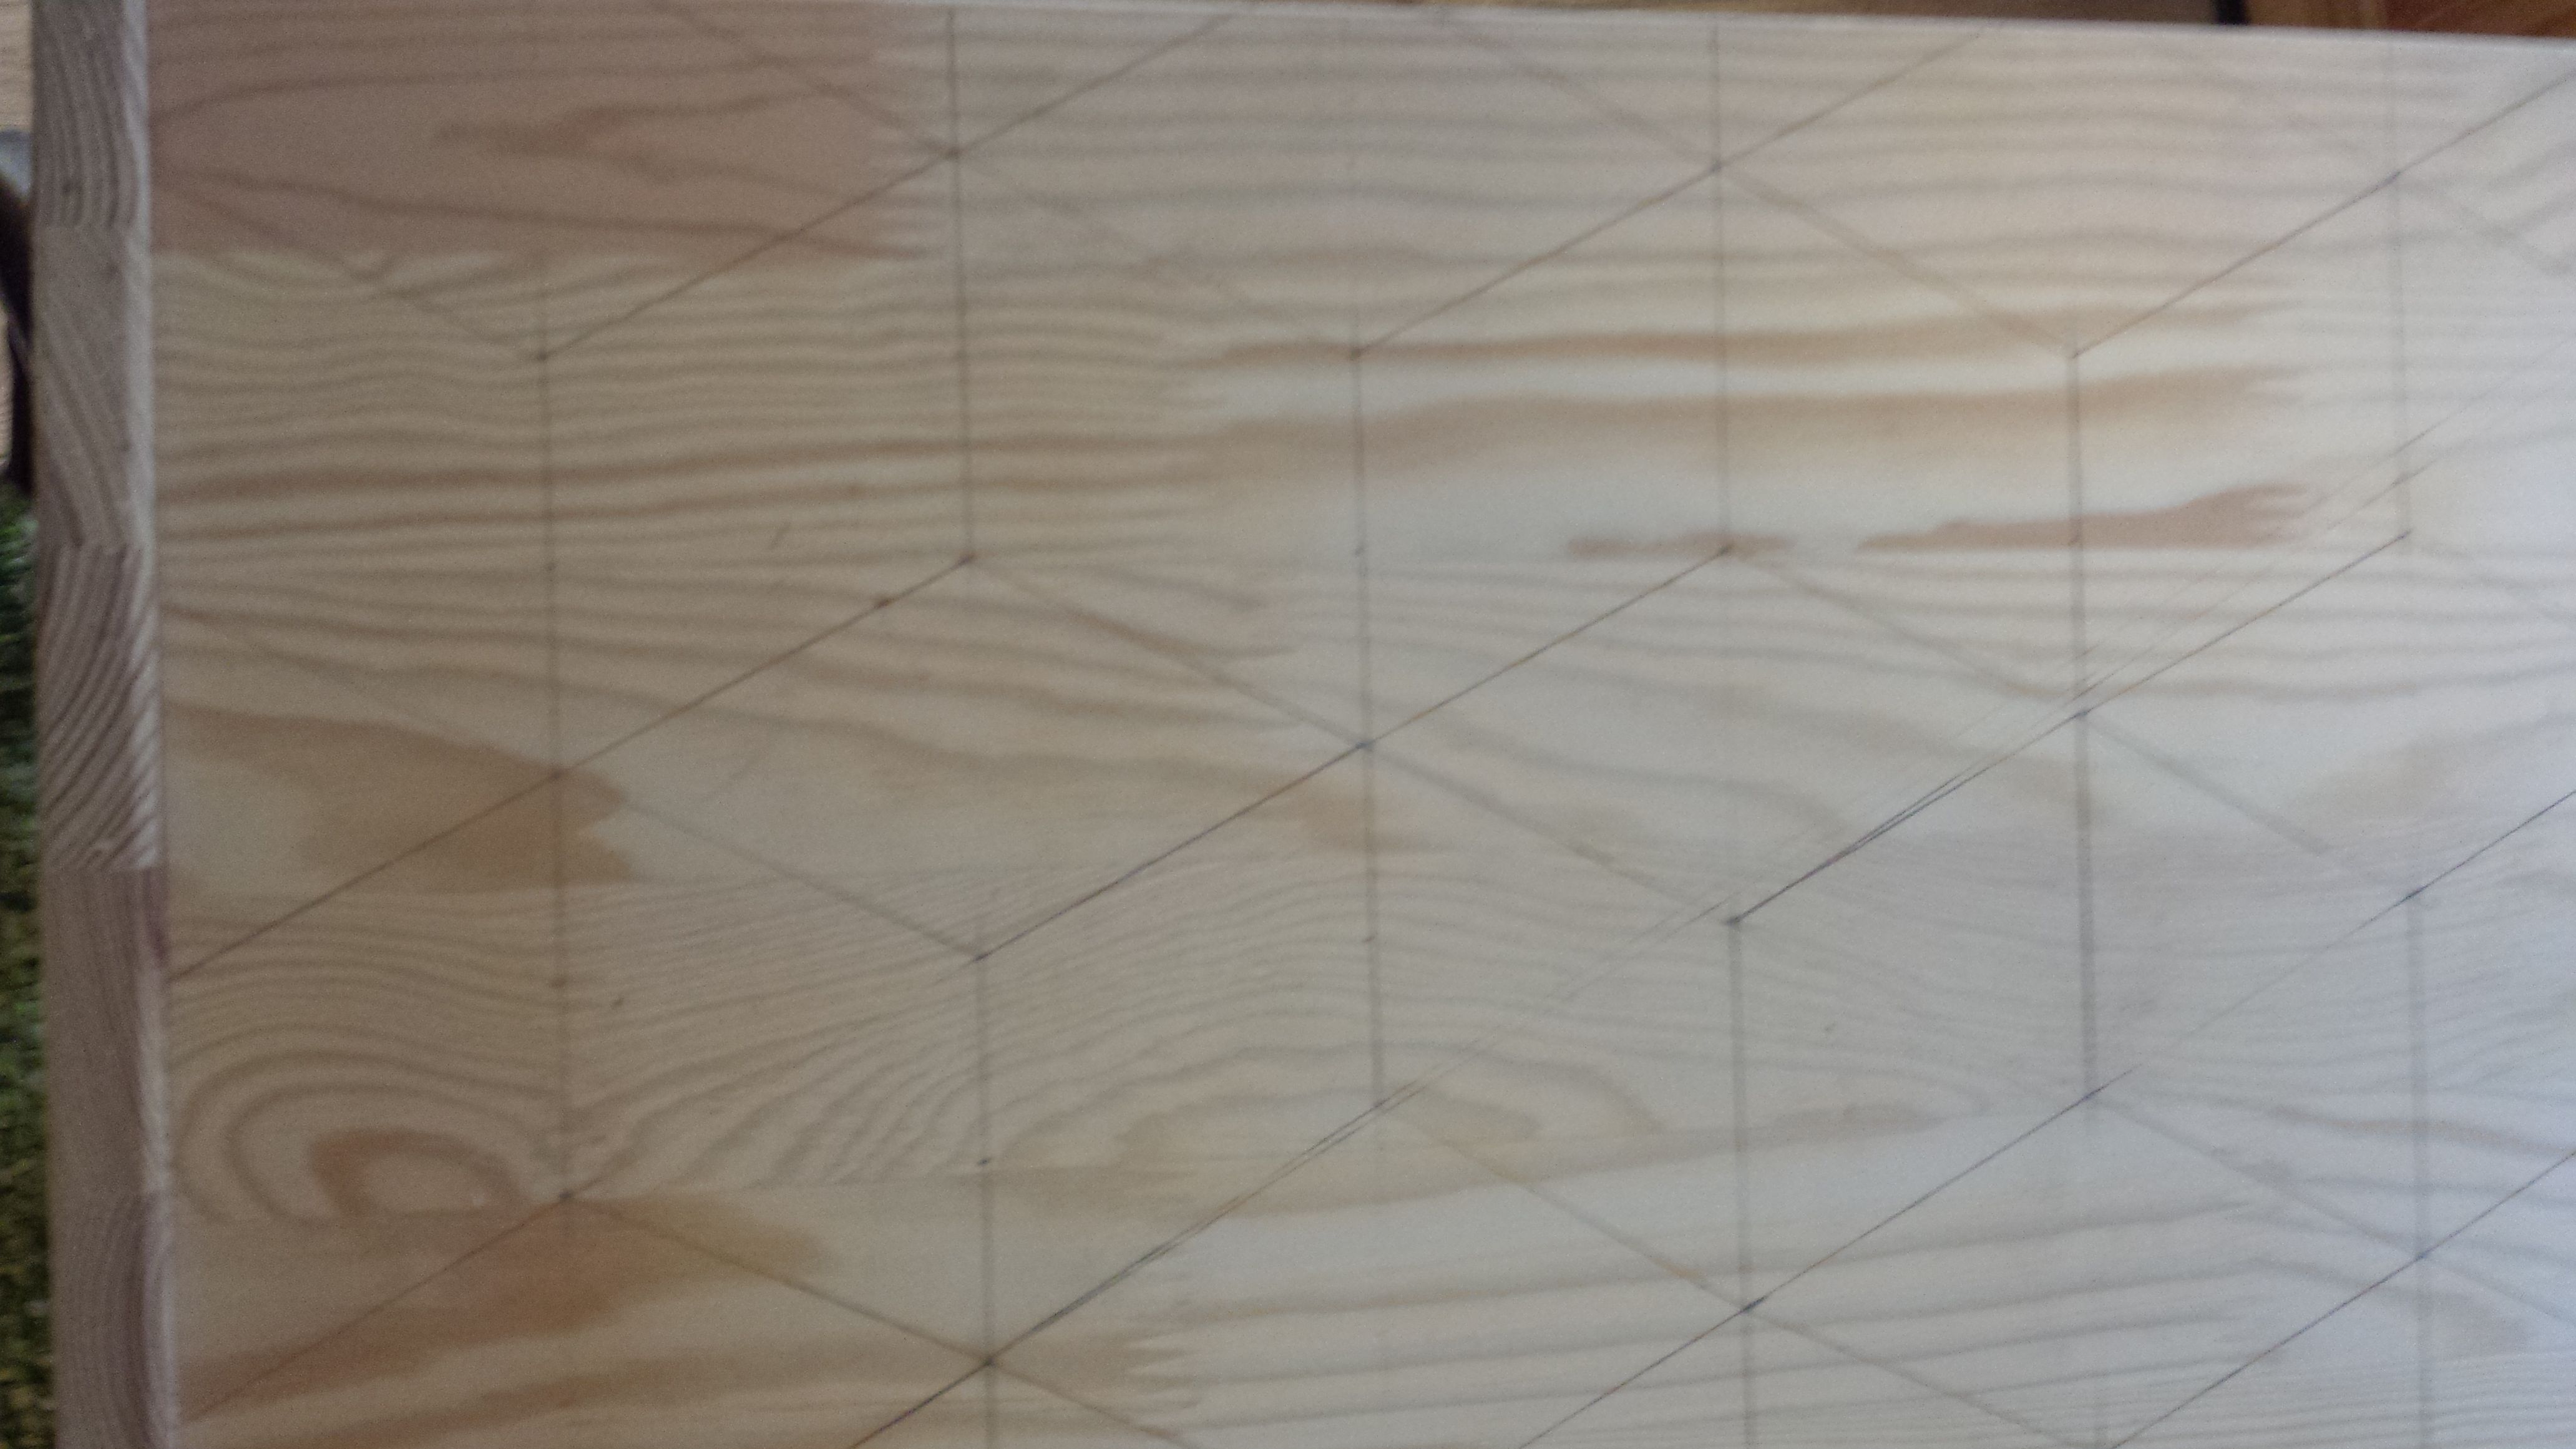
Once I had drawn the lines and measurements for the pattern on the chest that was going to be the top, I then asked my god amongst men of a husband to saw off the excess length of the side panels, and fix the top to the bottom chest. The top chest was attached to the bottom using some corner brackets and wooden dowling. I used a light-coloured wood filler to smooth over the small gap between the top and bottom chests. I was then able to continue drawing the pattern on the bottom chest.
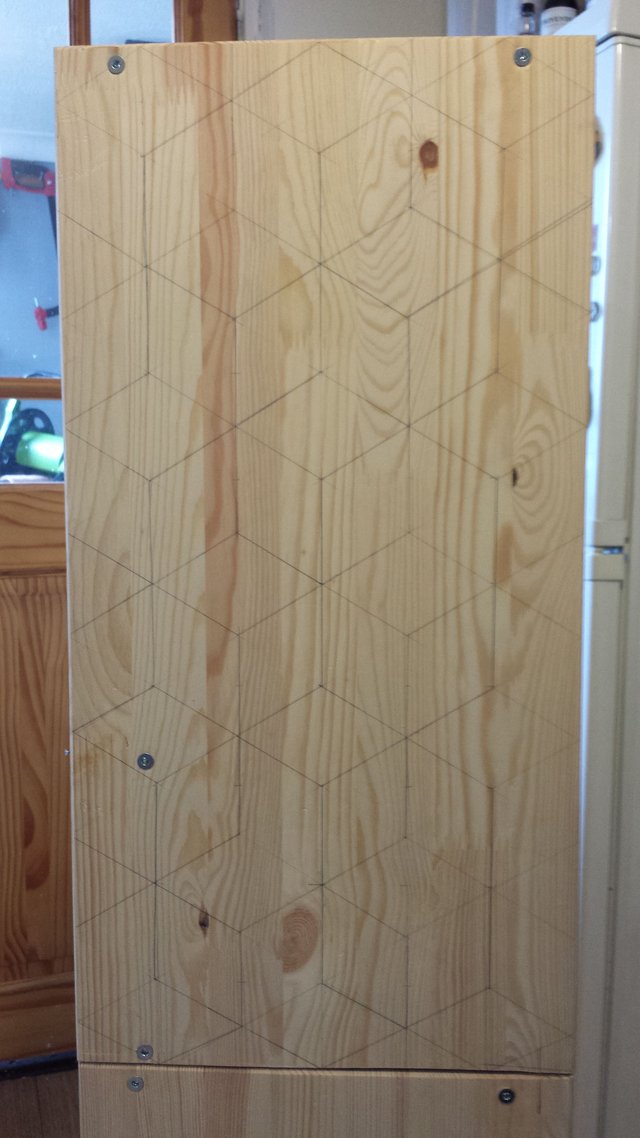
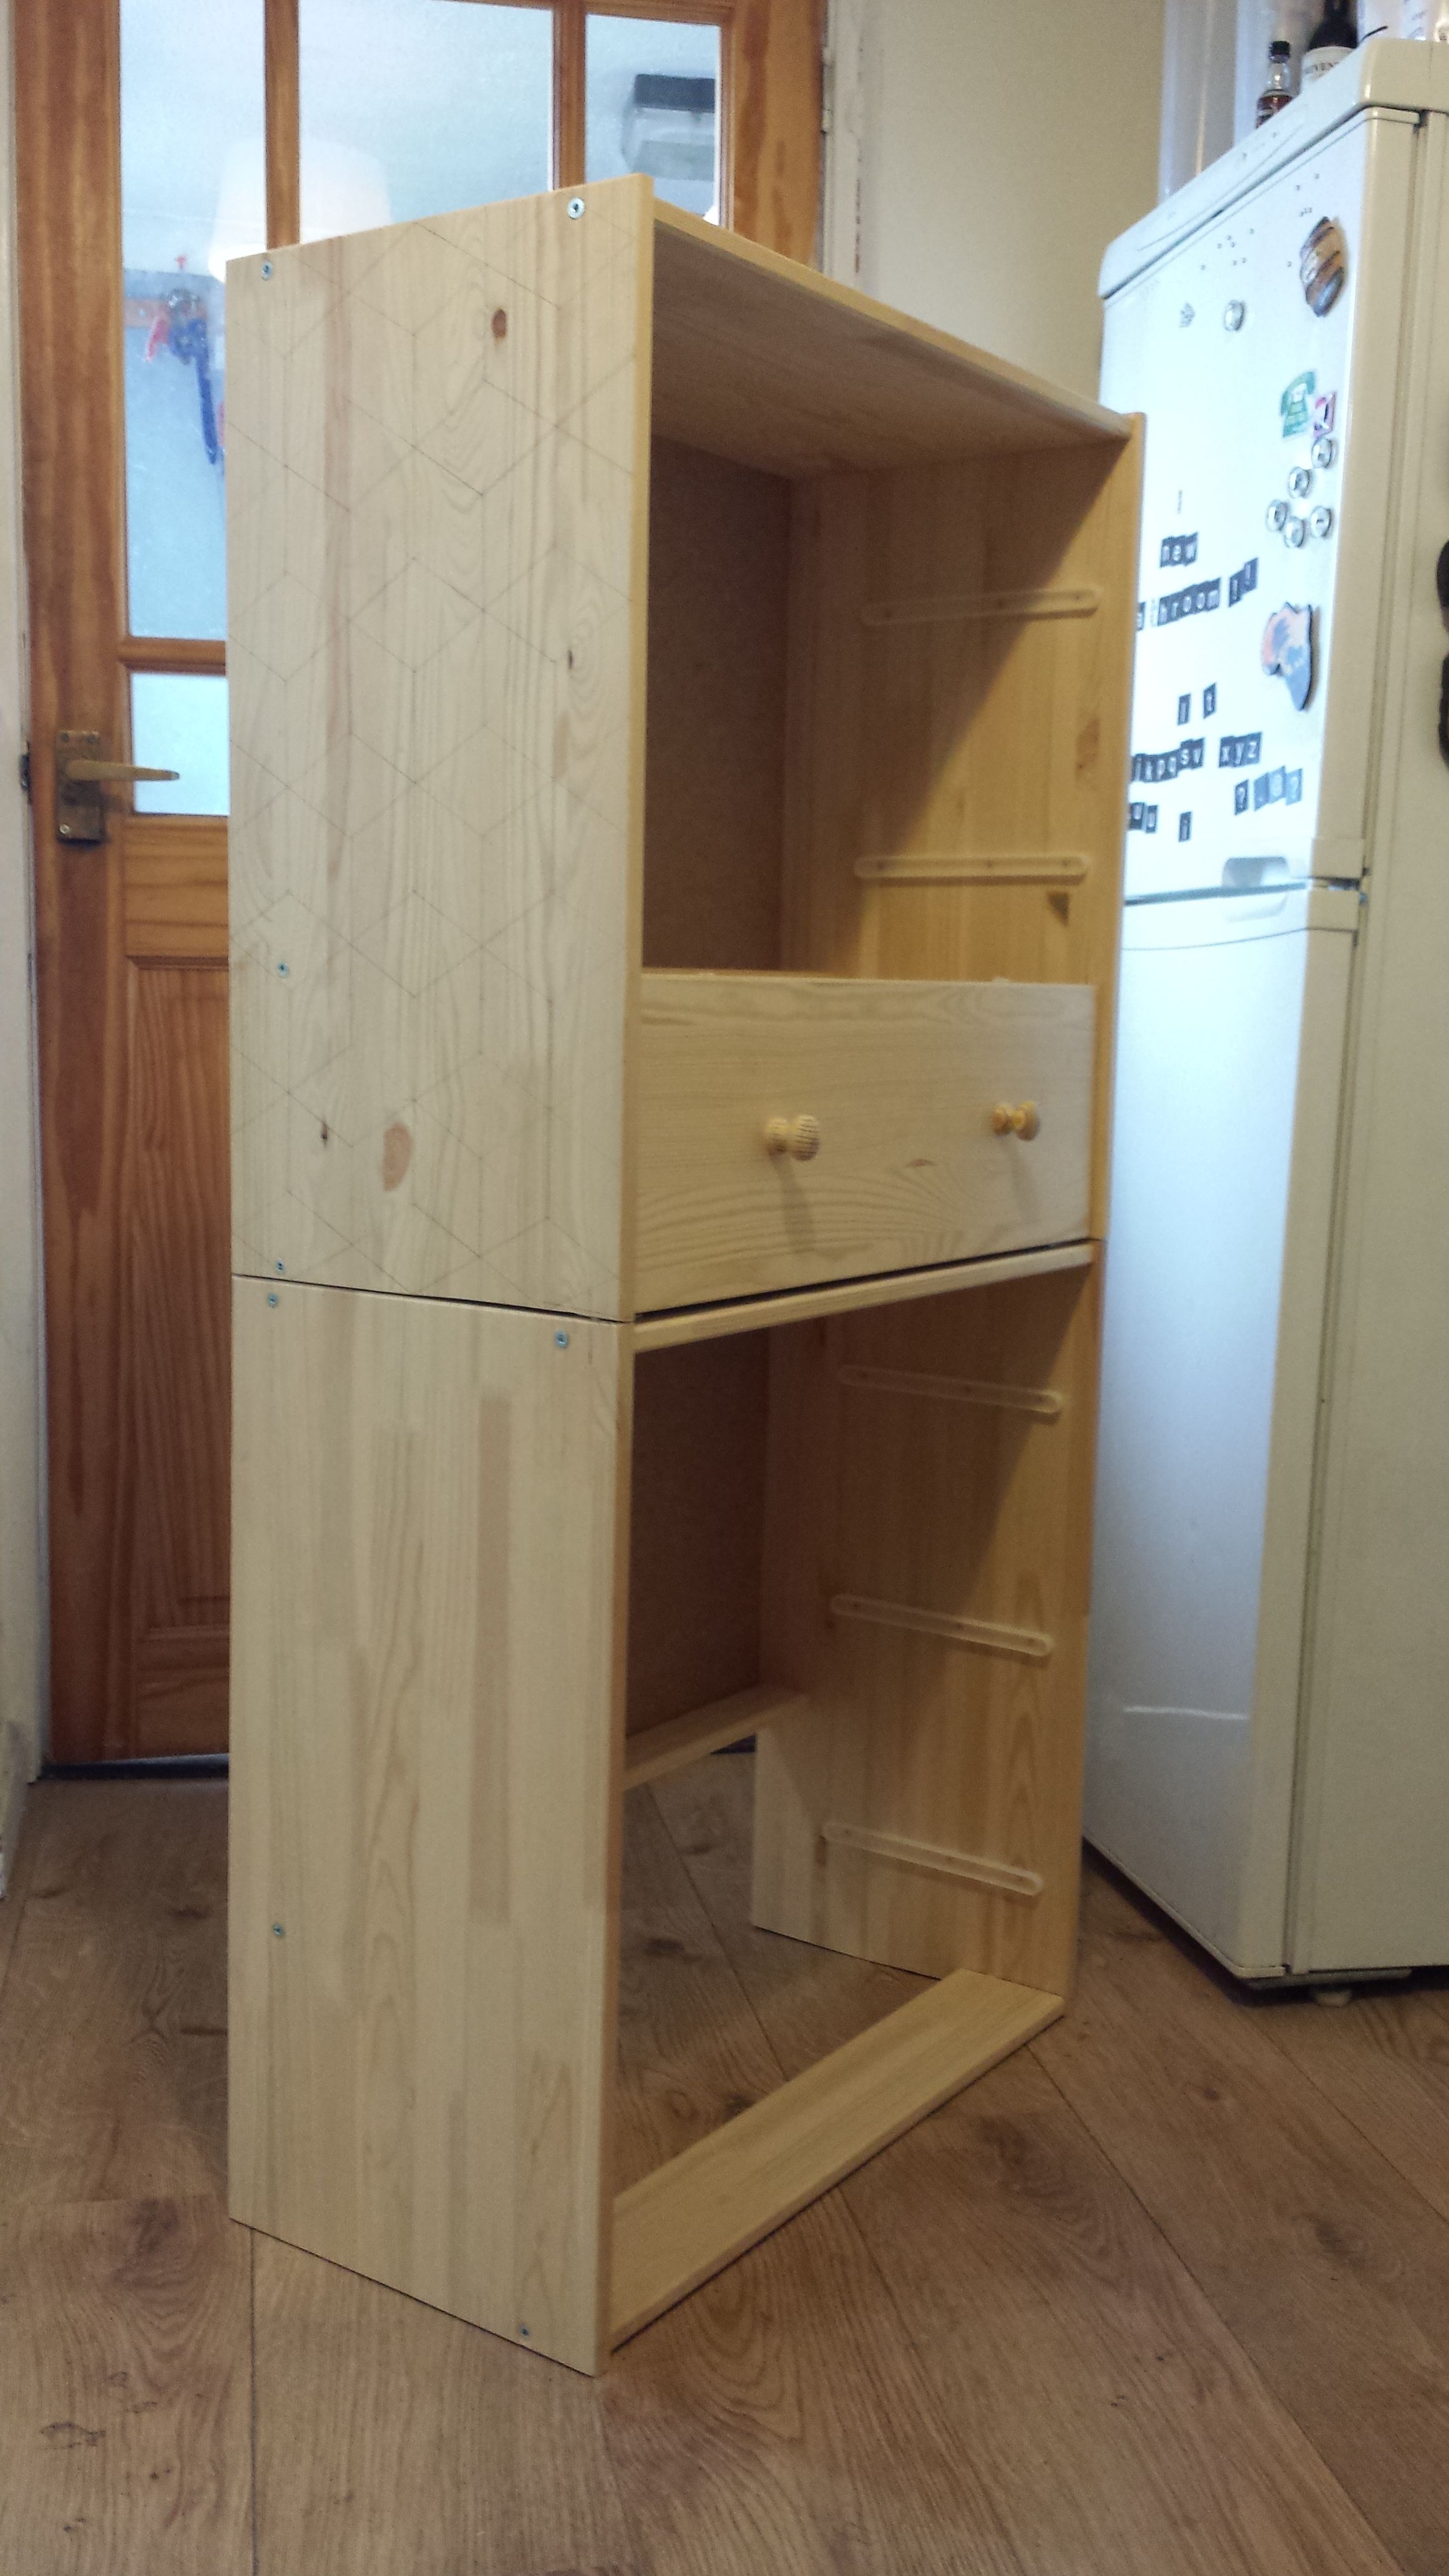
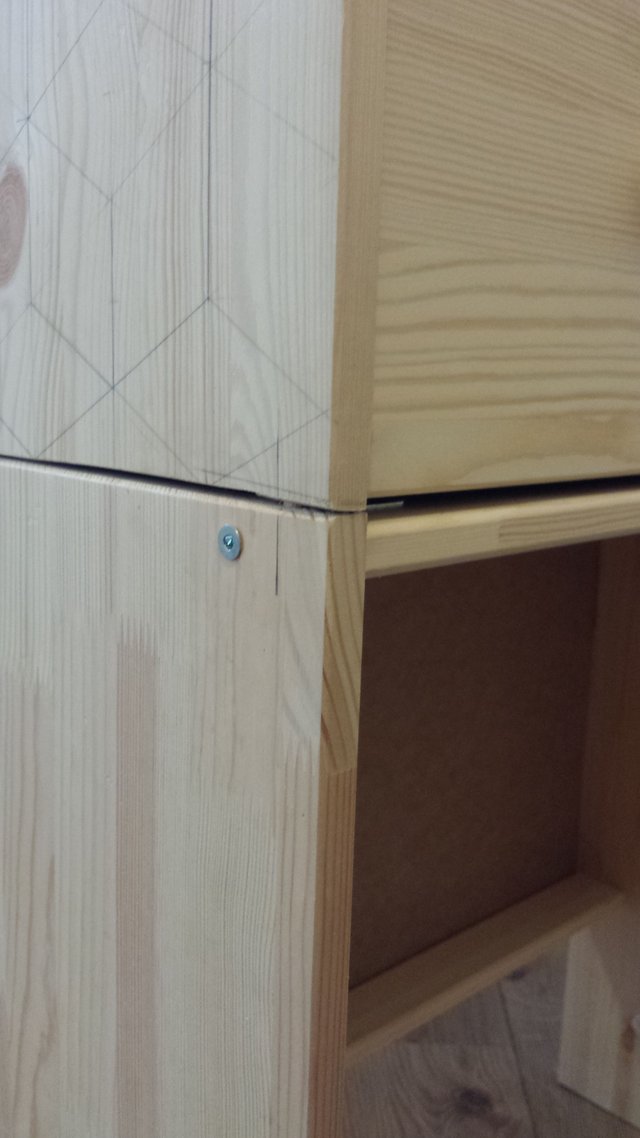
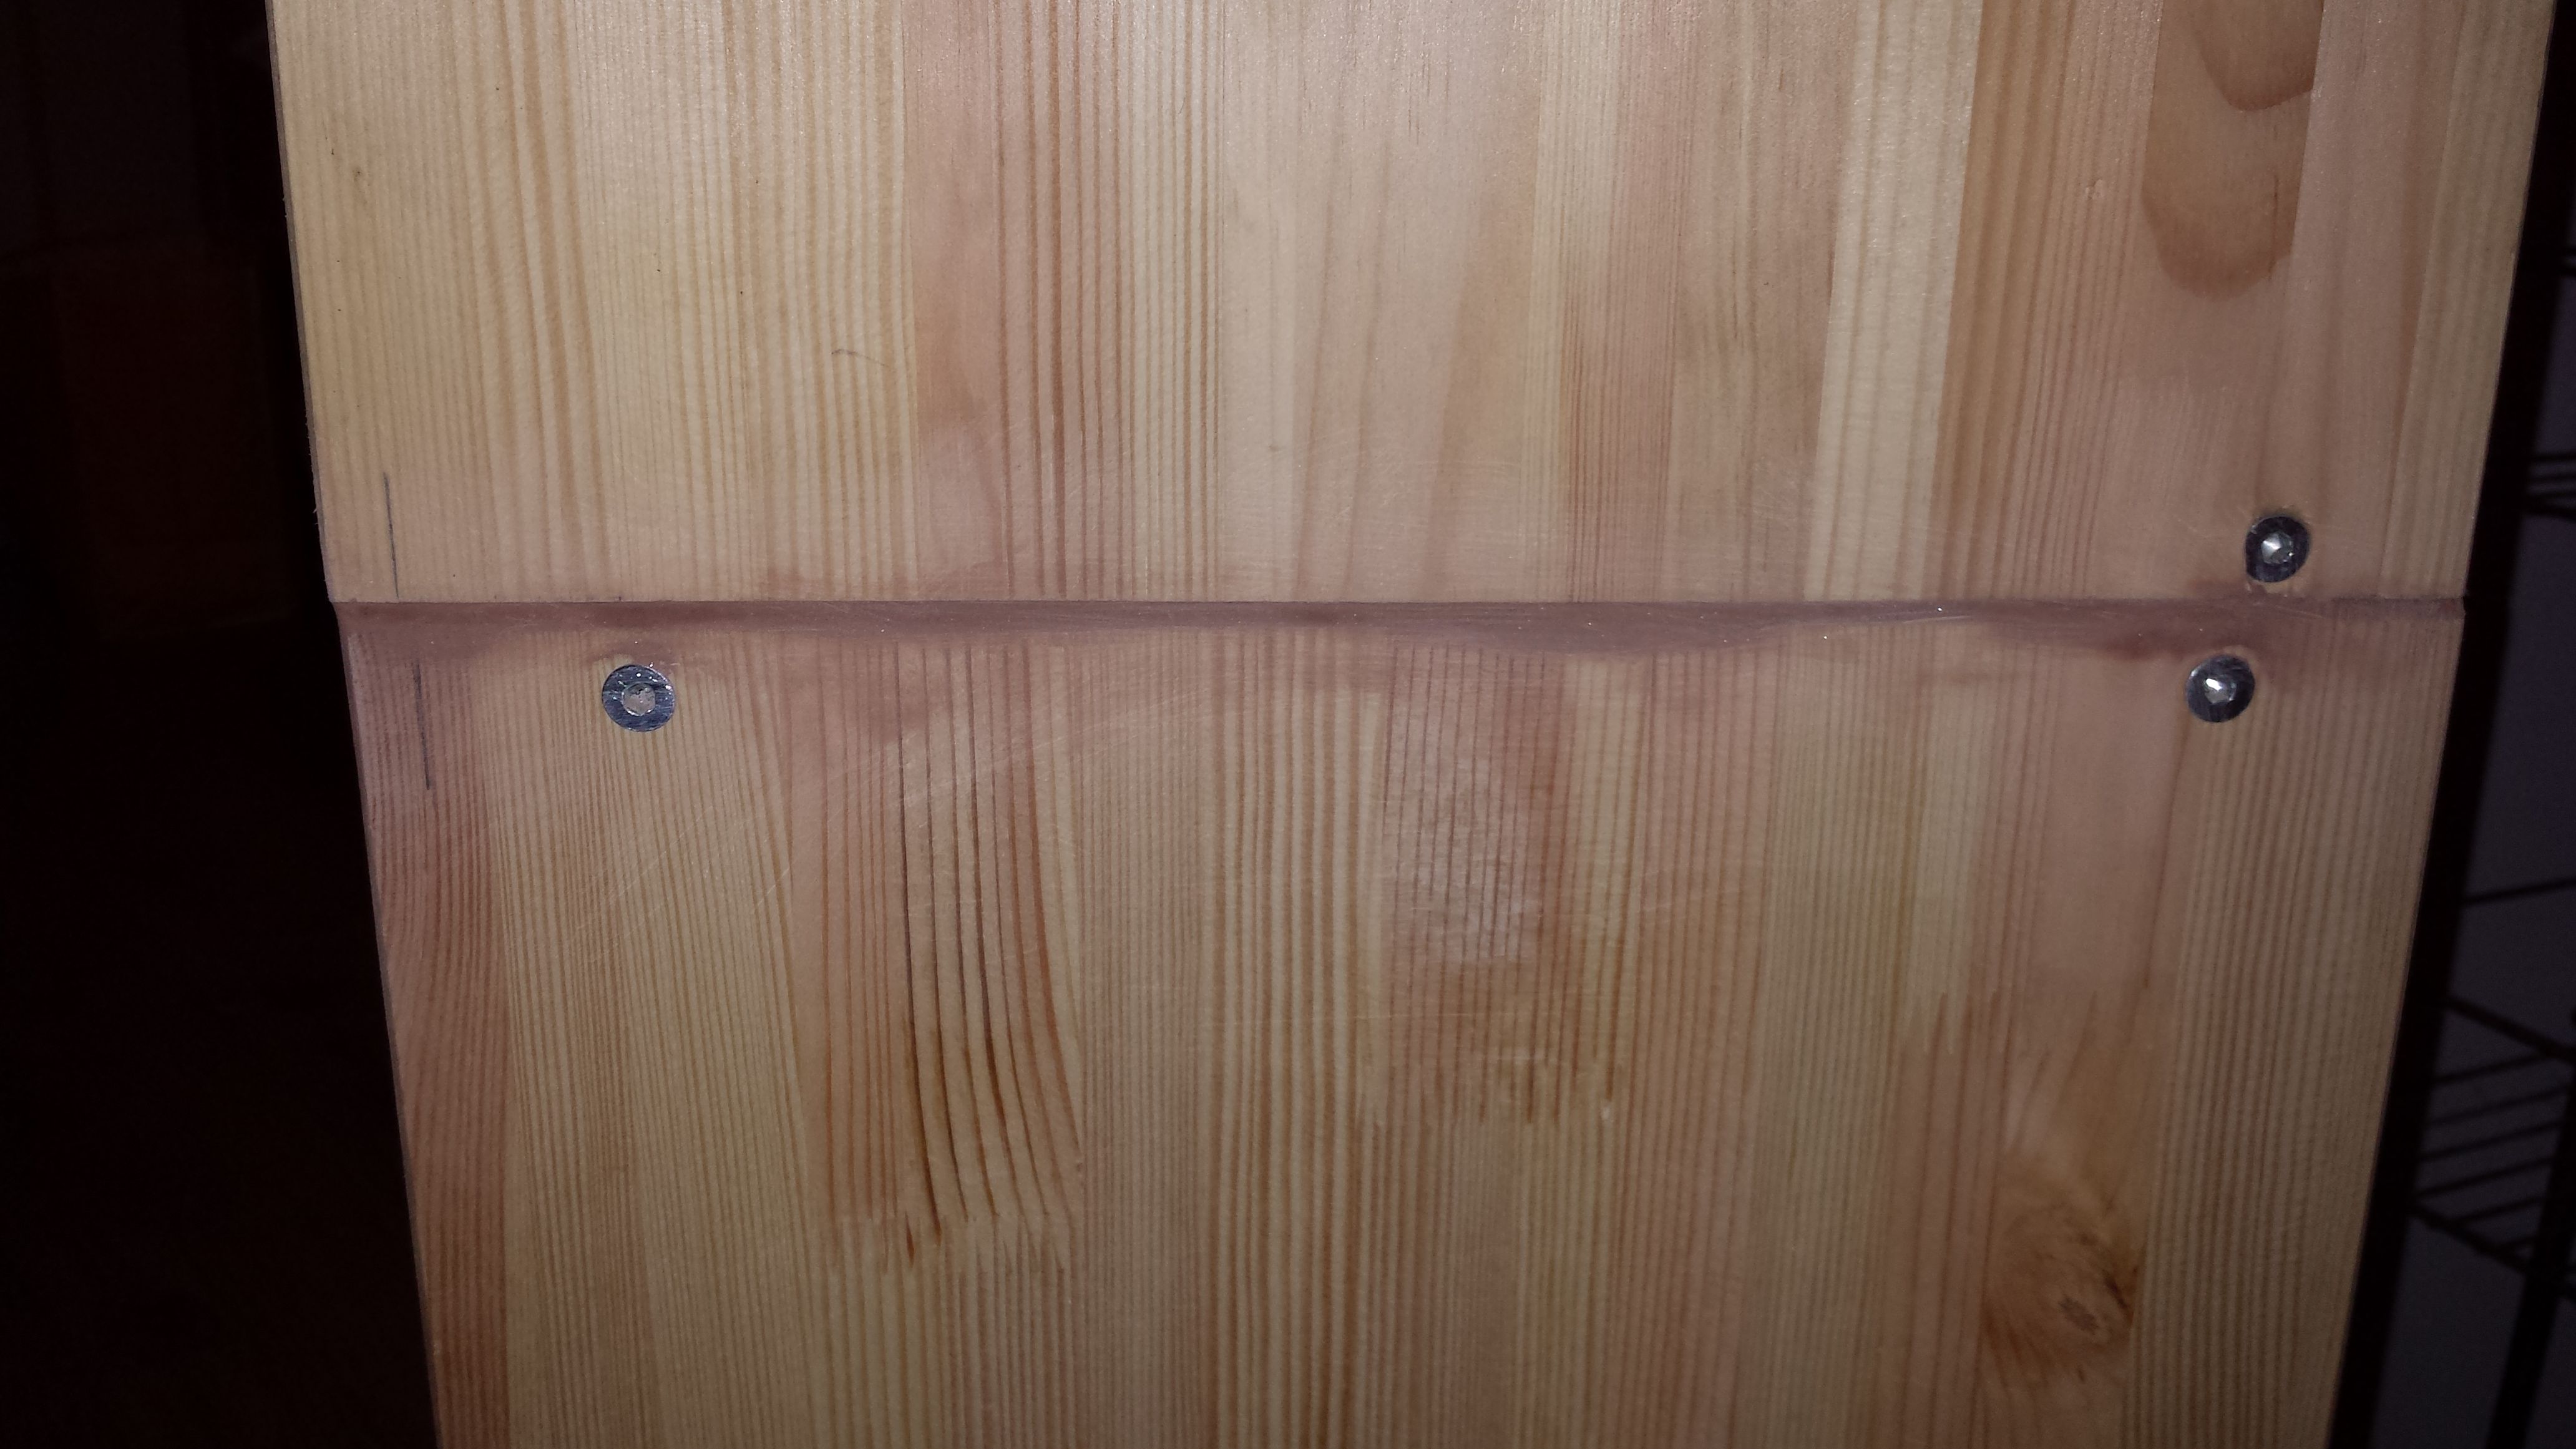
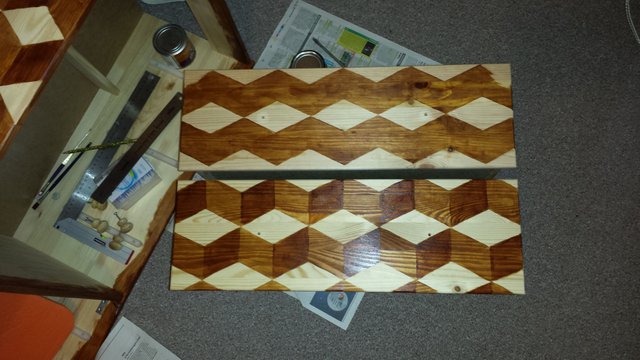
Now the design was drawn out, it was time to paint on the stain. I painted all the side of the blocks, and gave one side another coat of stain to make it darker and give the blocks their 3D effect. This was a labor of love/ martyrdom.


The drawers had to be kept in precise order for the pattern to repeat properly.
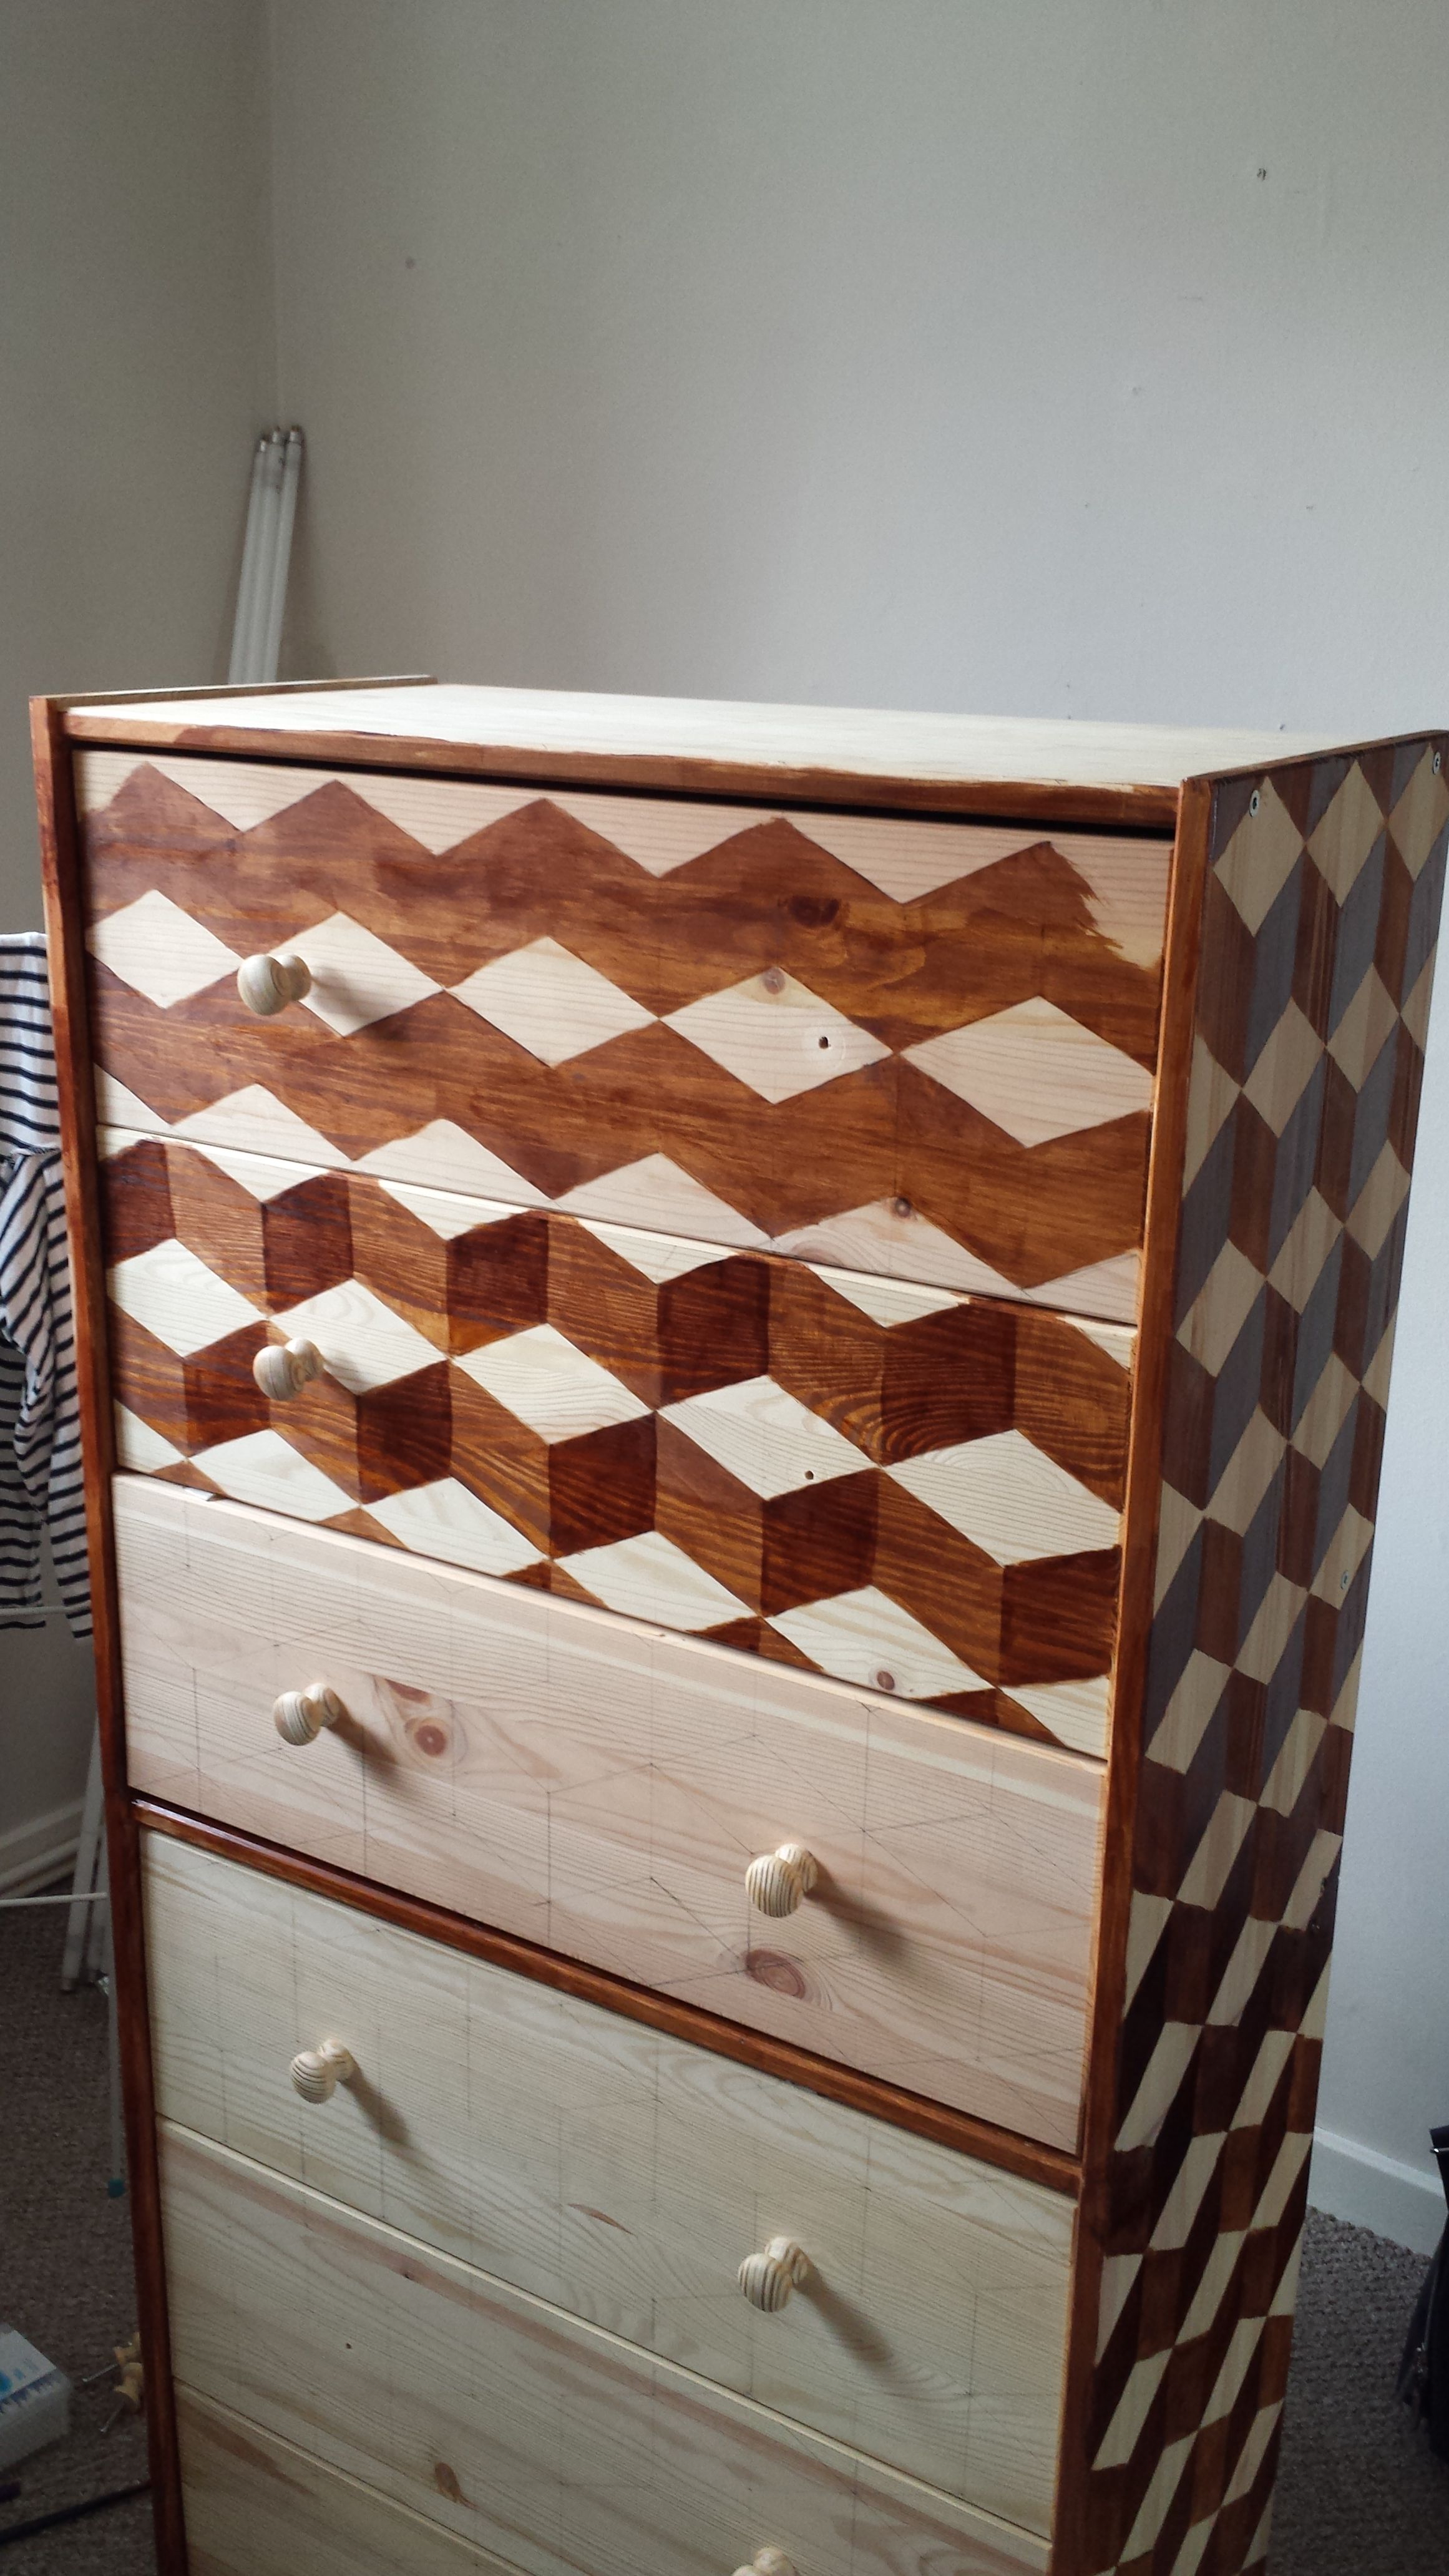
But… it’s (almost, 99%) done! It’s finished! The staining is done! Juuuuust a couple of bits need their final coat of stain. I really want to share this, and simply haven't had time to do any more work on it this week. I still need to order the legs and knobs in order to finish the piece completely, and give it a final coat of clear matt varnish; but I’m very happy with how it looks so far.
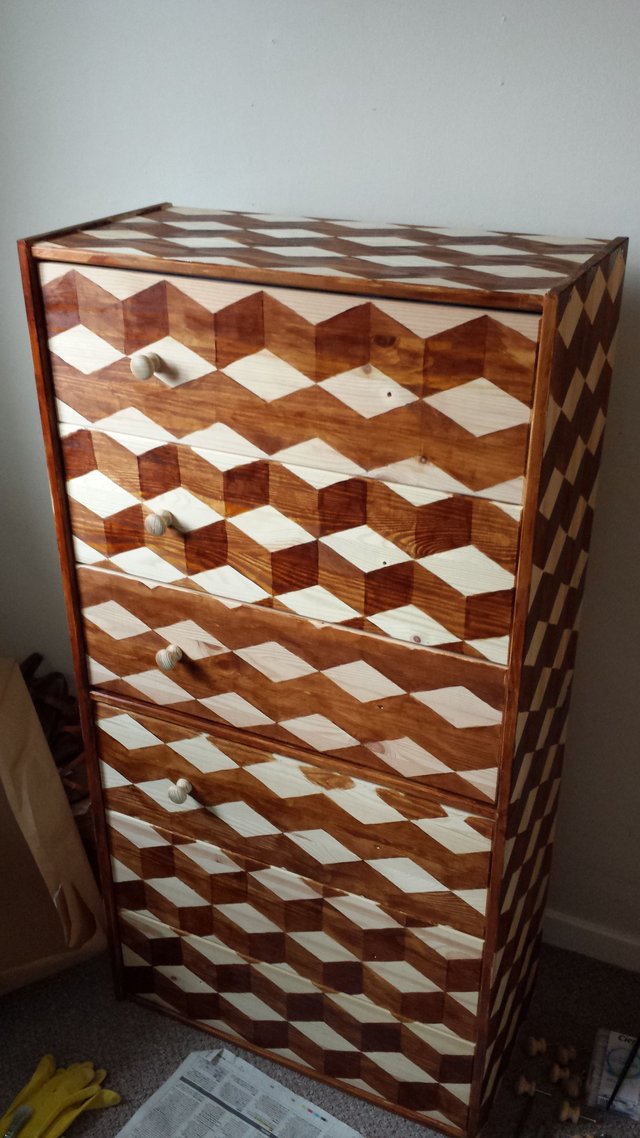
If I were to do another one of these, I would probably use the panel of wood designed to be the top of one of the chests as the base for the combined taller chest. This would give the structure a better strength and a better base to attach legs to.
Thanks for reading! I hope this shows how it is possible for anyone, regardless of budget, can transform a useful albeit plain and boring piece of furniture, into a piece to be proud of.
P. S I'll give an update of the 100% finished product when it is, indeed, 100% finished.
This post received a 2.0% upvote from @randowhale thanks to @costopher! For more information, click here!
Downvoting a post can decrease pending rewards and make it less visible. Common reasons:
Submit
Thanks, randowhale!
Downvoting a post can decrease pending rewards and make it less visible. Common reasons:
Submit
Umm....thats not really a hack so much as it is artistic genius.... that thing is absolutely gorgeous, people would spend hundreds on something like that in an upscale furniture store
Downvoting a post can decrease pending rewards and make it less visible. Common reasons:
Submit
Thank you very much! That's very kind of you to say. I'm hoping when it's all done that it'll look like something from Graham and Greene. But didn't cost £500 :)
Downvoting a post can decrease pending rewards and make it less visible. Common reasons:
Submit
Very nice :)
Downvoting a post can decrease pending rewards and make it less visible. Common reasons:
Submit
Thank you! Glad you like it :)
Downvoting a post can decrease pending rewards and make it less visible. Common reasons:
Submit
Well done. I enjoy seeing when people put real work into a project, and try to do it right. Impressed! Following in the hope of more fun projects in the future!
Downvoting a post can decrease pending rewards and make it less visible. Common reasons:
Submit
Thanks! That means a lot :) I hope not to disappoint.
Downvoting a post can decrease pending rewards and make it less visible. Common reasons:
Submit