The spare bedroom. I might let guests stay here, maybe; if I’m feeling generous. The plan for this room is to use it as a dressing room/ office/ work room. We still have some work to do before I can do any of that, though.
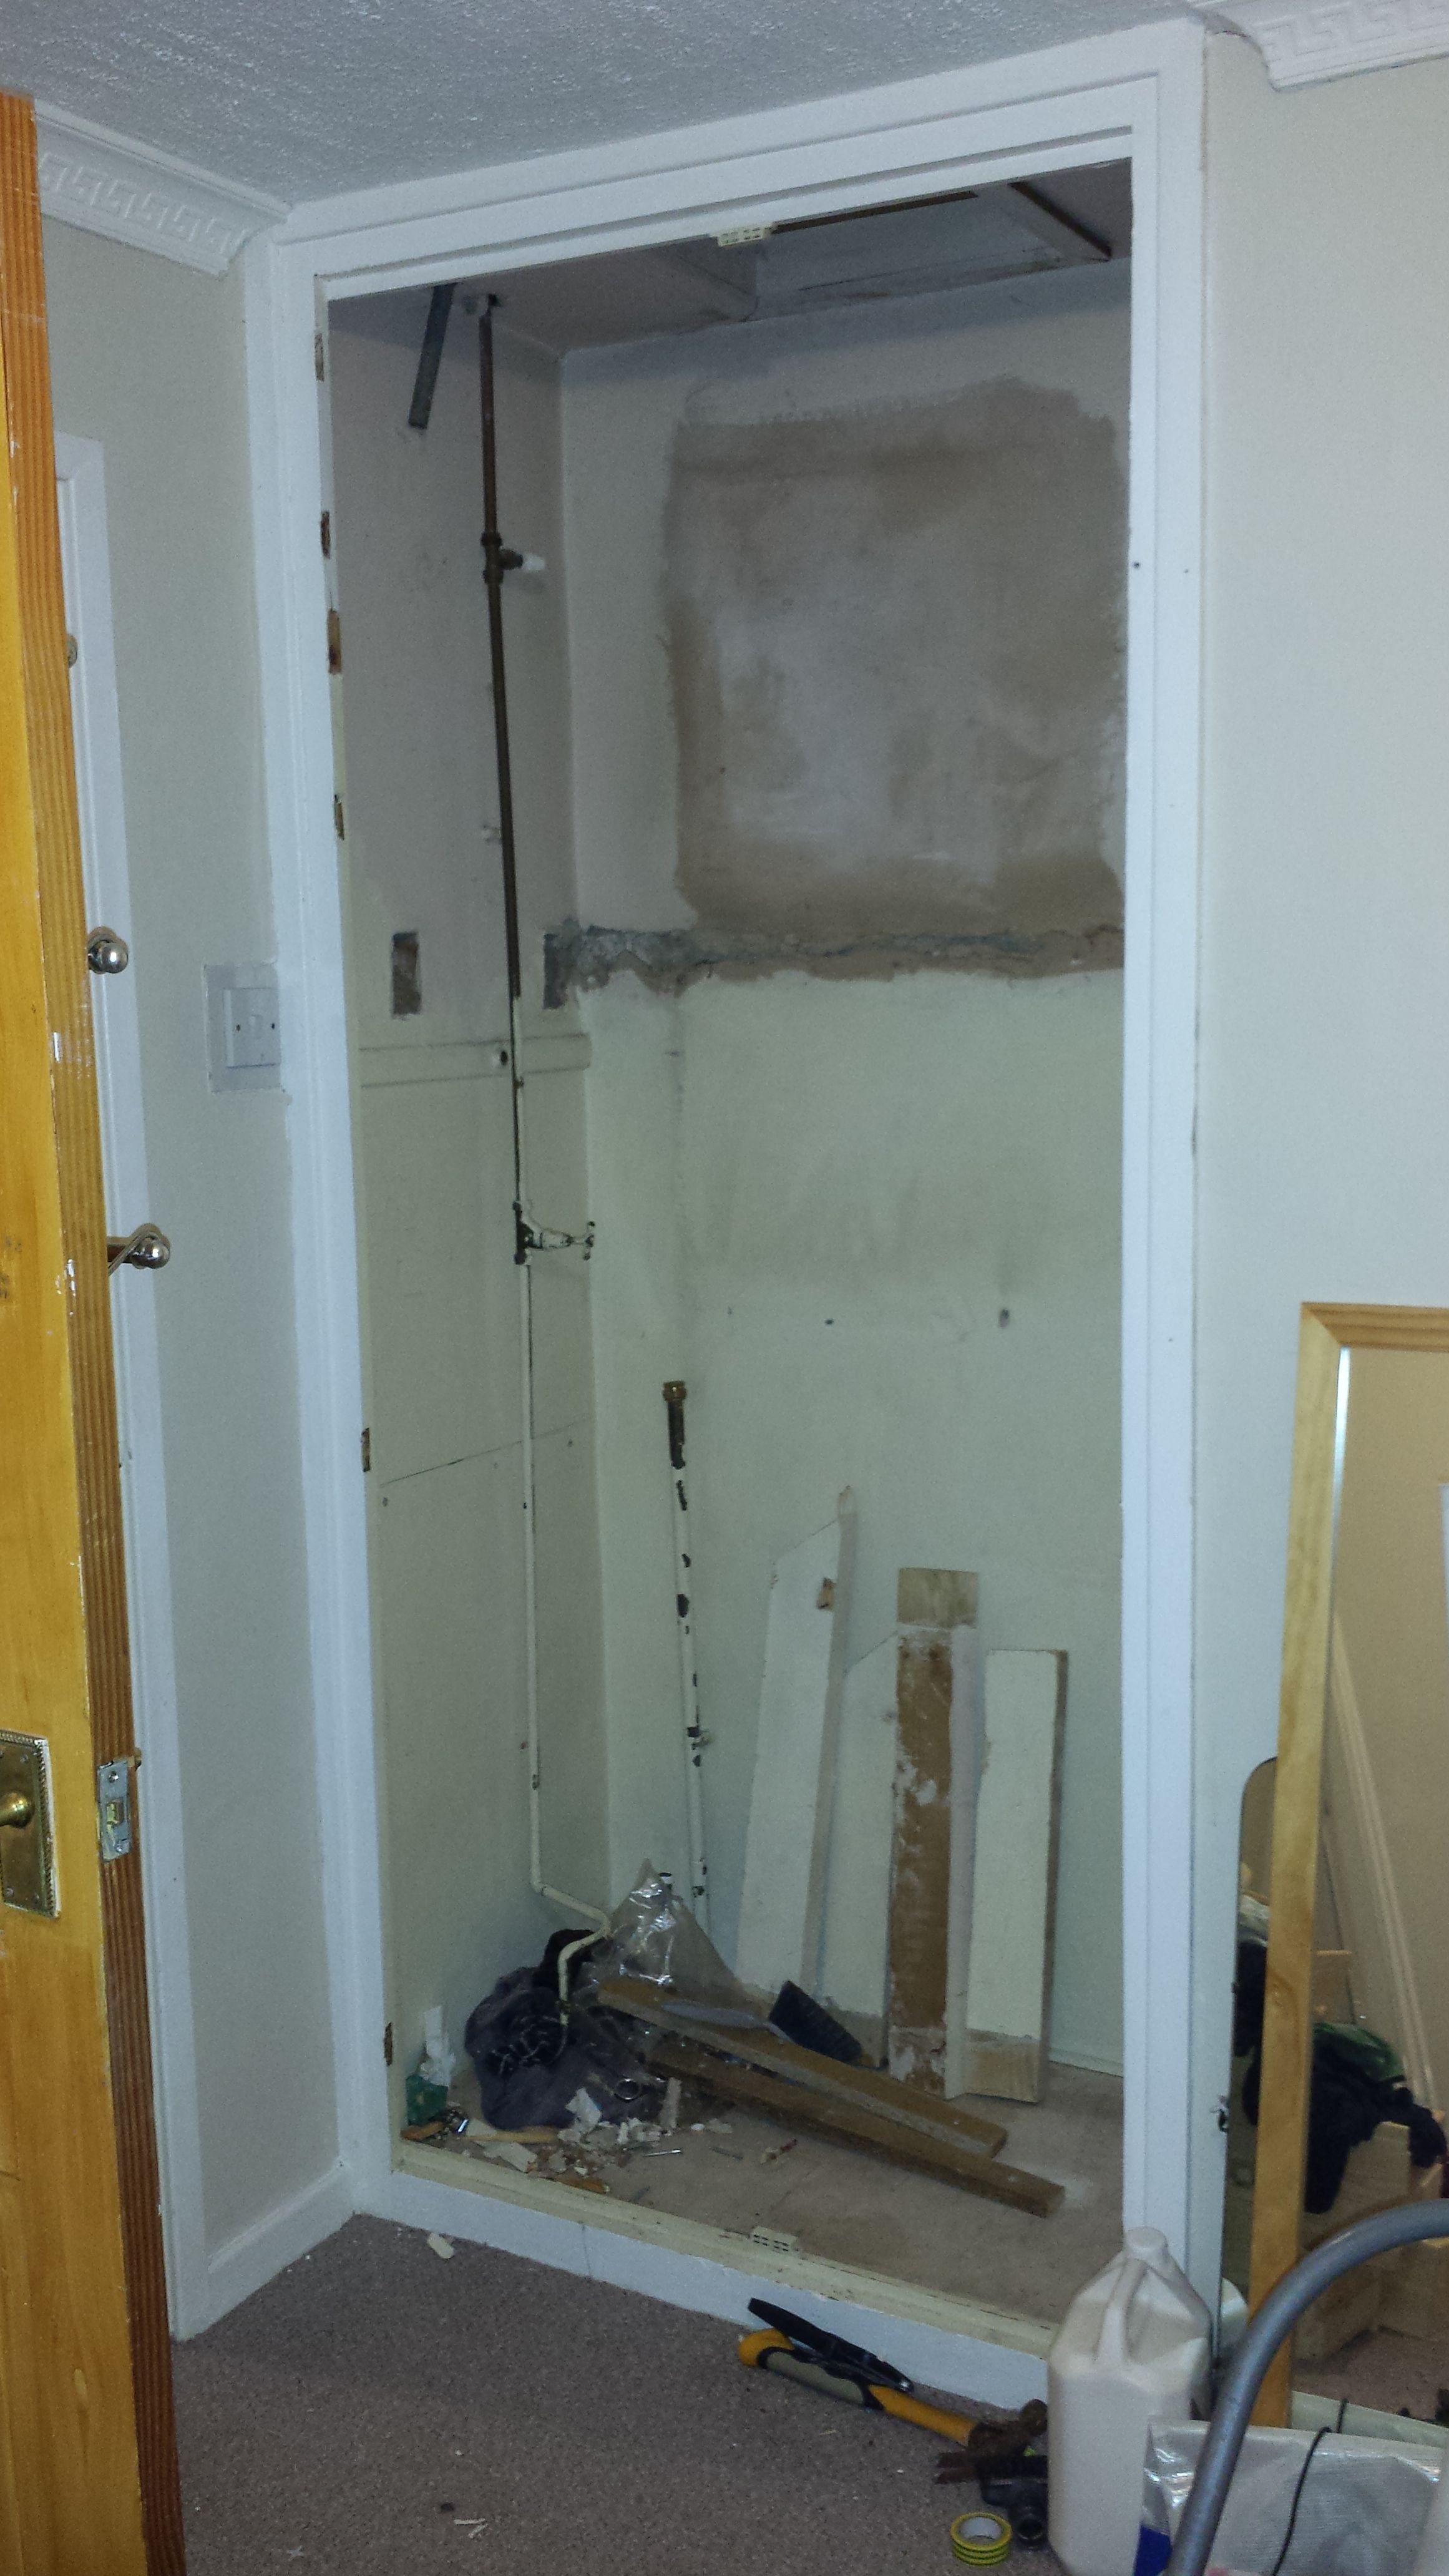
When we first moved in, there was a closet with an old unused water tank resting on two large wooden beams. The closet had two long doors, with two small doors above. The frame had a baton under the two small upper doors, which cut across the bottom of the water tank. This was easy to take out, just unscrewing the doors and sawing through the baton. Then, after checking and double checking that it wasn’t connected to anything in the loft, and we would not befall a terrible fate by removing it, my husband and father very gently lifted the water tank from off its beams. It was awkward and heavy, but by golly they did it! I had some pictures of the old tank, but now can't find them. We've since thrown it out, but it was about 60cm wide but 30cm deep by 40cm high and made from some truly beautiful fiberglass.
Below, the closet minus the water tank and beams.
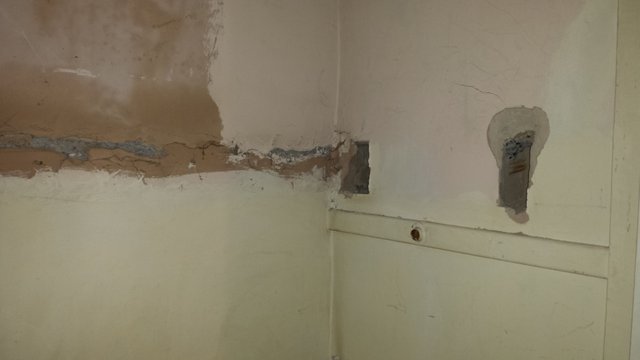
Removing the two beams that the water tank rested on left us with four very deep holes in the walls of the closet. We sawed of small cross sections (about 5cm each) of one of the beams, and slotted these back into the holes. We then mixed up some cement and used this to stick the cross sections in place.
Below, the holes left where the beams had been.
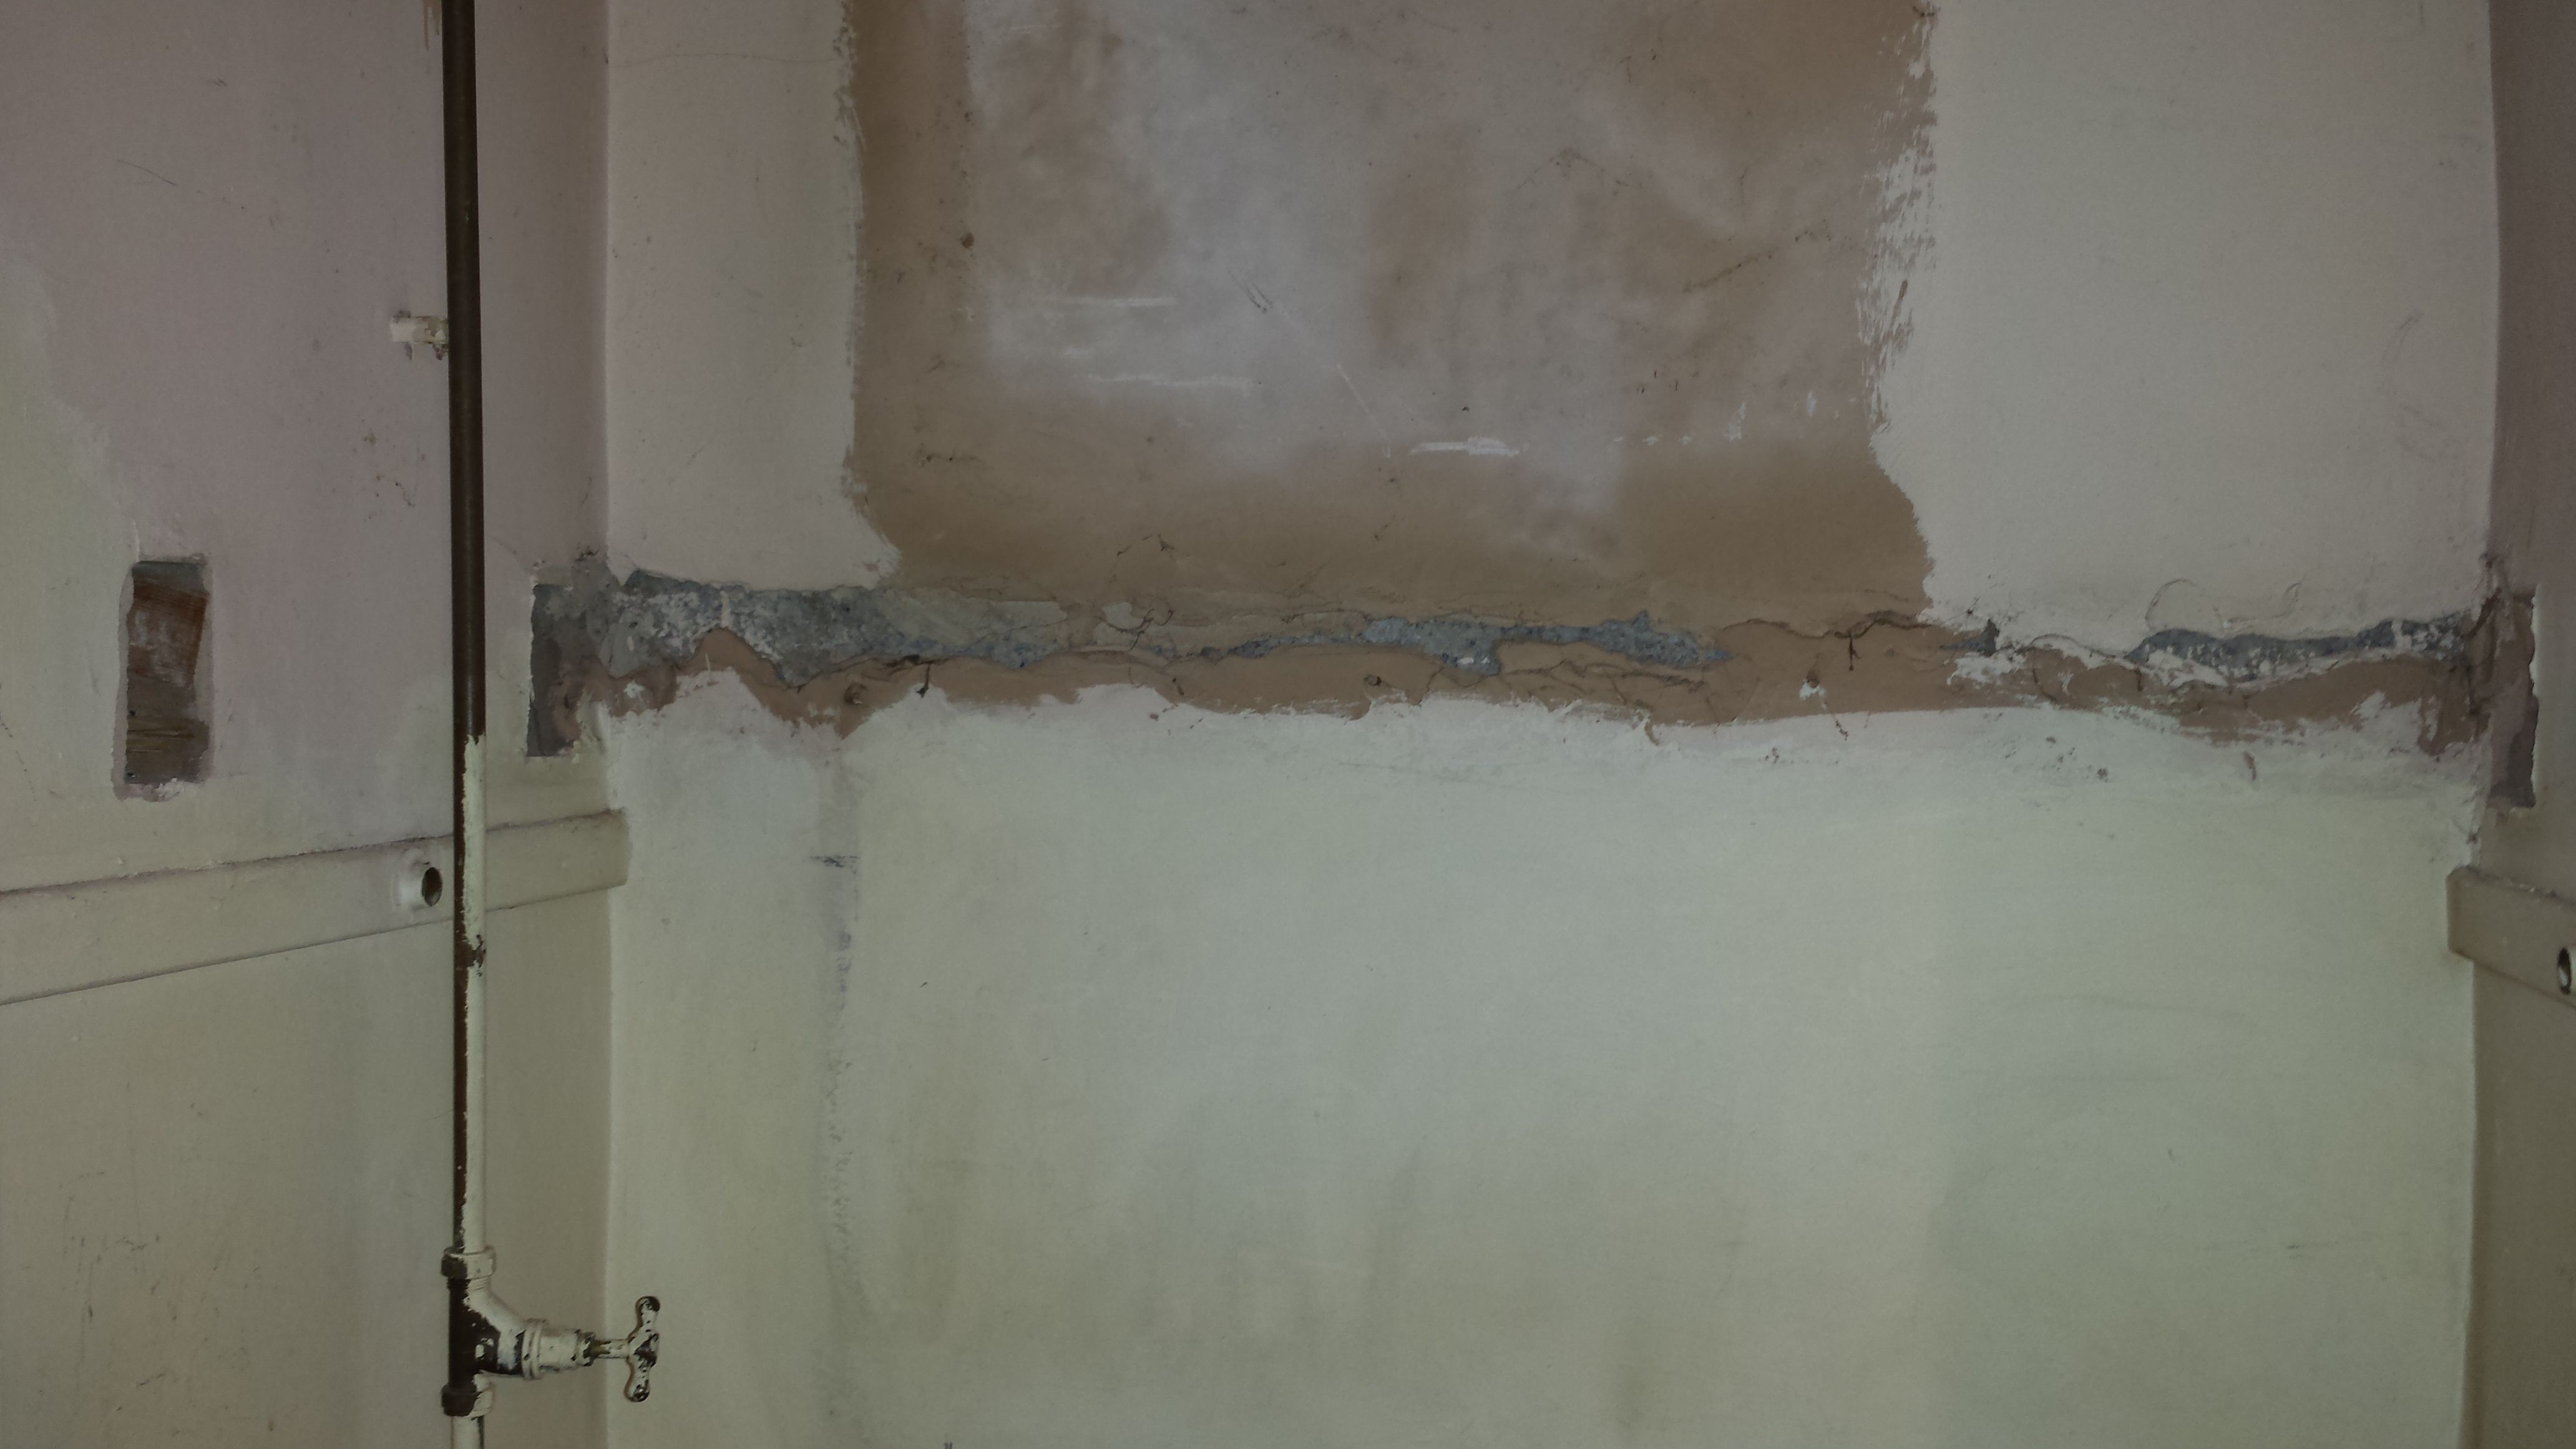
The two small holes in the ceiling where the two pipes had been were covered from above when my husband and Dad did the loft. They just fixed a small piece of board over the holes in the loft, and when the plasterer came he skimmed over it. He also skimmed over the gap in the plaster that had been behind the water tank. I guess that water tank had been put in behind the closet had been plastered, so they plastered around it? A slightly odd decision, in my opinion.
Below, the gap between the plaster where the tank had been.
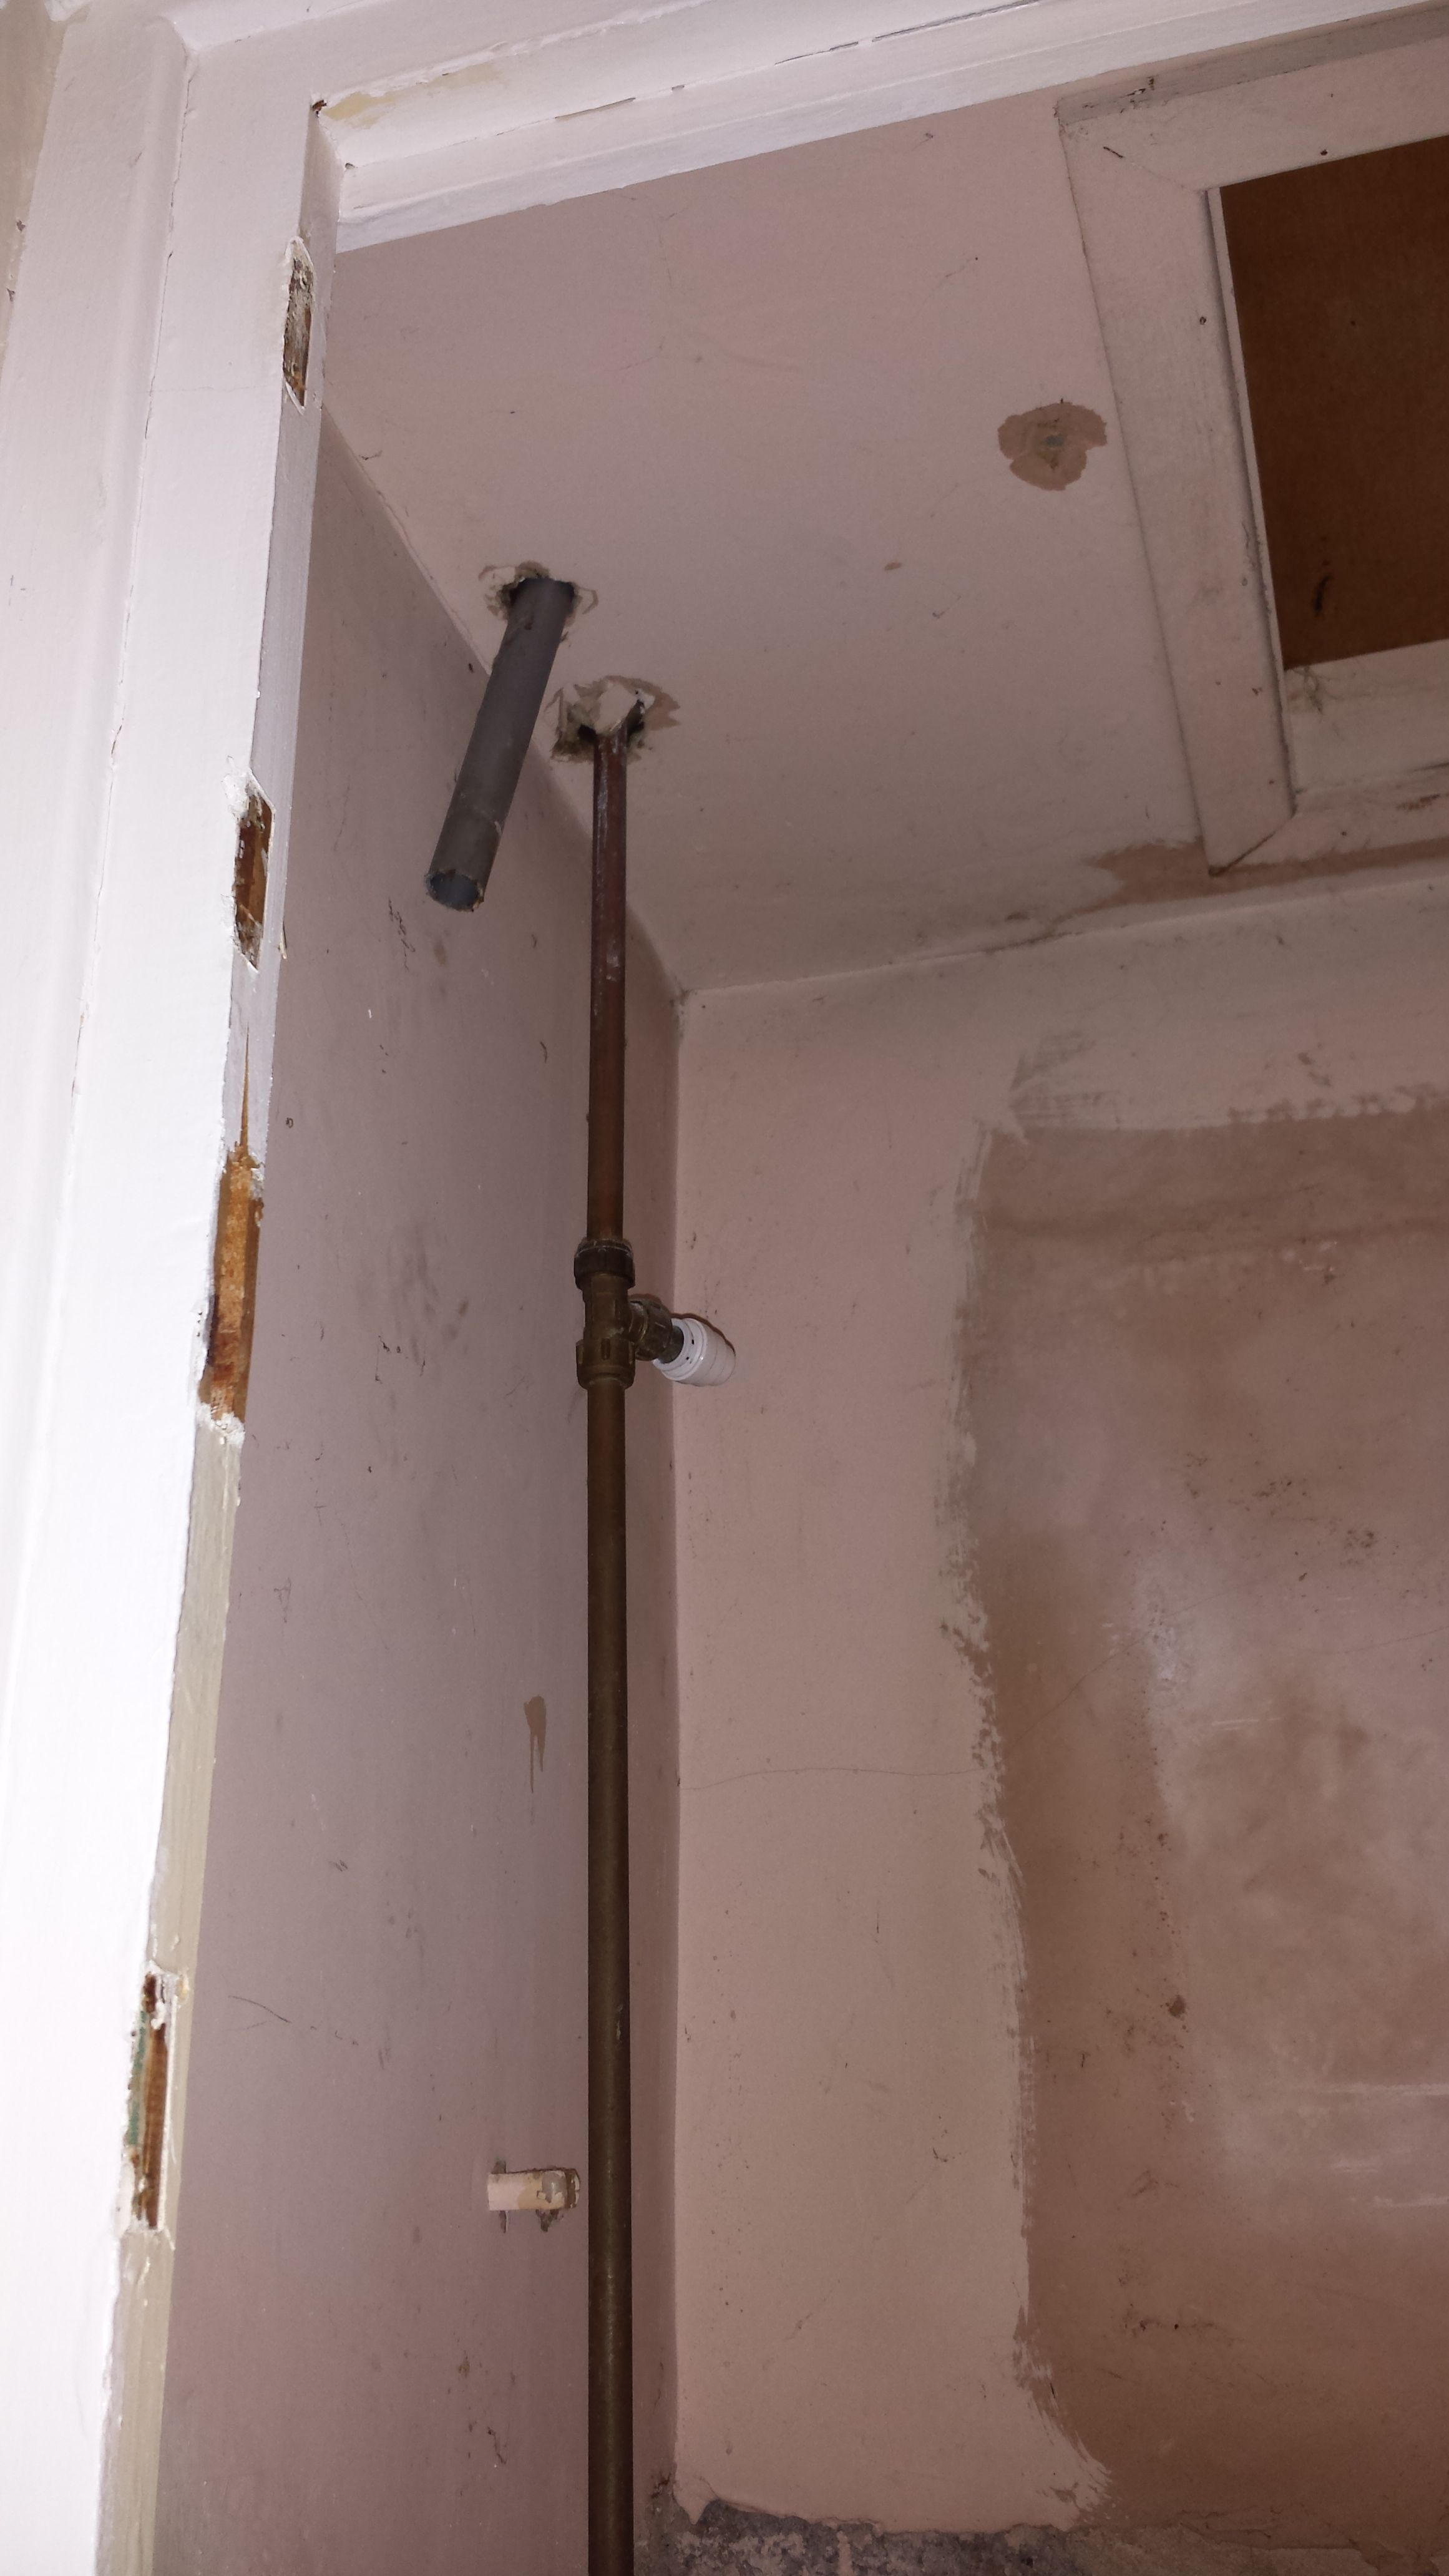
There were still some pipes going up into the loft through the ceiling, but these were again unconnected and were easily sawn off and capped.
Below, the pipes.
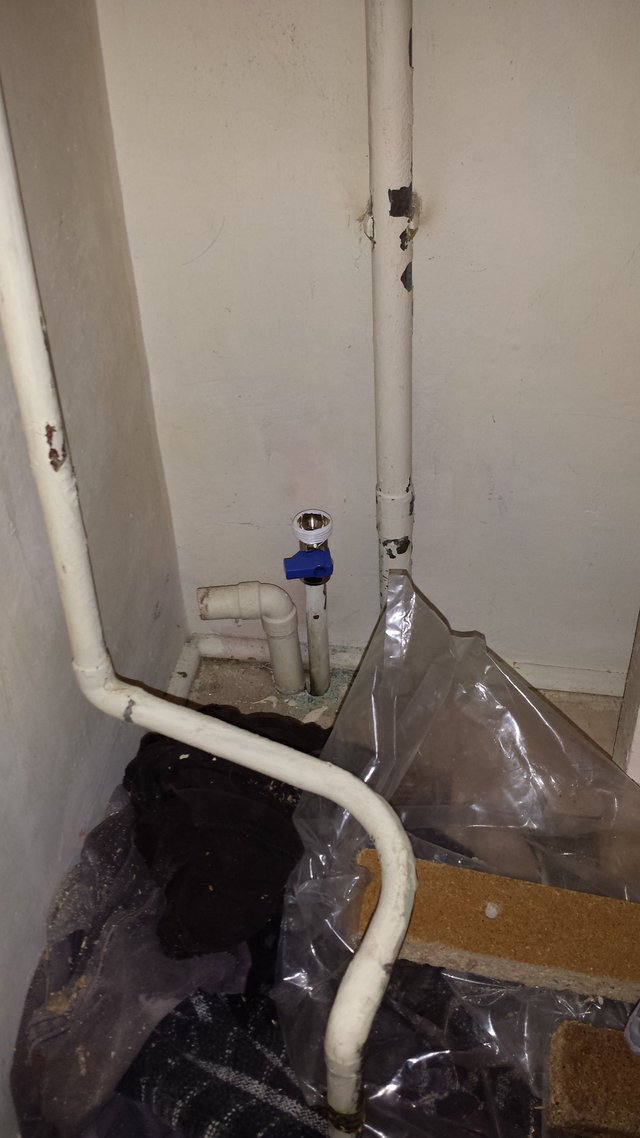
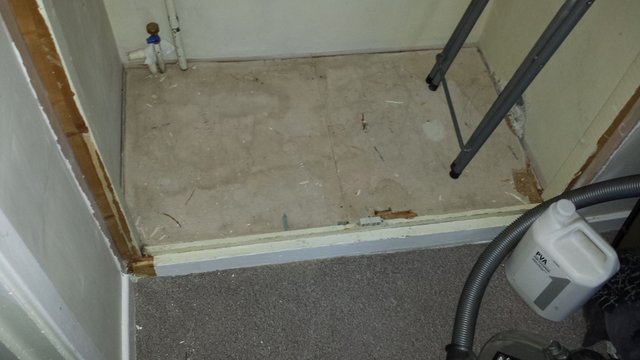
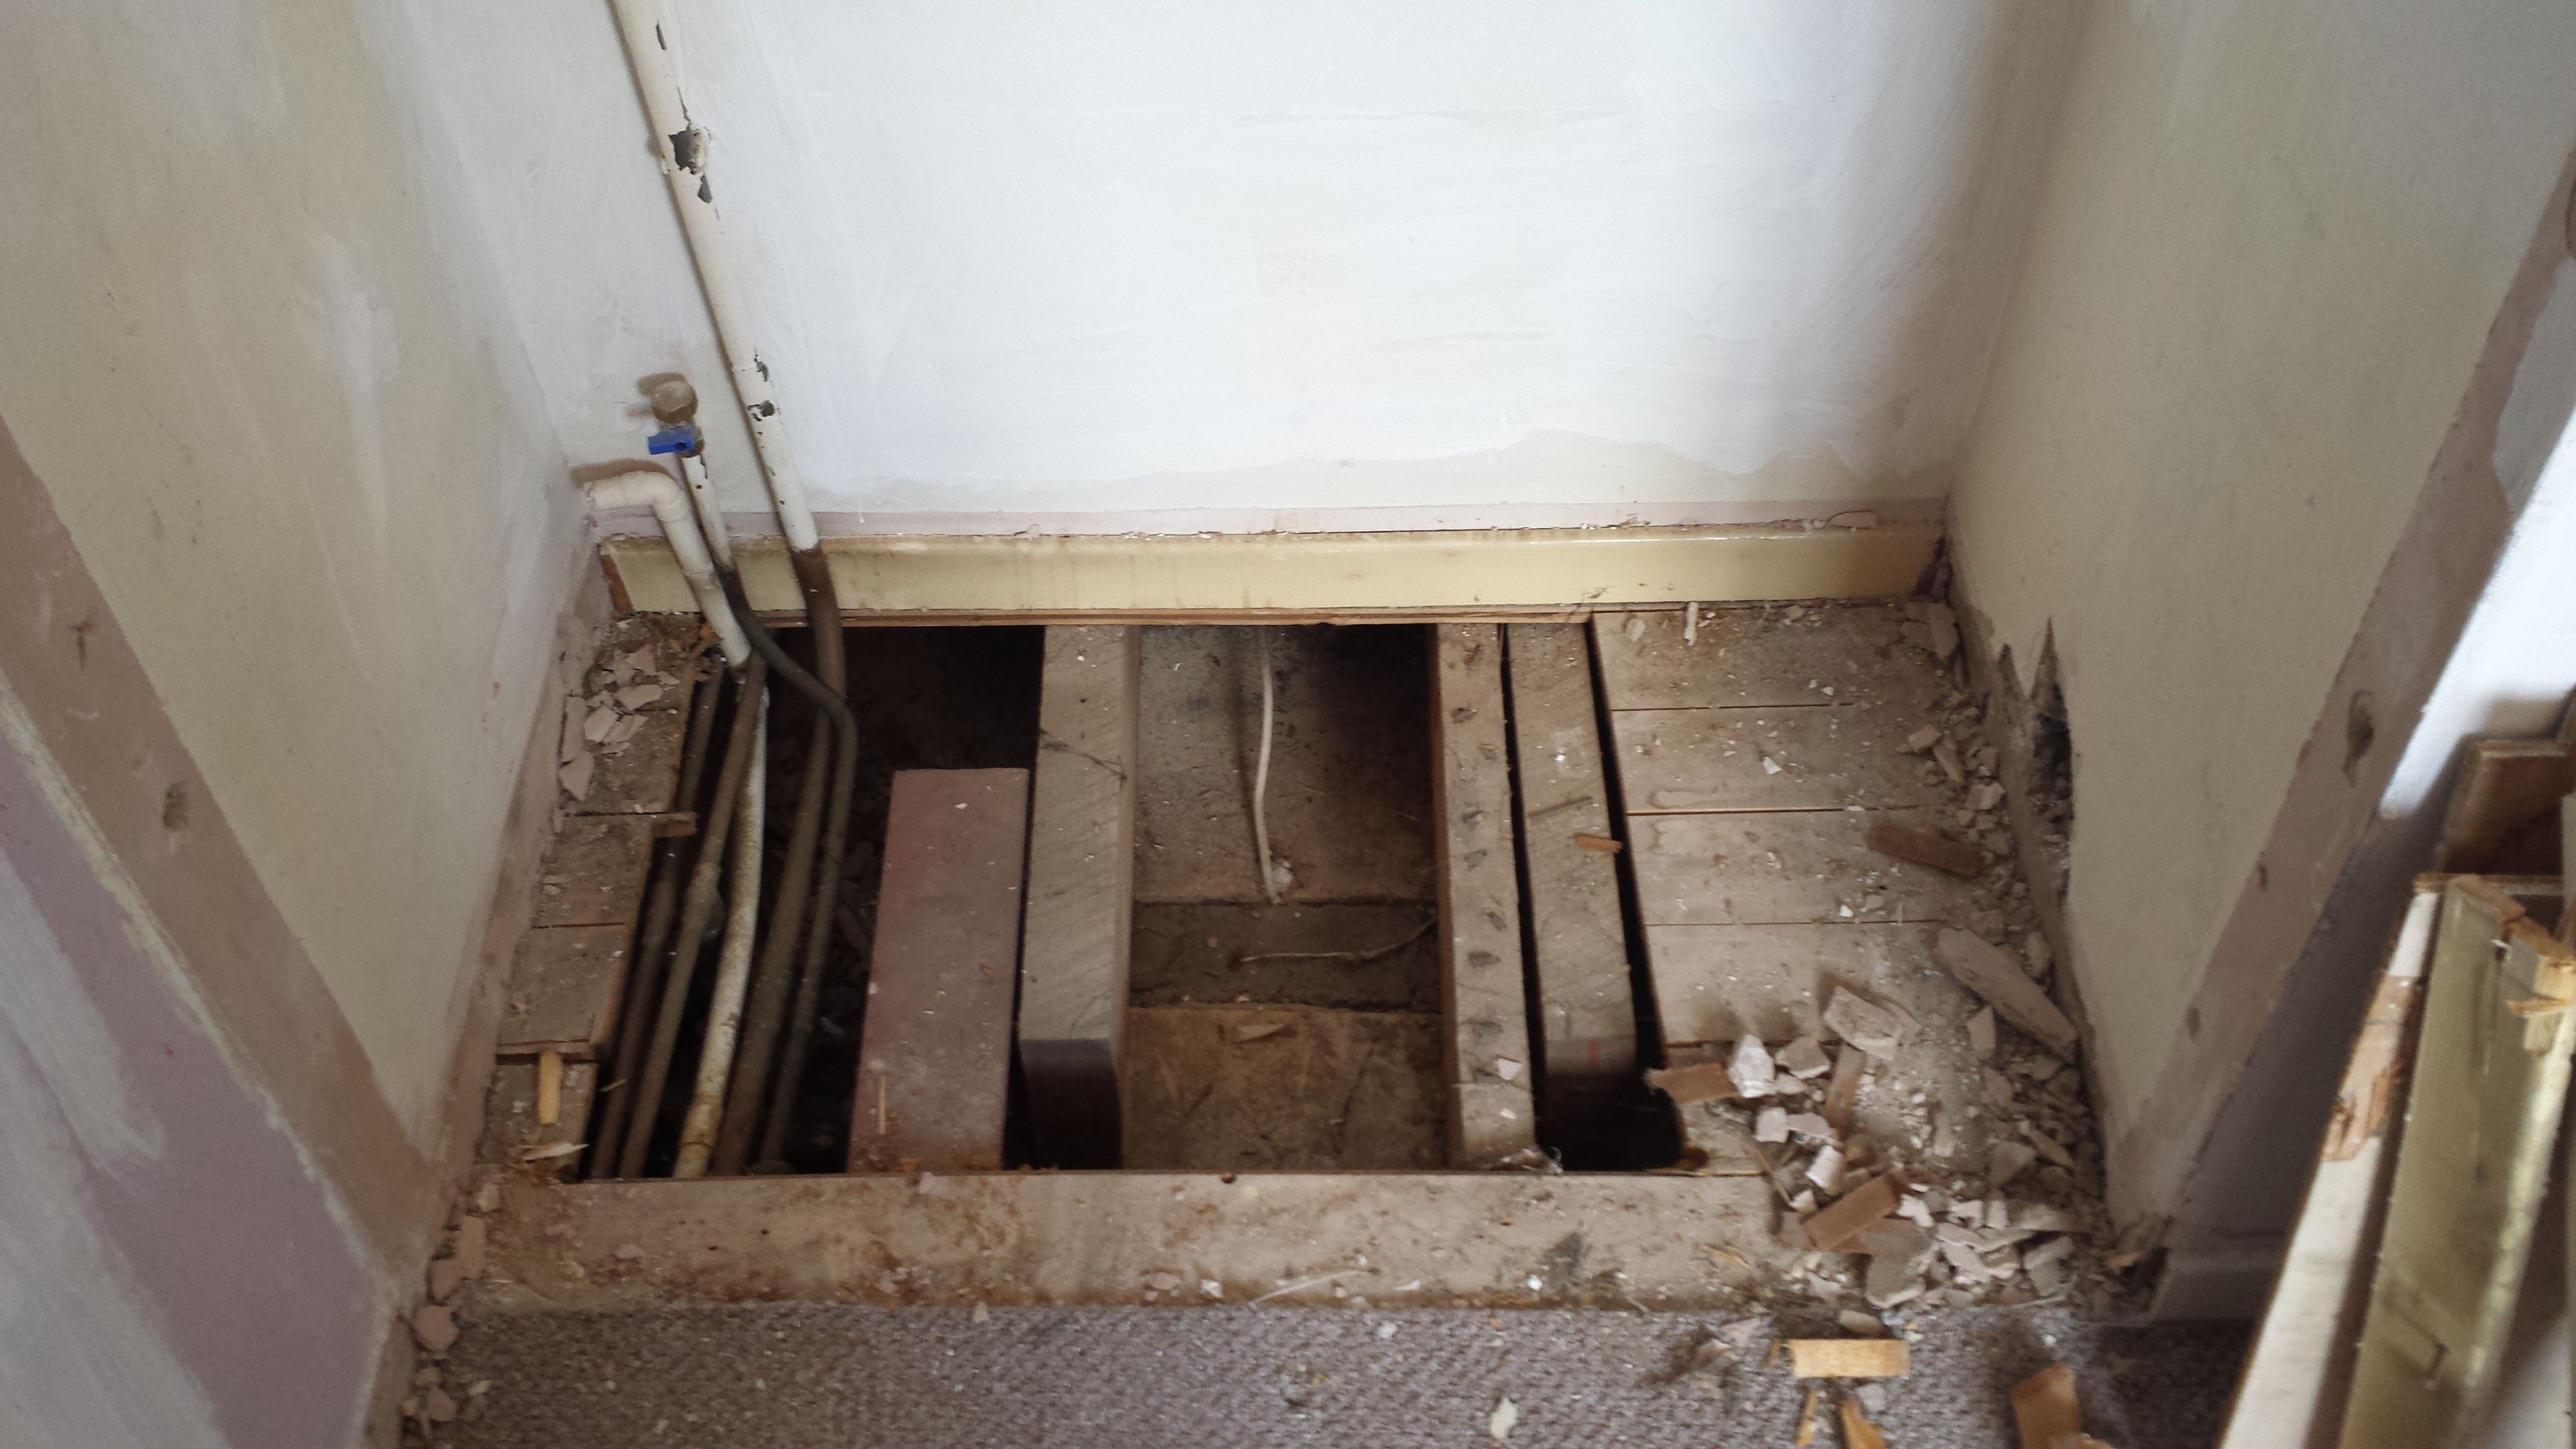
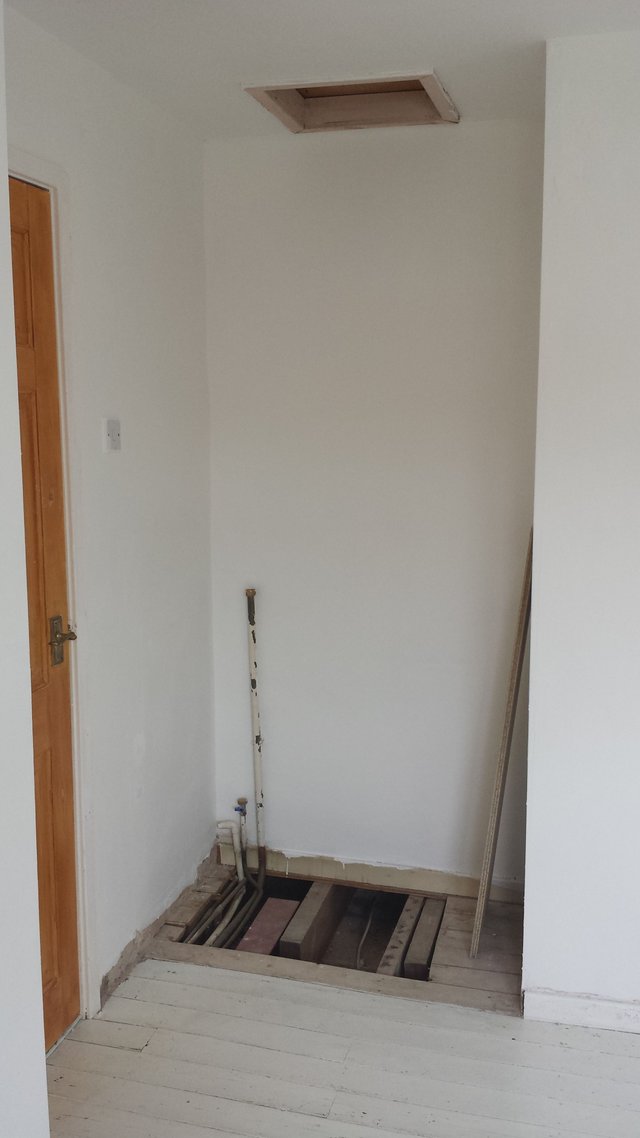
After we’d removed the closet doors, frame, and old water tank, we took up the false floor. Underneath the false floor, we found this. A hole! I’m guessing that the previous owners took up these floorboards in order to be able to get to the pipes underneath. Wouldn’t it have been nice if they had kept them and nailed them back where they were? Add “cover the hole” to the list of jobs. The reason we're going to leave the hole in the floorboards, and simply cover it over is because it's there for a reason; if at some point the previous owners needed access to those pipes, then we might at some point need access. We've left the pipes protruding from the floor in case we need easy access to them. They may not be connected to the water system anymore, but given the bodge-it job the previous owners seem to have done on everything else, I don't trust them not to go wrong somehow. The pessimist is never disappointed. If something goes wrong, we can lift up the board we put over the hole, fix the problem, and put the board back.
We have some of the loft boards left, and will use these to cover over the hole in the floorboards. This may not look very pretty, but it will be hidden by the new closet doors, and we already have the materials. Waste not want not.
Blow, the false floor
Blow, the hole.
The rest of the work in this room was pretty much the same as the hallway – strip the walls, remove the coving and ceiling rose, ready the room for the plasterer, have the ceiling skimmed, paint all the walls white.
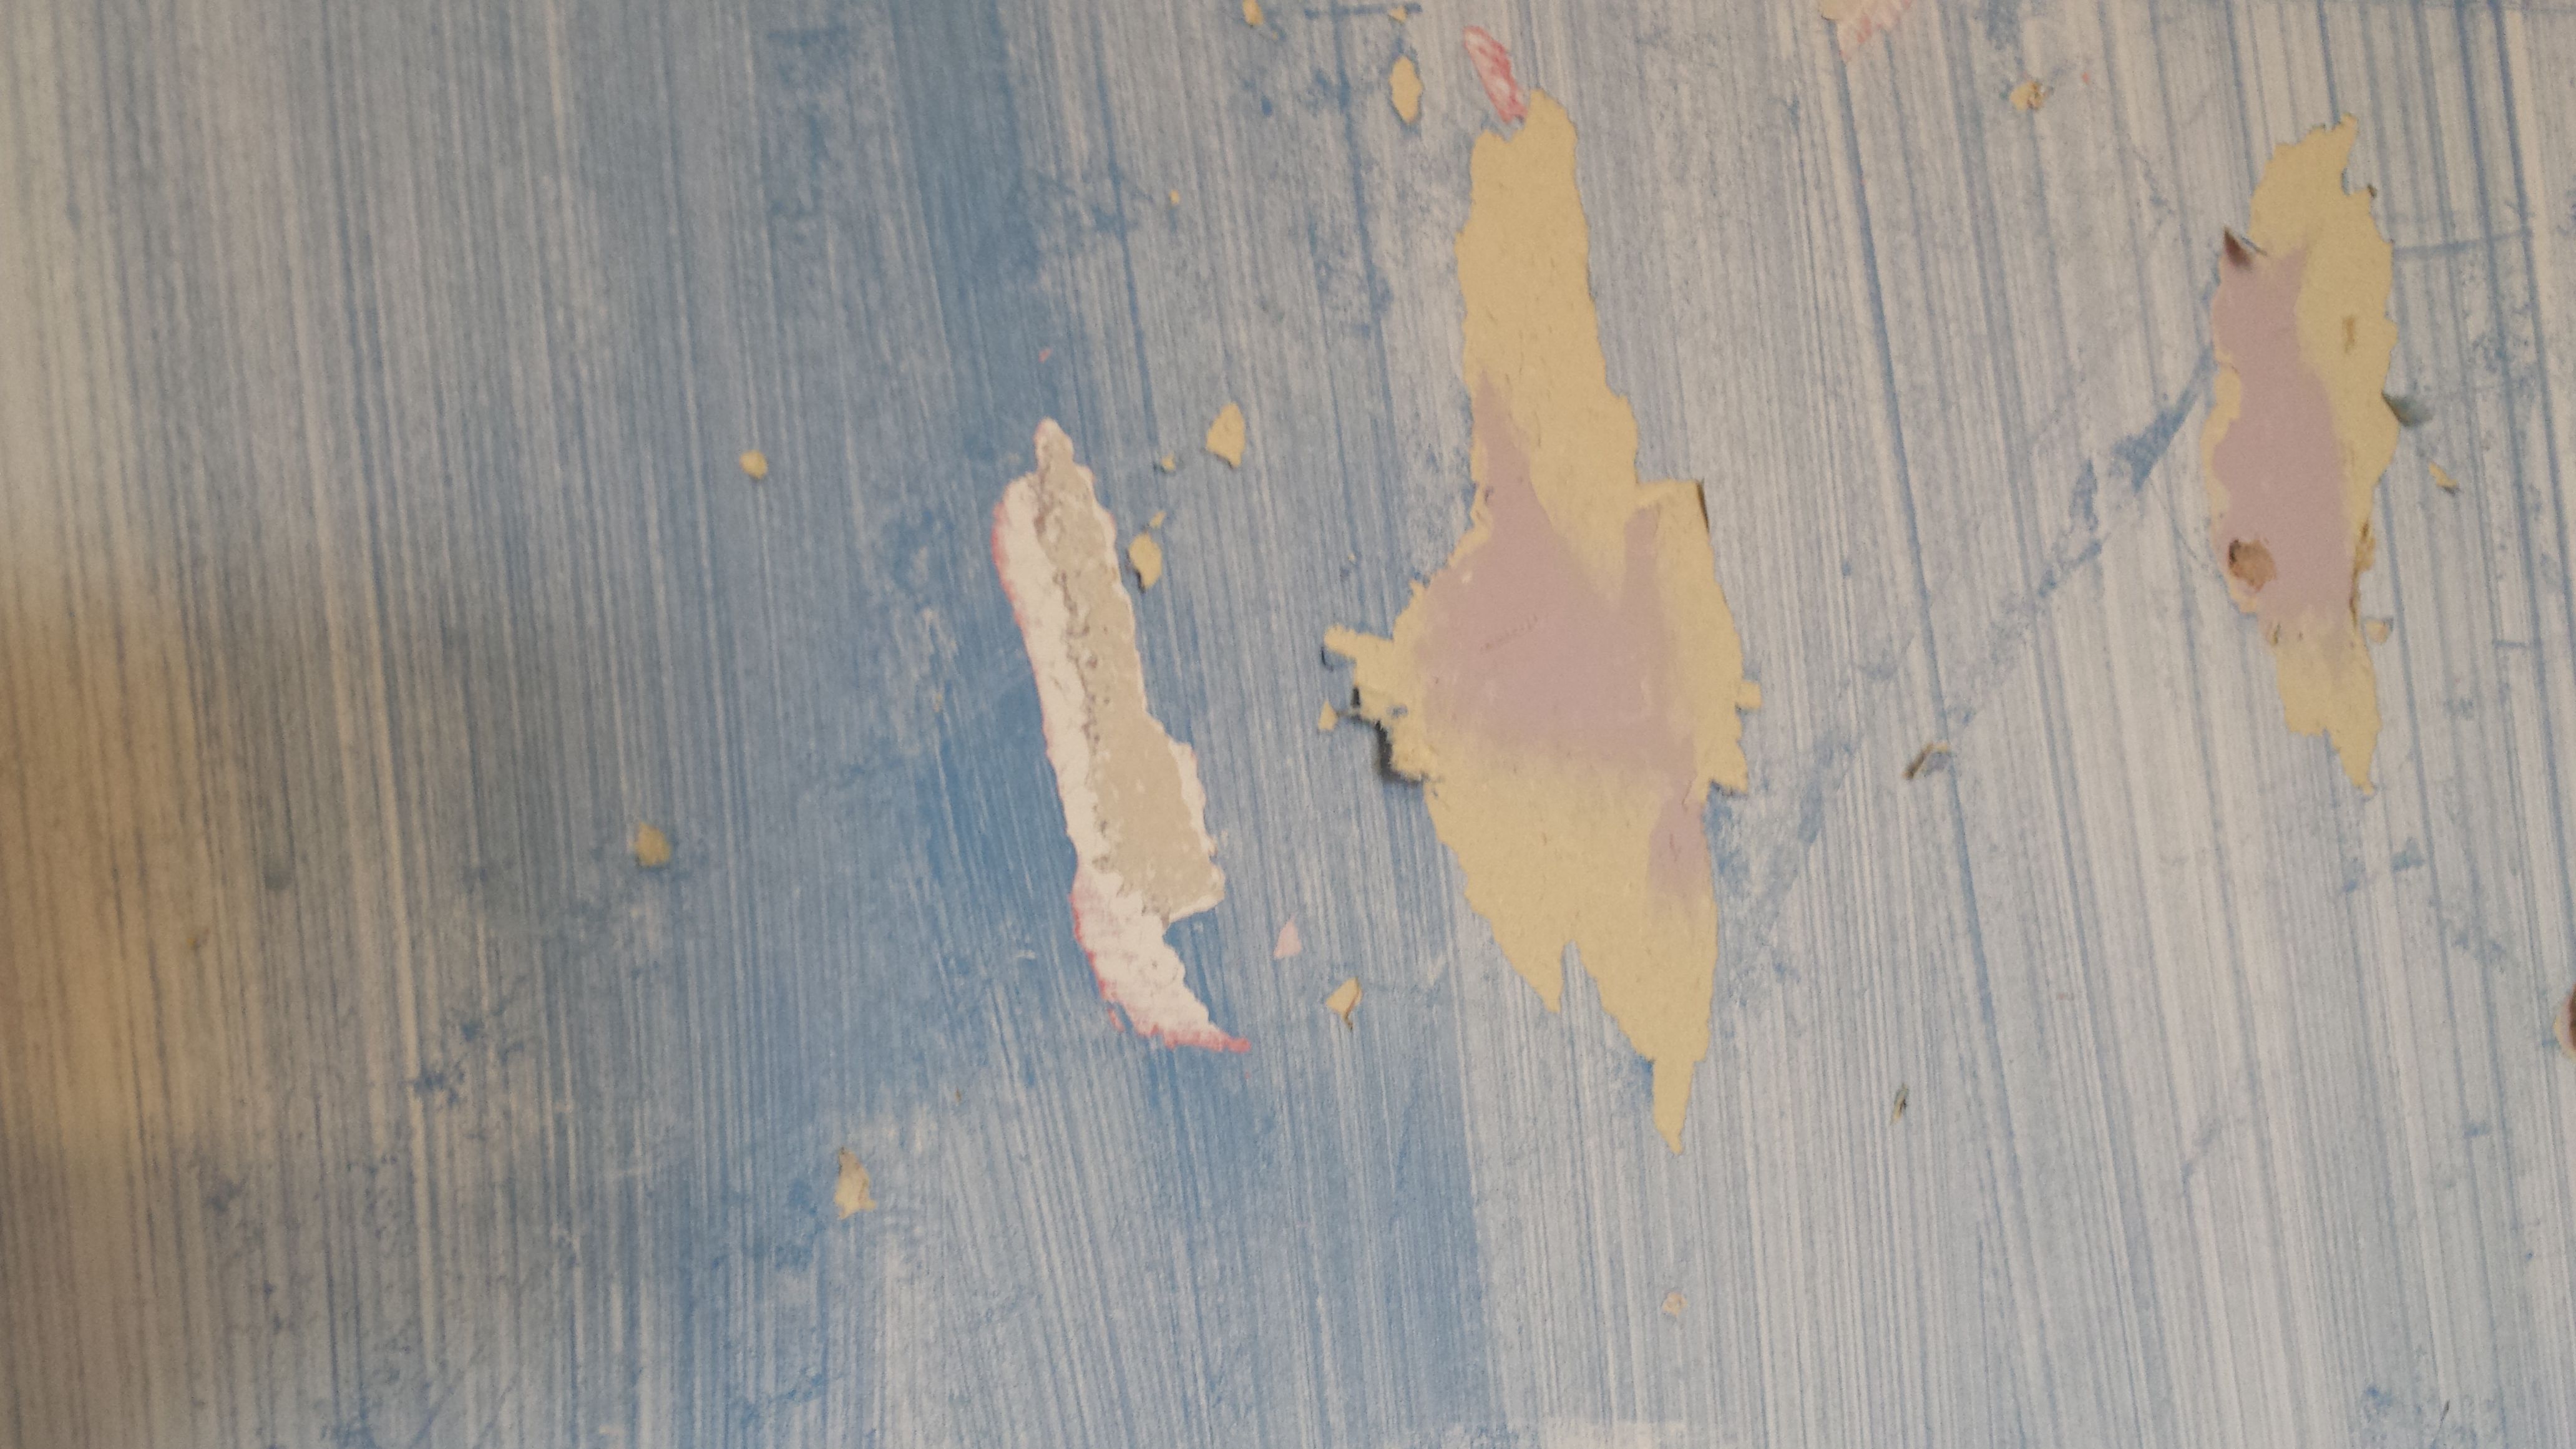
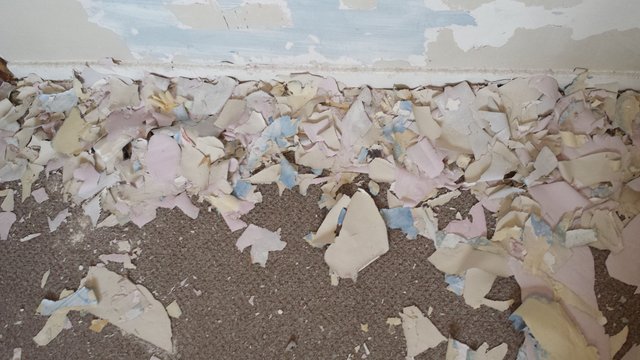
I thought that this room would have wallpaper that was easier to strip – it’s plain, not textured, how difficult could it be?! Under the beige paint, there was green paint, under the green paint was the wallpaper, under the wallpaper was a strange plastic-y paint that had to be heavily soaked before it would come off, under that was the original paint. Hours of my life were lost just to getting 4 walls in a fit state to be painted white.
Blow, peeling away the layers.
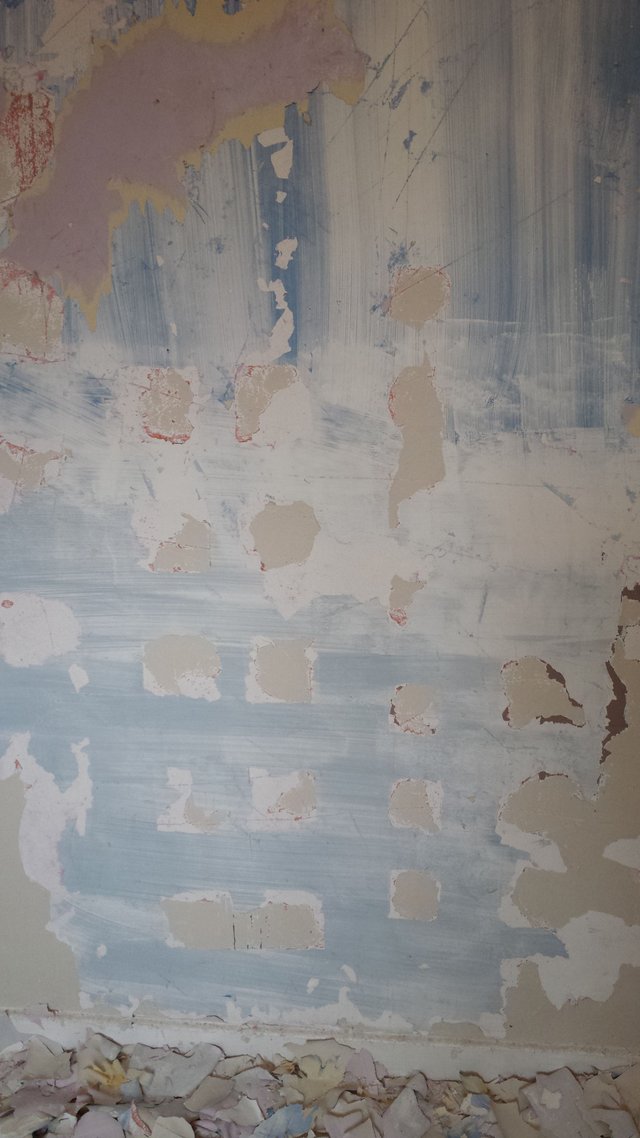
So very many layers.
The layers on the floor.
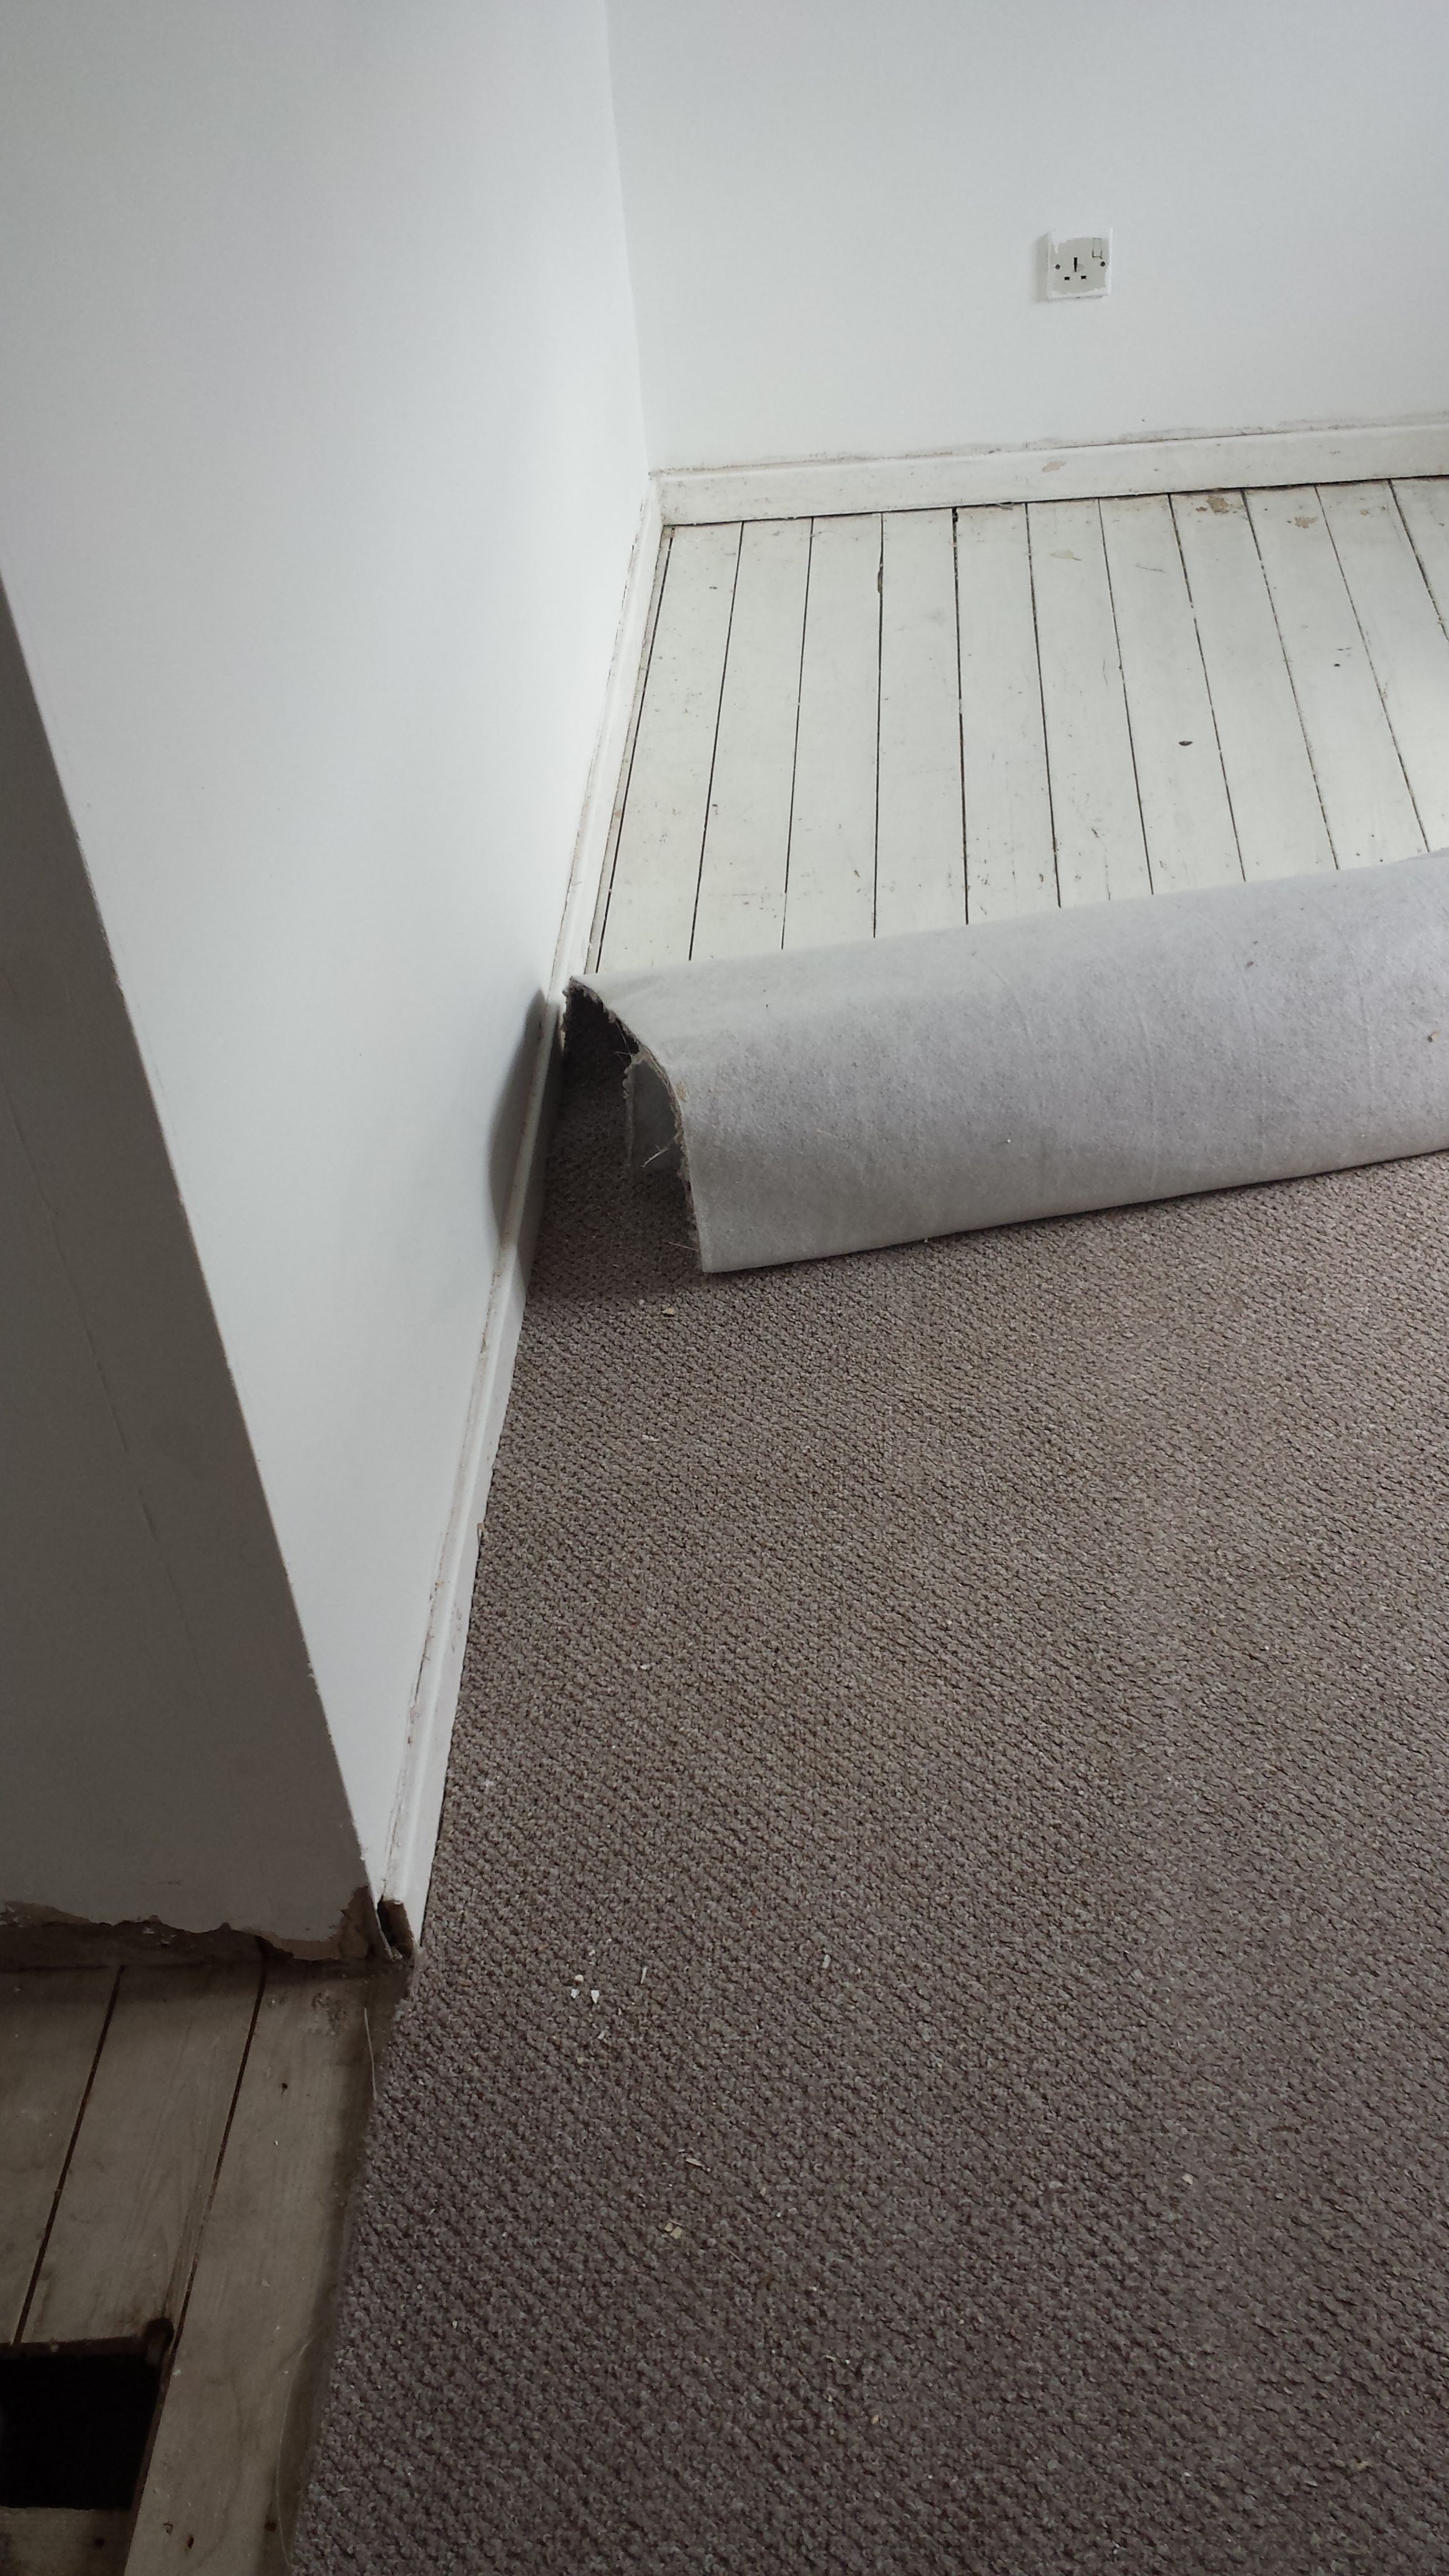
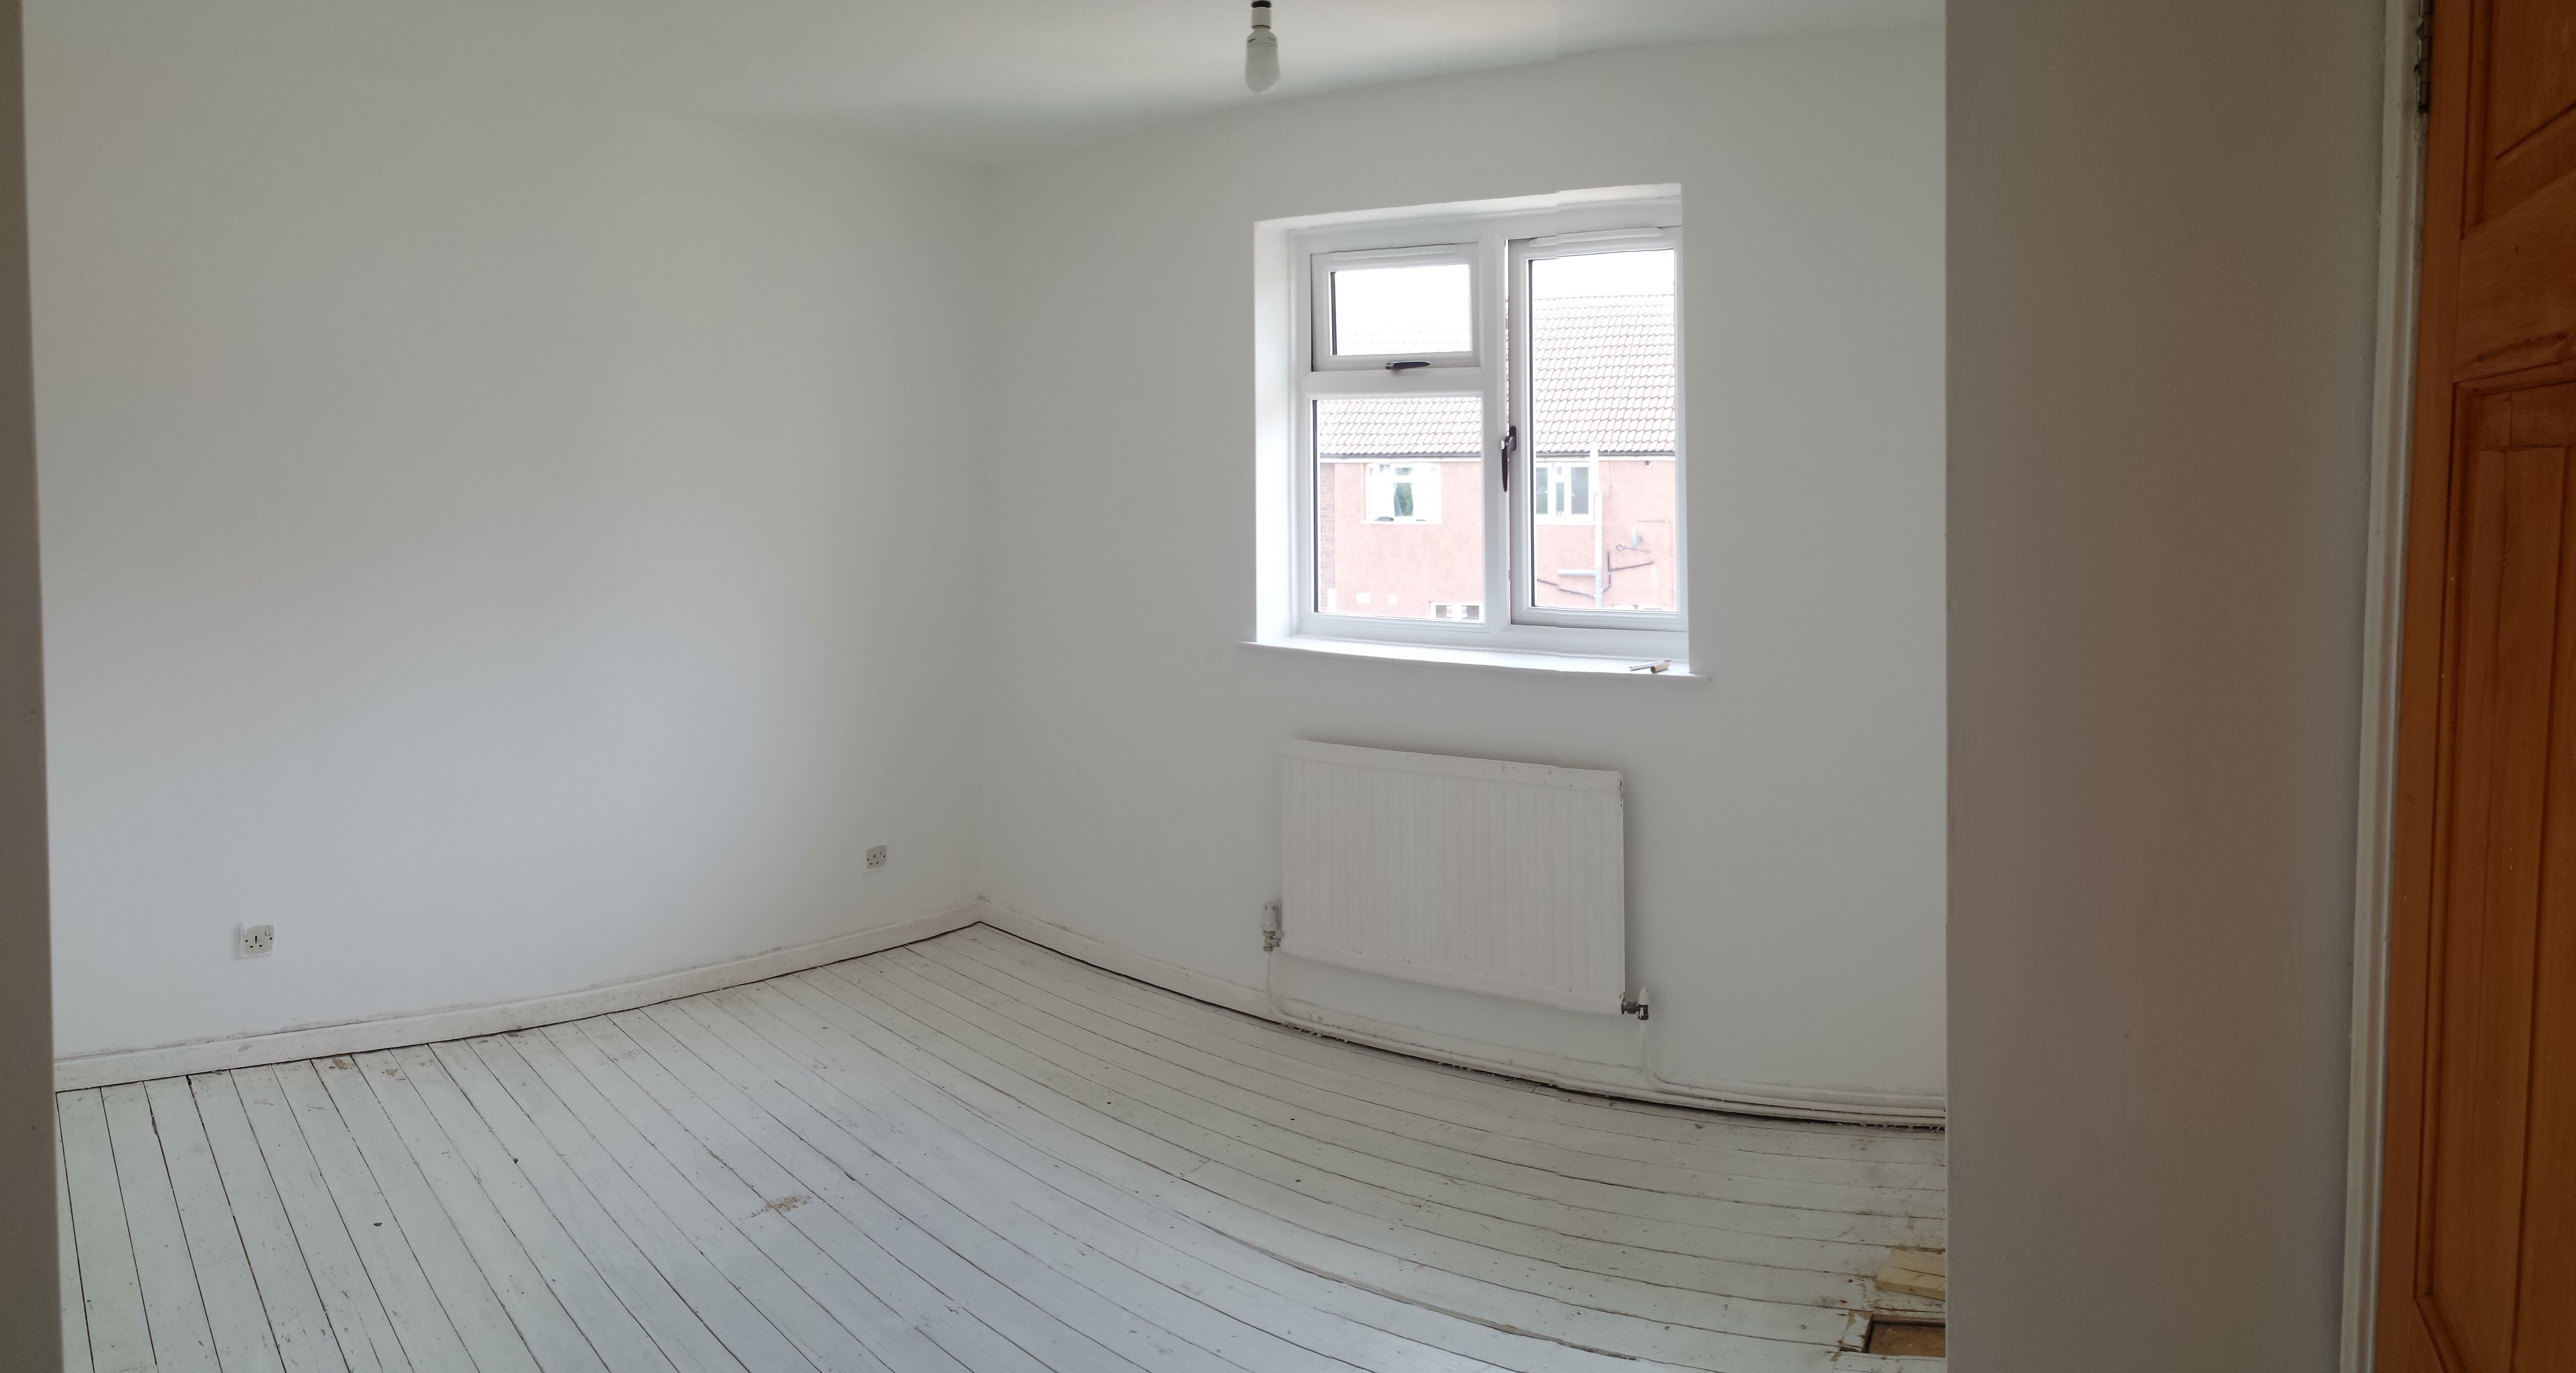
So now the walls and ceilings are freshly painted. We took up the carpet a couple of weeks ago, and now the floor paint has arrived, so that will be my weekend project. Perhaps fortunately, there was no underlay beneath the carpet. Not a great practice is you want a nice carpet, great if you want to get rid of the carpet. we weren't entirely sure what we would find underneath the carpet (more horrors?), but to my rather happy surprise, the floorboards have already been painted. They need a good clean up, but it does mean slightly less work for me. If the floorboards were untreated, we would have had to hire a belt sander to get a smooth surface, then prime the bare wood before painting. Having these steps already done saves me some much needed time and money.
Below, peeling back the carpet.
The room as it is currently.
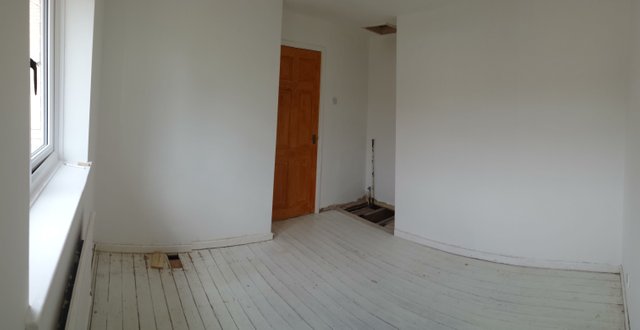
The filled, plastered and painted closet.
I'll update on the progress of the floor later.
Thanks for reading! I hope that seeing our journey from unloved and mistreated house to modern house in reasonably good condition will help anyone in the same boat to see that it is not an insurmountable task. Cheers for now :)