
Yesterday, I decided to make soap! I like to make my own soap and beauty products to eliminate unnecessary additives and dyes, plus it gives me the opportunity to be creative with scents and oils. It is also cost effective and makes great gifts.
Soap is just the result of a basic chemical reaction between fats or oils and lye.
The process I use is called hot process soap which mixes the oils and lye- and then adds extra heat to start the saponification process and cooks the soap to completion.
This batch of soap I made is a Lavender Bergamot Soap made from coconut oil and olive oil. I use 80% coconut oil and 20% olive oil. I have found that this ratio creates a really nice texture of soap that lathers, cleans and moisturizes really well. Plus it hardens within a day instead of weeks making the soap useable almost immediately.
Getting started:
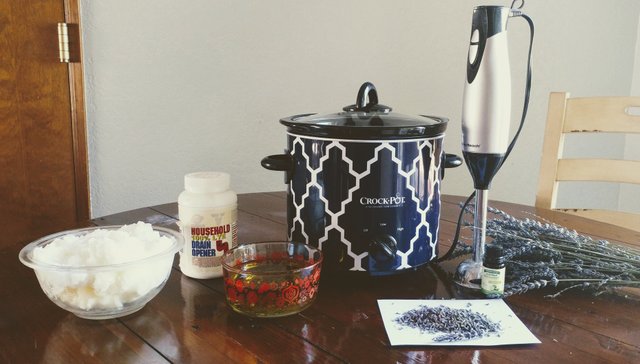
Ingredients-
Coconut oil- 25.5oz
Olive oil- 6.5oz
Lye- 4.85oz
Bergamot essential oil - 20 drops
Dried lavender- 2 tablespoons
Water- 12.16oz
(these measurements need to be exact, use food scale for accuracy)
Supplies-
Crock pot
Stick blender
Food scale
Glass bowl
Wooden spoon or plastic
Basic safety gear
First step: oils
Add coconut oil and olive oil to crock pot, turn to low heat. (Oil should be melted)
Second step: lye solution
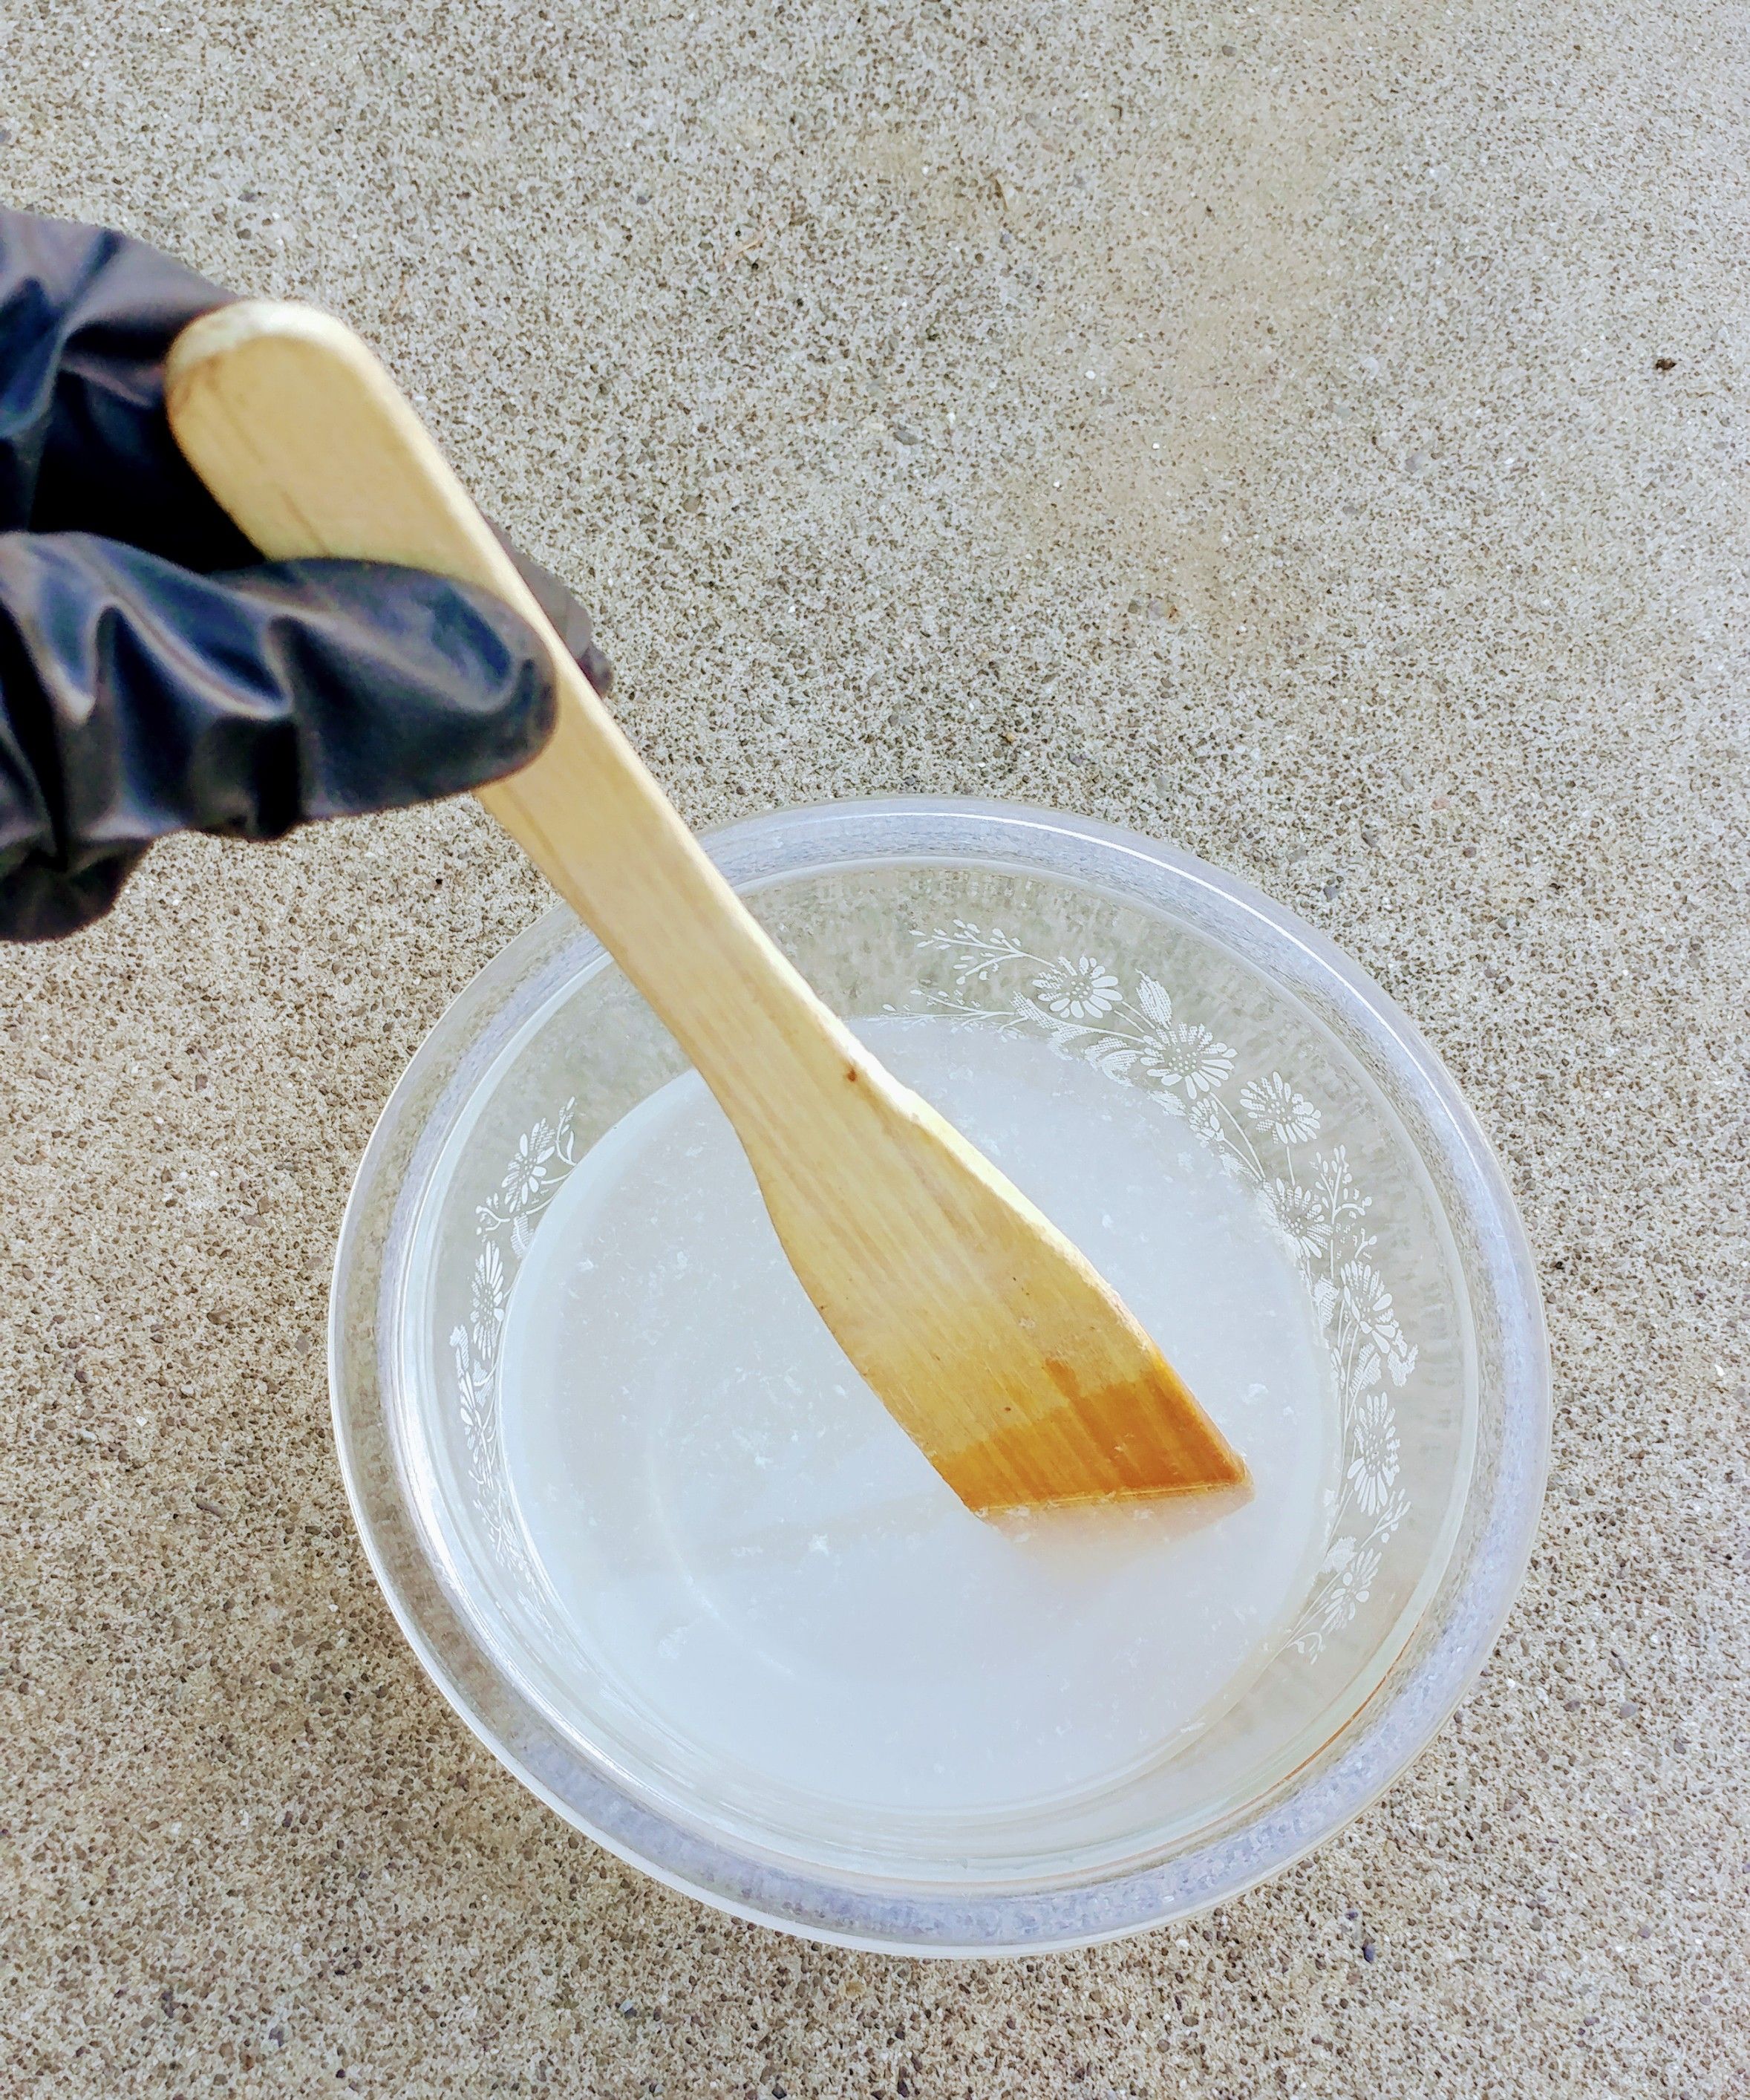
Add the 12.16oz water to the glass bowl, in a well vented area slowly add lye to the water. (Lye can be dangerousand needs to be handled with care to avoid skin, eye and lung burns, use protective wear)

Slowly stir mixture with wooden or plastic spoon until lye is dissolved and solution is clear. (again lye can be dangerous, bowl and solution is going to be extremely hot!)
Allow solution to rest for 5mins.
Third step: blending
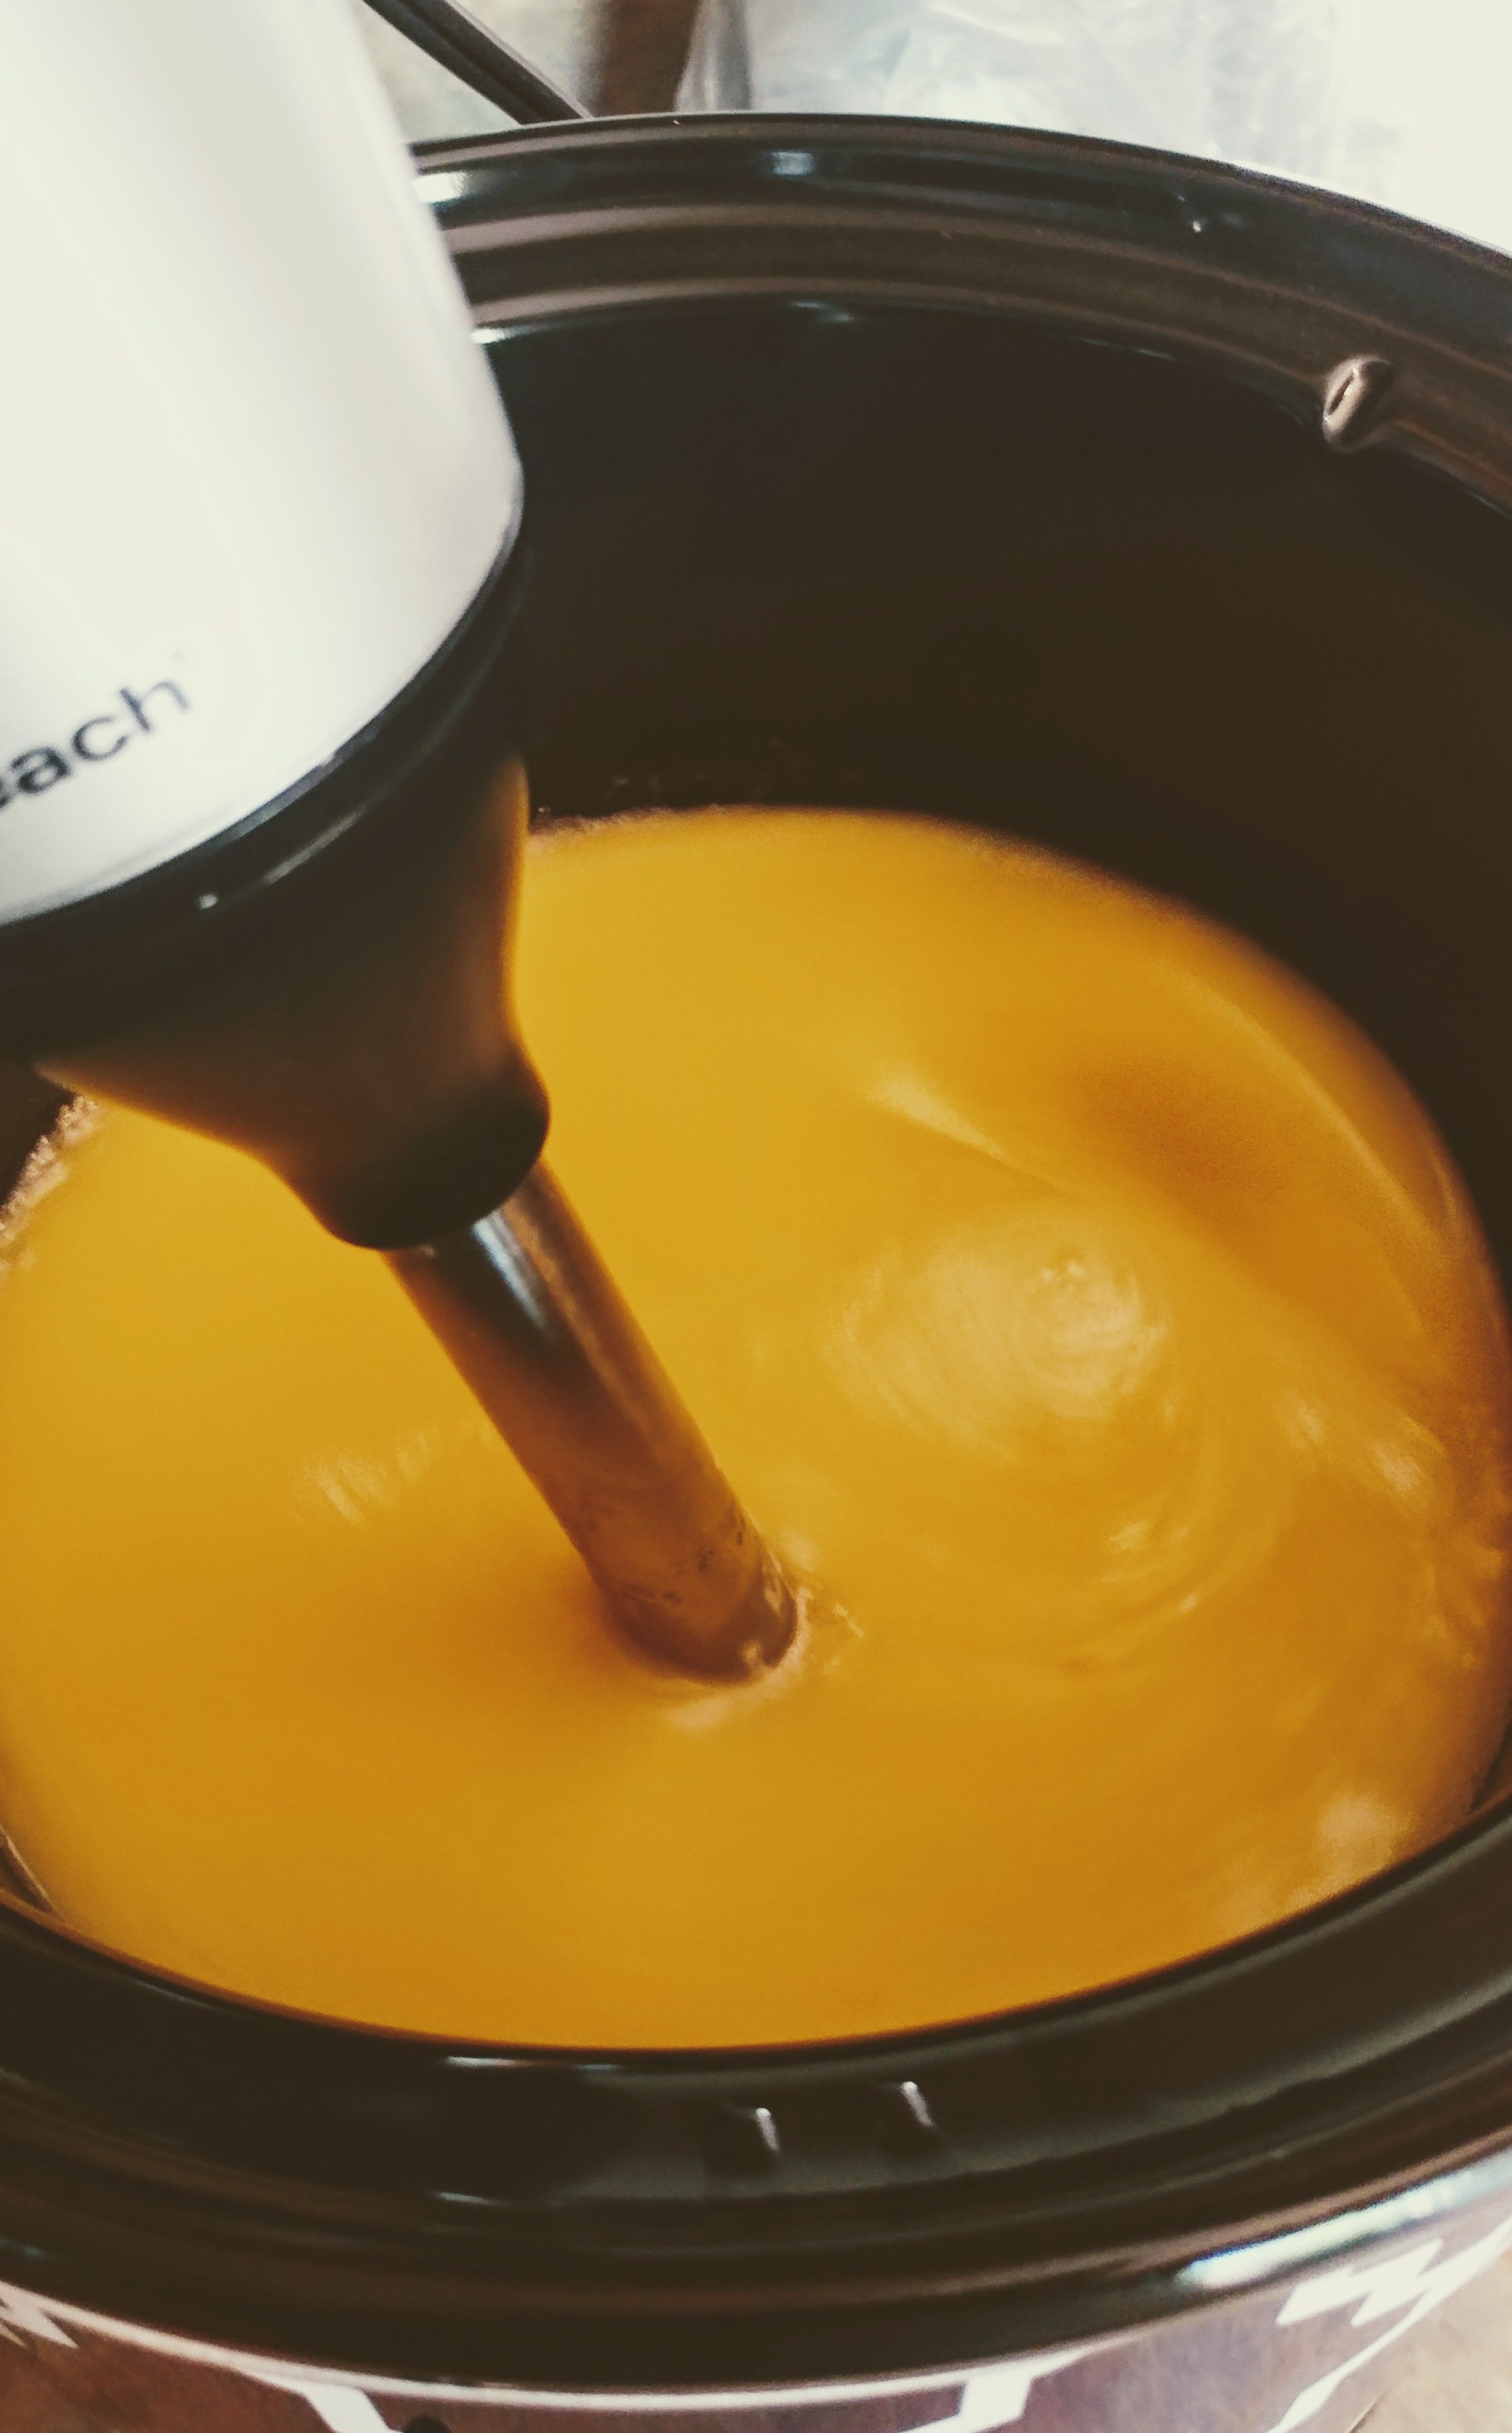
Add the lye solution to the melted oils and blend with blending stick. The soap will lighten in color as it is coming to trace.
Fourth step: cooking
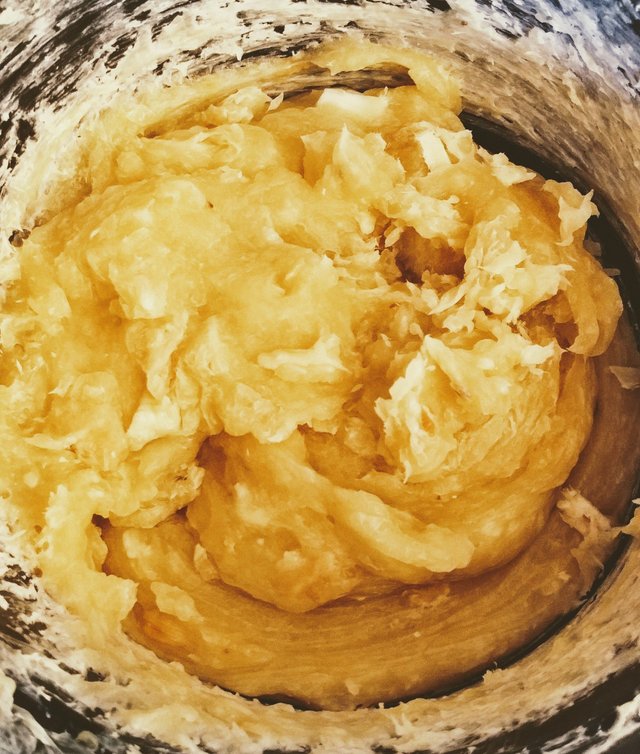
Let the soap cook on low until it becomes thick pudding texture. You will want to stir every 15mins. Be on the lookout for the soap starting to "fluff" a bit. The soap expands and becomes lighter and fluffier. It will start to ooze and bubble up at the edges of the crockpot. When this starts, you are nearly done cooking!
The cooking process usually takes about an hour. You can test for doneness with a ph strip, or even more reliable is to do the tongue test. Take a small amount of soap and touch to your tongue, if you do not get a "zap" (like when you touch your tongue to a battery) then the soap is done cooking. If you do get a "zap" cook for another 15mins and test again.
When it is done, turn the heat off and take the crock pot sleeve out of the heating pot.
Fifth step: fragrance, color & other fun stuff
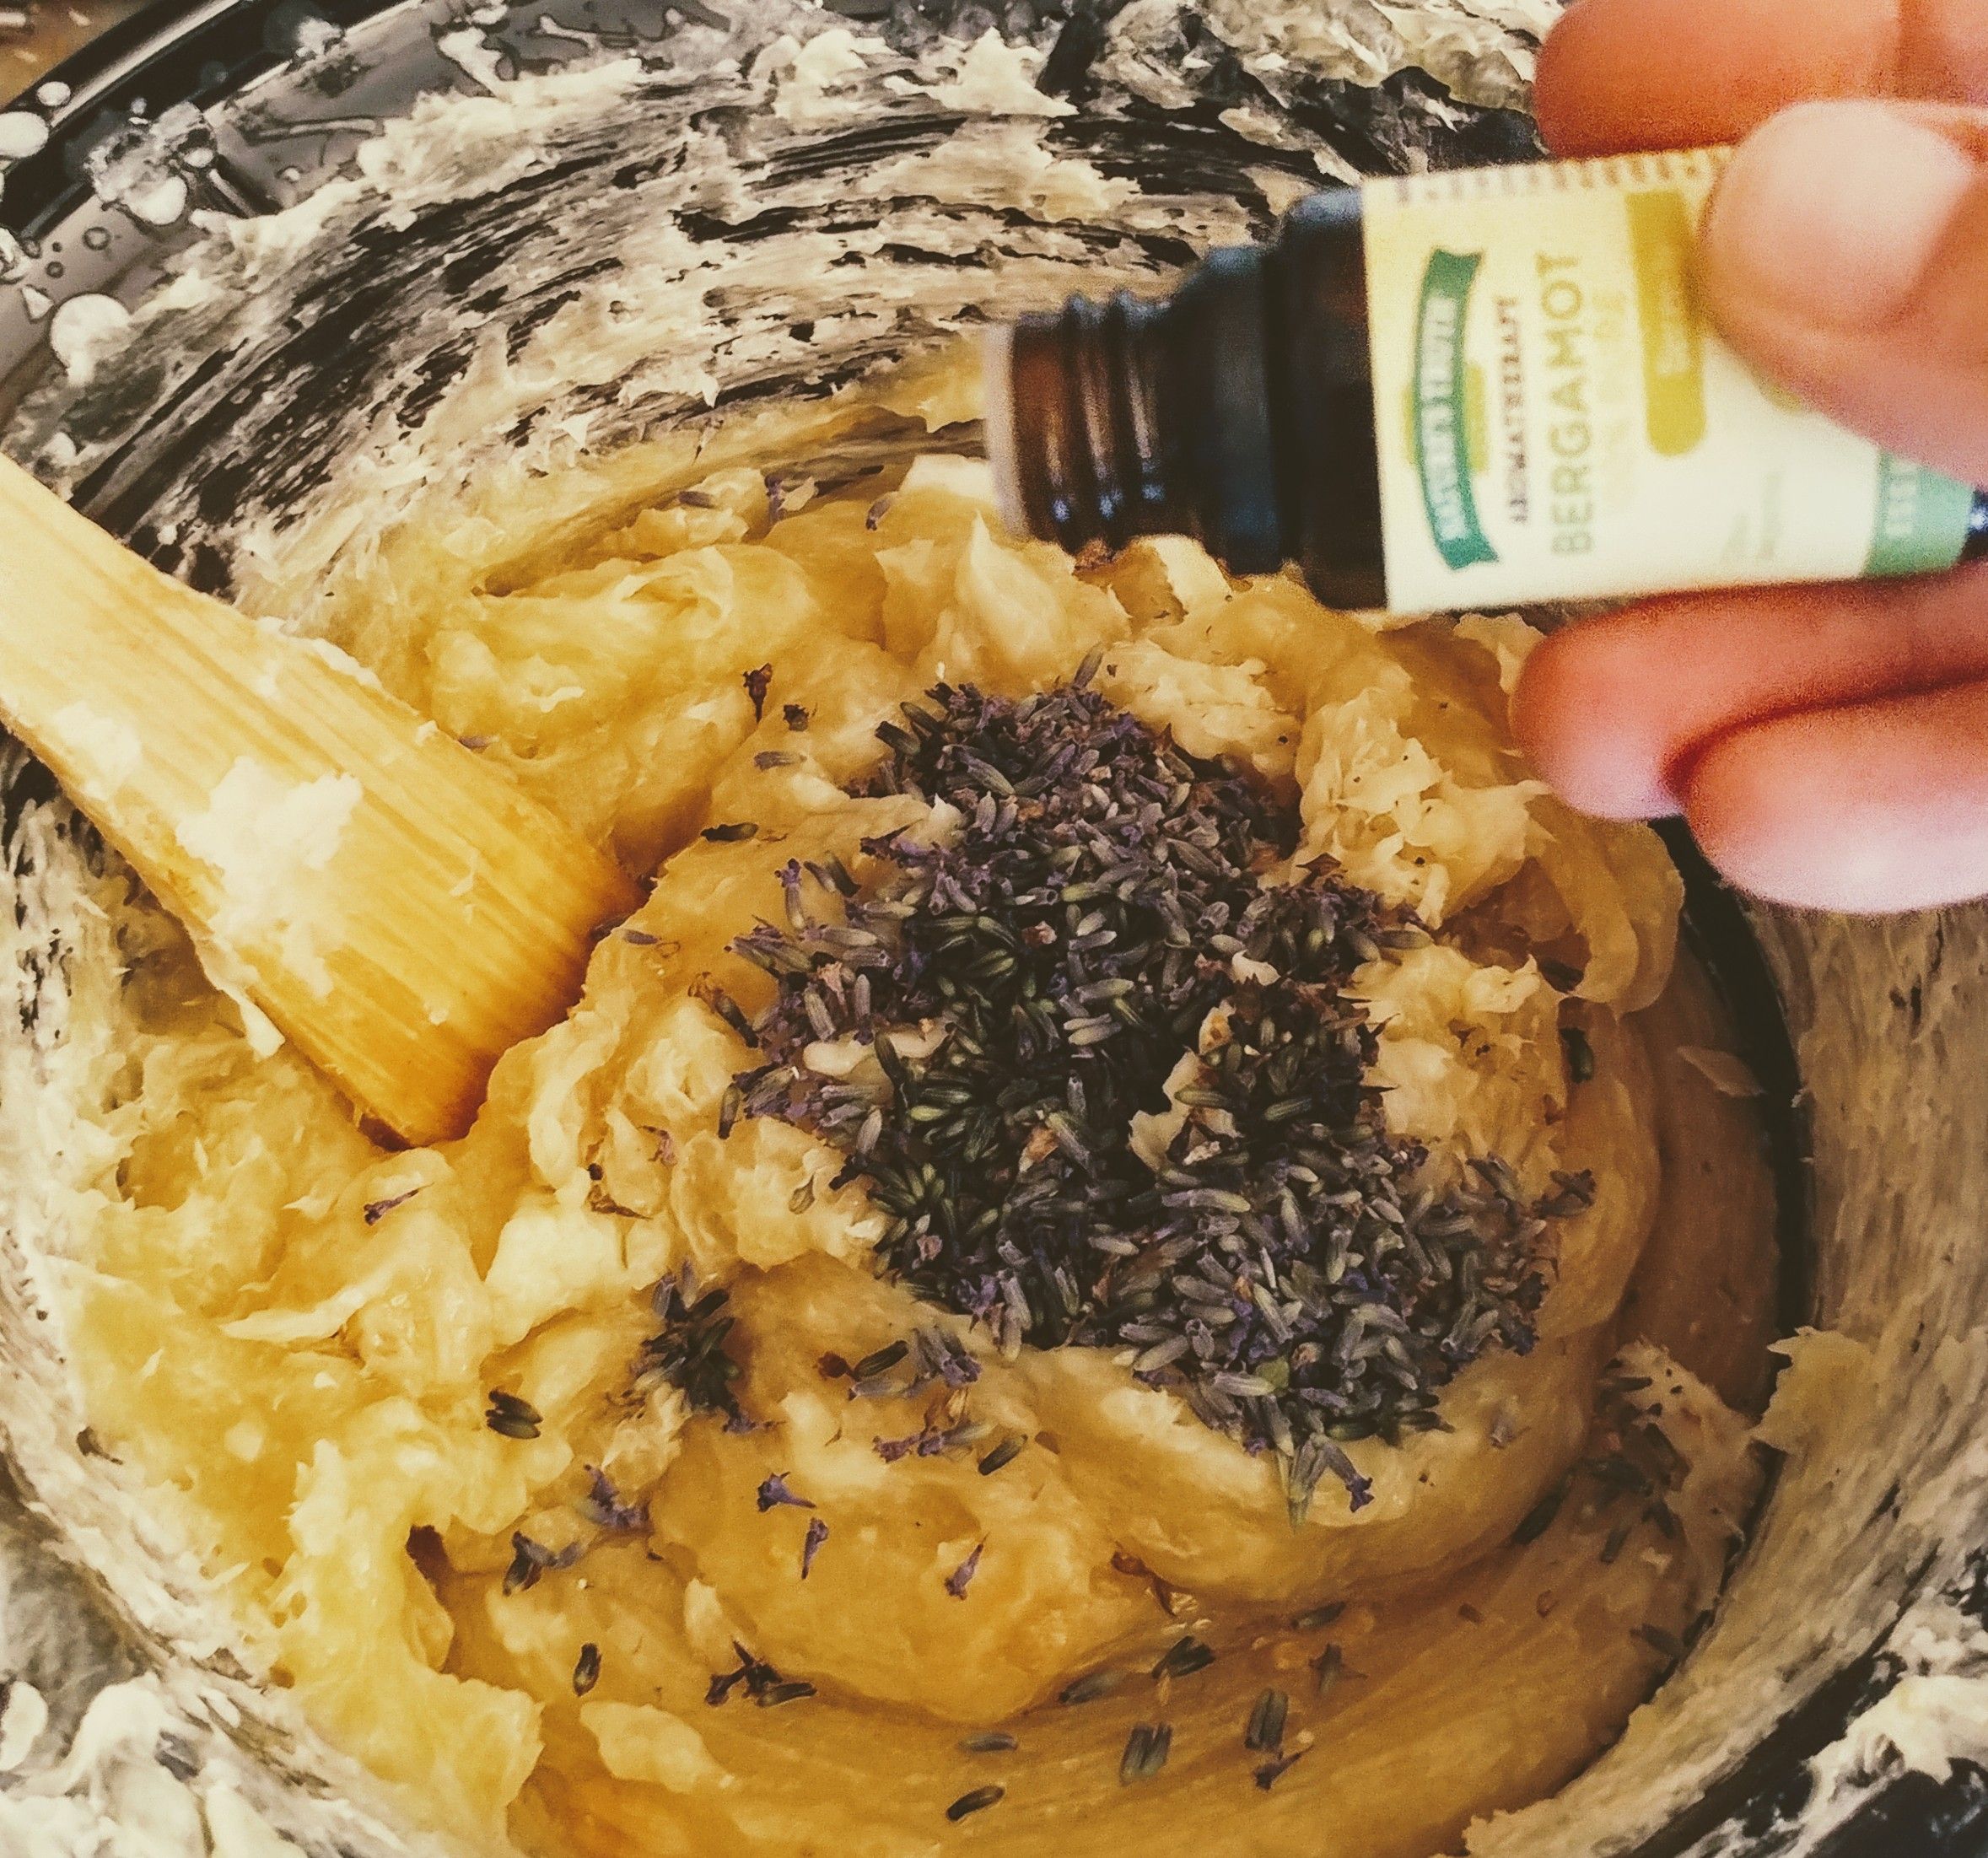
For this step get creative!!! You can add any scent, color, flowers, almost anything. Let the soap cool for 5mins before adding your chosen ingredients. I added a few tablespoons of dried lavender that I picked up from the farmer's market and about 20 drops of high quality bergamot oil. Stir in ingredients and place in soap mold. (I use a rectangle bread pan lined with plastic wrap for easy removal.)
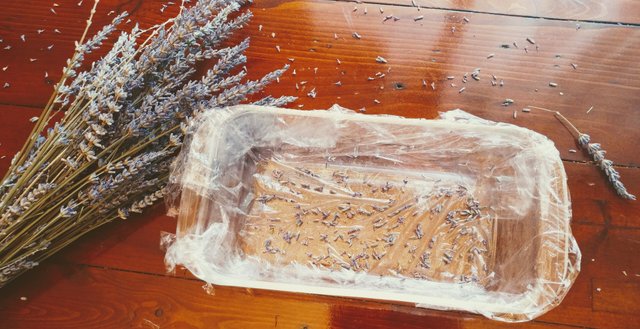
Final step: cutting bars of soap
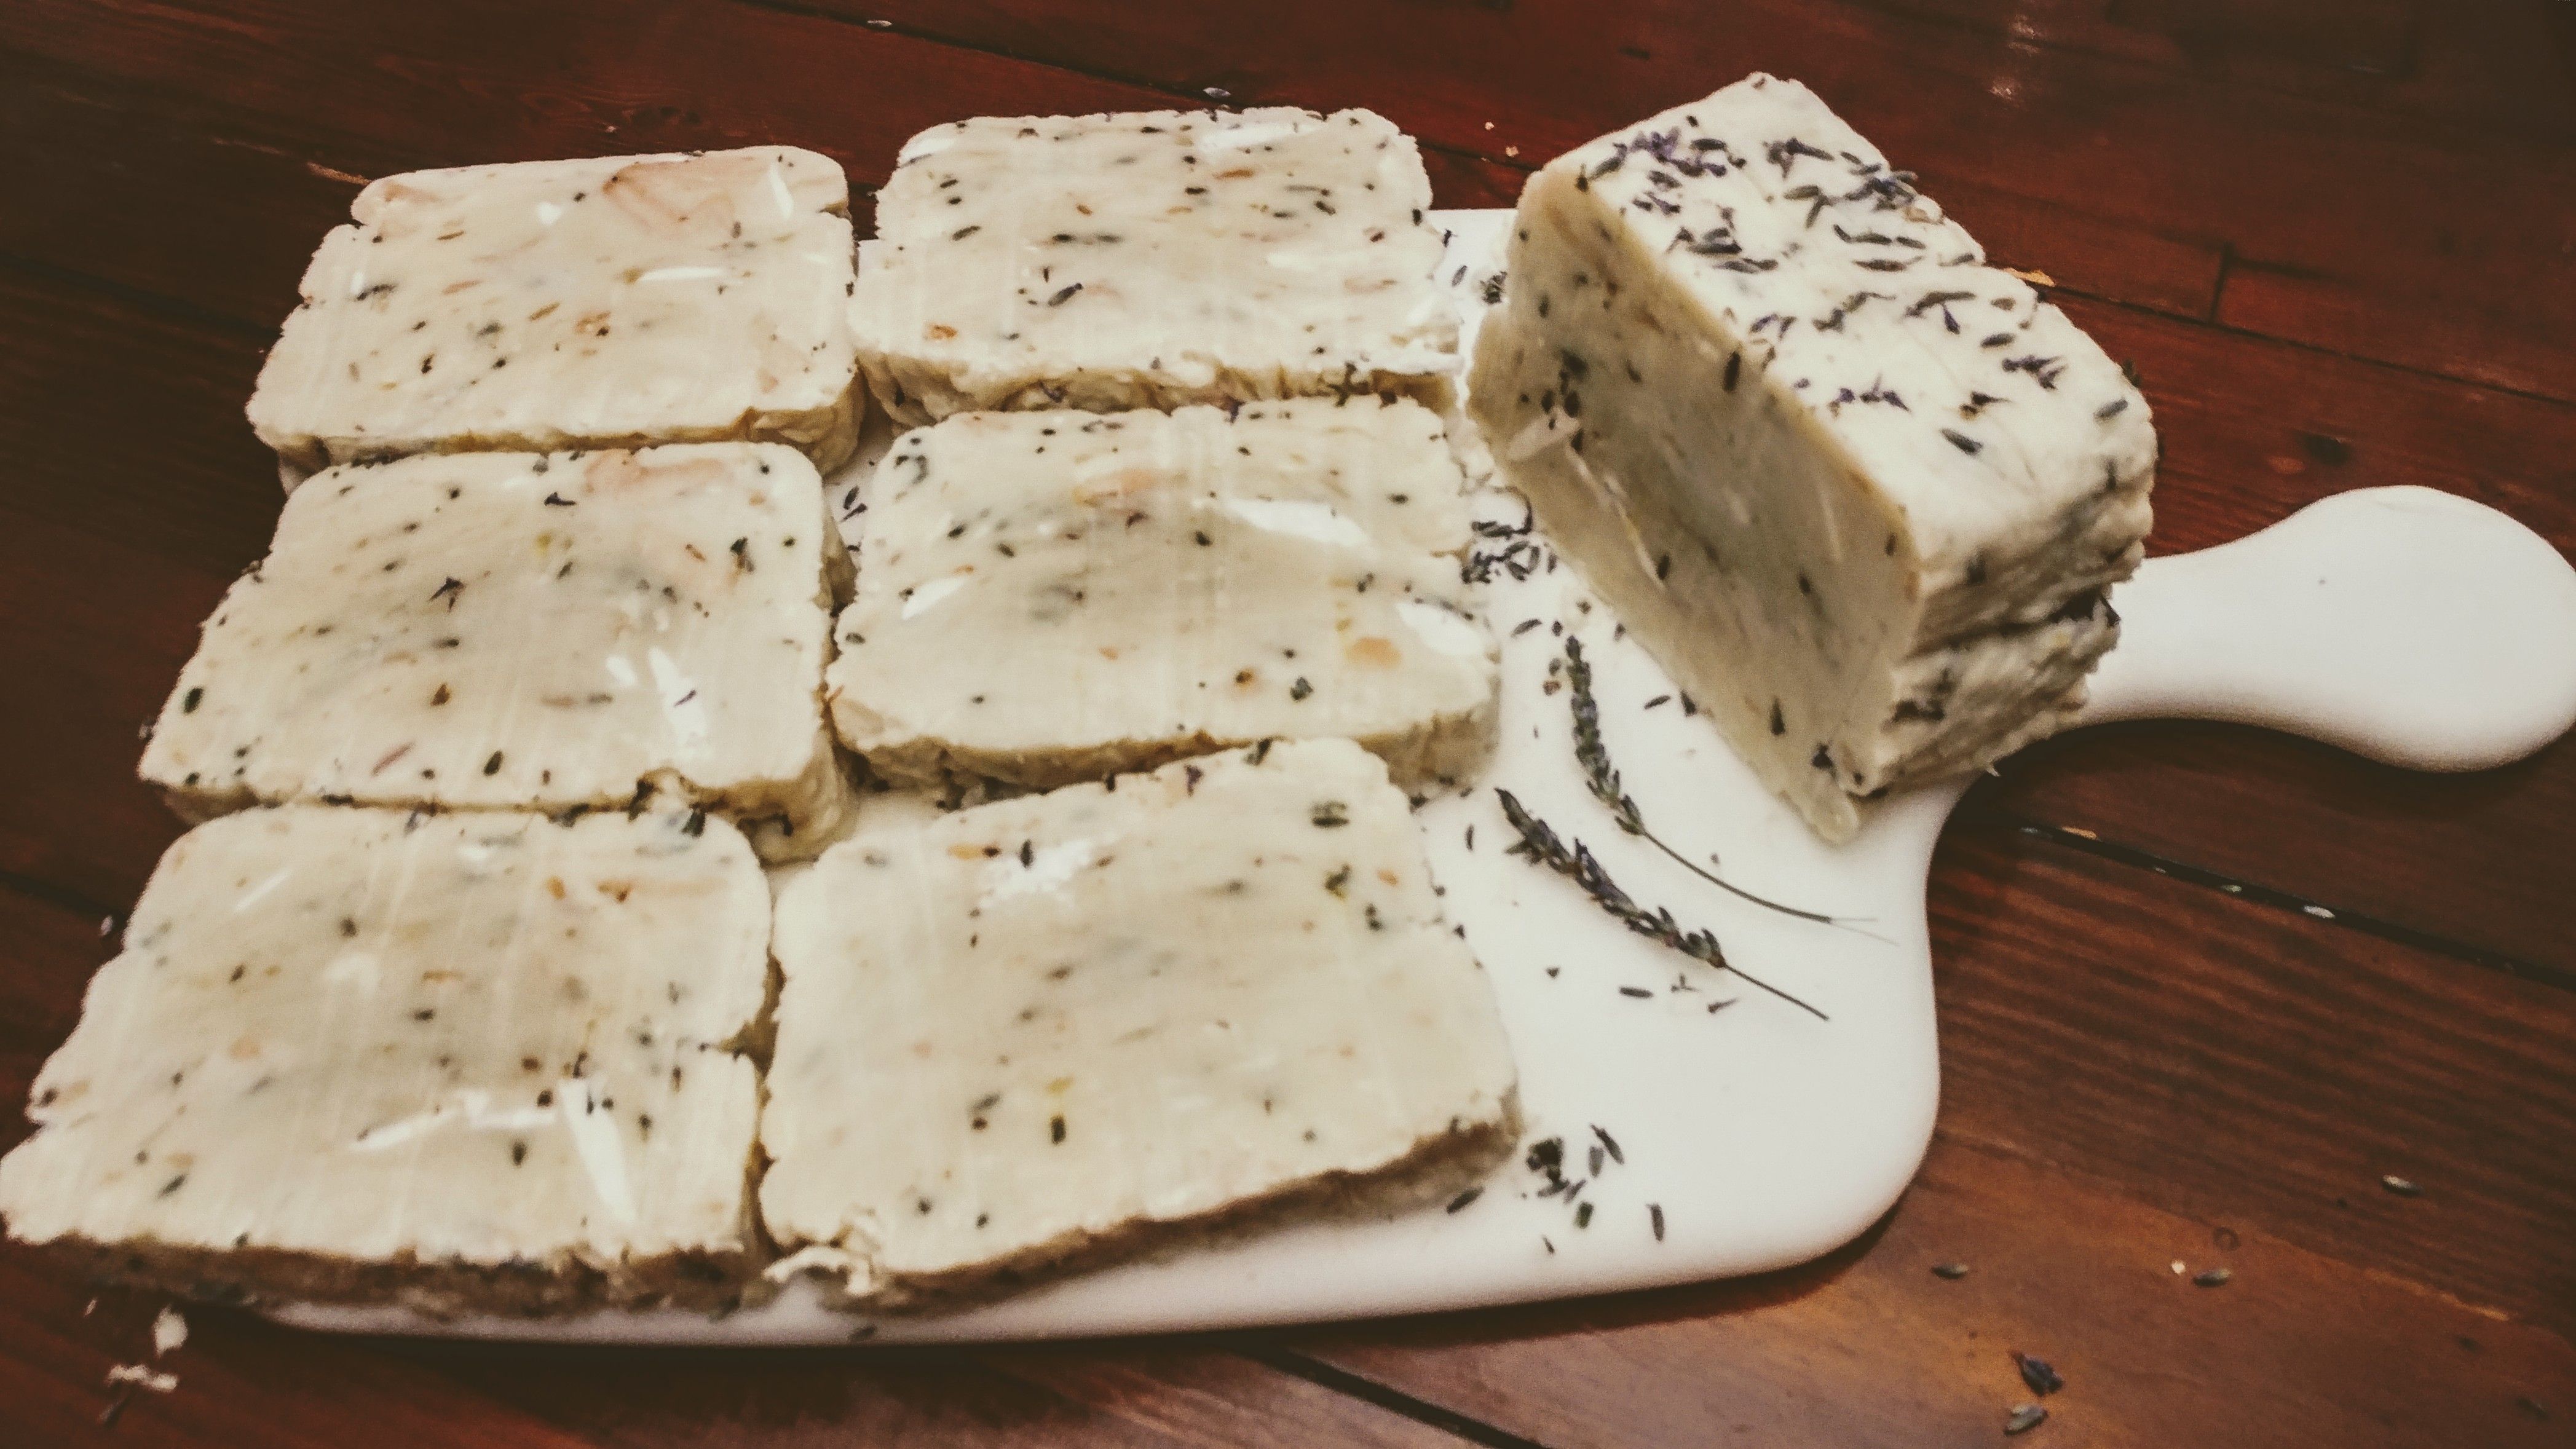
Wait for the soap to cool but not harden all the way through, (coconut oil soap gets very hard and will crack if you wait too long to cut.) Once you have cut your soap leave it to cure in a cool, dry area. Again another benefit to using coconut oil is it cures very fast compared to other oils therefor you can use the soap almost immediately.
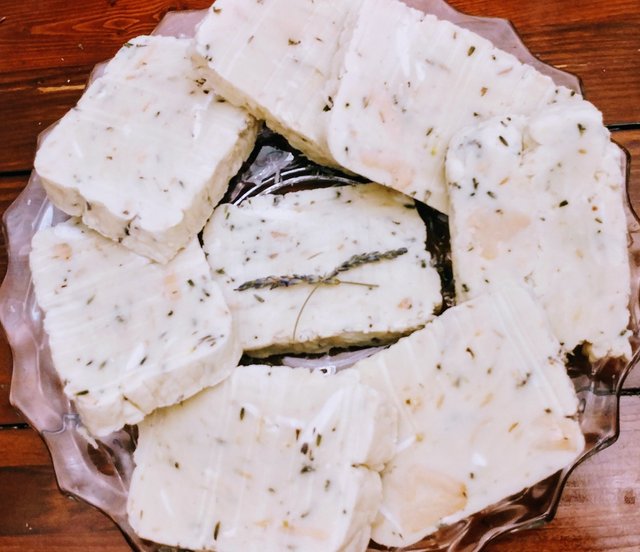
"Where the hard pastel-colored bars are sold at the drugstore are anonymous and indifferent, homemade soap has character. It charms...it smells good...feels good...is comforting in ways which manufactured soap can never be." Ann Bramson
I hope you enjoyed my soap 101 tutorial! If you have any questions or good soap ideas please let me know!
Great article @mygypsysoul! I would like to include this post in the next issue of the Weekly Homesteading Newsletter which is a series posted every Sunday that aims to help collect awesome articles and resources like this one! This article will be linked and your username featured if you accept - please let me know if it is alright to include your article as soon as possible! Thank you and have a great day!
Downvoting a post can decrease pending rewards and make it less visible. Common reasons:
Submit
Of course!!! I would love that! :)
Downvoting a post can decrease pending rewards and make it less visible. Common reasons:
Submit
Awesome thanks! I'll send a link when it's posted this weekend :)
Downvoting a post can decrease pending rewards and make it less visible. Common reasons:
Submit
Hey there! I just wanted to inform you that your article has been included and linked in the most recent issue of the Weekly Homesteading Newsletter! Please check it out if you have the time! Thank you and have a great day!
Downvoting a post can decrease pending rewards and make it less visible. Common reasons:
Submit
Thank you for the recipe as well as the fantastic instructions! I'm trying to start a movement on steemit where the "wild women" content creators of steemit form a #sisterhood to support and help each other shine more brightly by upvoting and resteeming each other's content. It would be awesome for you to take part <3
Downvoting a post can decrease pending rewards and make it less visible. Common reasons:
Submit
That sounds great! :)
Downvoting a post can decrease pending rewards and make it less visible. Common reasons:
Submit
Very nice post @mygypsysoul! I loved your instructions and pictures that you used along the way. We love essential oils and especially diy! I make a lot of my hair products and our body lotions. We haven't tried bar soap yet but we have made our own detergent and we loved it. Following you now :) Resteemed!
Downvoting a post can decrease pending rewards and make it less visible. Common reasons:
Submit
I think they're so beautiful and would have a lot of fun trying to make them! But I have always been worried about the lye. I would have fun making them in other moulds for sure!
Downvoting a post can decrease pending rewards and make it less visible. Common reasons:
Submit
It can be a little intimidating, just make sure you have eye protection. And that you are adding the lye to water and not the other way around. Also, if skin comes into contact with lye rinse with vinager water. Hopefully soap making is in your near future! :)
Downvoting a post can decrease pending rewards and make it less visible. Common reasons:
Submit
Maybe one day!! Eeek.
Downvoting a post can decrease pending rewards and make it less visible. Common reasons:
Submit