Welcome Steem Folk!
Today I have for you a special project I've been working on today. I love to do my own car repairs. It's so liberating. Hands down one of the most satisfying things is getting done and knowing you didn't have to pay a mechanic to do something you can do yourself! Not only that, you save tons of money because mechanics charge insane cash for fixing cars, and for good reason. No one wants to do it! They think it will be hard or a hassle, but it really is one of those things that make you feel like you can take on the world!
This is My Car
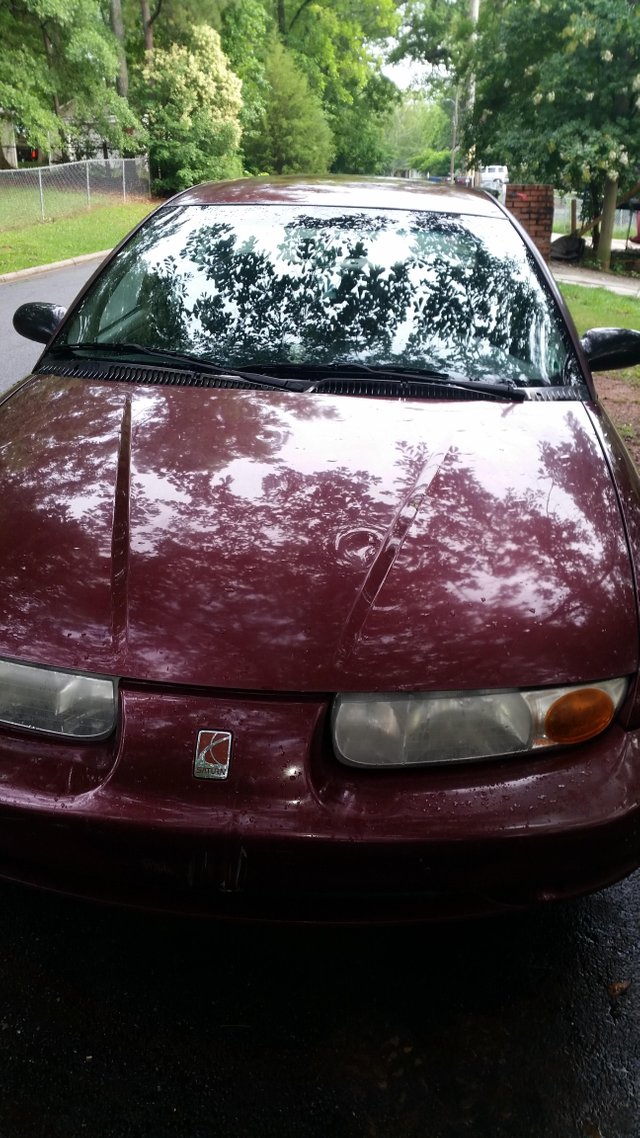
She's a 2001 Saturn SL1 that I got back in September 2014 for only $1340. At the time, she had about 191k miles on her, but I've got her to 255k today. She's had some problems, I won't lie to you, but she's been the best (and only) car I've ever had. Before this I had a 1992 F-150, tank of a truck.
So far, I've replaced the water pump and all four motor mounts as well as other small stuff. I had a shop replace the transaxle motor mount for $150 and, at that moment, decided that I need to learn to do as much to the car myself as I can. So I set out to watch YouTube videos (mostly by richpin, he's a legend on the Saturn forums). With his videos and my willpower, I was able to change the other three motor mounts and save my baby. The total cost was $45 for a mount kit and four and half hours of intense labor/video viewing.
So it got me thinking. Why don't I try my hand at some do it yourself repairs and show Steemit how I did it. Hence this series, which I hope to expand on as time goes by.
The Problem
The problem I've been faced with is that the A/C blower in my car hasn't been running at all for months and, until now, I haven't bothered fixing it. Now the heat is here and the humidity caused by rain is making it worse since I can't very well leave the windows down in the rain.
That's where this little guy came in: 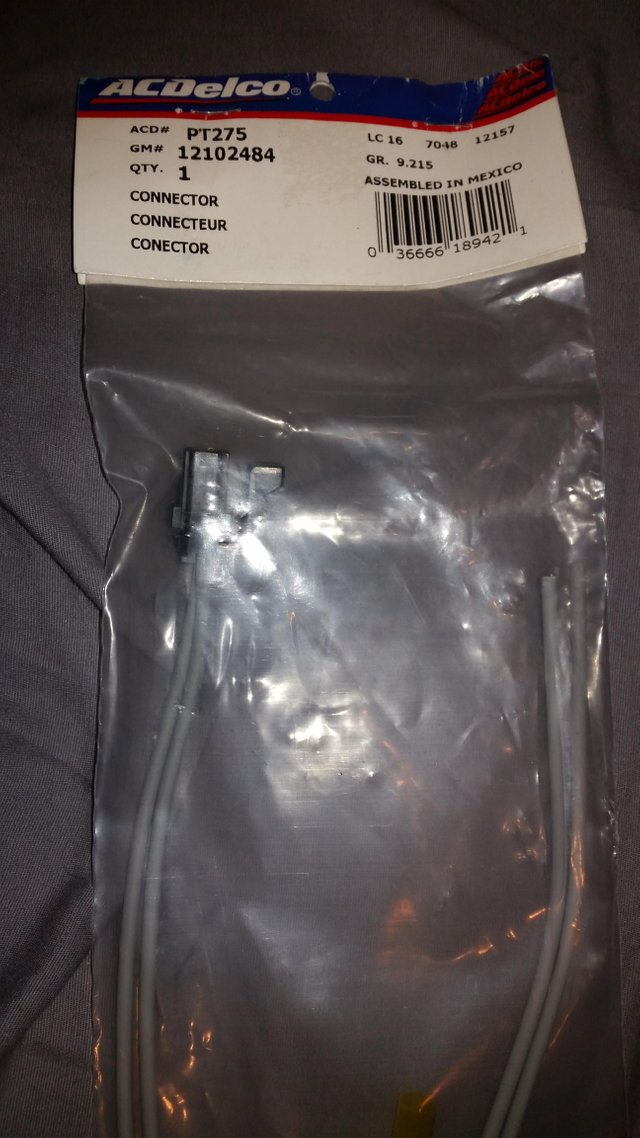
This right here is an ACDelco PT275, an HVAC Blower Motor Connector. It took me a lot of research to figure out the part number I needed, mostly because the one currently in the car had partially melted due to what I think was a short in the wire caused by exposed wiring from peoples' shoes tugging at them.
Here's the old one: 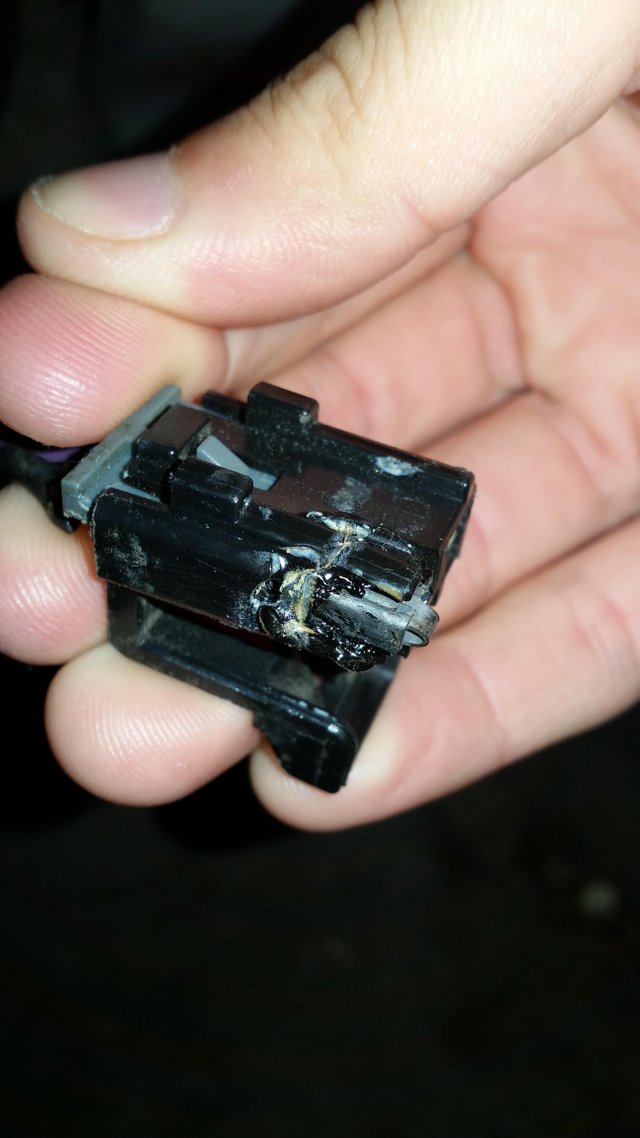
This little bastard was partially melted, so the blower motor wasn't getting power except for in small spurts. I had redneck engineered it with tape, but that didn't really help much as you can see: 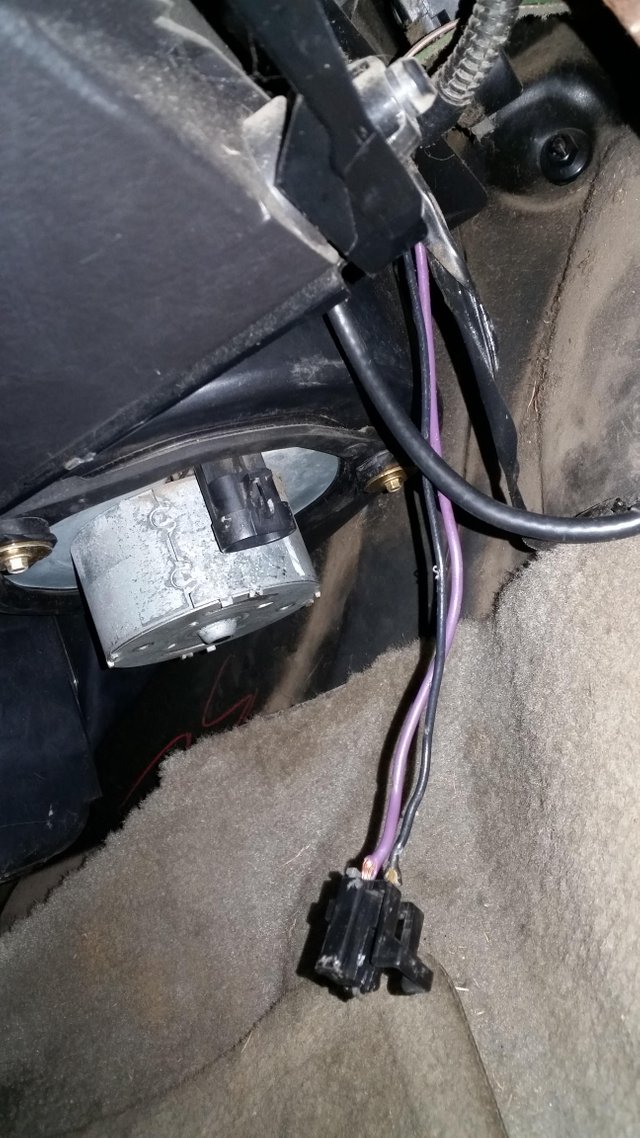
The exposed bits of wire are obvious here. In the mid left, the silver cylindrical object is the blower motor.
The Solution
After calling several auto parts stores nearby, I quickly realized that they wanted way too much money for this little coupler. On average, it would've cost approximately $40 to have it shipped in store for a pickup, so I went to eBay!
On eBay, I found one for only $15 plus shipping!
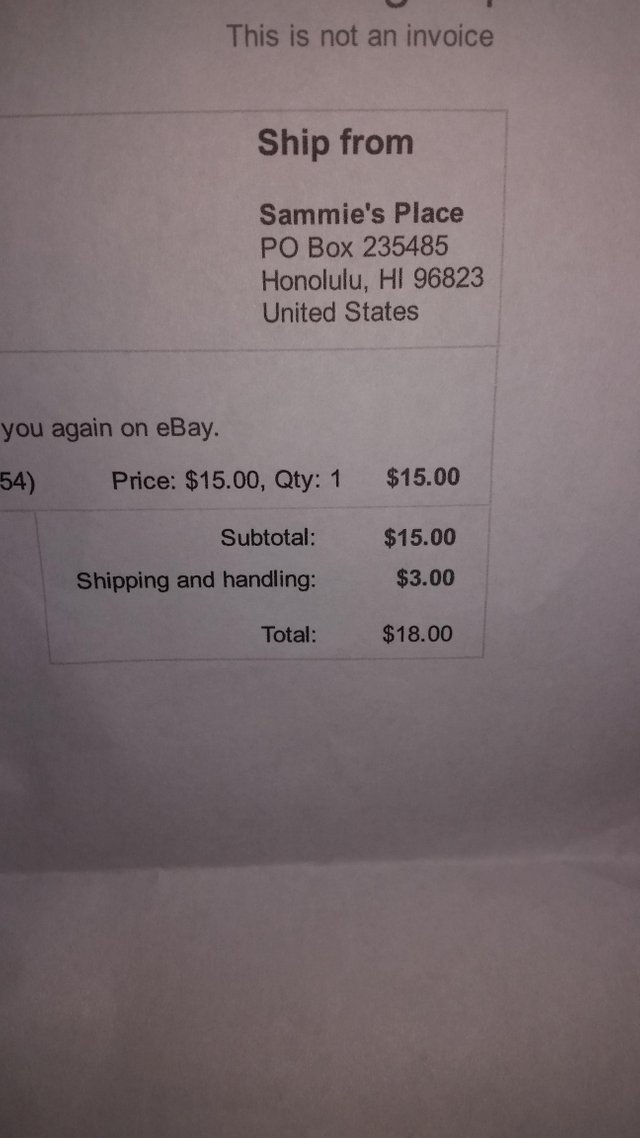
Once I got the part (today), I set about preparing to fix this problem with my amateur wiring and mechanic skills.
The Process: Disconnecting the Battery
Before getting started, it is OF THE UTMOST IMPORTANCE to disconnect your battery! THIS IS A MUST SO YOU DON'T GET ELECTROCUTED!
Also, always wear gloves when working on your car!
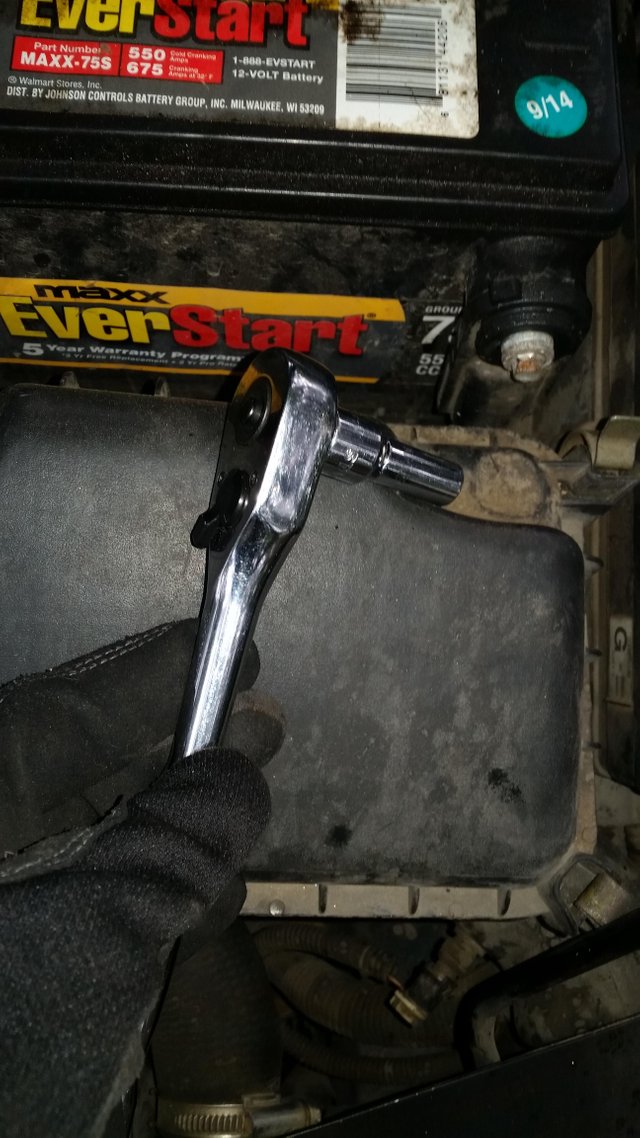
I started by disconnection the NEGATIVE/BLACK cable FIRST! ALWAYS ALWAYS ALWAYS DISCONNECT THE NEGATIVE/BLACK CABLE FIRST!
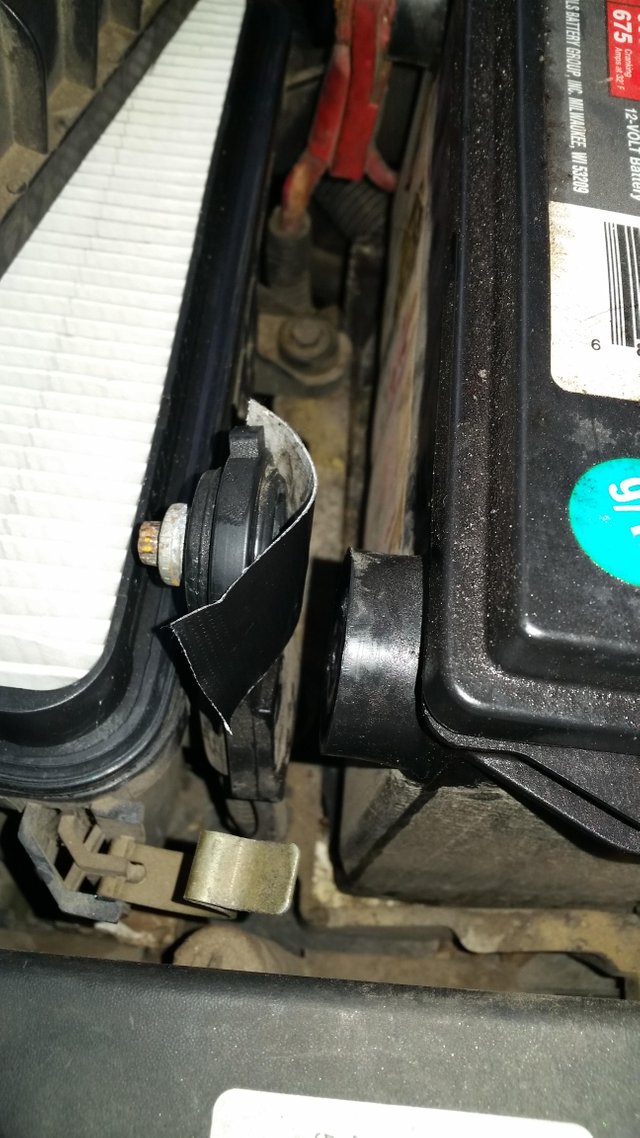
I also taped the back of the nut so that it wouldn't be able to touch the battery just in case. You can then disconnect your POSITIVE/RED cable and do the same.
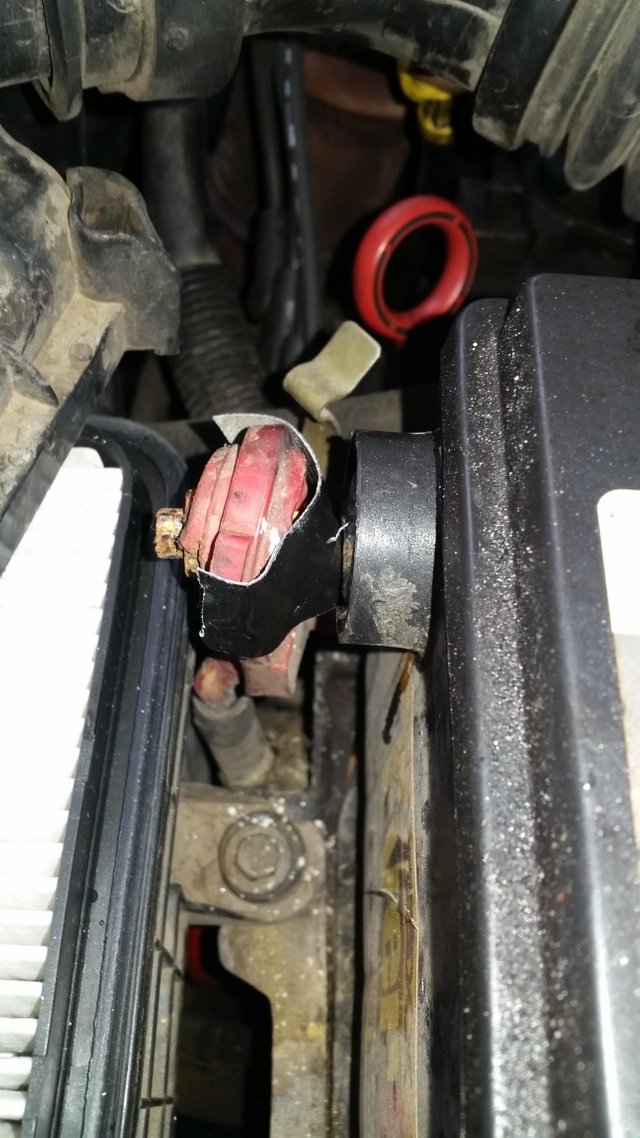
This for me was an extra precautionary method. It is apparently not a necessity to disconnect the POSITIVE/RED cable, but I highly recommend it.
The Process: Getting Ready to Wire
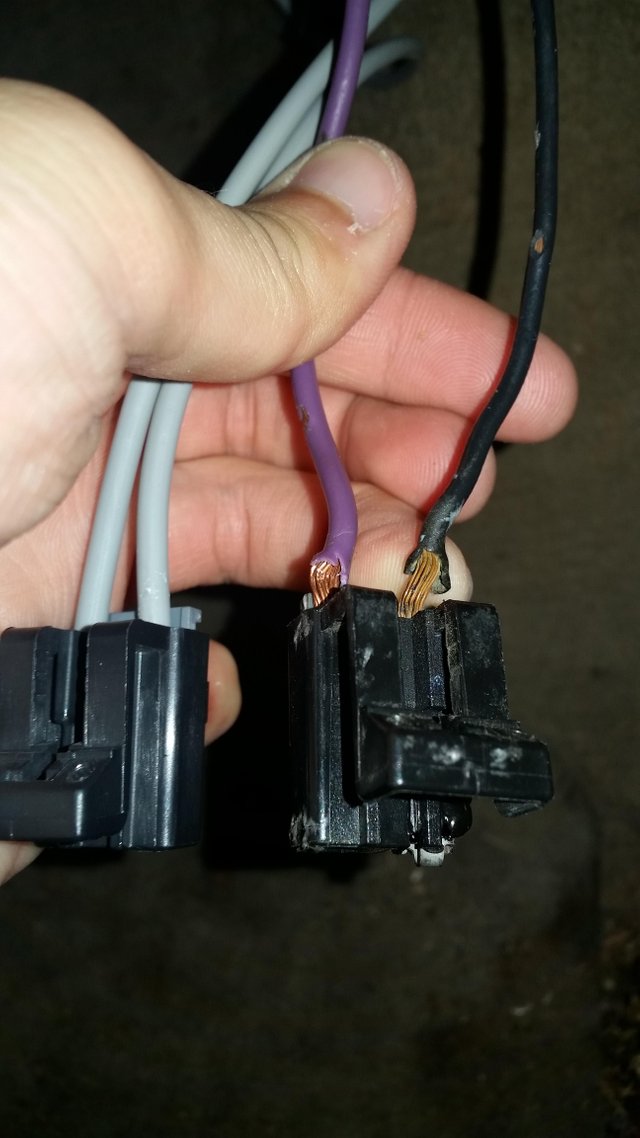
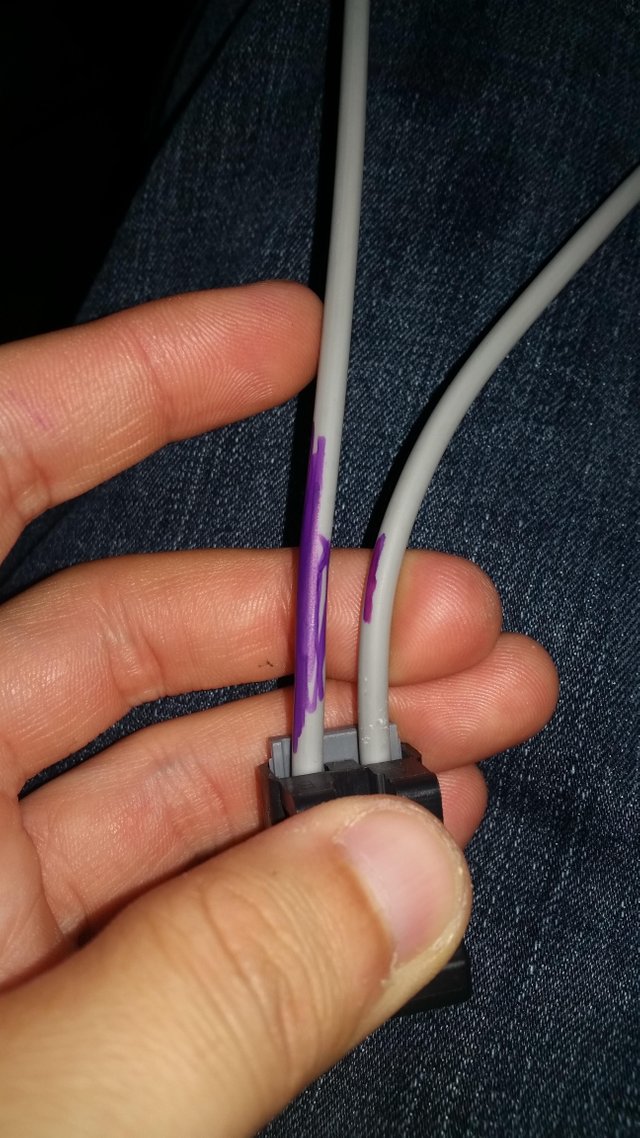
As you can see in this picture, the new connector's wires are not color coded like the old one's wires, so I improvised by lining the wires up and using a purple sharpie to mark the wire that needed to attach to the purple wire.
The next thing we need is a good pair of needle nose pliers. These babies will do fine.
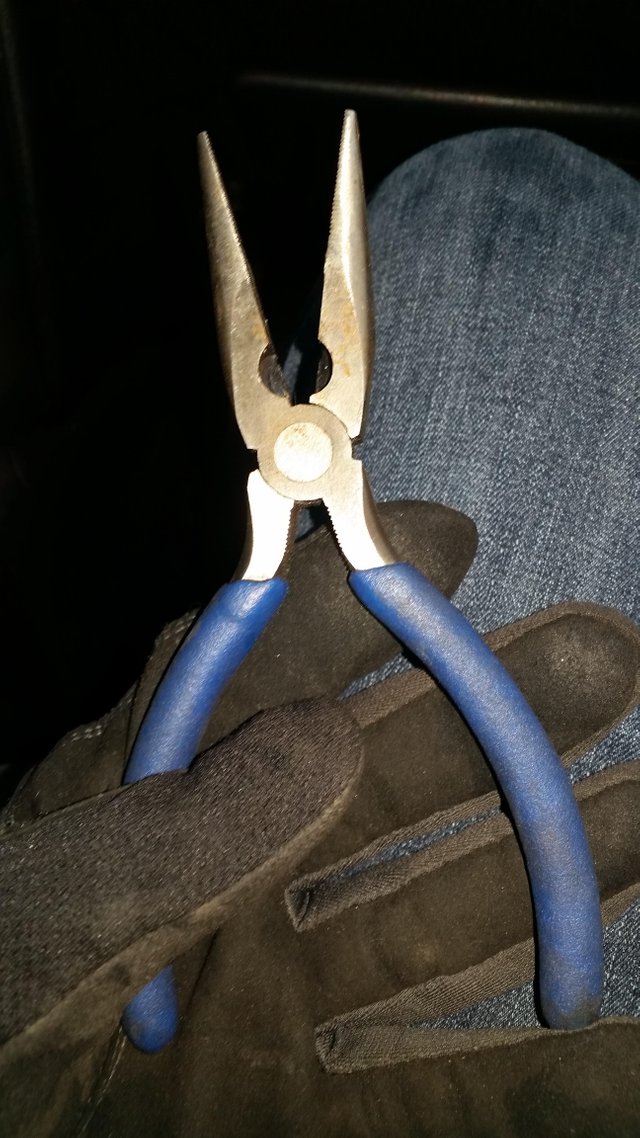
I used the cutting part of the wires to cut the old connector's wires for removal. This is fairly straight forward.
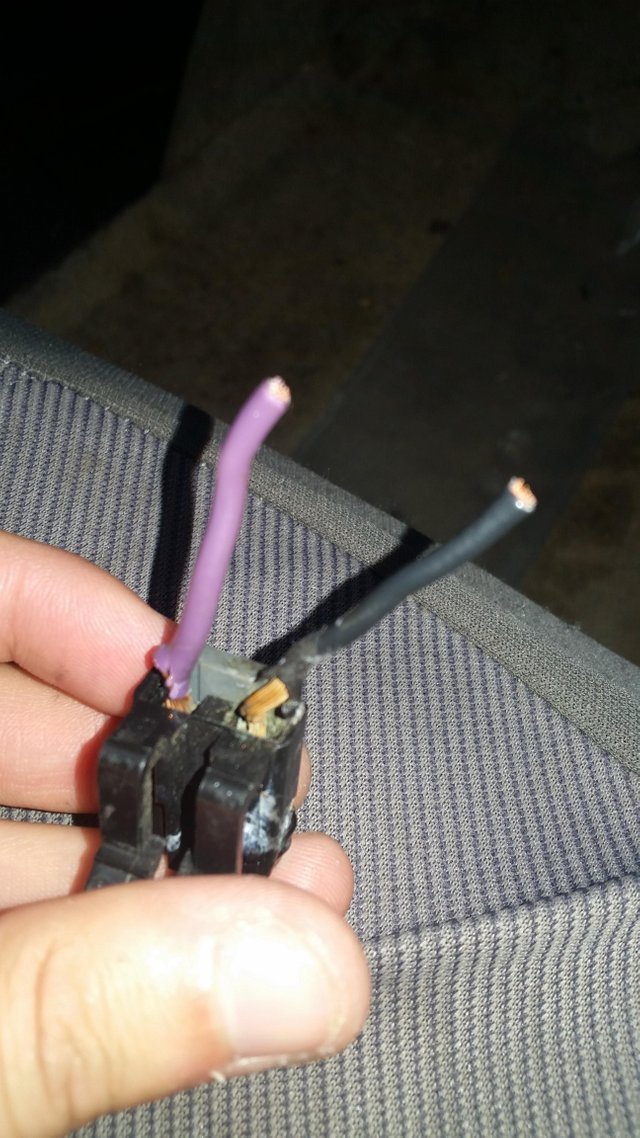
After removing the old connector, I used the pliers to cut off excess wire from the new connector so that I wouldn't have to do anymore extra taping.
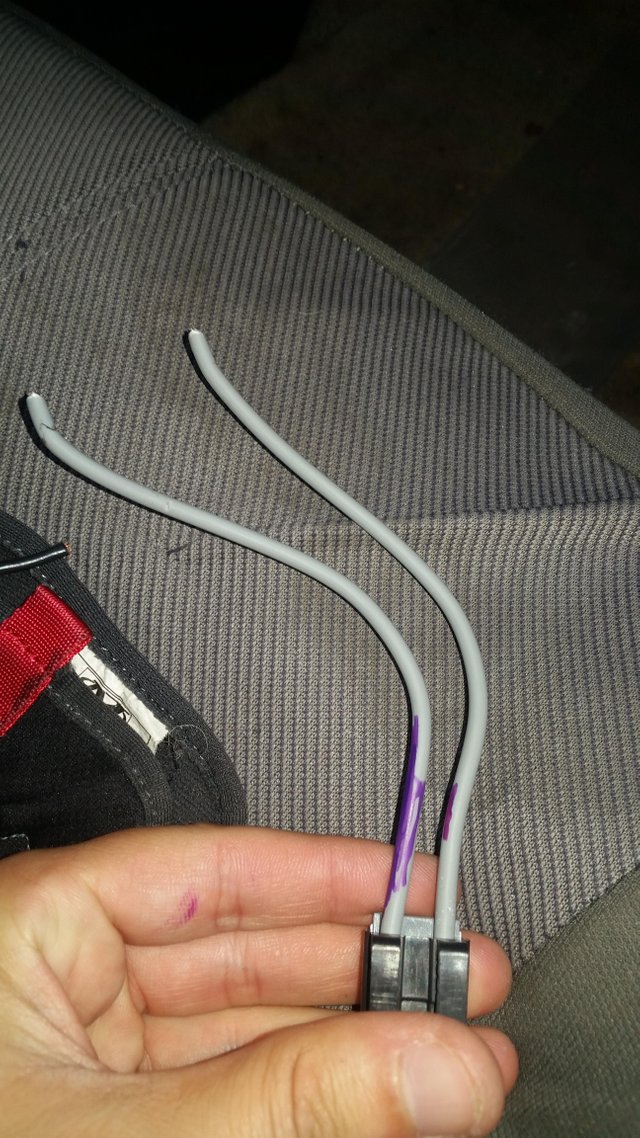
The next step is to use a knife or the plier's cutting section to mark where you want to remove your wire coatings.
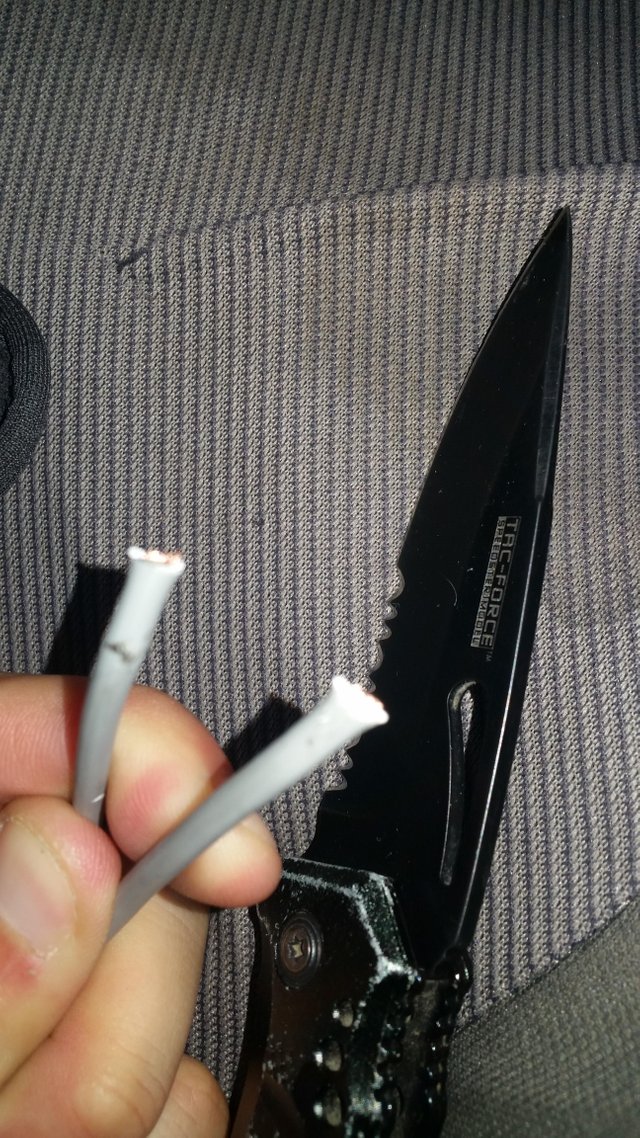
After marking, go ahead and use the plier's to work the coating off of the wire. It is sort of difficult if you've never done it before, but I'd helped my dad with wiring random things in the past, so I had a basic idea of how to do it.
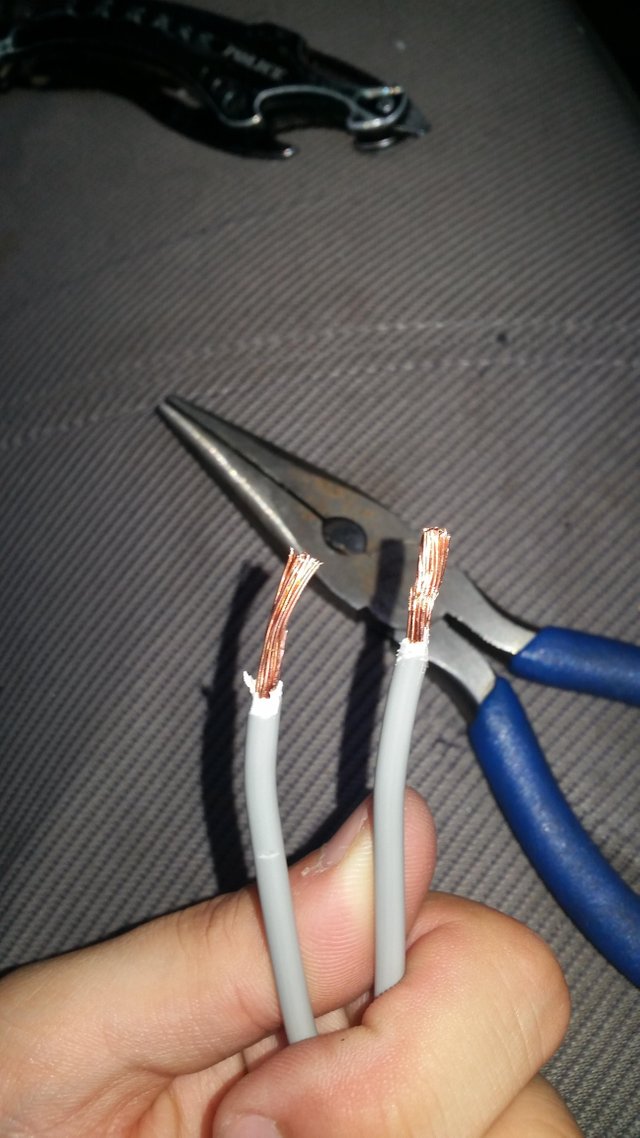
Next you want to do the same with the old wires.
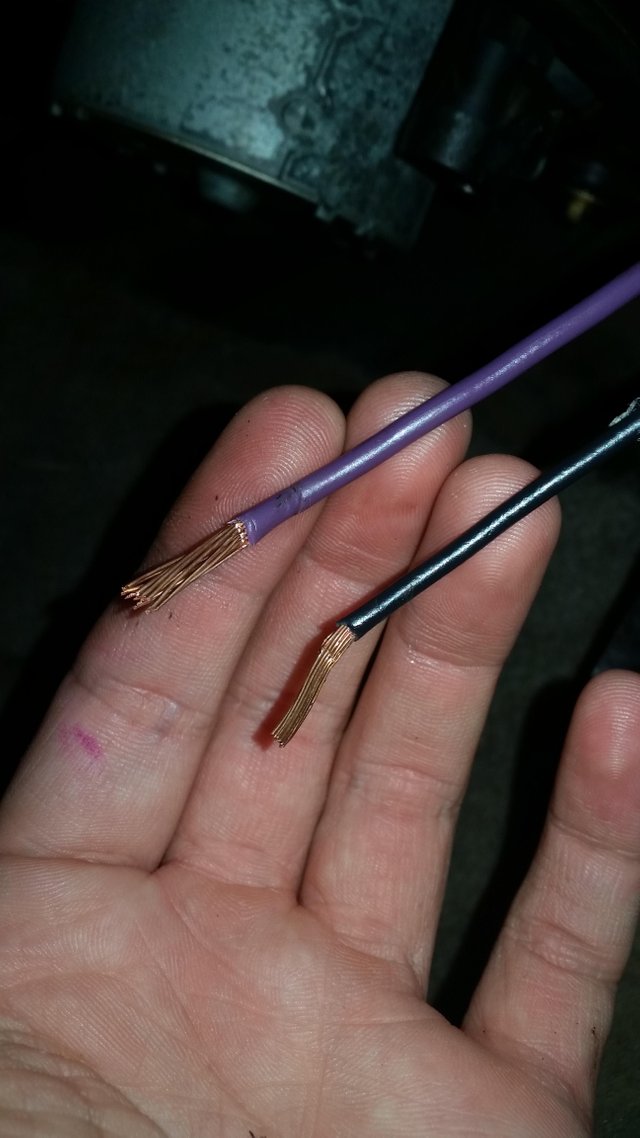
The Process: Wiring Your HVAC Connector
You'll need some wire nuts like the one I have pictured. Be sure to try and get the correct size wire nut for the best connectivity.
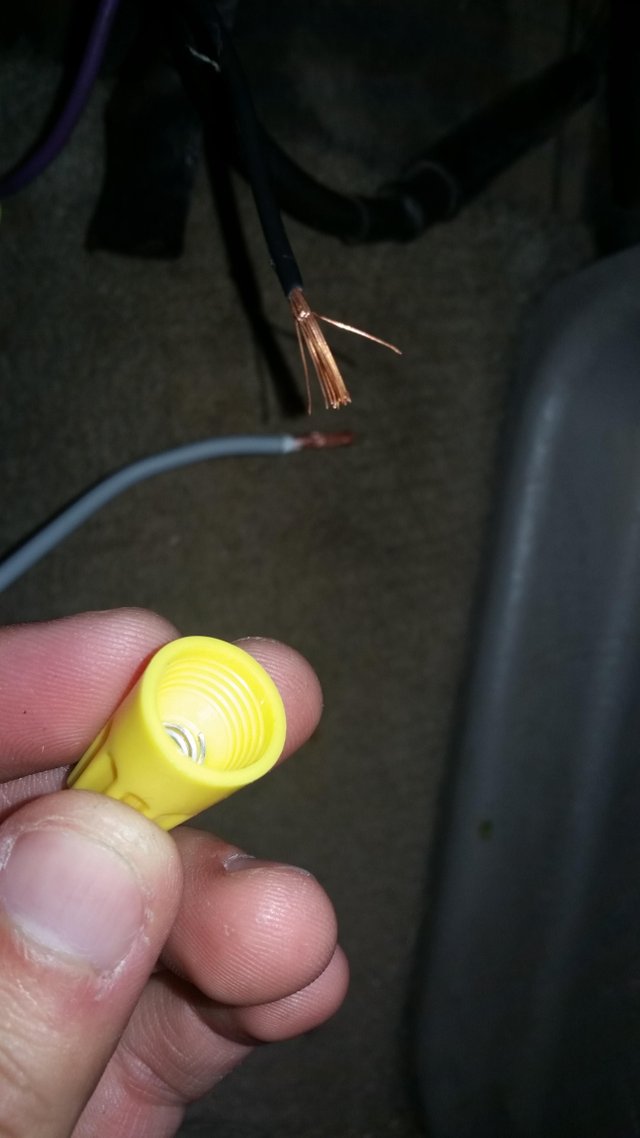
The next thing I did is to pre-twist the wires using my fingertips as well as the pliers for a little extra twist.
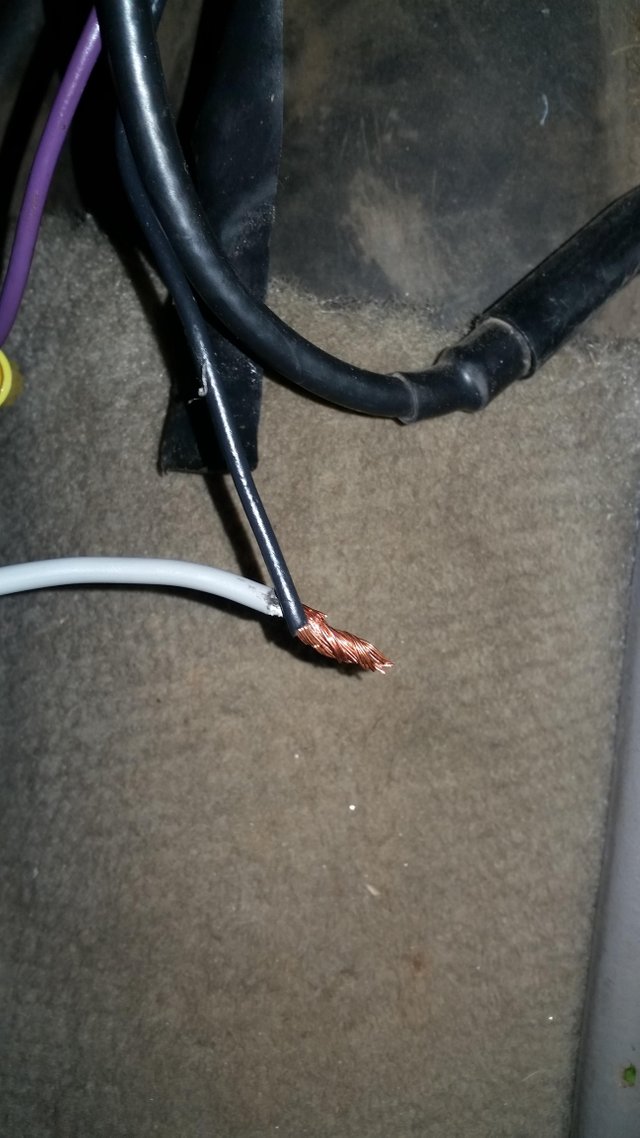
Then you can take your wire nut and screw it down onto the twisted wires. If it's the correct size, it should screw down onto them fairly tight. Make sure you tighten it as far down as possible.
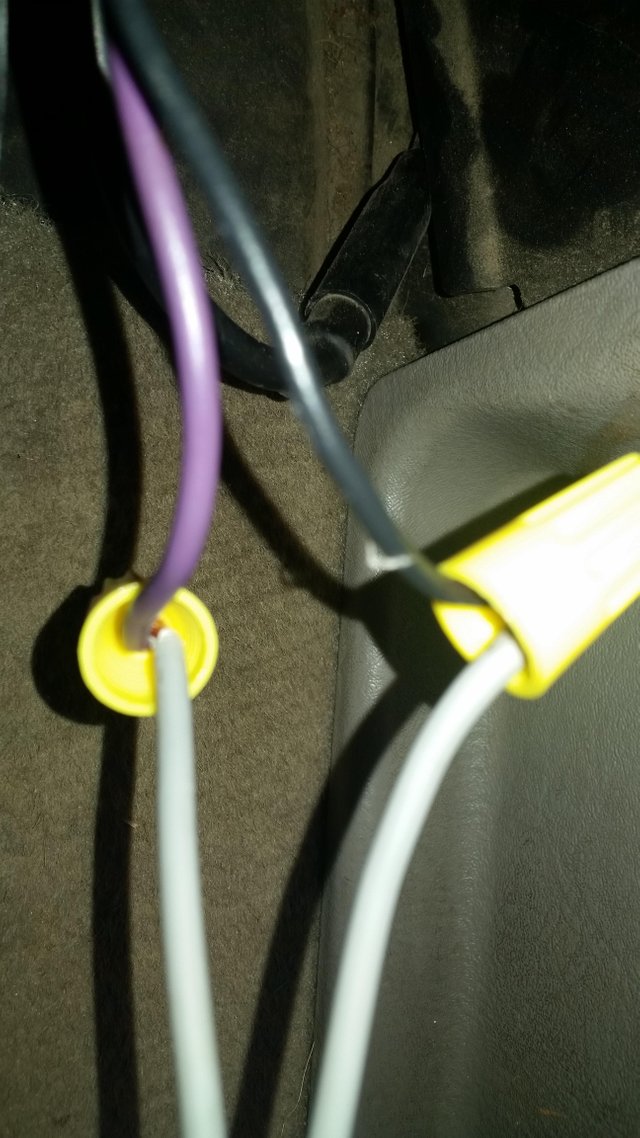
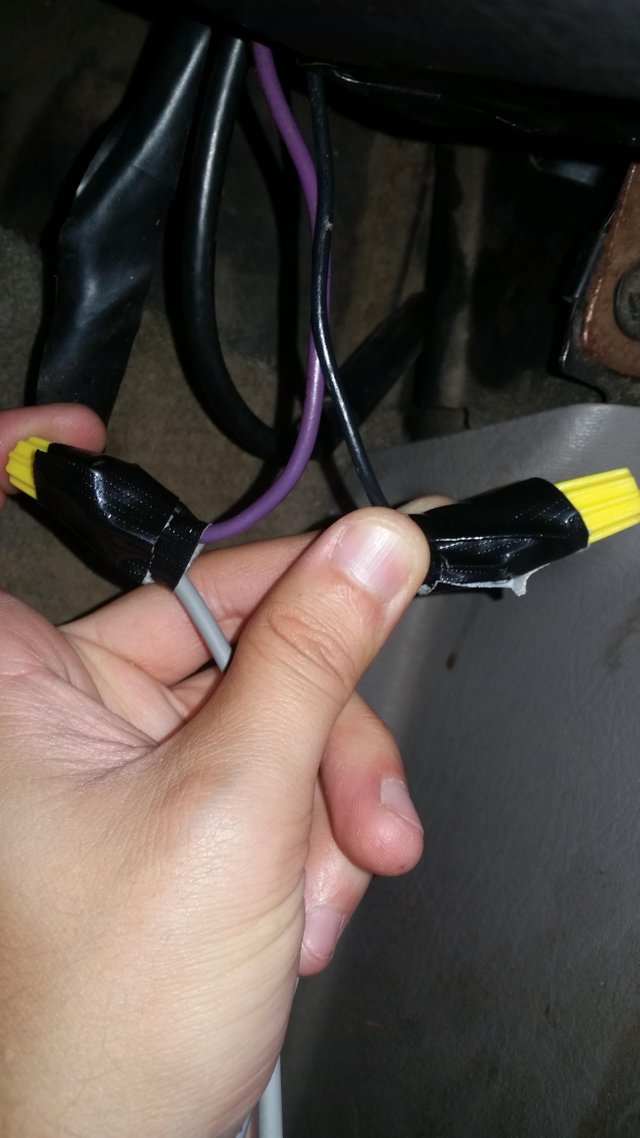
Once both wire nuts are secured onto the wires, you can use electrical tape to further secure the wires together and to the nuts.
The Process: Reconnecting the Battery
This is the most simple part of the process, but I thought I'd include it anyway just in case anyone is confused.
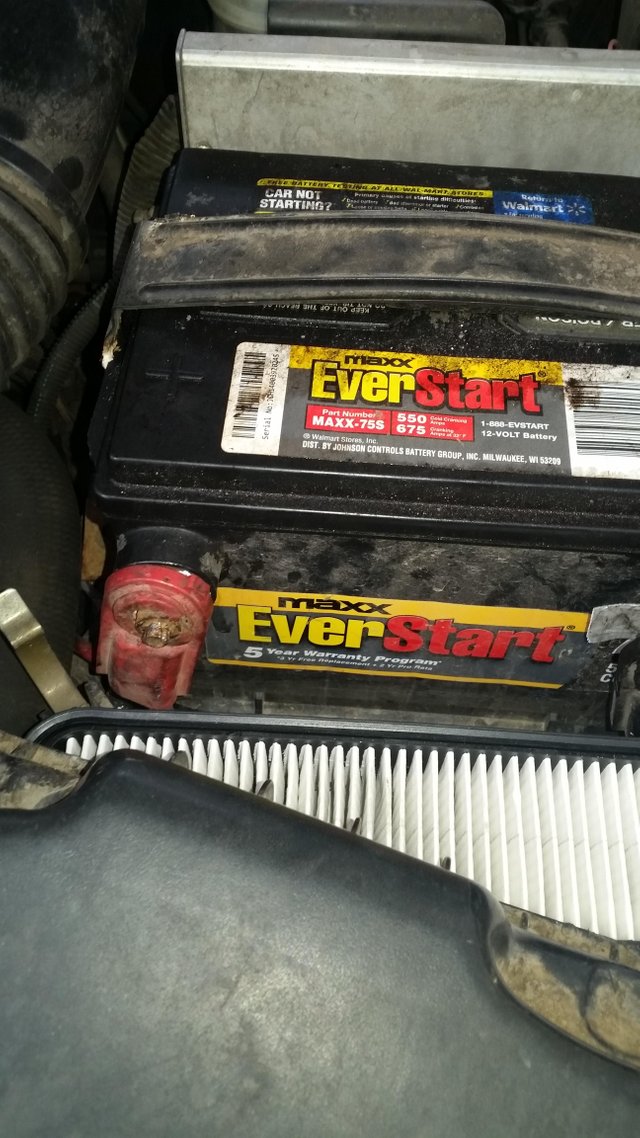
You always reconnect your POSITIVE/RED battery cable FIRST. After it is secured, then you can reconnect your NEGATIVE/BLACK cable.
After you get both your battery cables reconnected, you're ready to test the blower.
Thanks for Reading!
Now that the cool air is blowing in, Skelly is happy and doing his dance!
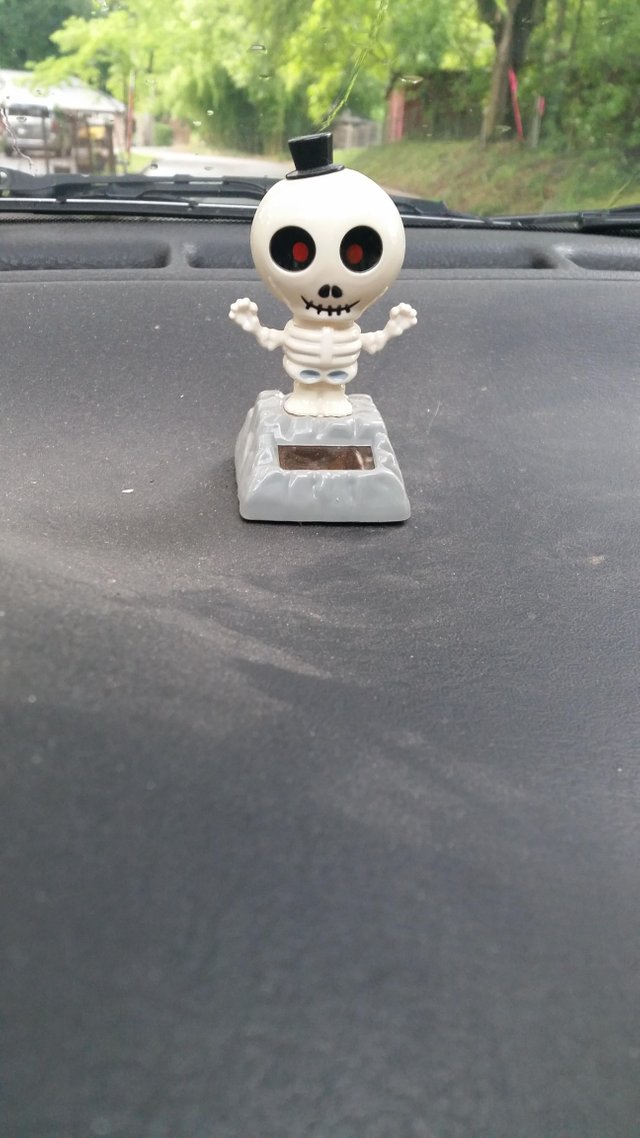
And now I can comfortably ride around in the humid heat!

If you have any questions, advice, or just want to be cool, go ahead and leave a comment! I'll be happy to respond!
Cheers,
P5ych0path
Good post. happy day
Downvoting a post can decrease pending rewards and make it less visible. Common reasons:
Submit
Thank you! I tried to be as informative as possible.
Downvoting a post can decrease pending rewards and make it less visible. Common reasons:
Submit
Yeah, a little long hahaha, but it's worth reading it full! Congratulations!
Downvoting a post can decrease pending rewards and make it less visible. Common reasons:
Submit
I want to read your post as well, but I will have to sit down and translate it. It will be a fun challenge, friend!
Downvoting a post can decrease pending rewards and make it less visible. Common reasons:
Submit
Great details. I am glad you like working on those things that we sit in.
When... I replace my baby, I will send her your way. She is worth more stripped down than traded in. I wanted to make her into a swing at one point, but she is part of a past that I would rather let go of.
You are appreciated.
Downvoting a post can decrease pending rewards and make it less visible. Common reasons:
Submit
I plan on riding in this damn thing til the wheels fall off, then putting new wheels on it. I think it's highly important to know how to take care of your possessions on your own. That way you retain some independence and save a lot of money.
Downvoting a post can decrease pending rewards and make it less visible. Common reasons:
Submit