My mom is a DIY queen!!
I remember when we were still studying, whenever we have art project... she's the one helping us... or should I say, she's the one doing it?!?! LOL
In our recent family get together where I discussed Steemit with my cousins and uncle, told them that they can post DIYs like my sister @lhyn. My mom was listening and after that day, she keeps on asking me some materials... then when I asked her for what?
I want to post something on Steemit!
Told her will create her own account but she refused and said, just post it for me and give me whatever $ you'll get...
Her intention is to save some pocket money for her vacation... so guys, I hope you'll appreciate her Arts and this is only one of her so many ideas... in fact after this project, she's already up for another DIY... 😊
Last week when my sister @lhyn's DIY post: DIY 104: Our Enchanted Farm got curied... my mom got excited and asked me to post this ASAP.
Below project was 90% made by her, I just extended my hands whenever she needs... and whatever payouts on all her DIYs will be given to her...
Would appreciate all your help so that she'll save extra amount for her vacation 😊
Here we go...
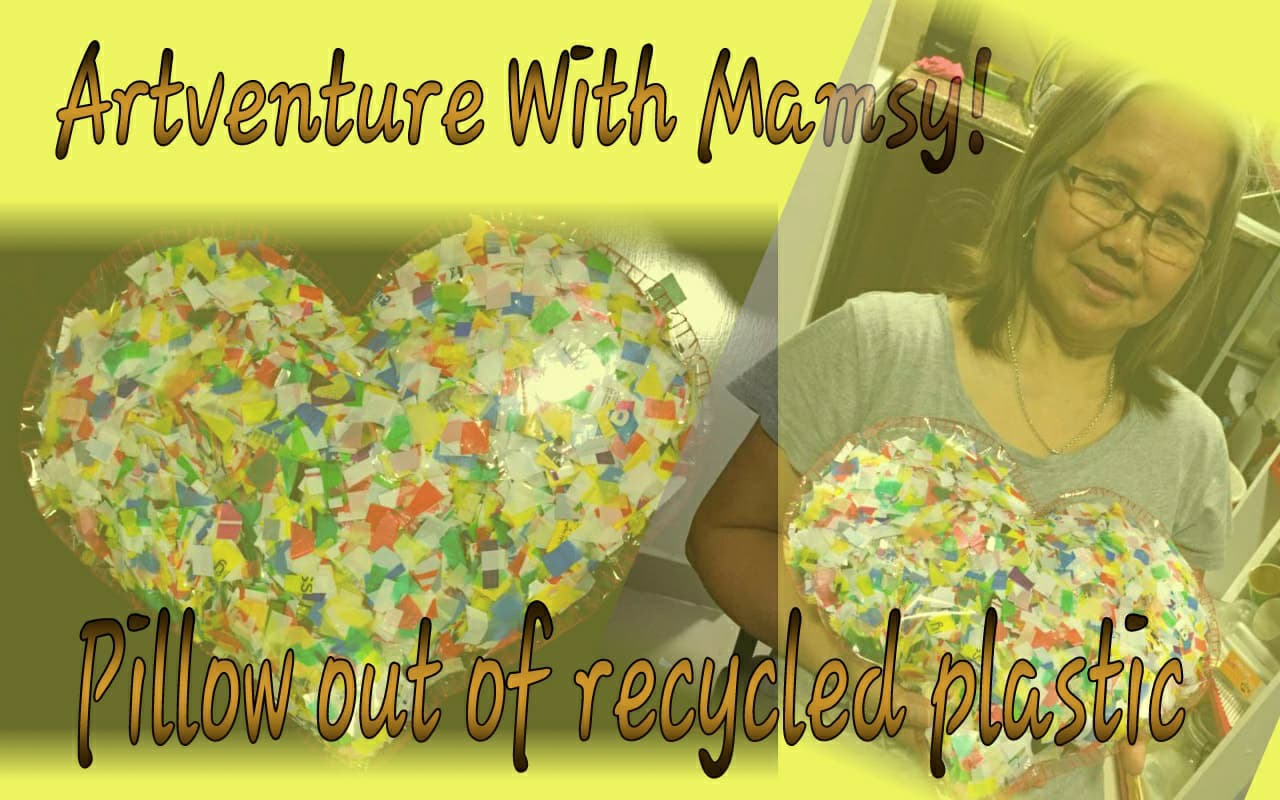
Materials are easy and surely within your reach.. but it needs a little more patience because cutting plastic bags surely takes time.
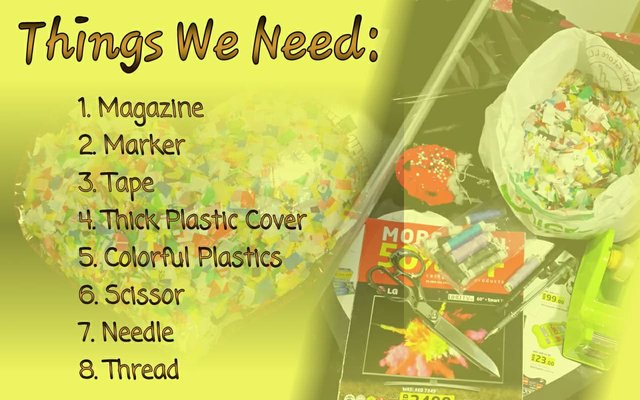
How To:

You need to cut depends on the size of the pillow you want to make. If you want small pillow then you can cut 10-15 plastics. Try to find different colors to make it more attractive.

If you want you can make it square or circle or any shape... for this, she prefers to make Heart-shaped Pillow.
Once you have your pattern, you can now cut the plastic cover as per the pattern. Don't forget to add some space, half to one inch, for stitching...
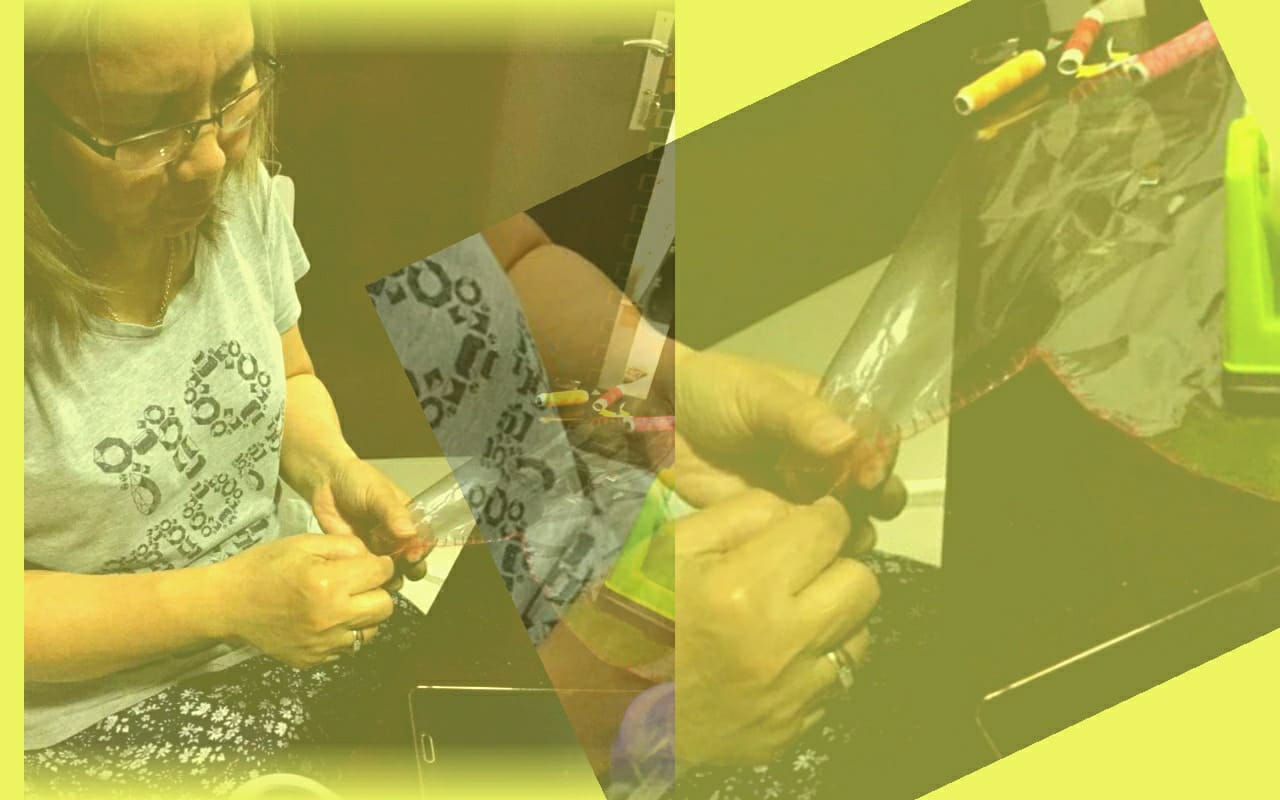
My mom used red thread just additional touch for the heart shape.
Stitch the sides BUT make sure to leave at least 5 inches open so that you can fill the pillow with the plastic cutouts.
We're almost there....
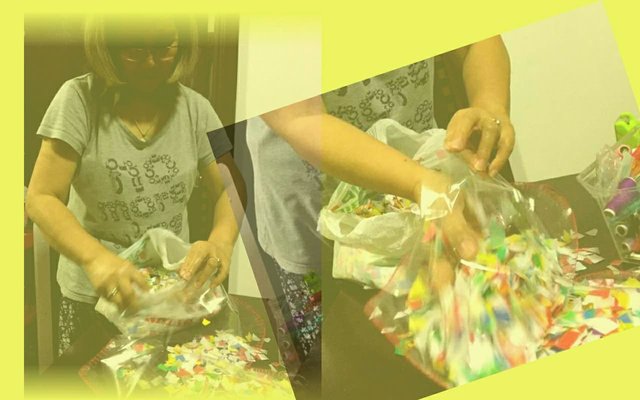
In case the plastic cutouts are not enough, you can cut more colorful plastics to add and fill the pillow.
Once full, stitch the remaining 5 inches to close it.
5. Optional: You can cover clear tape on the stitched edges to ensure that the stitches will not be open or the plastic cover will not be broken.
And it's done!!
Finished Product
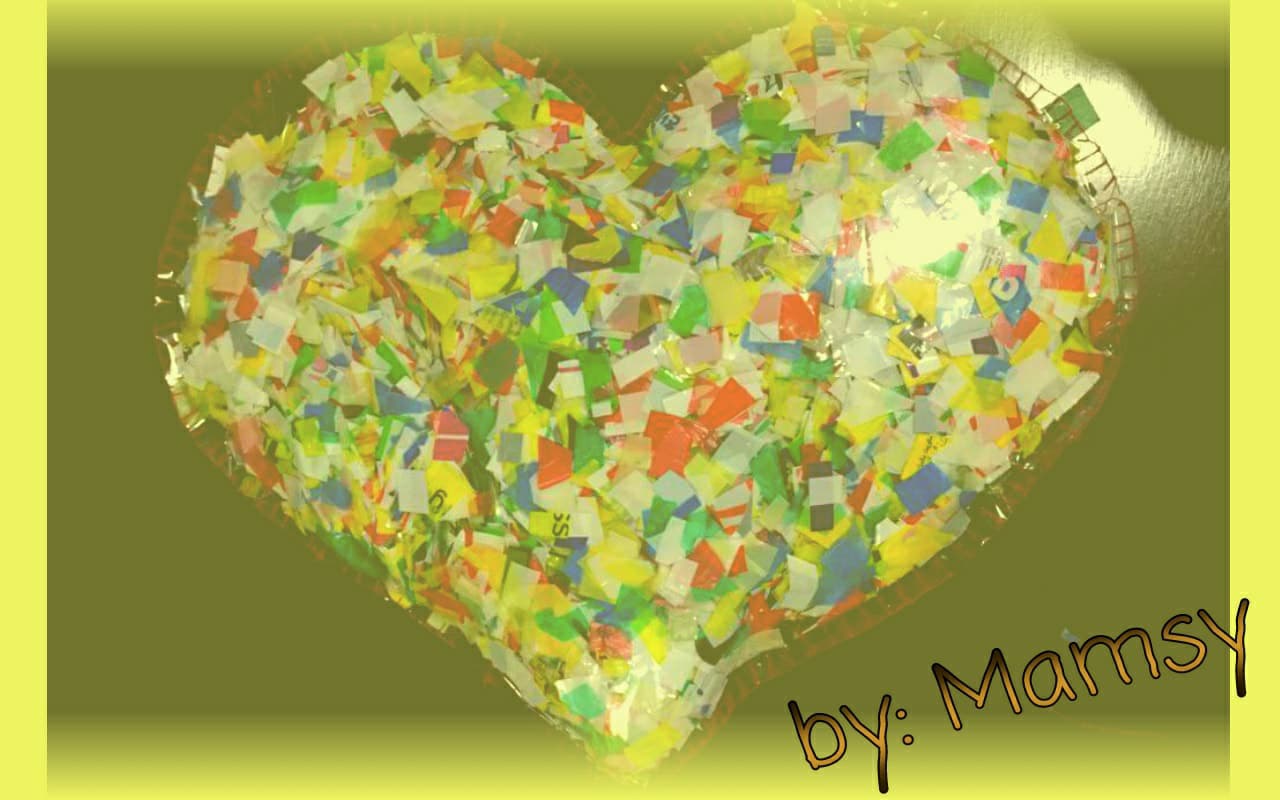

Hope you like it!!! 😊😊😊
You may check below video for easy-peasy steps!
PS:
If you have same artwork, please comment the link below and would love to check it too... 😊😊😊Thank you for your time and see you again in next ✂️Artventure with Mamsy!! ✂️
I agree with @progressivechef suggestion to Implement a clickable link on all blogs directing to the introduceyourself post or any other post to be selected by the user! so the person who wants to know more about you can easily check your #IntroduceYourself post... and here is mine! 😊
Have you voted your witness? Consider casting your witness votes for @steemgigs (@surpassinggoogle), @precise, @cloh76.witness, @ausbitbank and @curie who have been adding invaluable contribution to the community.
To cast your votes, just go to
https://steemit.com/~witnesses

nice post. a really mom to be proud of.... :) happy UAE mothers' day to your mom :)
Downvoting a post can decrease pending rewards and make it less visible. Common reasons:
Submit
aww my Queen! i love you.
tip!
Downvoting a post can decrease pending rewards and make it less visible. Common reasons:
Submit
Wow very nice and useful artwork.
ang ganda ng mga masterpieces ni mommy 🙂
Maganda din itong libangan.
Downvoting a post can decrease pending rewards and make it less visible. Common reasons:
Submit
Hello Ninja Girl, I'm Oatmeal Joey Arnold, and thanks for the recycling advice.
Downvoting a post can decrease pending rewards and make it less visible. Common reasons:
Submit
Congratulations! Your post has been chosen for the SteemPH UAE : Daily Featured Posts | 22 March 2018.
Downvoting a post can decrease pending rewards and make it less visible. Common reasons:
Submit