European 4 in 1 is the chainmaille weave most people think of when they're thinking about chainmaille. It's also one of the easier ones to learn.
You'll need two pairs of pliers and jump rings. I recommend 1/4" or 10mm rings starting out, because they give you plenty of room to see and manipulate the rings. It's also better to use saw-cut rings, because they give you a cleaner closure.
To start, pre-close some rings. Most jump rings come in a half-open, half-closed state like this:
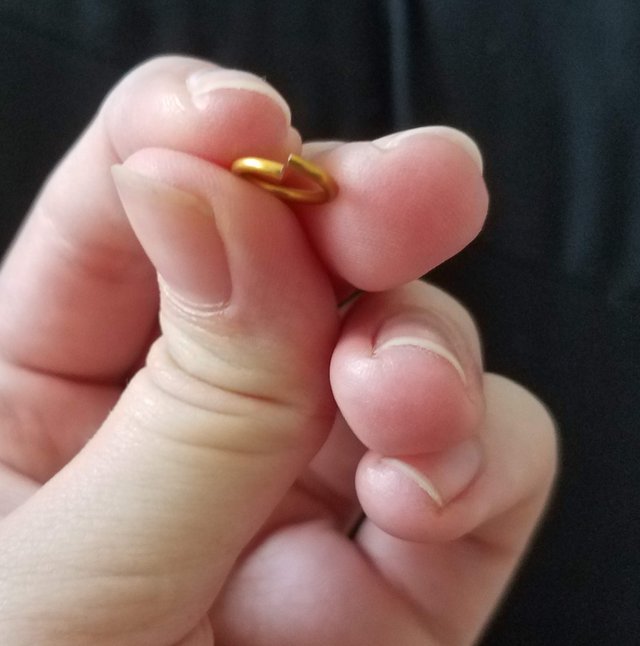
You'll want yours to look like this (unless it isn't saw cut. Then you'll have a gap.)
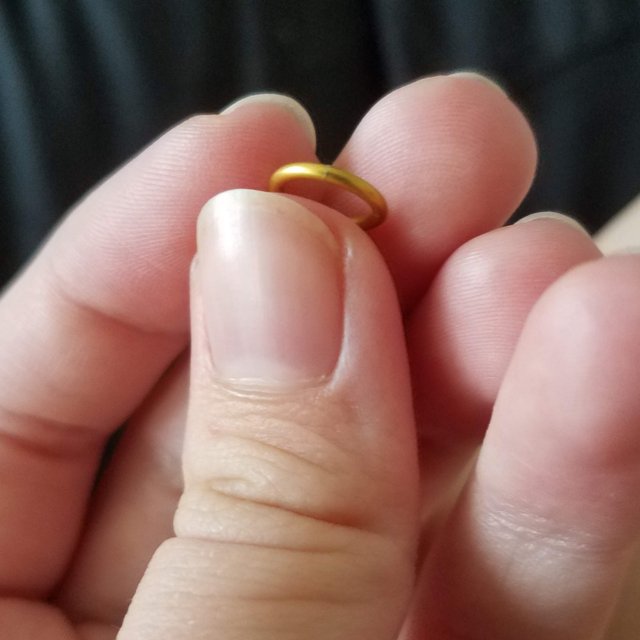
It might take a few tries. Usually you'll hear a little "clip" sound if you've got a really nice closure.
Next, take four closed rings and put them on an open ring. Then close it up.
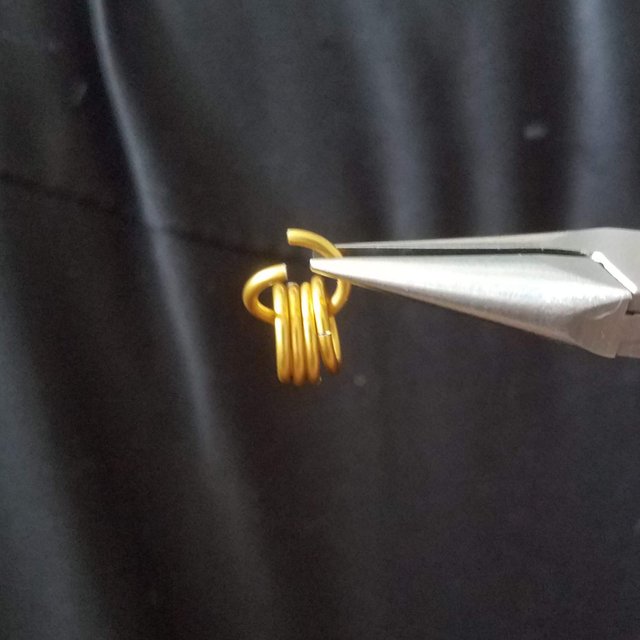
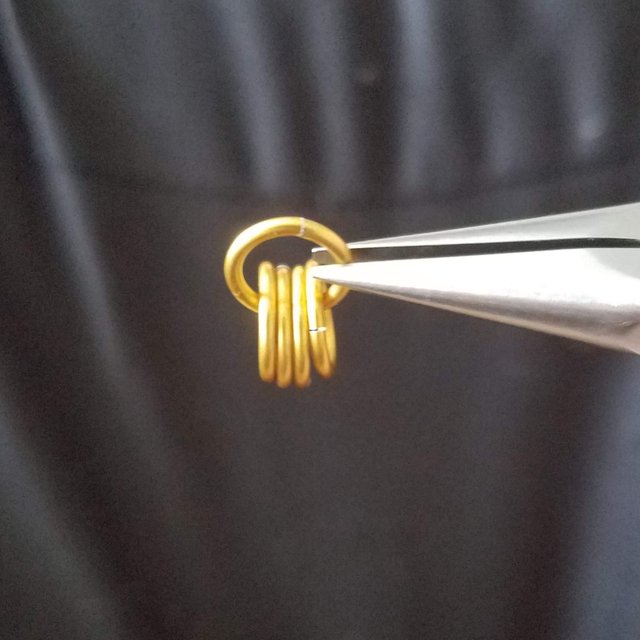
The next part is the one that's tricky. Until you're used to it, it may be easier to use a cushion or other flat surface with give.
Flip two of the four rings so they are facing opposite directions from each other. Notice that the bottoms of the two rings are resting on top of the base ring, and their tops are behind it. You'll want to make sure they look like this every time you add more rings.
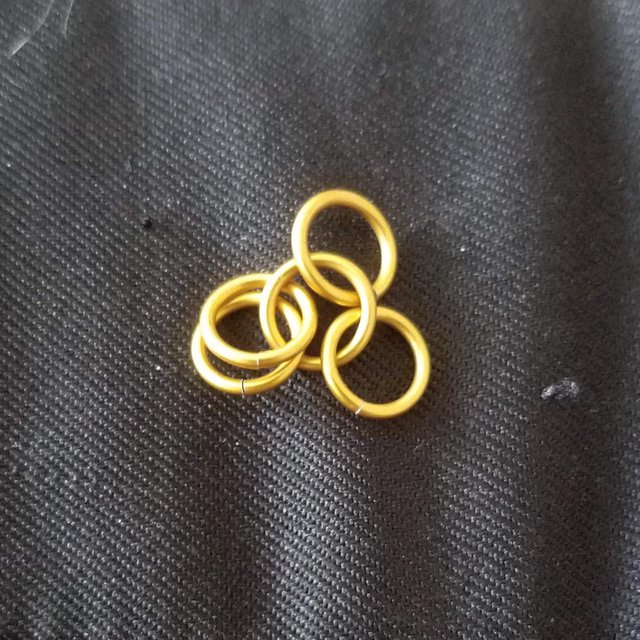
Next you'll thread an open ring through both rings, but don't close it yet.
Note: You can have the rings face the opposite way, you just also need to thread the open ring in the opposite way as well.
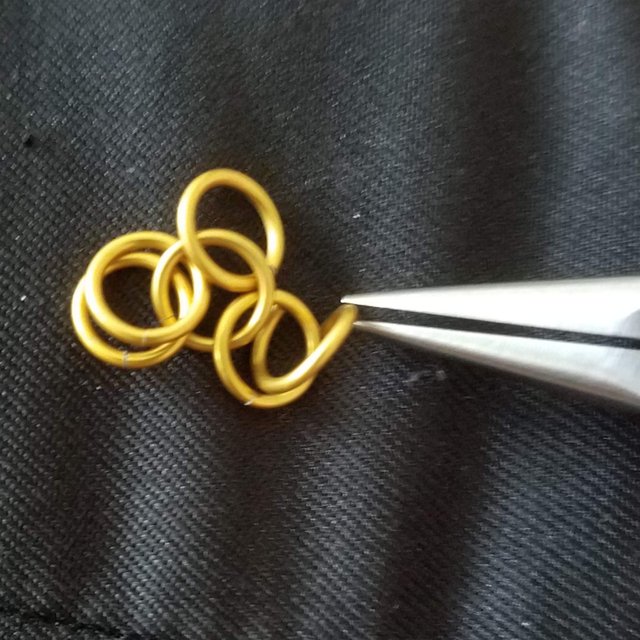
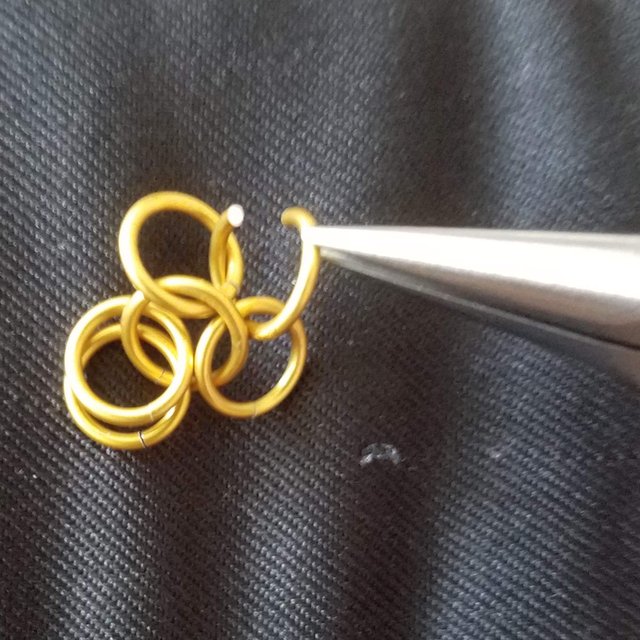
Now add two closed rings, then close the open ring.
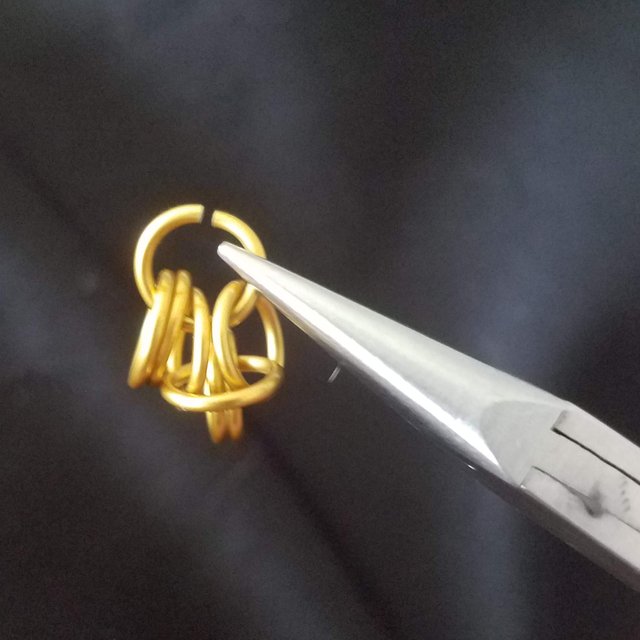
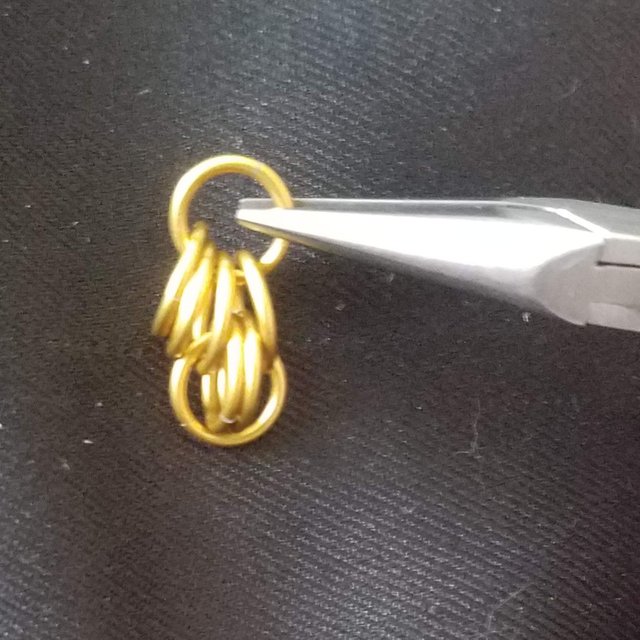
Now repeat these steps with the next row: two rings with bottons resting on the base ring, tops resting behind the base ring. Thread an open ring through, add two closed rings, close.
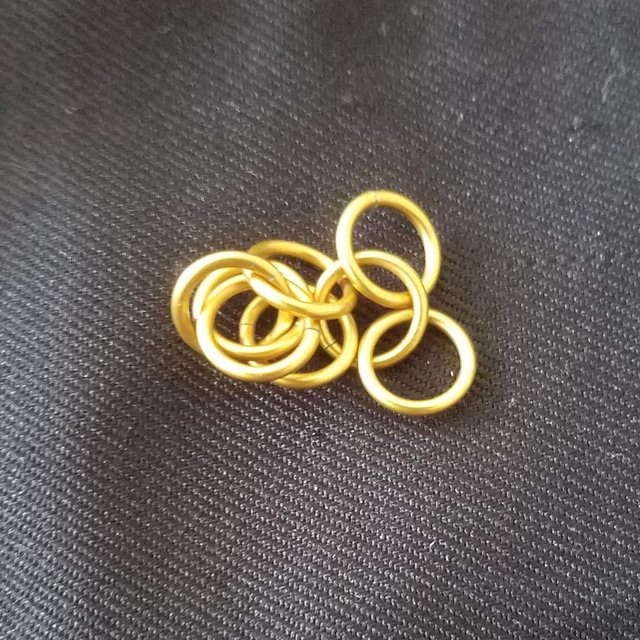
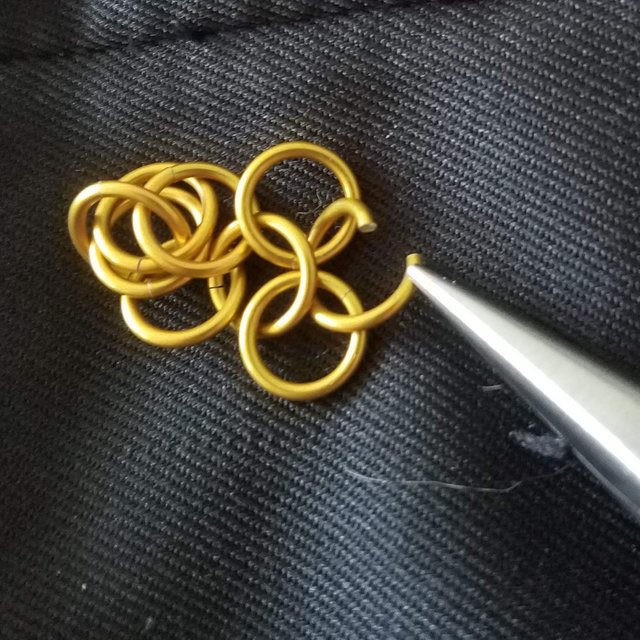
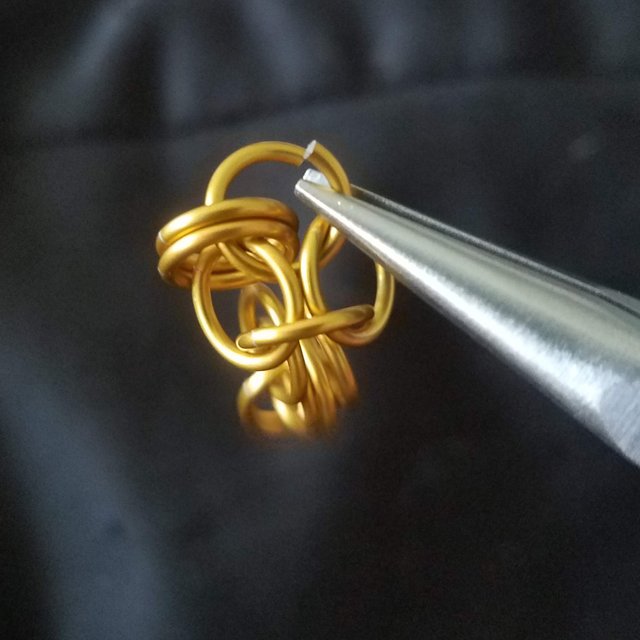
After this point the pattern should start to take shape. One more row and you should have something that looks like this:
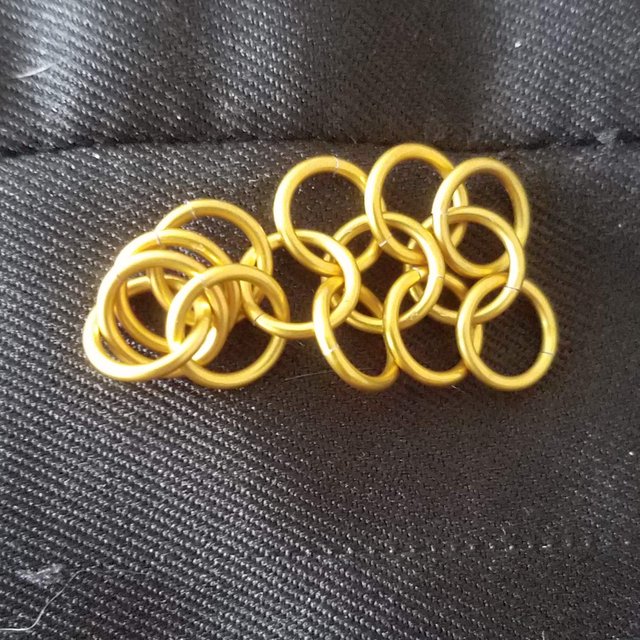
Notice that it's kind of a mess at the bottom. Don't worry! That's actually how it is until you join it up with other ribbons. Then it'll look like this:
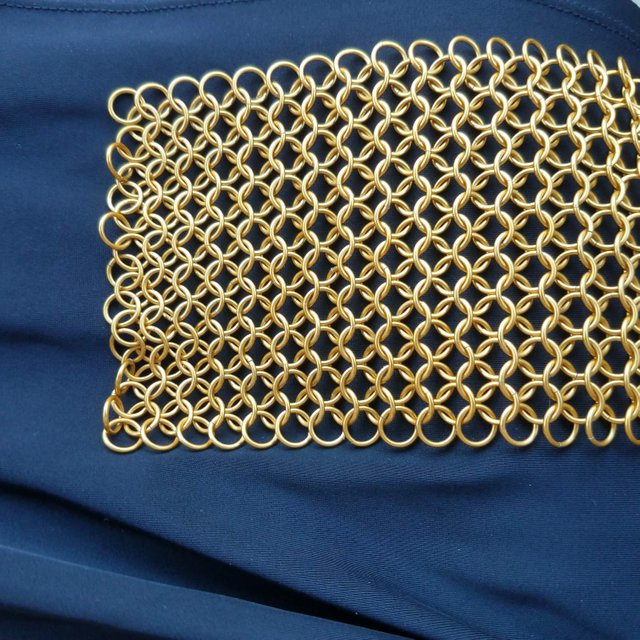
I'll do a tutorial on how to join ribbons and how to fix some common mistakes next time.
Posted using Partiko Android
Thank you so much for being an awesome Partiko user! You have received a 3.15% upvote from us for your 830 Partiko Points! Together, let's change the world!
Downvoting a post can decrease pending rewards and make it less visible. Common reasons:
Submit
Congratulations @protodog! You have completed the following achievement on the Steem blockchain and have been rewarded with new badge(s) :
You can view your badges on your Steem Board and compare to others on the Steem Ranking
If you no longer want to receive notifications, reply to this comment with the word
STOPVote for @Steemitboard as a witness to get one more award and increased upvotes!
Downvoting a post can decrease pending rewards and make it less visible. Common reasons:
Submit