So once again, I'm posting about my DIY projects. Here's the second part of a quick little one that should be easy-peezy for anyone wanting to tackle something themselves. In the first part of this pair of posts, I hung the blinds in the downstairs bay window and the door to the deck. These blinds up here in my daughter's room don't fit the look that she and my wife are looking for, so they're getting repurposed in another part of the house where the same blinds broke.
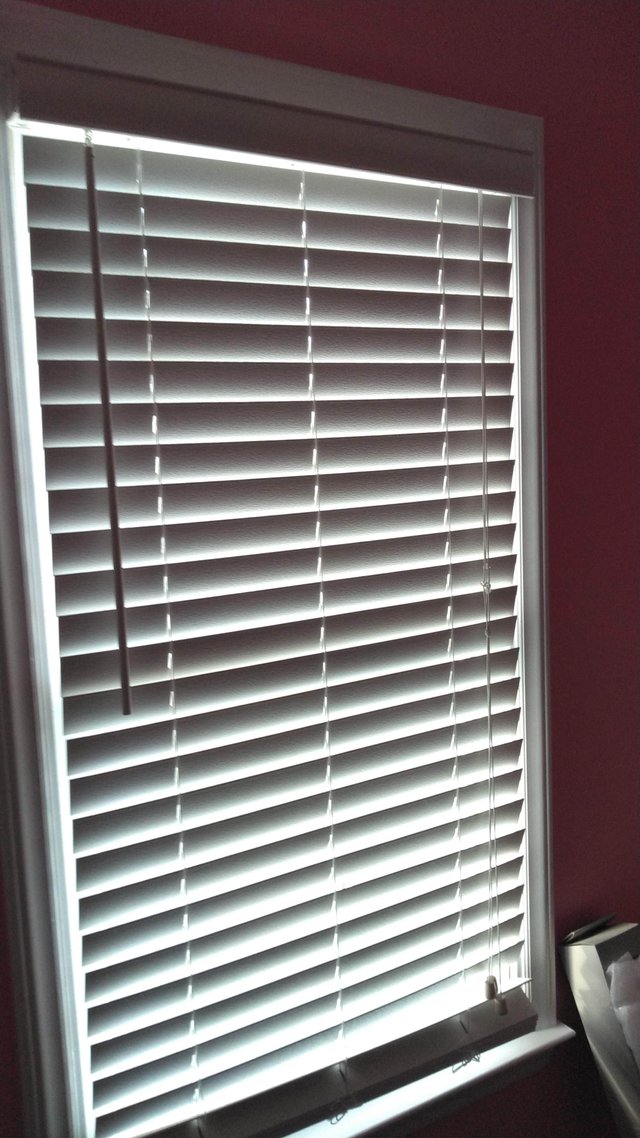
First thing that needed doing here was to remove the old blind and take out its hardware.
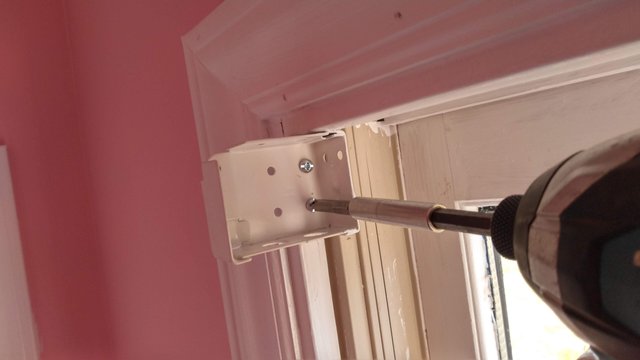
The replacement for the blind was an actual curtain, so the hangers went on the outside of the window frame. These are very easy to do usually, since the jack and stud combo surrounding the window usually extends all the way past the trim in all directions, eliminating the need for the drywall hanger inserts. I zipped two screws in there for each hanger on each window and I was done.
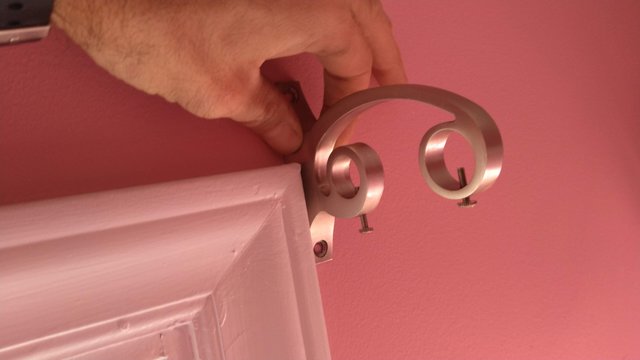
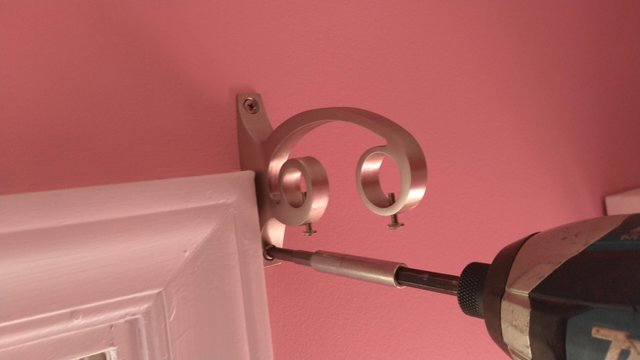
Below are the results after putting the cross bars through with the hangers on them.
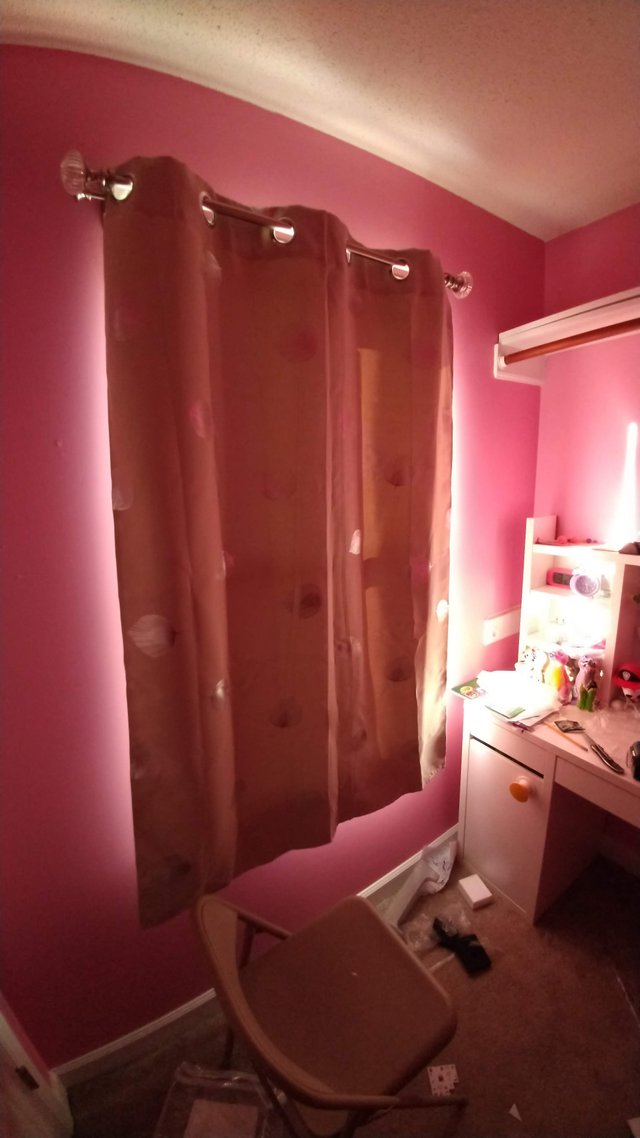
That was just a little to easy, so I decided to take on another quick little project in this area while I was at it.
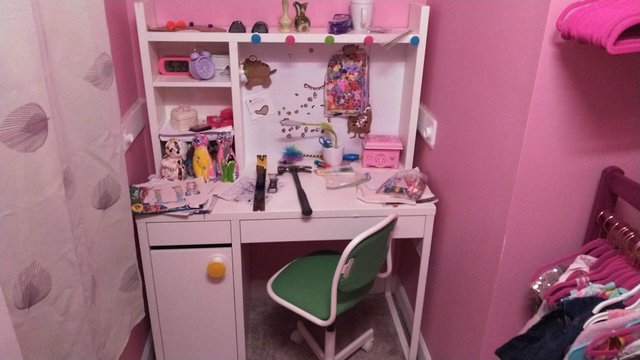
The above picture is my daughter's "office" area, which is actually a repurposed closet. Bianca loves to color and do other types of artwork, so a workstation like this is absolutely essential. The problem with it being this way is that we lost a lot of storage with the shelf and hanger bar that were in this location.
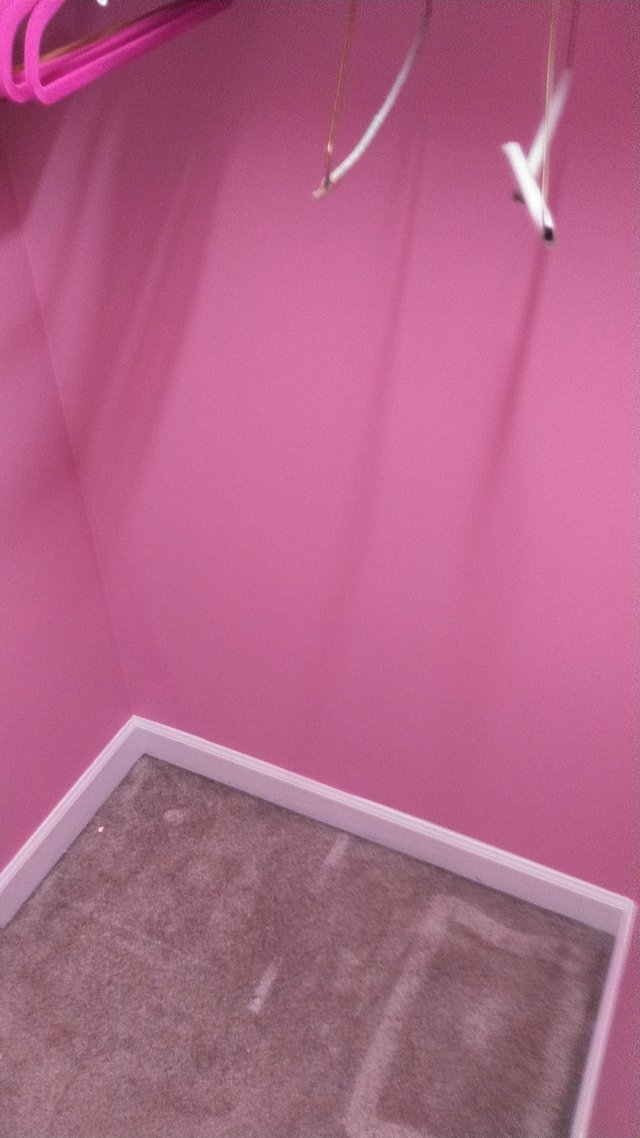
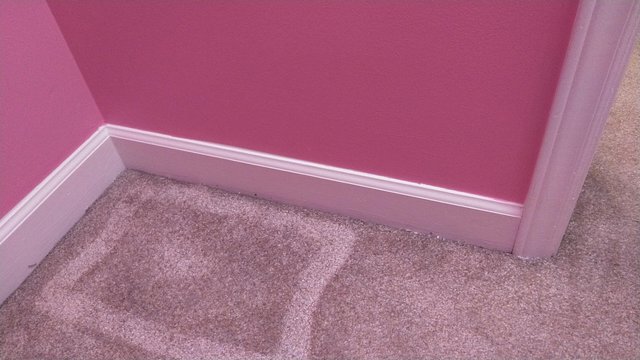
In this other part of the closet there's a little alcove like where the desk was that was just a little too narrow to fit the desk, but from measuring after putting the desk into place, I found that if we removed the base molding on one side it would fit. So in the interests of regaining that shelf, I set about removing the molding and moving the desk.
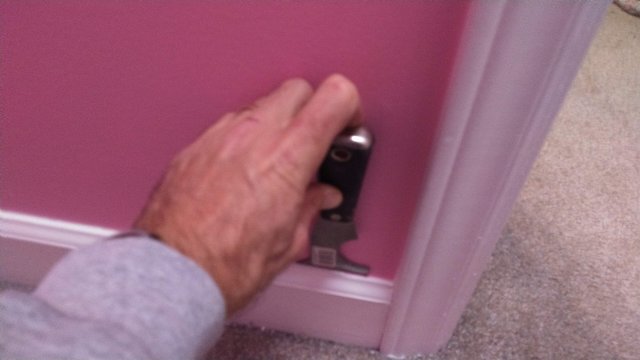
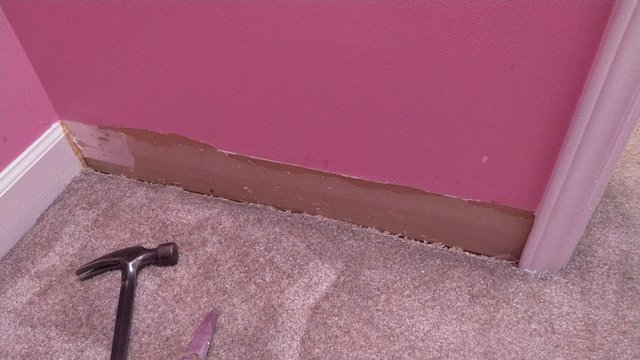
With this sharp putty knife to score the paint and start the prying, combined with the claw on my hammer, I was able to work this free with minimal damage to the wall. The paint worked behind the trim like glue, so the paper on the sheetrock tore a bit, but considering where this is located, I'm not too worried about how it looks. You actually have to be inside the closet and sitting at the desk to notice it, so the base molding is just going to be kept in storage until the day this desk gets removed when I'll nail it back into place and touch up the paint.
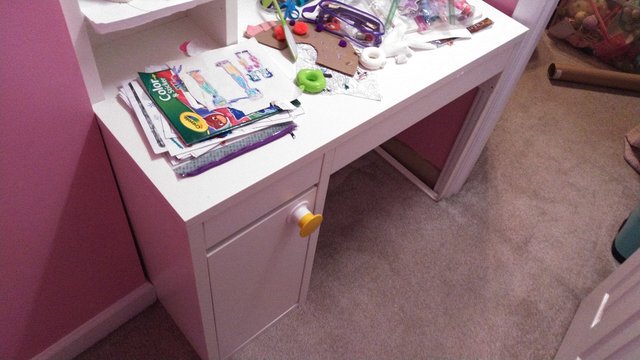
Above you can see me squeezing it into place. I snapped this pic to give you an idea of just how tight a fit this is. The desk had to be slipped into place while perfectly straight in order to make this work.
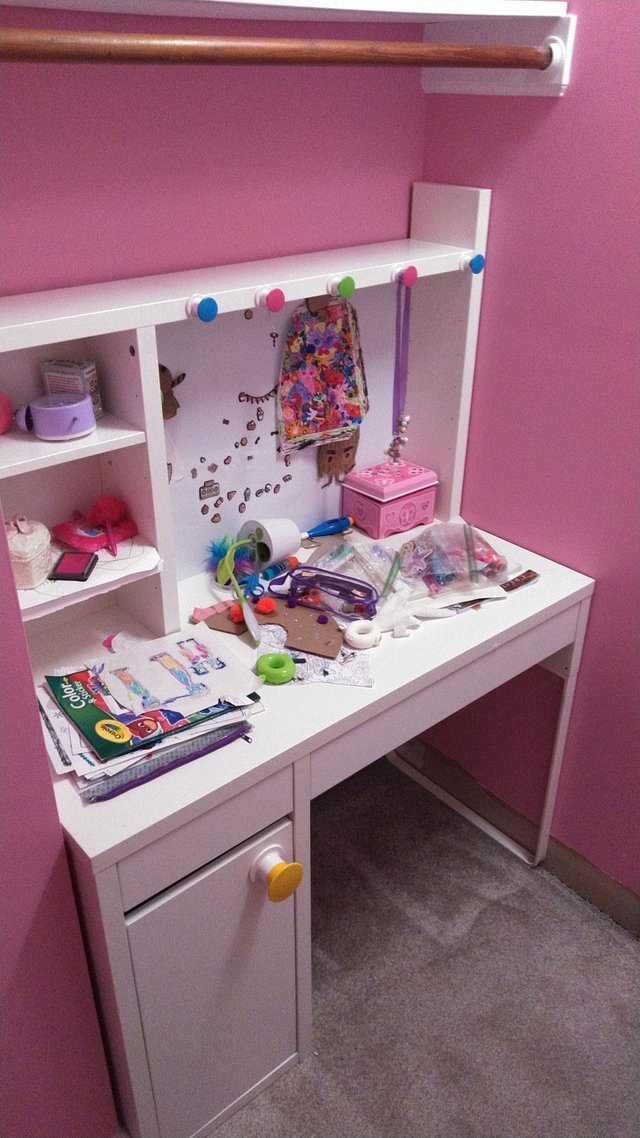
Above you can see the desk in its place.
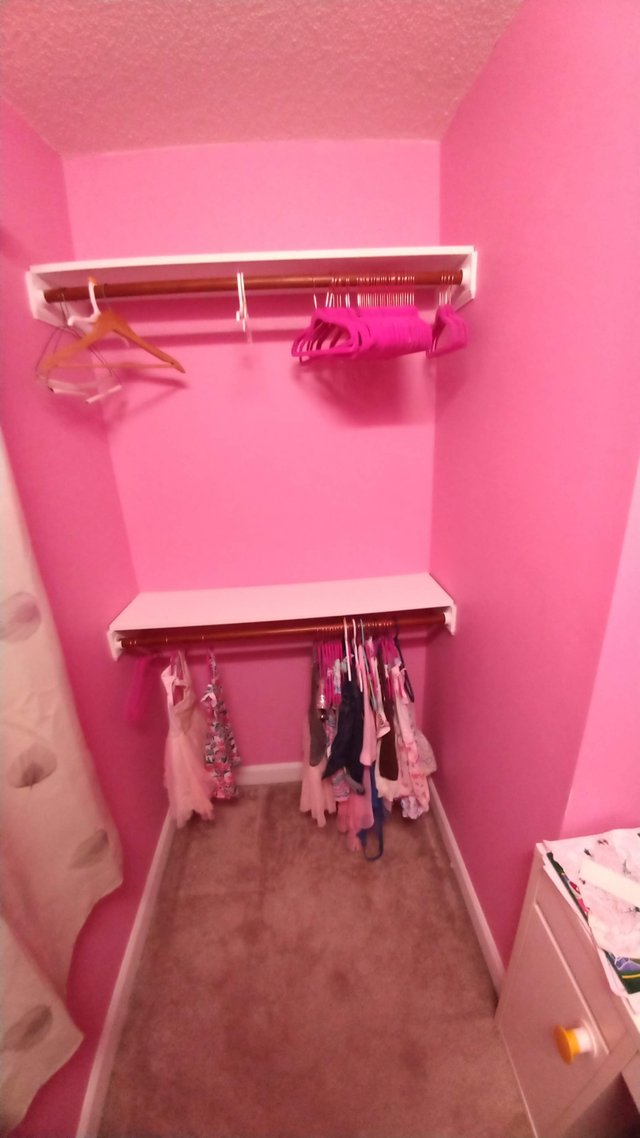
Now we have our storage back and I don't have to go about making new shelving to compensate. Best of all, Bianca loves the way it's set up for getting her artwork done. She can just take one step through the door from the room and doesn't have to worry about keeping the rest of the floor space clear for walking to the desk. She can also close the door and work in privacy even when other people are visiting and in her room, which makes it extra utilitarian.
Anyway, that's it for this one. I realize this was a bit lame for DIY, but it's what I've been up to, so it's all I've got for now. I hope that if you didn't learn anything, you at least enjoyed sharing this look into our home as we make it our own. Merry Christmas, and until next time, Steem On!
While you've well done what you set out to do, and replacing the bit of trim when you need to will be trivial, I note you could have left the trim in place and fit the desk there a couple different ways. You could have simply elevated the desk with bespoke feet the 2 1/2" (or whatever the trim height it), or notched and slightly bent the metal leg on that side of the desk. As I've done a lot of interior finish, I've faced similar problems in the past, and would be happy to provide such insight as I may should you seek it in the future.
Anyway, you've done what was needed, and that's what matters.
Merry Christmas!
Downvoting a post can decrease pending rewards and make it less visible. Common reasons:
Submit
She's only 5 and the desk is already a bit tall for her, so raising it up another 3-4 inches is out, but I'm not against refabricating that metal foot on the one side. In this case I just picked the path of least resistance. While many of my resources are limited right now, the one I seem to consistently lack the most of is time, and this gave me one satisfactory result with the least amount of time involved. My plan over the next few years is to be in a position where both my time and income allow a more leisurely lifestyle where I can take my time with something like this. Who knows, I might even start doing things for fun again and farm some of this work out. For now though I've got a massive amount of work to do. Anyway, thanks for the comment @valued-customer and Merry Christmas to you too!
Downvoting a post can decrease pending rewards and make it less visible. Common reasons:
Submit
I am fortunate in my work, as it's what I want to do for fun =)
Downvoting a post can decrease pending rewards and make it less visible. Common reasons:
Submit
#posh https://twitter.com/RandR10/status/1209144883887382529
Downvoting a post can decrease pending rewards and make it less visible. Common reasons:
Submit