I was getting ready to do rebuild and re-gear on the rear end of my truck yesterday and realized that I needed to do a couple more setup things before I could do the job. First off, when I put the truck on the new lift, I noticed that it wobbles around on there quite a bit event though I loaded it with the weight centered over the posts. I've never used a 2-post lift before so this was a surprise to me and a quick search online showed me where I was lacking. On an extremely long vehicle like a crew cab pickup that I have, you need to install a safety stand under at least one end of the vehicle to stabilize it, especially while working on one end or the other like I'm doing with the rear end. I found that they've got these for a pretty good deal at Harbor Freight so I ran over there and picked one up in the morning.
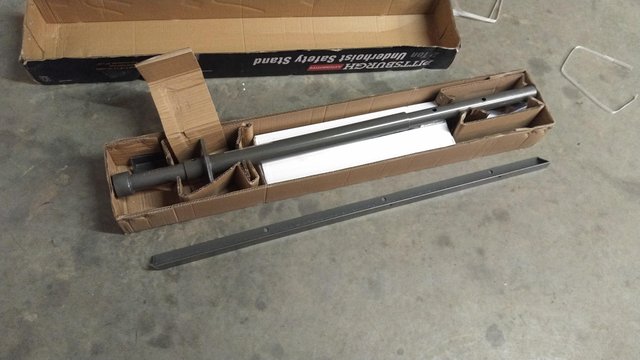
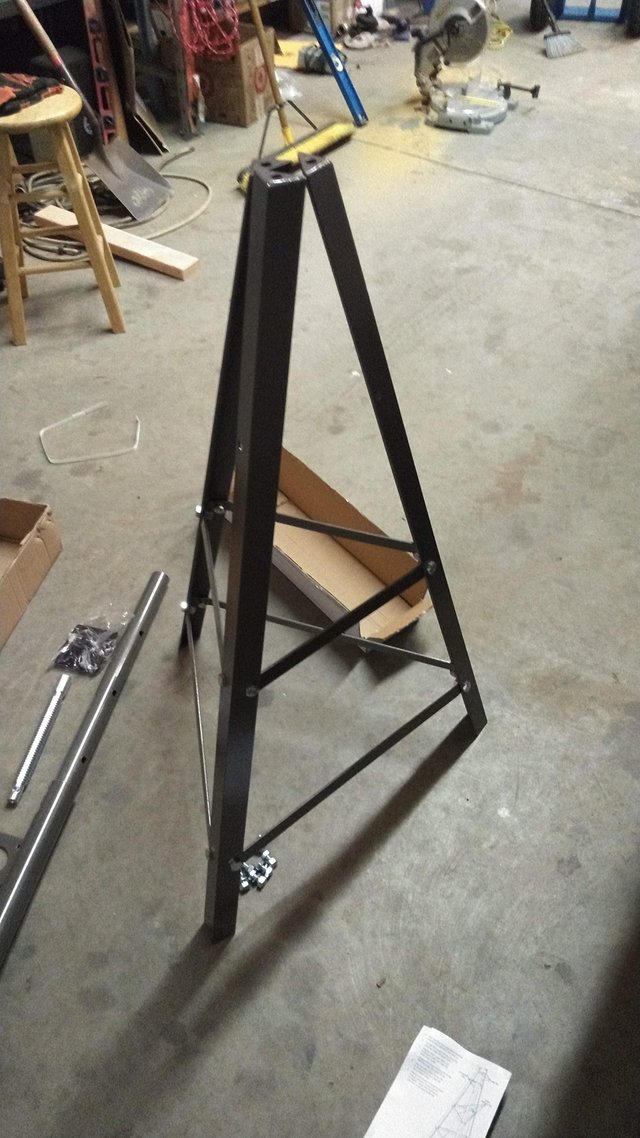
Unboxing and beginning of assembly. Getting those uprights attached to the crossmembers and holding everything in place while starting the threads on the fasteners requires a bit of garage yoga to do by yourself.
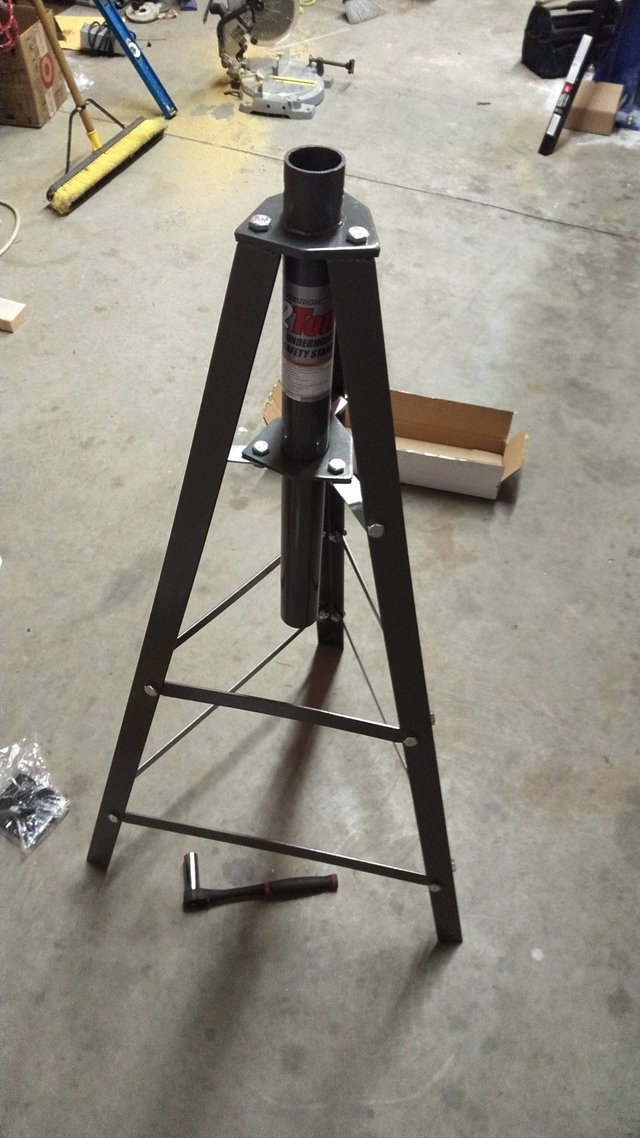
Top tube installed. This also required some contortion. These aren't machined parts built to exact specifications, so everything is under quite a bit of tension when you're trying to bolt it all together. It does feel very sturdy once everything is bolted together though.
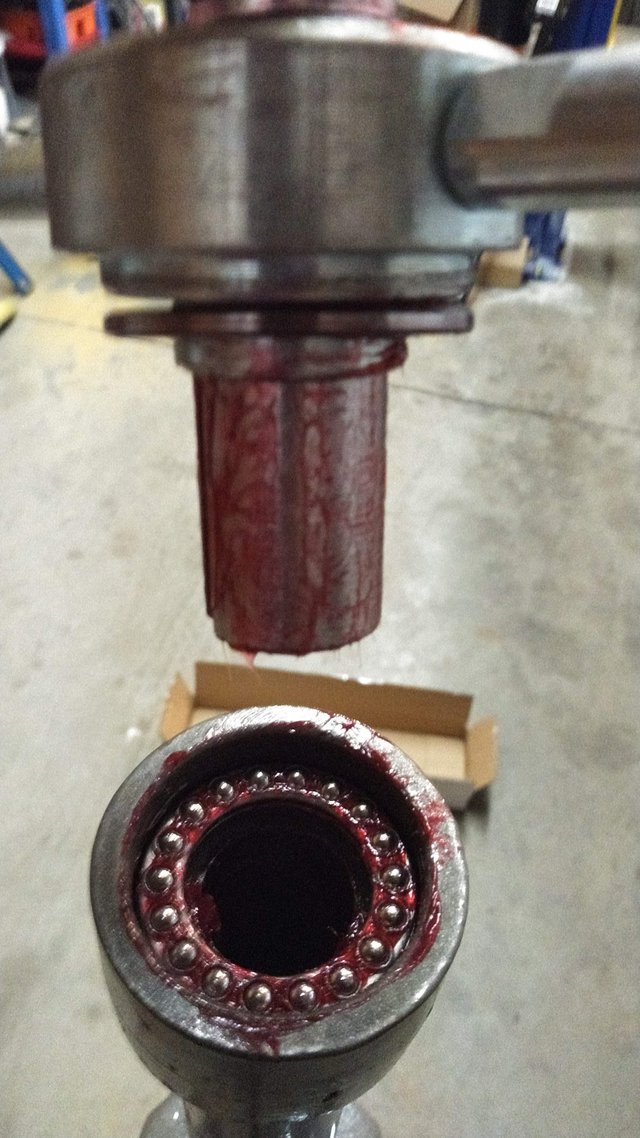
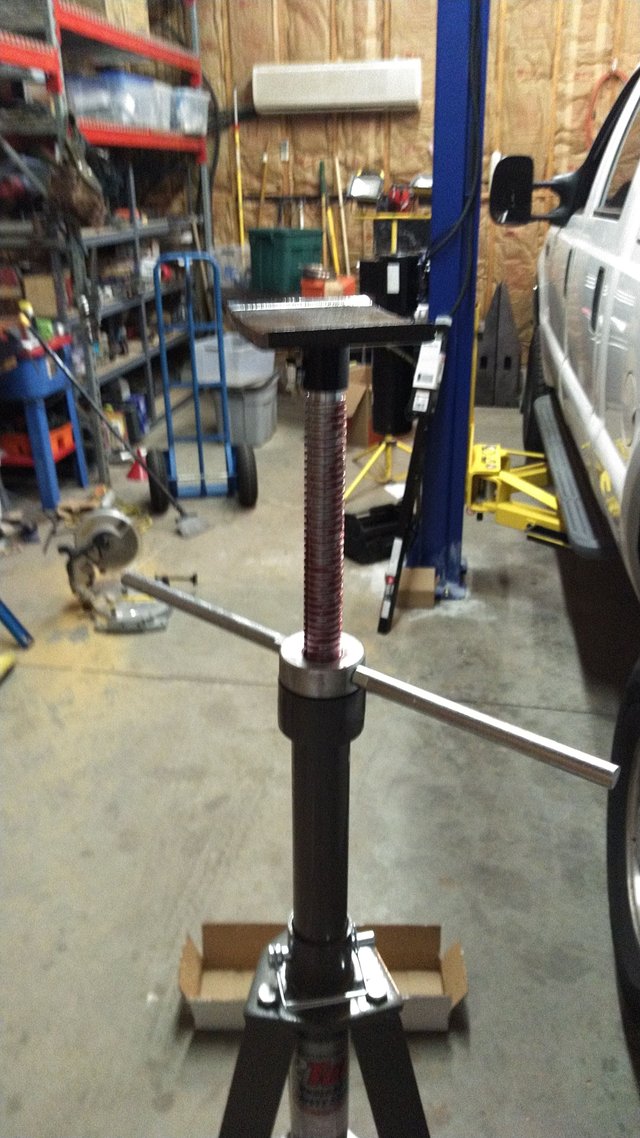
Next was sliding the rest of the parts into place and screwing everything together. I added some wheel bearing grease to the acme threads, the lower bearing surface that's keyed into the telescoping tube and the thrust bearing that the nut turns on. This is my favorite part of the design on this piece. With a thrust bearing like that the whole thing moves very freely and you can quickly spin this thing up and down with little effort. Like a lot of stuff from the Harbor Freight, the build quality isn't the best, so assembly can sometimes be a bit challenging, but this is a very good design and they used good strong materials, so once it's assembled and all lubed up it works great.
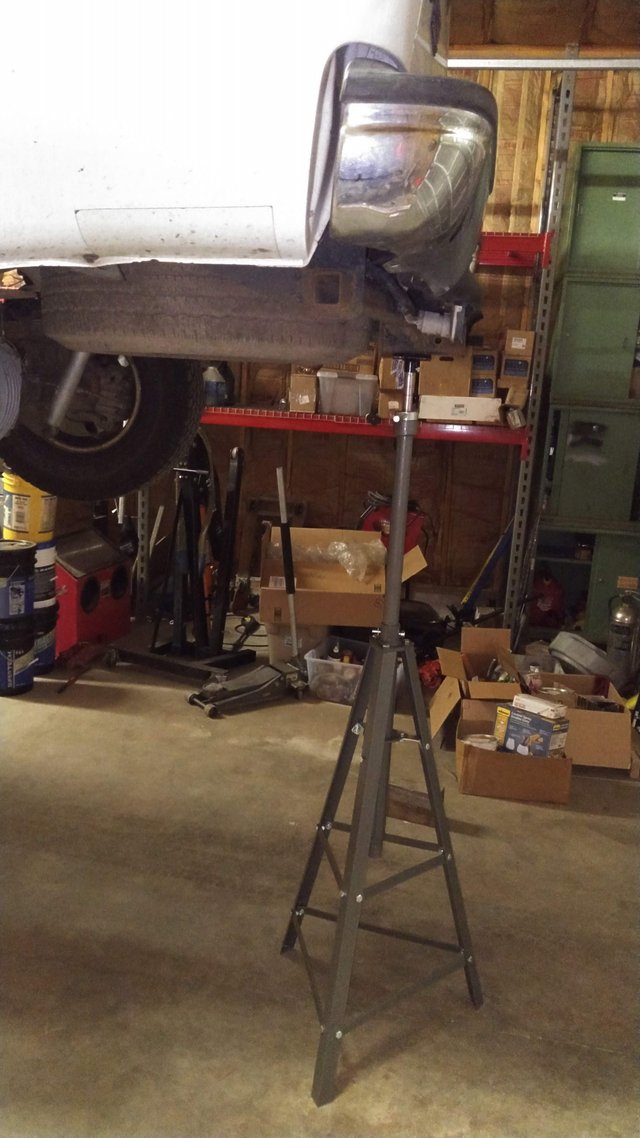
Here it is in action. With this in place the truck will still move a bit, but a lot less than without it. With this redundant safety item in place I feel confident about getting under there and torquing on some bolts.
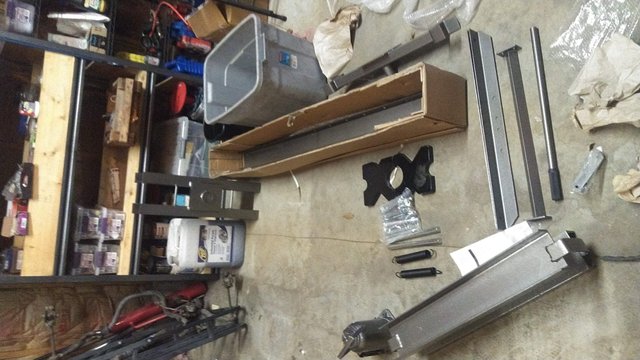
Next up is the shop press. I need this to press the bearings on the pinion shafts for the rear and front differentials. I had the old orange version of this one in my old shop. I was very happy with how it performed, but being such a heavy item that I can easily replace for similar money, I sold it to save weight during the move cross country.
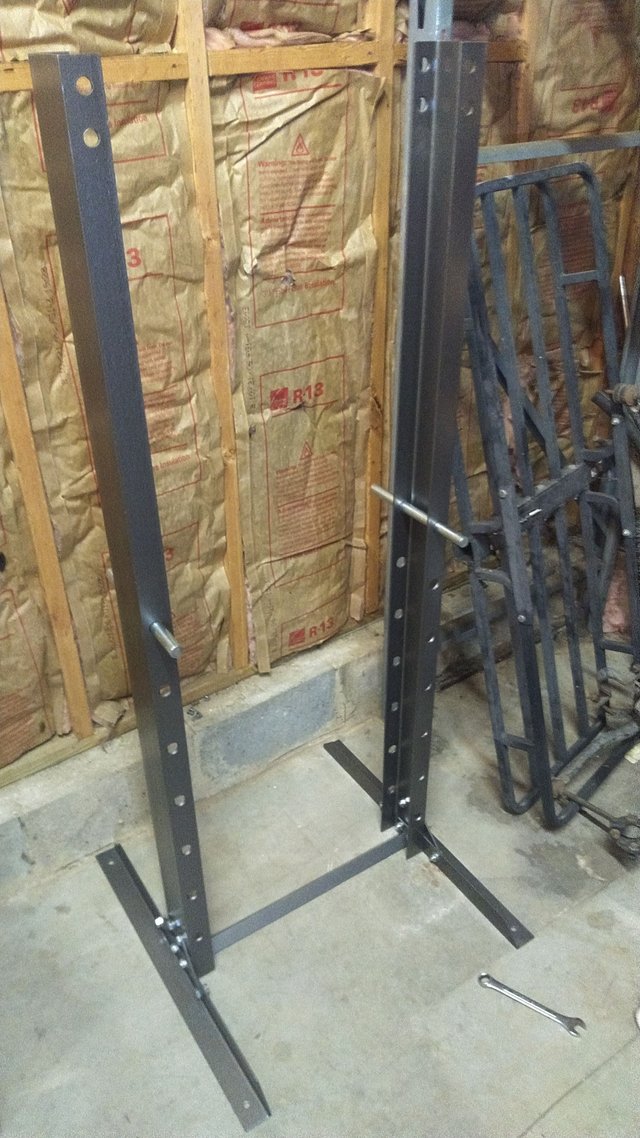
Some more garage yoga getting all this stuff lined up while starting and tightening bolts. I got lots of practice, because it turns out that this isn't the proper orientation for the feet.
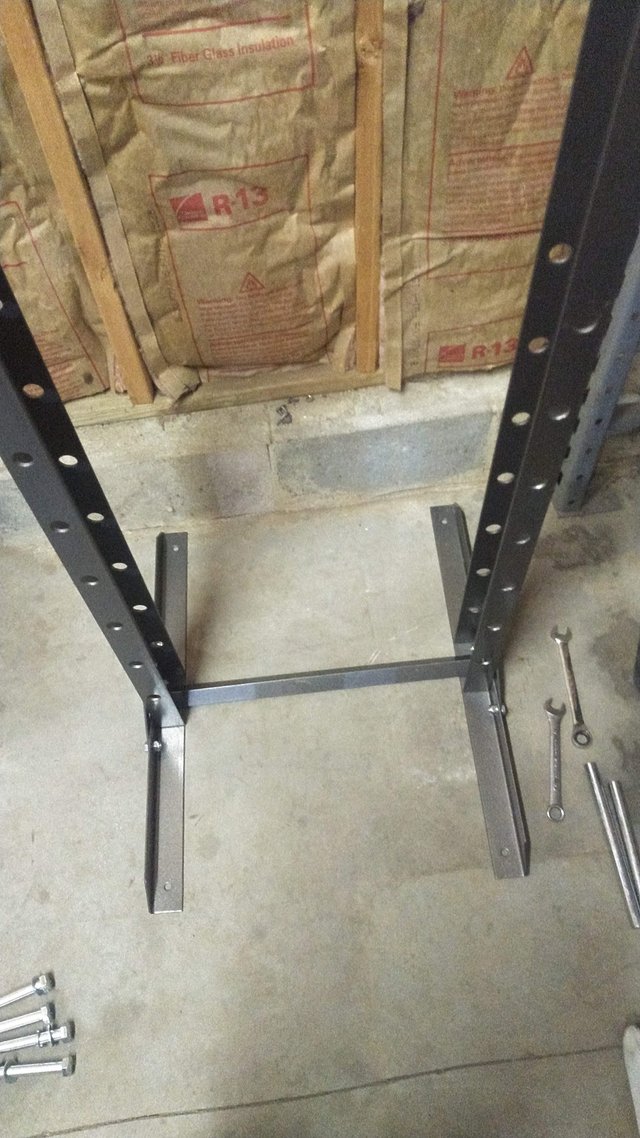
Second try. Nope.
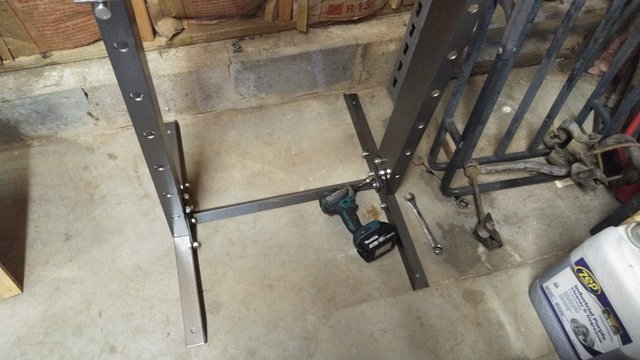
Third time's a charm! It was past 9 o'clock pm at this point and I was a bit mentally tired from the day, so I'm going to go ahead and blame that.
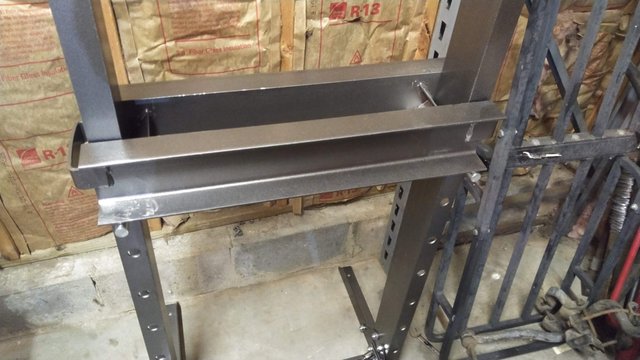
Next I slid on this thing.
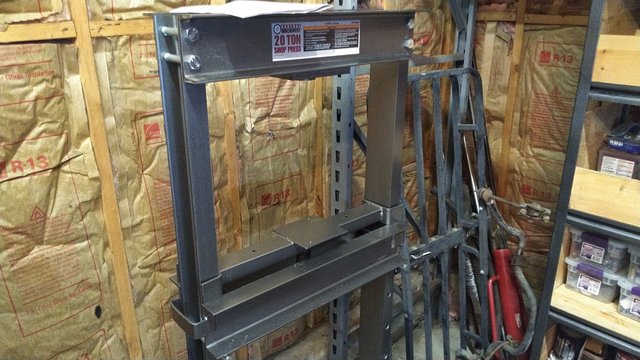
Then the top cross member and the slider for the jack. I left the bolts loose at this point. This is a trick I learned from doing automotive suspensions. You want to apply a load to things like this before torquing down the bolts. This ensures that they don't move around and loosen up under load. They find their happy place in their bores and stay put.
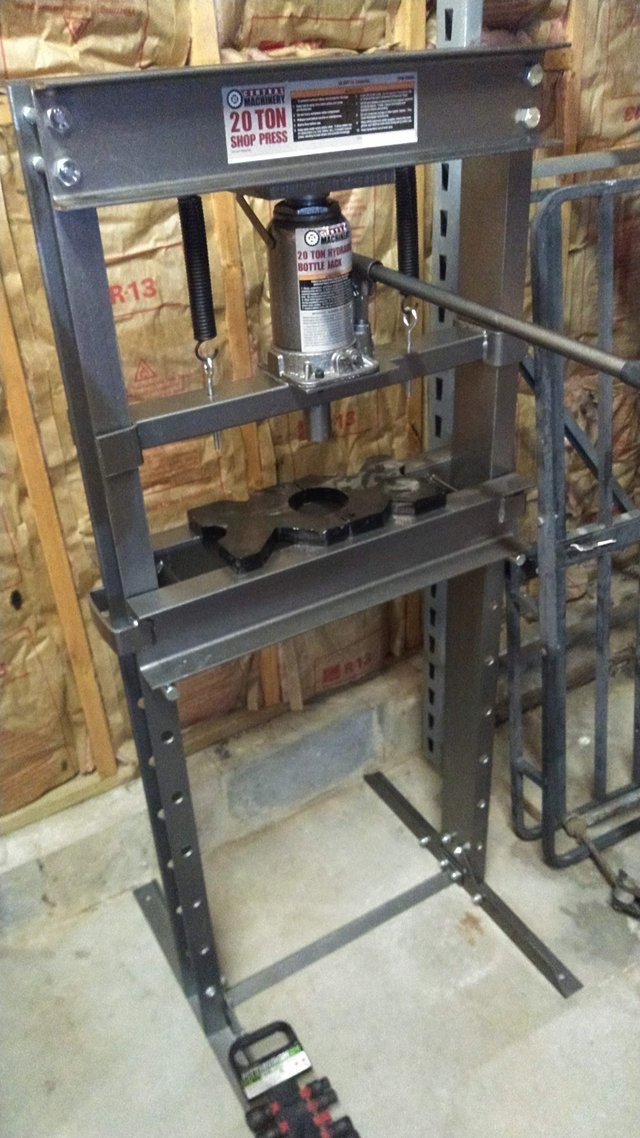
With the press assembled, I ran the jack down to apply tension to the structure, then torqued down the bolts on the cross member, then adjusted the springs so that it'll return all the way when you open the relief valve. There you have it, all torqued up and ready to spring into action when I press on the bearings. Now that all the tools are in place, I can get my rear end in gear.