Hello Steemians!
Here it is, today I'll share with you my step by step process of creating my monster racer:
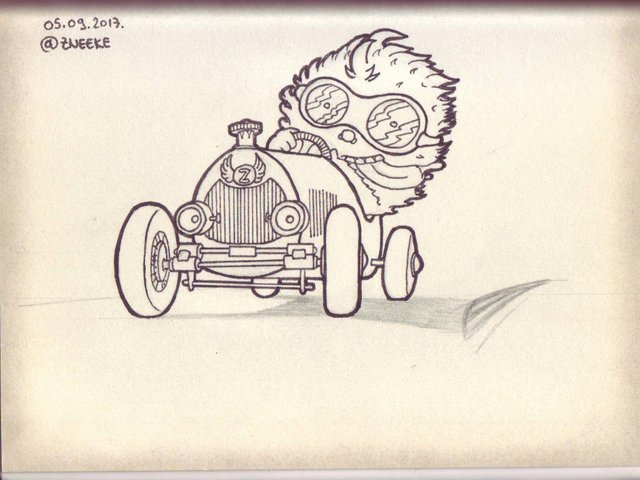
This is the final image before coloring. I haven't decided which colors I'll use for the final image. I may create more than one version.
Step 1 - rough sketch:
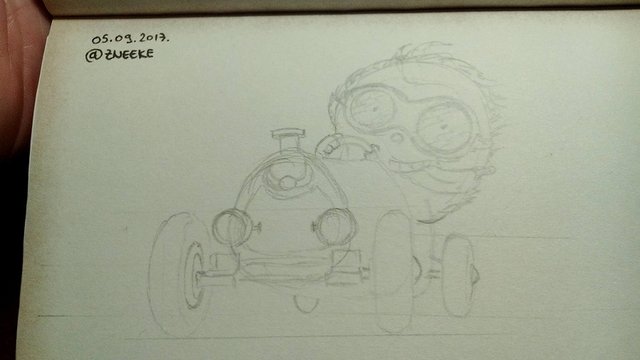
Here I had the rough idea what I wanted to draw and I've started sketching. I used reference for the car and put it all on the paper. I've also used ruler and some guidelines not to mess the perspective (and it worked).
After I was happy with the initial idea/sketch I jumped to step 2.
Step 2 - defining details and applying line:
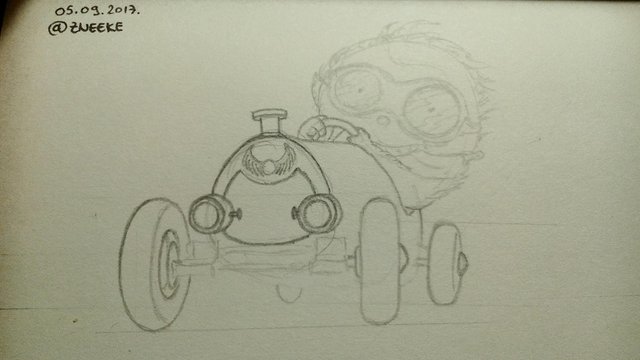
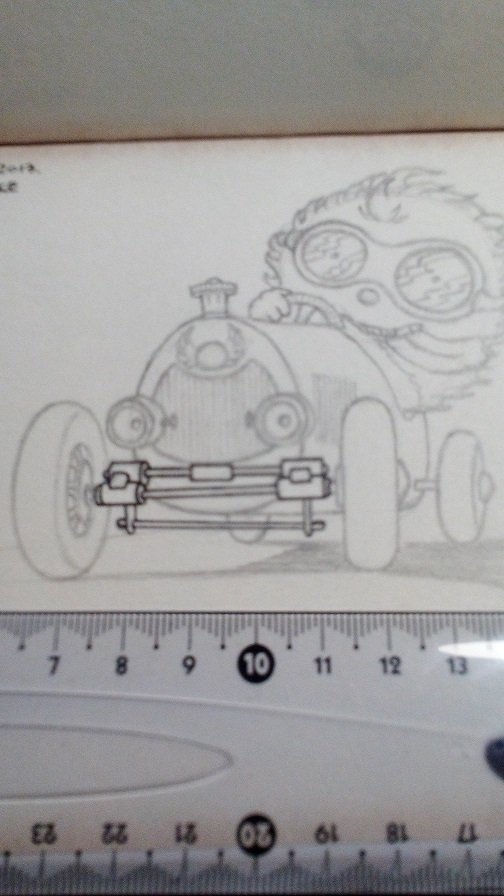
This is after first few minutes of step 2. I used softer pencil, the line was heavier and more visible. After some time I ended up with this:
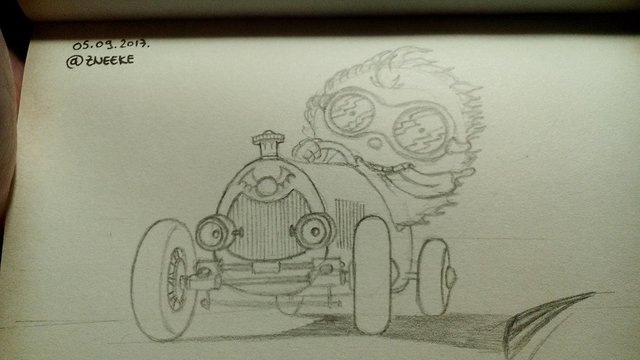
Here I've decided to add the shadow, edge of the road (turn) and add more details. I've used ruler, light guide lines which I've removed if possible and this step took about 20-25 minutes as I went slowly.
You can see the image better now as it is more clear and defined.
I decided to take a break here as I was tired.
Step 3 - outline and repairing the details
Here I've started to do outline with black pen. At first I've used 005, but after few lines I've decided to go with 0.3 one instead. I've decided to change some details.
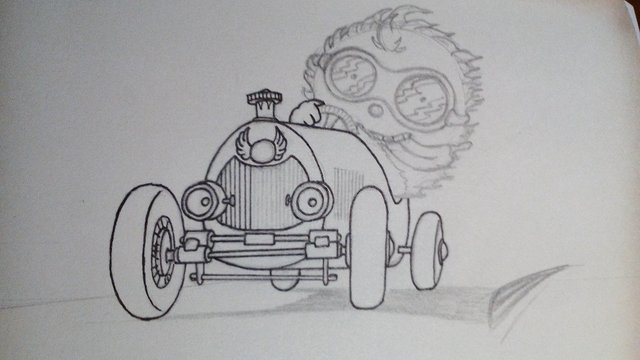
You can see that thicker line better at this image. I'm glad I took so many photos but I don't know why I did it. I tried to do it slowly and not to rush.
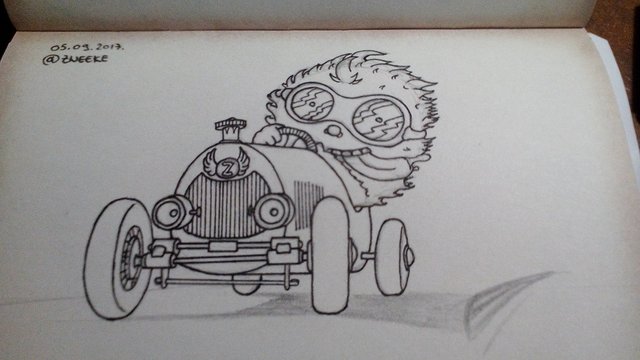
After all the lines were done I've looked at the photo, checked if I like it or not and I smiled.
Step 4 - adding line weight
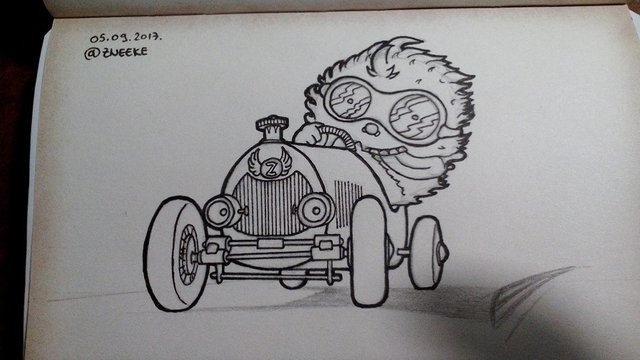
All the lines were there but it needed more punch - that means you can add line weight. The outline I did with 1.0 pen and I've followed the silhouette tightly making the outer line the thickest. After I've finished it I took 0.5 pen and added a bit of thickness to other lines as well to create a sort of depth.
It's a pretty new process for me. I've learned it only few weeks ago and I'm trying to use it as much as I can to get sort of a cool effect.
Step 5 - deleting all the pencil guides

This is the final image. I haven't deleted ALL the pencil - shadows are still here. I will pass over them with colored pencils in the near future but for now I'll leave it as it is.
I will also make a digital version of it in the near future and see what can I do with that (I'm still learning).
I hope you've enjoyed reading about it as I have enjoyed creating it :)
Have fun and keep steemin!
@zneeke
Good work men , keep going !!

i hope you remember this :
https://steemit.com/design/@tutors/cute-girl-design
Downvoting a post can decrease pending rewards and make it less visible. Common reasons:
Submit
Nice one!
Yeah I remember :)
Downvoting a post can decrease pending rewards and make it less visible. Common reasons:
Submit
Cute and funny!
Downvoting a post can decrease pending rewards and make it less visible. Common reasons:
Submit
Thank you :)
I've enjoyed creating it :)
Downvoting a post can decrease pending rewards and make it less visible. Common reasons:
Submit
Great drawing! Did you treat the edges of the paper or does it come that way?
Downvoting a post can decrease pending rewards and make it less visible. Common reasons:
Submit
Thank you!
I got the sketchbook years ago and the paper was like that. I think it was somehow treated but I have no idea what or how the maker did to achieve that effect.
I've also got 10 or so papers papers that were treated and stained with coffee. They had sort of a creamy and yellowish/brown tint which was not uniformed.
Downvoting a post can decrease pending rewards and make it less visible. Common reasons:
Submit
I really like it. Looking on Amazon...
Downvoting a post can decrease pending rewards and make it less visible. Common reasons:
Submit
love the step by step and what a freaking cute drawing.
Downvoting a post can decrease pending rewards and make it less visible. Common reasons:
Submit
Thank you :)
I had fun drawing it :)
Downvoting a post can decrease pending rewards and make it less visible. Common reasons:
Submit
Nice work. I like how you explain everything in your process
Downvoting a post can decrease pending rewards and make it less visible. Common reasons:
Submit
Thank you :)
It was fun.
Downvoting a post can decrease pending rewards and make it less visible. Common reasons:
Submit