Hello dear Steemians, welcome to my blog.
This time I present a realistic drawing of the face of Patrick Stewart, who plays Professor X, in the movie X-Men.
I hope you enjoy the work!
Materials I used:
- Graphite pencil HB, 2B, 4B and 6B.
- A sheet of paper 216 x 279 mm
- Draft.
Hola queridos Steemians, bienvenidos a mi blog.
Esta vez presento un dibujo realista del rostro de Patrick Stewart, quien interpreta al Profesor X, en la película X-Men.
¡Espero que disfrutes el trabajo!
Materiales que utilicé:
- Lápiz de grafito HB, 2B, 4B y 6B.
- Una hoja de papel 216 x 279 mm
- Borrador.

Drawing process: / Proceso del dibujo:
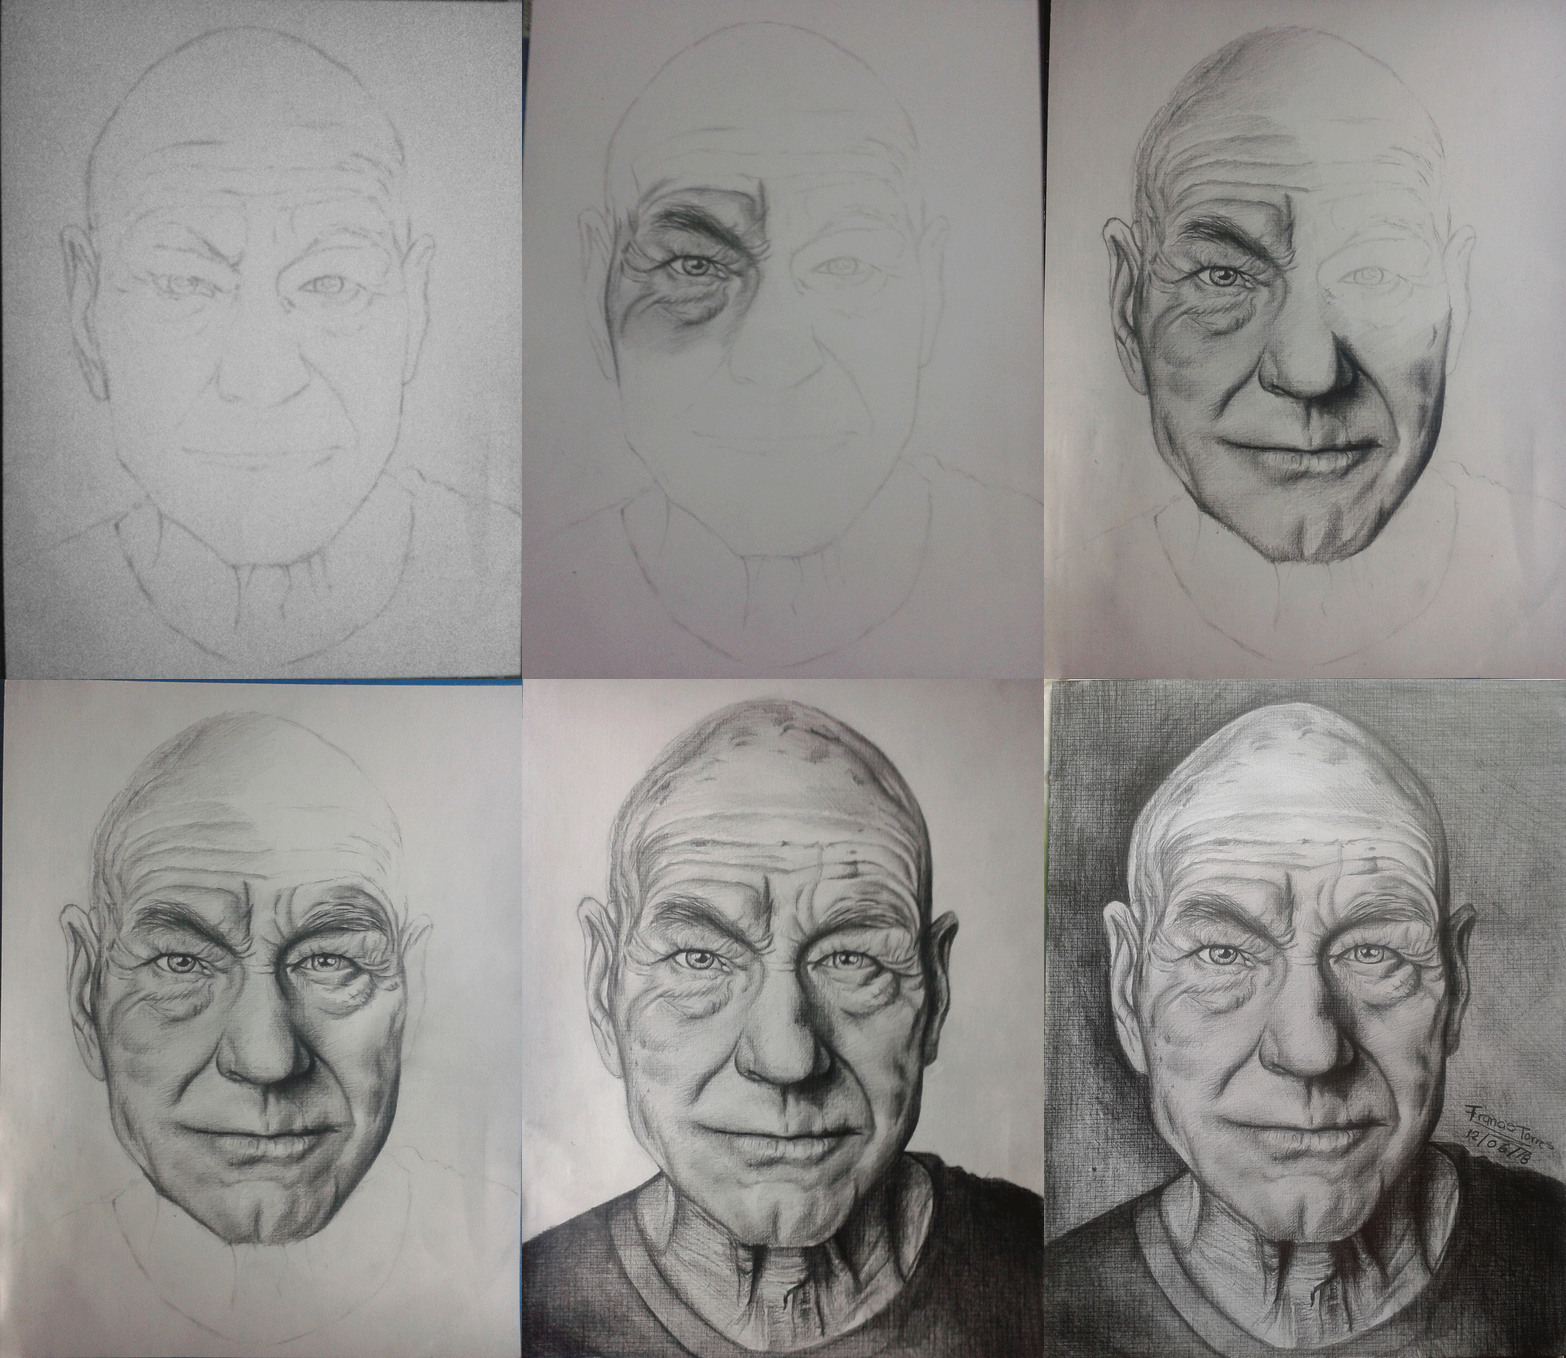
Step 1: the realization of the sketch. I used the HB graphite pencil to make the lines thin and so make the work easier.
Paso 1: la realización del boceto. Utilicé el lápiz de grafito HB para hacer las líneas delgadas y así facilitar el trabajo.

Step 2: To define and deepen the shadows of the face, I started with the right eye. I used the 2B graphite pencil to define the shadows of both the iris and the pupil, leaving the lights. I deepened the darker lines of the iris with the graphite pencil 4B, and to deepen the pupil of the eye I used the graphite pencil 6B. I make the shadows that are in the part that separate the skin with the eye, blurring inwards, and I finish drawing the shadows of the skin that is around to detail the shape of the eye.
Paso 2: Para definir y profundizar las sombras de la cara, comencé con el ojo derecho. Utilicé el lápiz de grafito 2B para definir las sombras del iris y la pupila, dejando las luces. Profundicé las líneas más oscuras del iris con el lápiz de grafito 4B, y para profundizar la pupila del ojo utilicé el lápiz de grafito 6B. Hago las sombras que están en la parte que separa la piel del ojo, difuminándolas hacia el interior, y termino dibujando las sombras de la piel que está alrededor para detallar la forma del ojo.


Here I show some photos that I took during the drawing of the eye.
Aquí muestro algunas fotos que tomé durante el dibujo del ojo.


Step 3: I made the shadows on the right side of the face, I used graphite pencils 2B and 4B. I did it this way to better observe the details and compare them with what I lacked.
Paso 3: hice las sombras en el lado derecho de la cara, utilicé lápices de grafito 2B y 4B. Lo hice de esta manera para observar mejor los detalles y compararlos con lo que me faltaba.

Step 4: I drew the lips completely, and so I start with the shading on the left side of the face.
Paso 4: Dibujé los labios completamente, y entonces comienzo con el sombreado en el lado izquierdo de la cara.

Step 5: Continuation with the definition and depth of the left side of the face. Since this side is darker, I use the graphite pencils 4B and 6B.
Paso 5: Continuación con la definición y profundidad del lado izquierdo de la cara. Como este lado es más oscuro, uso los lápices de grafito 4B y 6B.

Step 6: In this step, I make the left eye much like I did the right eye, the difference is that I added more darkness.
Paso 6: En este paso, hago que el ojo izquierdo se parezca mucho al ojo derecho, la diferencia es que agregué más oscuridad.

Step 7: Draw the rest of the face and start with the shading of the neck, to complete this step, I add the details, such as spots or moles to the face, this makes it more real.
Paso 7: Dibuje el resto de la cara y comience con el sombreado del cuello. Para completar este paso, agrego los detalles, como manchas o lunares en la cara, esto lo hace más real.

Step 8: Drawing the flannel.
Paso 8: Dibujando la franela.

Step 9: I finish the drawing with the background
Paso 9: termino el dibujo con el fondo


Here I show the process in a GIF animation, I hope you like it! / Aquí muestro el proceso en una animación GIF, ¡espero que les guste!

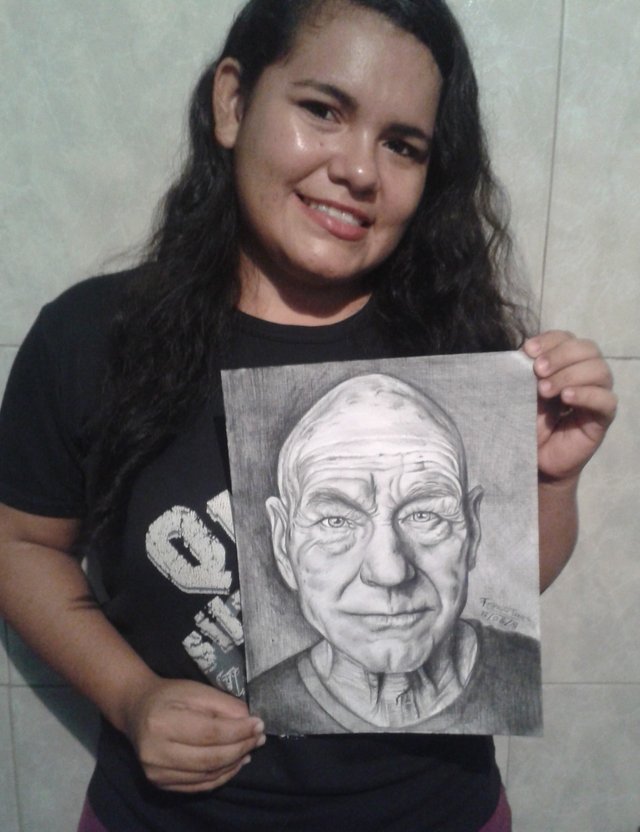
and here I am with the drawing :-)/ y aquí estoy con el dibujo :-)

The real reason why I made this drawing, besides that I like how this great man acts, is because of the details that the image has. As you can see it has a lot of wrinkles. To learn how to draw professionally, I had to take a drawing course, the course lasted approximately 6 months. Since the knowledge of art is so extensive, I had to continue my studies individually. Draw wrinkles, is one of my biggest challenges, that's why I keep practicing.
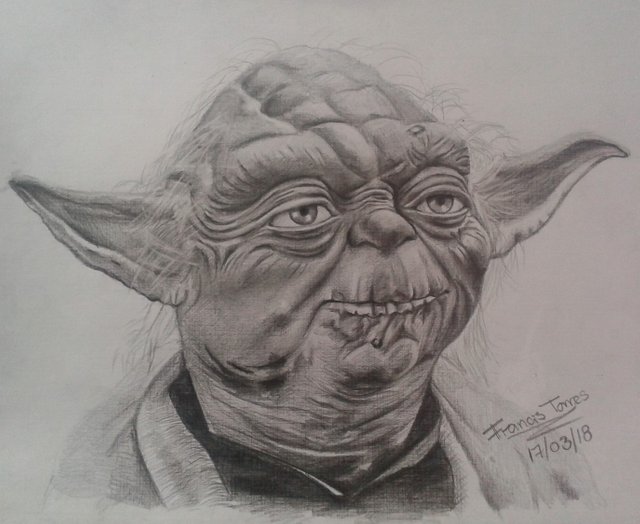
I show another drawing that I made with this feature. whose drawing process I show in one of my previous post. You can see it here.
La verdadera razón por la que hice este dibujo, además de que me gusta cómo actúa este gran hombre, es por los detalles que tiene la imagen. Como puede ver, tiene muchas arrugas. Para aprender a dibujar profesionalmente, tuve que tomar un curso de dibujo, el curso duró aproximadamente 6 meses. Como el conocimiento del arte es tan extenso, tuve que continuar mis estudios de forma individual. Dibujar arrugas, es uno de mis mayores desafíos, es por eso que sigo practicando.
Muestro otro dibujo que hice con esta característica. cuyo proceso de dibujo se muestra en una de mis publicaciones anteriores. puedes verlo aquí.


Thank you for visiting my blog, I hope you enjoyed it !/ Gracias por visitar mi blog, ¡espero que lo hayan disfrutado!

Really nicely done! Especially like the shading and texturing of the skin.
Downvoting a post can decrease pending rewards and make it less visible. Common reasons:
Submit
thank you so much @feralblowfish.
Downvoting a post can decrease pending rewards and make it less visible. Common reasons:
Submit
Dear Artzonian, thanks for using the #ArtzOne hashtag. Your work is valuable to the @ArtzOne community. Quote of the week: Art, freedom and creativity will change society faster than politics. -Victor Pinchuk
Downvoting a post can decrease pending rewards and make it less visible. Common reasons:
Submit
You've received an upvote from @slothicorn! Click Here to Read our New Curation Policy And Updated Rules
(@justatouchfey) ((.)ω(.))
Downvoting a post can decrease pending rewards and make it less visible. Common reasons:
Submit