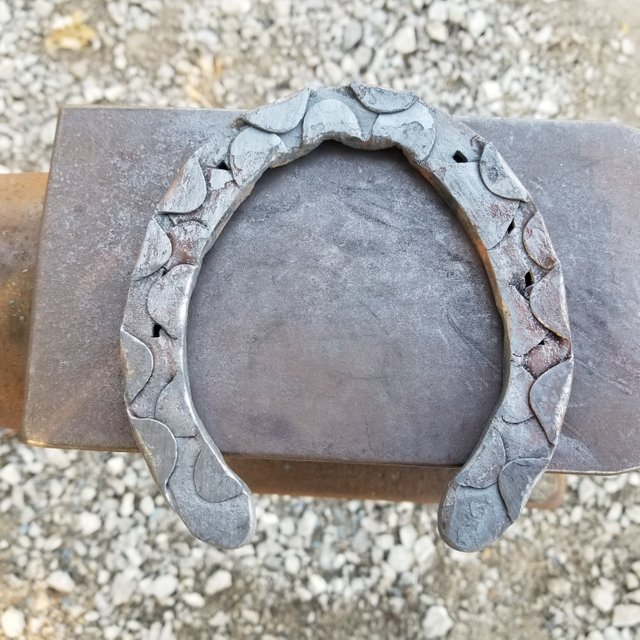
This exercise is a way to practice drawing as many clips as we can from a single used horse shoe.
The idea came to me while I was apprenticing with Dave Farley back in the mid '90s.
I had asked him to help me, and so he did. But, it all came down to the fact that I needed to practice a ton more than I had.
After I spent about three solid days in my parents driveway doing this, I can say that my clip drawing problems had been solved.
How to:
This exercise is really all about hammer control. The most important thing to keep in mind is to focus on good forging mechanics. The end result will come, but if you don't focus on proper basics and form, then you are really wasting the benefits of this exercise.
To do this, we pull clips all the way around the outside of the shoe.
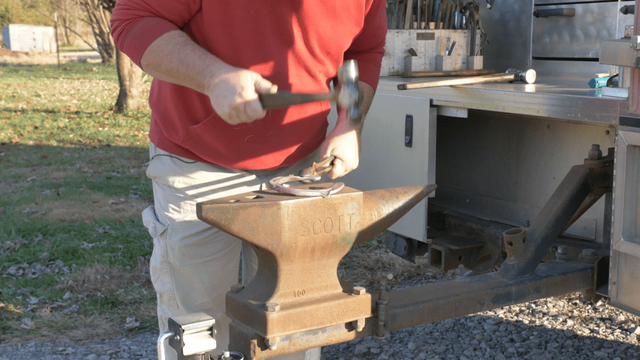
Then we turn the shoe inside out and pull them all the way around the new outside.
Straighten the shoe, starting on the horn to get the majority of the bend out of the branch.
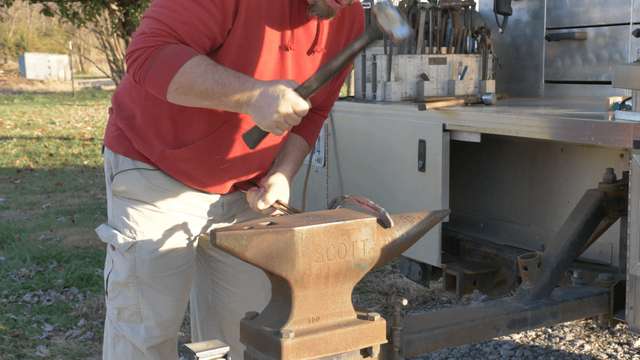
With most of the bend out of the branch, we can use the face of the anvil to finish straightening and iron out the wrinkles and waves.
It is very important to re-establish good dimensions to the material before we reshape the shoe inside out. If we don't, the end result will suffer a lot in quality, and may even become progressively more unmanageable to forge.
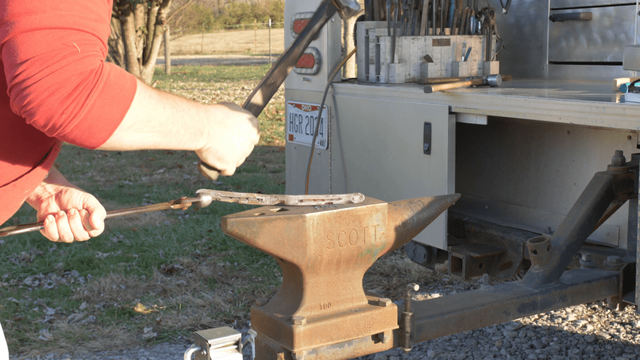
Once the shoe is straightened nicely, we can then start reshaping the shoe with the original inner web on the outside. This process is basically the same as shaping a fresh handmade shoe, but with the added challenge of a lot of distortion from the clips.
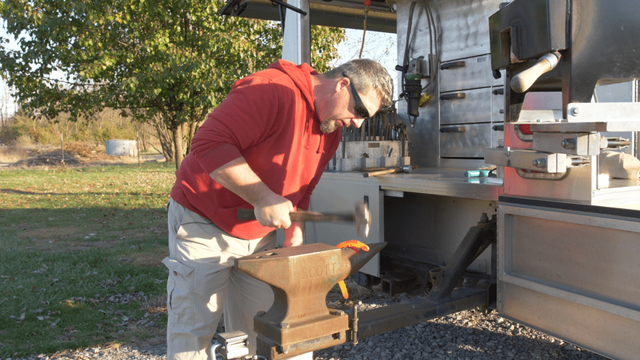
When the shape is satisfactory, we just do the same thing we did at first - pull clips all around the shoe again.
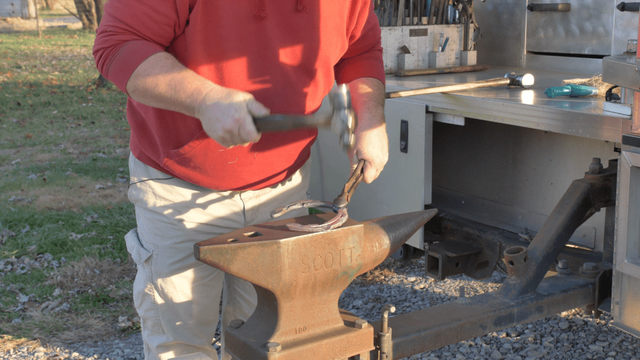
Will and I started working on a video, which is where these pictures came from, but we are going to have to redo. Neither of us are happy with our performance.
When we get it done, of course it will be added to this page.
Posted from my blog with SteemPress : https://farrierservices.net/double-sided-clips-exercise/