Hello, my dear students and future first responders!
Welcome to the fourth lesson of our journey through essential first aid skills in the Steemit Learning Challenge! I hope you’ve been sharpening your skills and gaining confidence as we move forward. After learning about CPR and bleeding control, we're now diving into another vital topic—fractures—a common injury that can occur in all kinds of situations, from accidents to sports injuries.
Imagine you're at the scene of an accident, or perhaps you witness someone trip and fall in a public place. You quickly realize they might have broken a bone, and you know that how you respond in the next few minutes could make all the difference. Whether it’s a simple closed fracture or a more serious compound fracture where the bone pierces the skin, knowing how to manage the situation effectively can save lives and prevent further damage.
In today’s lesson, we'll break down the different types of fractures, such as simple (closed) fractures and compound (open) fractures, and how you can assess and stabilize them. Understanding the signs and knowing how to immobilize the affected limb properly can greatly reduce pain and prevent further injury before medical help arrives. I’m excited to walk you through the steps, from assessing the injury and immobilizing the limb to managing potential complications, like spinal injuries.
Fractures are serious, but they can be managed with the right knowledge and preparation. By the end of this lesson, you'll have a solid foundation for handling fractures safely, ensuring that you can step in confidently when someone is injured. Let’s get started and dive into the world of fractures and their management.
| Type of Fracture | Description | First Aid Management |
|---|---|---|
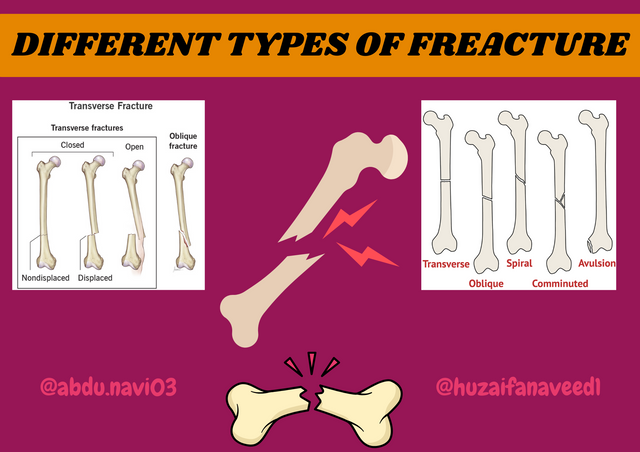
| Simple Fractures (Closed fractures) | It is a type of fracture where the bone breaks but does not pierce the skin. Includes: 1. Greenstick fracture (bone bend due to external force) 2. Transverse fracture (horizontal fracture line along the bone) 3. Oblique fracture (diagonal line on the bone) 4. Spiral fracture (spiral shape break due to twisting force) 5. Compression fracture (bone is crushed due to pressure, commonly seen in the spine) | 1. Keep the patient still and calm, reassure them continuously. 2. Immobilize the area using a splint. 3. Apply a cold pack wrapped in a cloth to reduce swelling. 4. Elevate the limb if possible. 5. Seek medical attention immediately to prevent damage. |
| Compound Fracture (Open fracture) | It is a type of fracture where the bone breaks and pierces the skin, creating an open wound. Can either cause a bone into 2 pieces or multiple pieces (Comminuted fracture). | 1. Control bleeding with a sterile dressing without pressing directly on the bone, as it can further damage the bone. 2. Immobilize the limb and don’t try to push the bone back in place. 3. Cover the wound with a sterile bandage. 4. Apply a splint carefully. 5. Immediately seek emergency medical attention. |
TRAUMA PROTOCOL |
|---|
Fractures can be simple or compound, simple fractures are easy to manage at first aid level but for compound fracture the best thing first aider can do is to shift the casualty as soon as possible to the hospital. Remember? The basic first aid protocol DRABC. It will be followed in this case as well. Of-course the fracture’s etiology must be an incident of any fall or accident. So following this protocol will be a good approach to follow, here’s the basic steps you can follow to deal the fractured casualty.
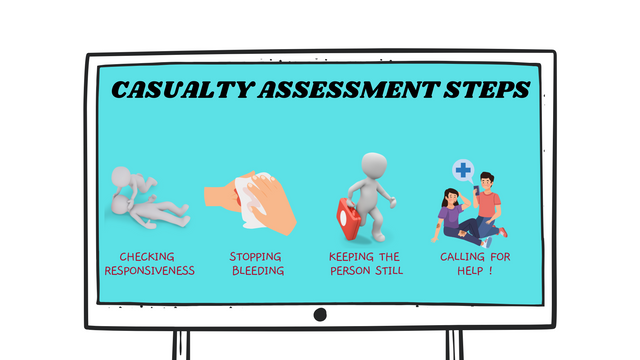
1. Look for Scene and Your own Safety:
First of all, ensure that the area is safe for both you and the casualty. Check for any hazard like traffic, debris (sharp objects, blood) or any environmental danger.
2. Check for Response, Airway, Breathing and Circulation:
Now, check if the casualty is responsive or not, you know the way to check it, then airway for patent airway (taught in 1st module) and finally check the pulse for affective circulation.
Reassure the casualty, keep them calm and encourage them to remain still as possible.
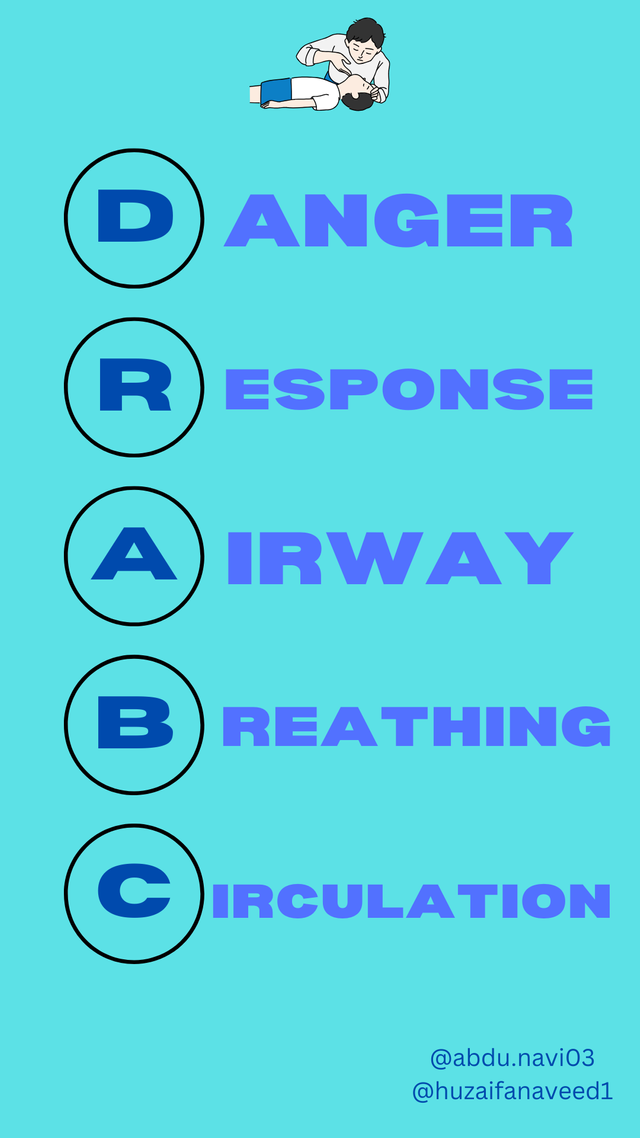
Danger: Assess the scene for potential dangers.
Response: Check the casualty’s responsiveness.
Airway: Ensure the airway is clear.
Breathing: Check for signs of breathing.
Circulation: Feel for a pulse and check circulation
3. Call for Emergency Help
If you see the casualty has compound fracture (in which the bone has pierced the skin) and is bleeding massively, call emergency services before moving the casualty, so as to reduce the time as short as you could. Inform the paramedics about the situation and any visible injuries.
4. Check for Fractures and other injuries
Now look for all the possible injuries, their location and type of fractures (it helps in planning the steps to manage the fractures one by one from most severe to the least one). Assess the signs of fracture (if fracture is not visible) like swelling, deformity, bruising, pain or inability to move the limb. Avoid moving the casualty until unless it’s absolutely necessary (danger of harm from heavy traffic or sharp objects like glass, wood etc.).
5. Stabilize the Fracture
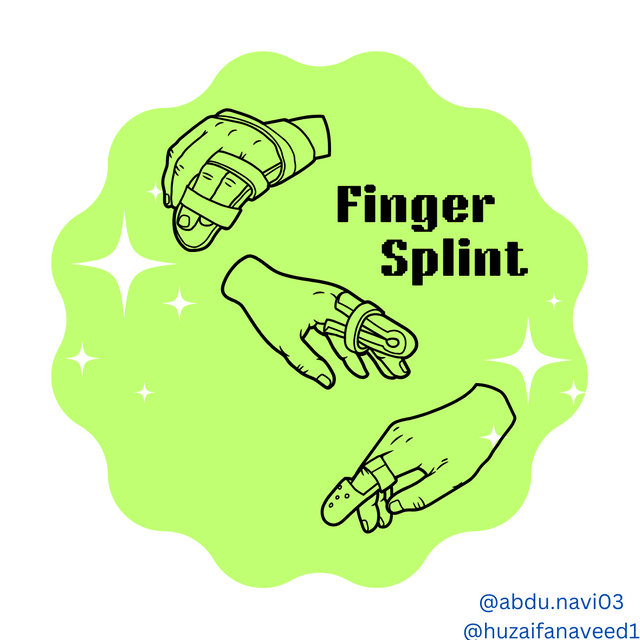
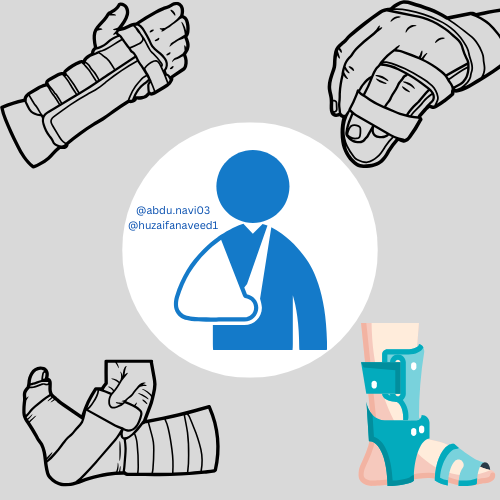
The very ultimate step before moving the casualty is to immobilize the fractured limb. For immobilizing the limb is supported by any hard object (stick or cardboard) called makeshift splints (sticks, cardboard), if not available then use any cloth easily accessible to you for making rolled-up clothing or a triangular bandage.
Here the basic steps of how to stabilize the fractures.
| Step | Rolled-Up Clothing | Makeshift Splints (Sticks, Cardboard, etc.) | Triangular Bandage |
|---|---|---|---|
| 1. Choose the right splinting material | For rolled-up clothing method, we can use a jacket, shirt, towel, or any sturdy cloth. | Use a hard object like a straight stick, cardboard, or any rigid material. | Use a triangular bandage, usually available cloth or gauze folded in a triangular manner. |
| 2. Roll/Prepare the Material | Roll the clothing tightly to form a cylindrical shape. | Remove any nails on the stick, clean its surface with flowing water. | Fold the bandage into a long strip if it’s a large bandage, or use as is. |
| 3. Position the Limb | Keep the fractured limb in the same position as found without trying to straighten it. | Keep the fractured limb in the same position as found without trying to straighten it. | Keep the fractured limb in the same position as found without trying to straighten it. |
| 4. Apply Padding | Use soft clothing, cloth, or towel for comfort. | Add cloth or soft material between the limb and splint for comfort. | Fold or pad the bandage with soft material for comfort. |
| 5. Place the Splint | Place the rolled clothing along the length of the fractured limb, supporting both sides. | Position the rigid item (stick, cardboard) along the fractured limb, extending past joints. | Place the bandage under the fractured limb, ensuring it covers the injury. |
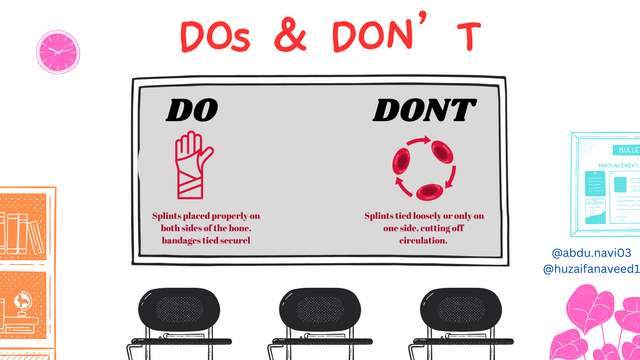
| 6. Secure the Splint | Tie the rolled clothing with strips of cloth, bandages, or belts above and below the fracture. | Use strips of cloth, tape, or bandages to secure the splint. | Tie the ends of the triangular bandage on the shoulder, by taking it to behind the neck (make sure the knot is not too tight to compress the spine) to hold the limb in place. |
| 7. Check Circulation | Ensure circulation by checking for warmth and feeling in fingers/toes, check pulse on radial side of forearm too. | Ensure no tightness, and check skin color, pulse, and ability to move toes/fingers. | Ensure there is no excessive pressure on the bandage, and check for circulation. |
.png)
6.Use the Proper Lifting Method
Make sure that for the leg or arm fracture, the limb is kept stabilized, avoid twisting or bending. But if moving the casualty to a safer area is the need of time, then you shouldn’t be avoiding it. *If you are moving the casualty alone, use:
A) CRADLE LIFT METHOD: If the casualty is small/light weighted (child), place one arm under their knees and another around their back.
And If you are moving the casualty with the help of other people use:
B) TWO-PERSON CARRY: In this method, one person supports the head, neck, and upper body while the other supports the legs and then the casualty is carried to another safer area.
C) STRETCHER or MAKE SHIFT CARRY: For this method, a blanket or tarp is used as a stretcher. The fractured limb is secured to minimize movement.
While moving the casualty keep in mind that the casualty should be moved slowly and their body must be kept aligned, so that the fracture is not aggravated at any cost. Avoid twisting the spine or moving the body more than necessary.
7. Monitor Vital Signs
Keep the fractured limb elevated if possible and continue checking for signs of shock (pale or bluish skin or rapid breathing) until the emergency services arrive. Don’t forget to reassure the casualty again and again!
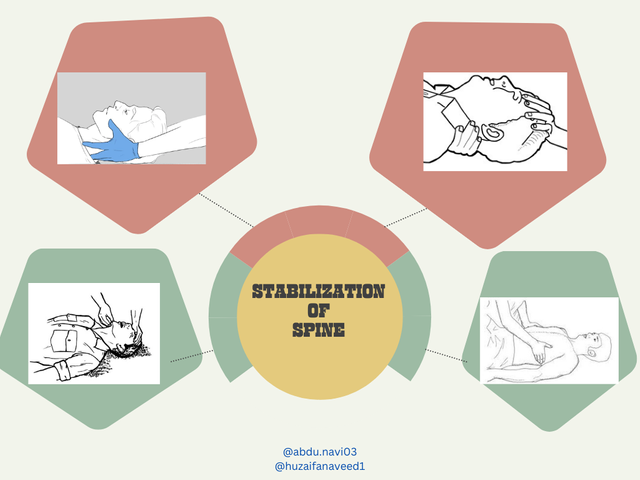
One important aspect, that you will not face so often but rarely is damage to the vertebral column and ultimately damage to the spinal cord inside it. If somehow, a fracture to the vertebral column is not managed properly one can become paralyzed for the whole of his/her life. So, managing vertebral fractures is crucial, all you can do as a first responder is to stabilize the fracture until the casualty is hand-overed to the paramedic staff. This process of stabilization of spinal cord at neck region is called c-spine stabilization, while for the rest of the spine is managed same.
| Step | C-Spine Stabilization | Spine Fracture Management |
|---|---|---|
| 1. Support the Head and Neck | First of all, call for emergency help services to arrive with stretchers and neck collar. For cervical spine stabilization, position thumbs near the ears, place hands on either side of the head such that your palms support the head of the casualty. | First of all, call emergency services to arrive as early as possible with chest stabilizer and stretcher. Then approach the casualty from the front to avoid turning the head, place your hands on either side of the casualty's head, keeping it in a neutral position. |
| 2. Instruct to Remain Still | Reassure the casualty and advise them to keep head and neck as still as possible. | Reassure and prevent the casualty from moving, to avoid any further injury. |
| 3. Assess for Other Injuries | Assess ABC (Airway, Breathing, Circulation) without moving head/neck. | Assess ABC (Airway, Breathing, Circulation) without moving head/neck. |
| 4. Maintain Stabilization | Hold the head in a neutral position until paramedic help arrives. | Do not move the casualty unless absolutely necessary; ensure head, neck, and spine stay aligned. |
| 5. Secure on a Spinal Board (Advanced Step) | This is not your duty as a first responder, however for your knowledge, log-roll (a method requiring a minimum of 4 people) or slide the patient onto a spinal board while maintaining stabilization. | This is not your duty as a first responder, however for your knowledge, log-roll (a method requiring a minimum of 4 people) or slide the patient onto a spinal board while maintaining stabilization. |
| 6. Continuously monitor and reassure | Continuously monitor for signs of shock (rapid breathing, weak pulse, pale or bluish skin). And don’t forget to reassure the casualty again and again! | Continuously monitor for signs of shock (rapid breathing, weak pulse, pale or bluish skin). And don’t forget to reassure the casualty again and again! |
| 7. Do Not Remove Helmets/Gear | Do not remove any helmets or gear unless obstructing breathing. | Do not remove any helmets or gear unless obstructing breathing. |
CONCLUSION |
|---|
Effective fracture management is crucial for reducing further injury and ensuring the casualty's well-being until professional help arrives. Always remember: keeping the victim calm and still, immobilizing the affected area with splints, and supporting the spine if necessary are your top priorities. Quick action and proper care can significantly impact the recovery process and minimize complications. Stay calm, act decisively, and always seek professional medical help as soon as possible.
HOMEWORK |
|---|
Q1: Apply a sling on the arm and a splint on the finger of a sibling, child, or peer. Attach a picture of the application and explain the procedure in detail, highlighting key points for immobilization and stabilization.
Q2: Research the process of helmet extraction in the context of head and neck injuries, and explain why it is important to avoid removing the helmet immediately in the case of suspected spinal injuries. Include the steps for safe helmet removal if necessary.
Q3: How is C-spine stabilization done? Explain the procedure in detail, ensuring you include when and how to use head blocks or manual stabilization. Attach a photo or video of yourself demonstrating proper C-spine stabilization techniques.
Q4: Consider you encounter an unconscious person with a compound fracture on the arm, massive bleeding, no pulse at the distal radius, and restricted breathing. How will you prioritize and manage the situation? Describe each step in detail, including how you would control bleeding, stabilize the fracture, and address the breathing issue.
Q5: Create an infographic (visual illustration) on managing fractures. Your design should highlight key steps such as how to immobilize the injured limb, apply a splint, and stabilize the spine. Ensure the infographic is easy to understand and visually guides users through the process.
RULES |
|---|
Your title should be "SLC21/WK4: Stabilizing Fractures- Comprehensive First Aid for Different Types of Breaks "
Make sure to use the #firstaid-s21w4 , #steemexclusive, #teachingteam , #learnwithsteem tags, and your country's tag (e.g., #pakistan)
Plagiarism or the use of artificial intelligence of any kind will not be tolerated.
Only your own images will be accepted (Try to create it on various softwares like Canva, etc) Images for free use will not be allowed.
Write a minimum of 800 words
The link of your task must be added in the comments of this publication.
Use the #burnsteem25 tag only if you have set the 25% payout to @null.
You can publish homework in any community and in any language. But don't forget to use the original tag.
Invite three of your active Steemian friends.
The participation schedule is between Monday, November 17, 2024, at 00:00 UTC to Sunday, - November 24, 2024, at 23:59 UTC.
REWARDS |
|---|
SC01/SC02 would be checking on the entire 17 participating Teaching Teams and Challengers and upvoting outstanding content. Upvote is not guaranteed for all articles. Kindly take note.
At the end of the contest, I will be nominating four (04) users who have had a great performance in the contest and have complied with the previously established, and therefore, are eligible to receive SC01/SC02 votes.
—----
Contact Information (Discord)
@abdu.navi03 (abdu.navi03)
@huzaifanaveed1 (huzaifa_1114)
Best regards,
Dr @abdu.navi03
Dr @huzaifanaveed1
https://steemit.com/firstaid-s21w4/@aril.hatake/slc21-wk4-or-stabilizing-fractures-comprehensive-first-aid-for-different-types-of-breaks
Downvoting a post can decrease pending rewards and make it less visible. Common reasons:
Submit
This is my entry link
https://steemit.com/hive-168205/@adese/slc21-wk4-stabilizing-fractures-comprehensive-first-aid-for-different-types-of-breaks
Downvoting a post can decrease pending rewards and make it less visible. Common reasons:
Submit
For your professional entertainment - beside the teaching course ;-))
https://steemit.com/firstaid-s21w4/@weisser-rabe/slc21-wk4-stabilizing-fractures-comprehensive-first-aid-for-different-types-of-breaks-slc21-wk4-stabilisierung-von-bruechen
Downvoting a post can decrease pending rewards and make it less visible. Common reasons:
Submit
SLC21/WK4 | Stabilizing Fractures- Comprehensive First Aid for Different Types of Breaks
My entry
Downvoting a post can decrease pending rewards and make it less visible. Common reasons:
Submit
https://steemit.com/hive-118902/@xkool24/slc21-wk4-stabilizing-fractures-comprehensive-first-aid-for-different-types-of-breaks
Downvoting a post can decrease pending rewards and make it less visible. Common reasons:
Submit
https://steemit.com/firstaid-s21w4/@steem-wariors/slc21-wk4-or-stabilizing-fractures-comprehensive-first-aid-for-different-types-of-breaks
Downvoting a post can decrease pending rewards and make it less visible. Common reasons:
Submit
Best regards to everyone, here is my participation post :
SLC21/WK4 : Stabilizing Fractures - Comprehensive First Aid for Different Types of Breaks
Downvoting a post can decrease pending rewards and make it less visible. Common reasons:
Submit
https://steemit.com/firstaid-s21w4/@opeyemioguns/slc21-wk4-stabilizing-fractures-comprehensive-first-aid-for-different-types-of-breaks
Downvoting a post can decrease pending rewards and make it less visible. Common reasons:
Submit
My entry : https://steemit.com/firstaid-s21w4/@pea07/slc21-wk4-stabilizing-fractures-comprehensive-first-aid-for-different-types-of-breaks
Downvoting a post can decrease pending rewards and make it less visible. Common reasons:
Submit
My entry
https://steemit.com/hive-168205/@rossnenye/slc21-wk4-stabilizing-fractures-comprehensive-first-aid-for-different-types-of-breaks-by-rossnenye
Downvoting a post can decrease pending rewards and make it less visible. Common reasons:
Submit