Hello Steemians, welcome to my post and stay safe as you read through this post.
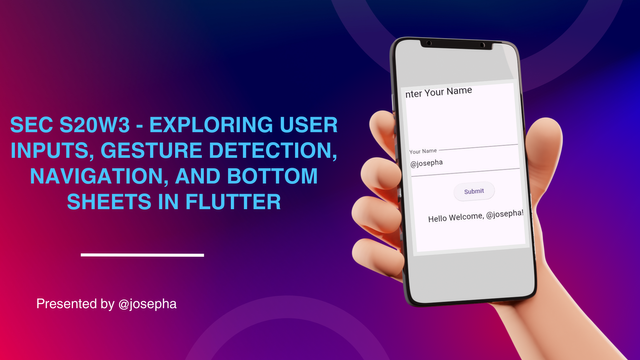
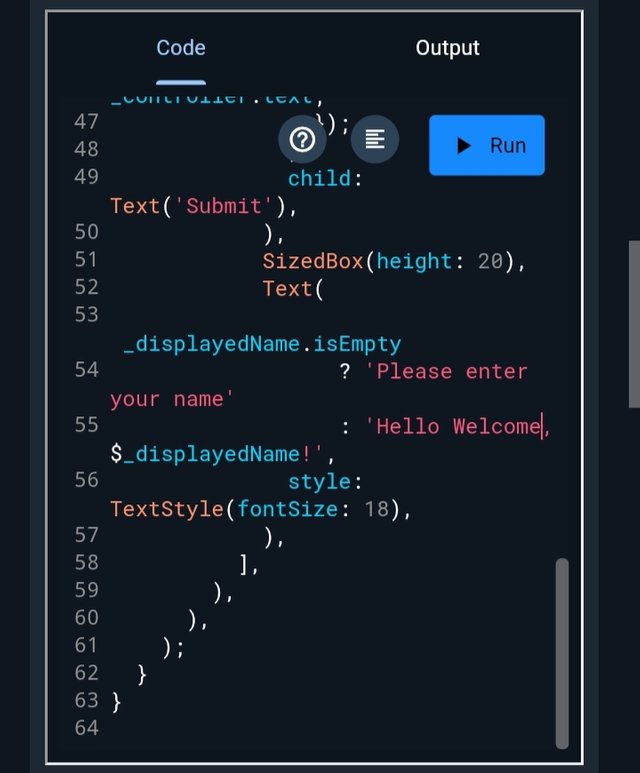
Design a simple form with a TextField where users can enter their name and a Button to submit the form. Use TextEditingController to retrieve the text from the TextField and display it on the screen when the button is pressed.
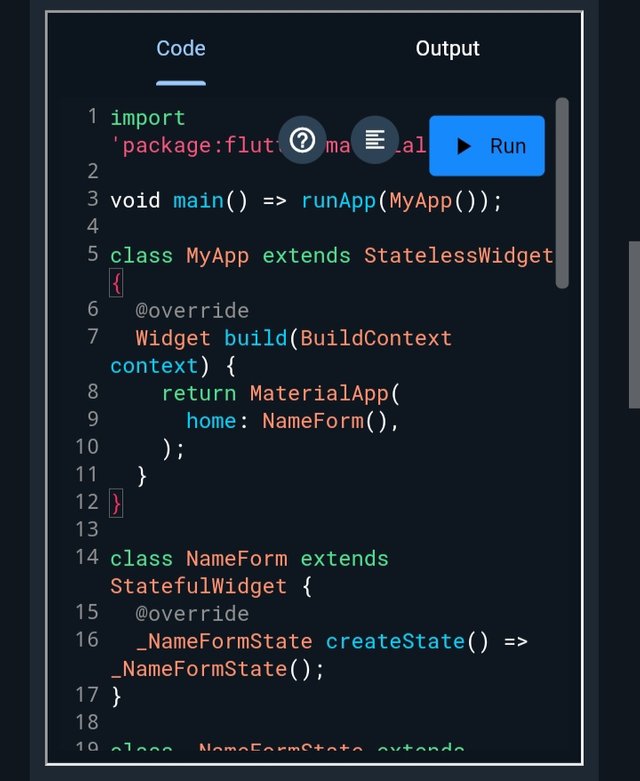
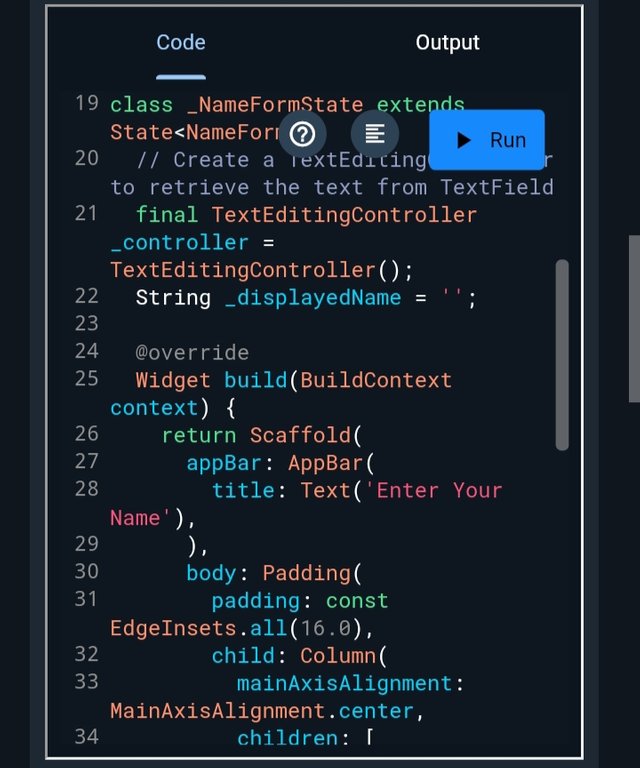
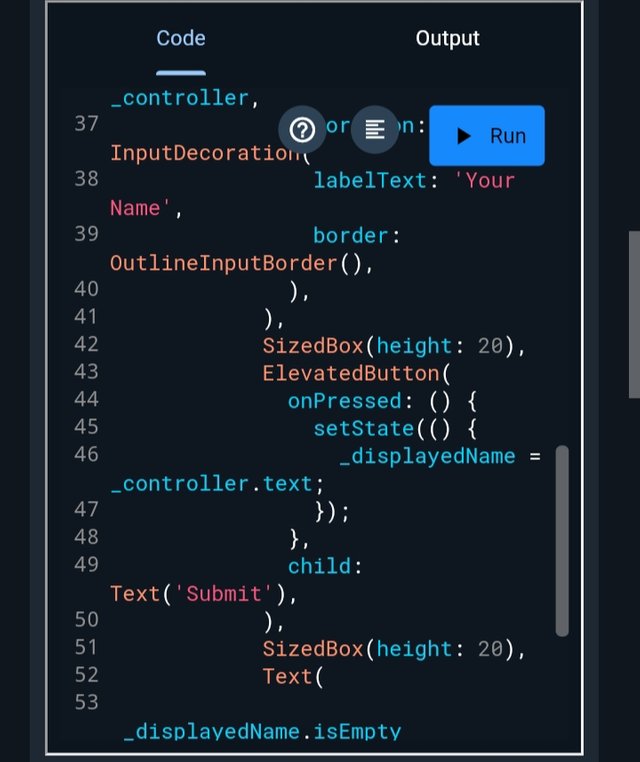
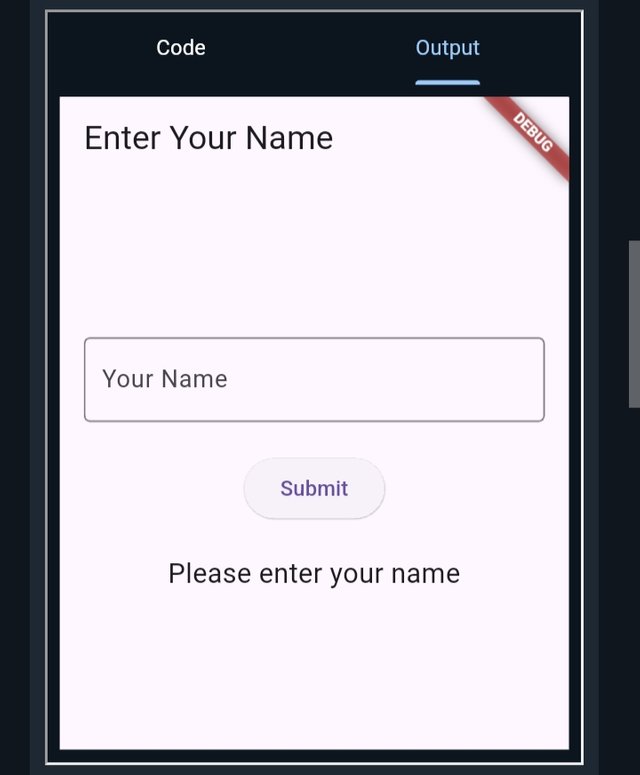
Here in this part, I have designed a simple Fluter form with a TextFiler and a Button that uses a TextEditingController to retrieve the user's and display it when the button is pressed. To run this successfully I write down the code shown below and head over to TextEditingController and paste it the into code box and click on the output.
Code
 |  |
|---|
 |  |
|---|
Output
 |  |  |
|---|
Interpretation
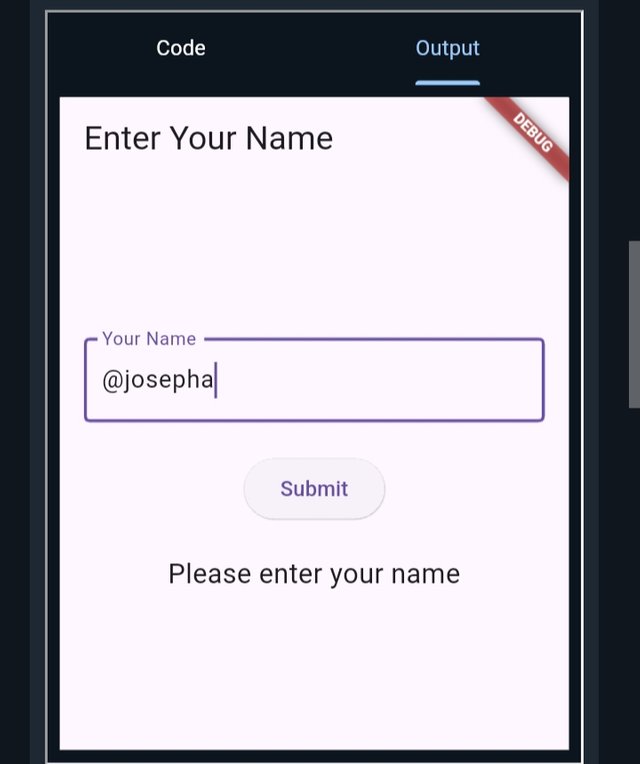
From the above it is the TextEditingController that helps me to manage the text in the TextField. The text which a user would get to enter which in my case I enter my username (@josepha) which can be accessed with the help of the controller.text
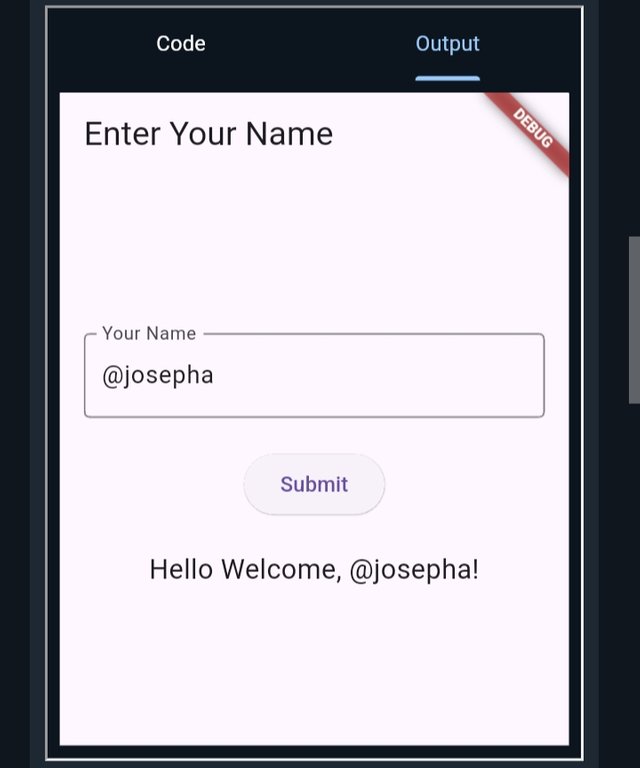
As I pressed, it then triggered a state for me to update the displayed name which is based on the name that I input. ElevatedButton.
The TextField is what permits a user to enter their name, with a label for clarity information. Finally, the Text is what displays (show) a greeting message as Hello Welcome, @Josepha! after I click on the submit button.
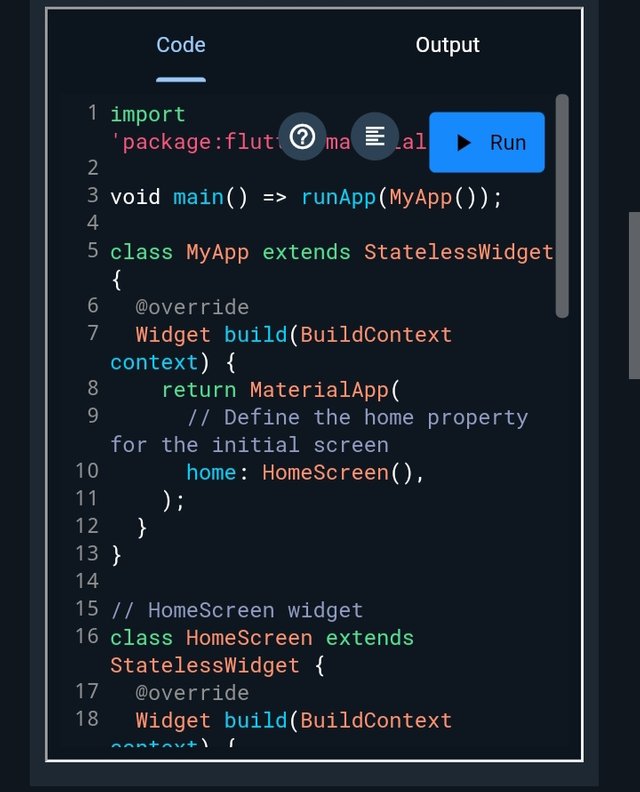
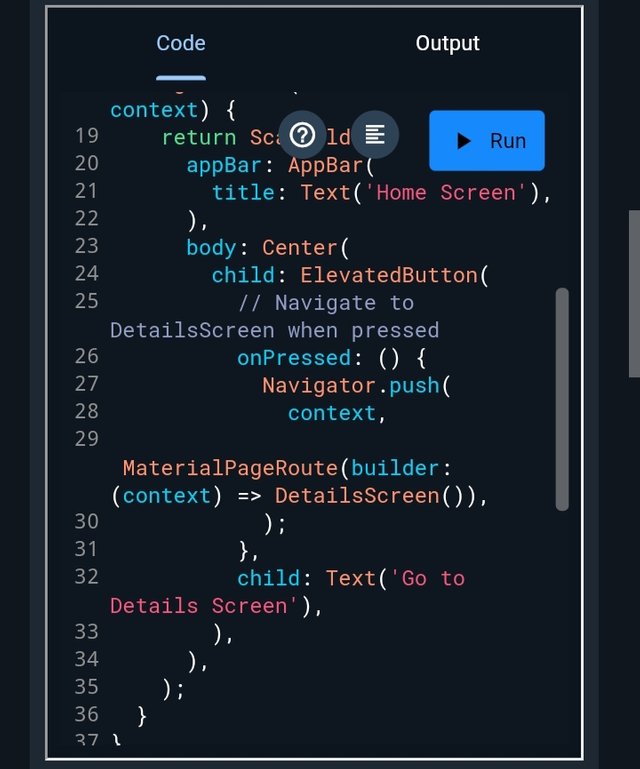
Create multiple screens and navigate between them. Design two screens—HomeScreen and DetailsScreen. Use Navigator.push() to navigate from the HomeScreen to the DetailsScreen when a button is pressed.
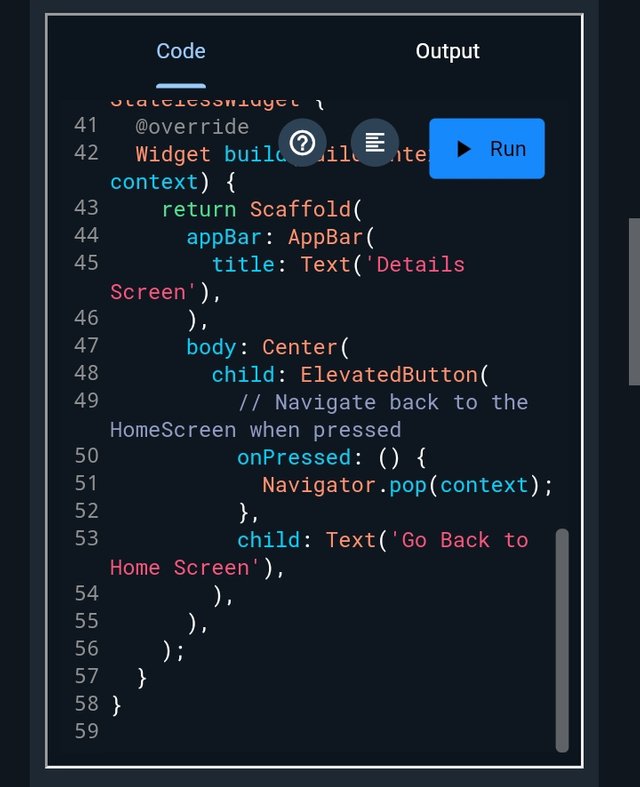
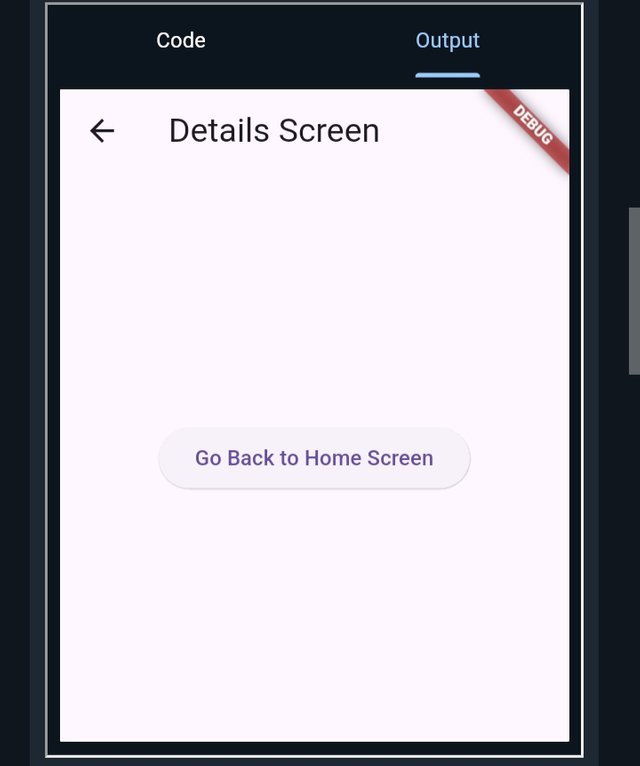
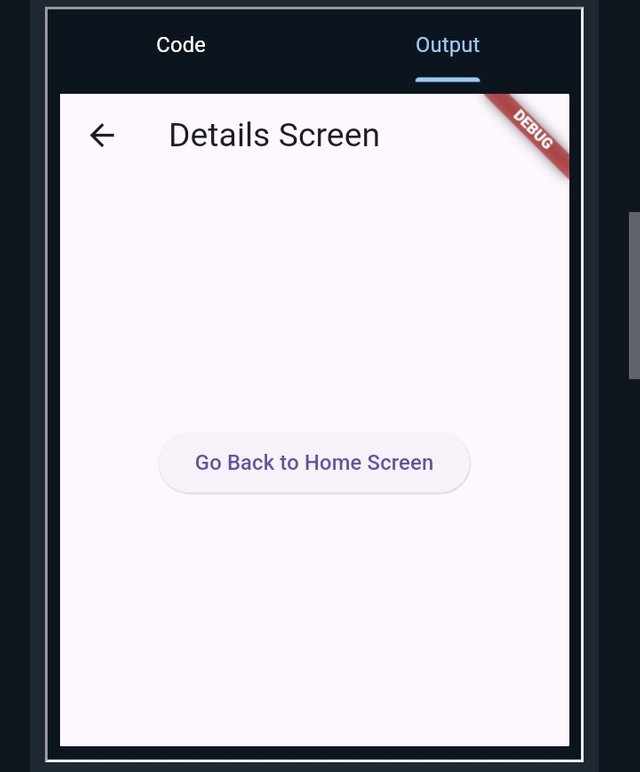
Here in this part, I took my time to create two (2) screens: Home screen and DetailsScreen and a Navigator.push() that navigate between them which I run the code using the TextEditingController I used earlier.
Code
 |  |  |
|---|
Output
 |  |  |
|---|
Interpretation
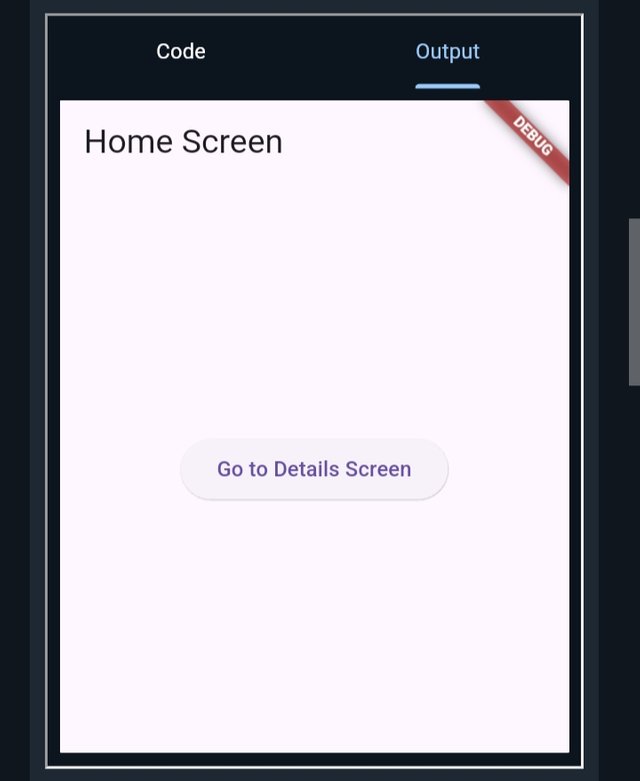
The HomeScreen is the initial screen of the application, which carries an ElevatedButton to help the user navigate to the next screen which is the DetailsScreen. What helps users to navigate easily is the Navigator.push()
The DetailsScreen: is navigated from the HomeScreem. Also the DetailsScreen has its button named Navigator.pop() which helps the user to return to the HomeScreen.
In summary; the Navigator.push() helps the user to navigate to the DetailsScreen, whereas the Navigator.pop() helps the user to navigate back to the previous screen which removes the **DetailsScreenfrom the stack and bring theHomeScreen`.
Implement a bottom sheet pop-up. On the screen add a button to navigate from that screen to the bottom sheet. And add some data to display on the bottom sheet such as name, country, age, gender, etc.
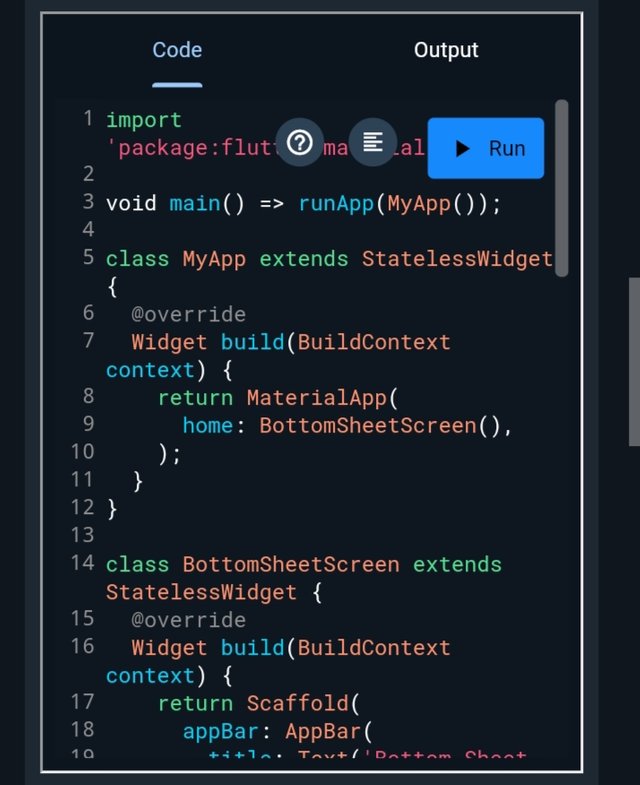
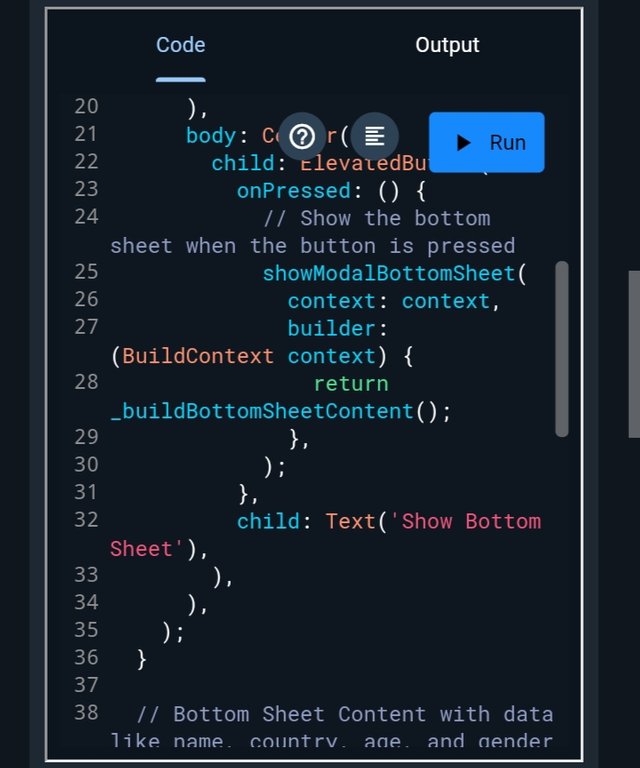
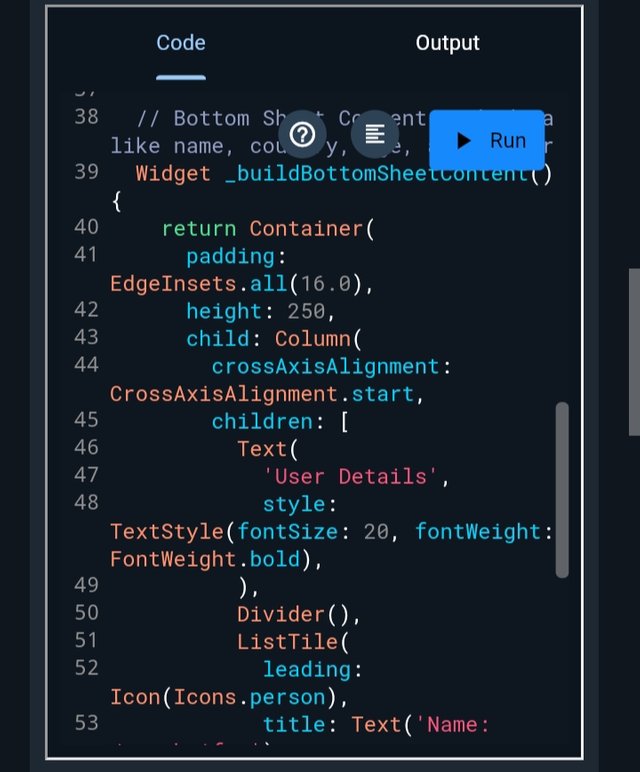
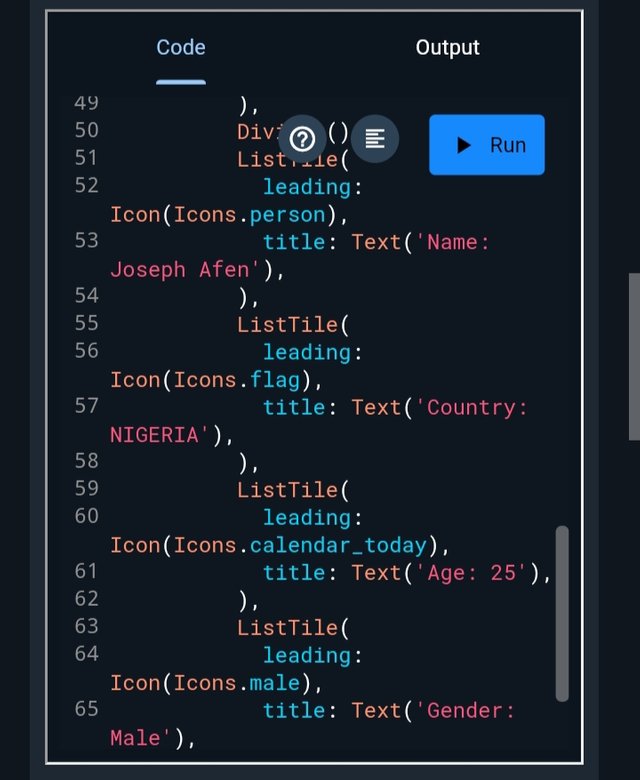
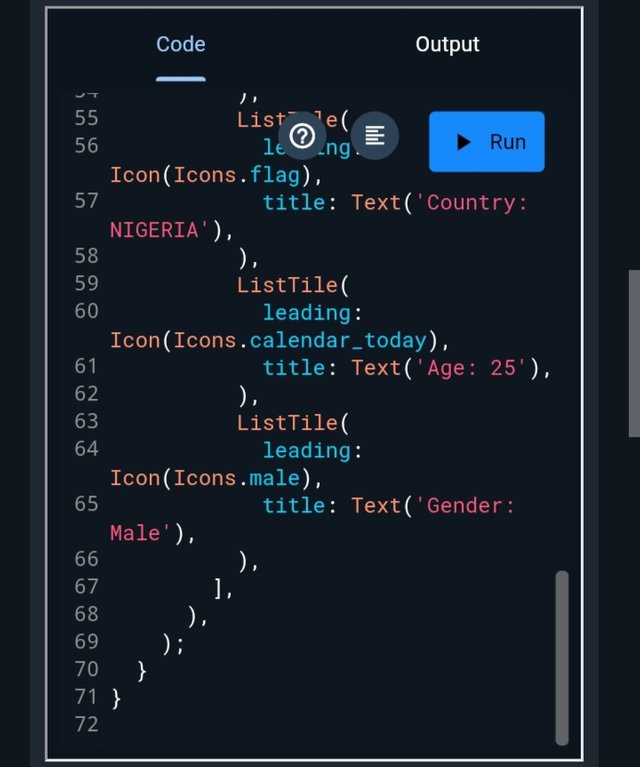
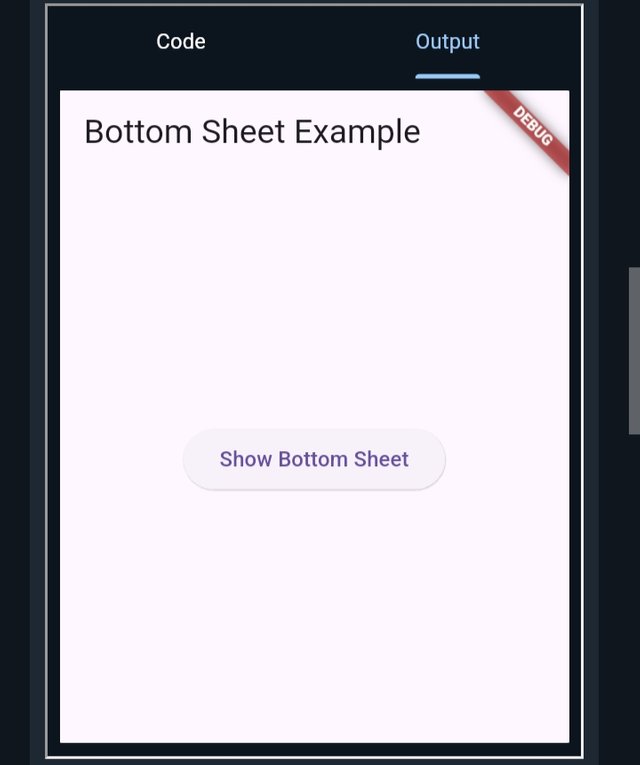
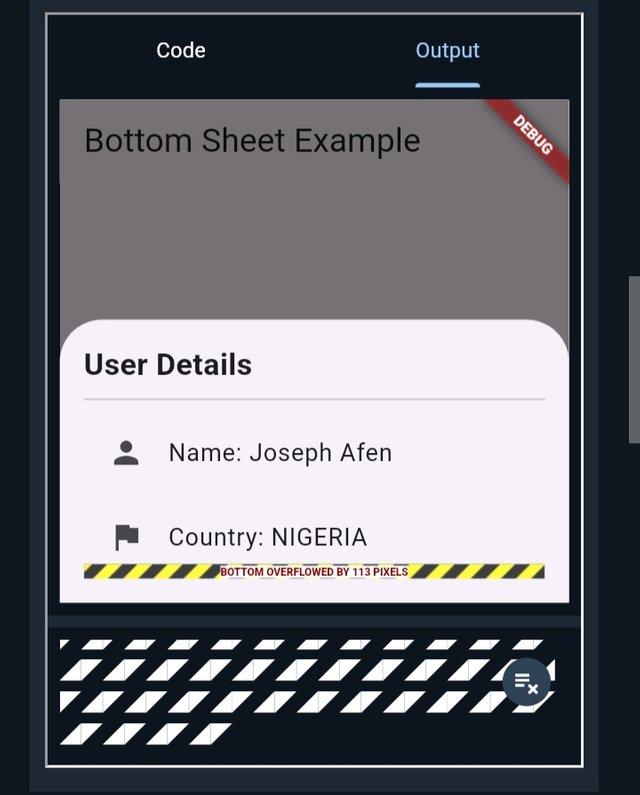
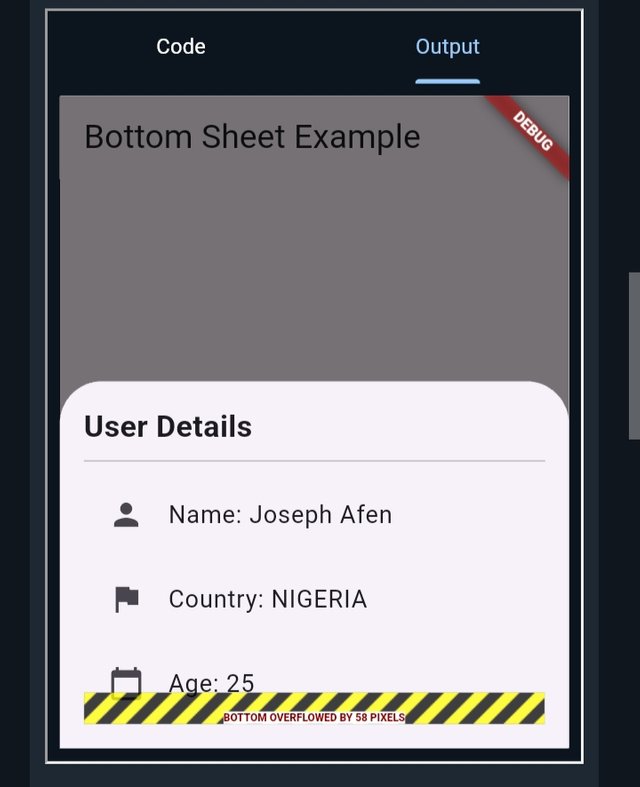
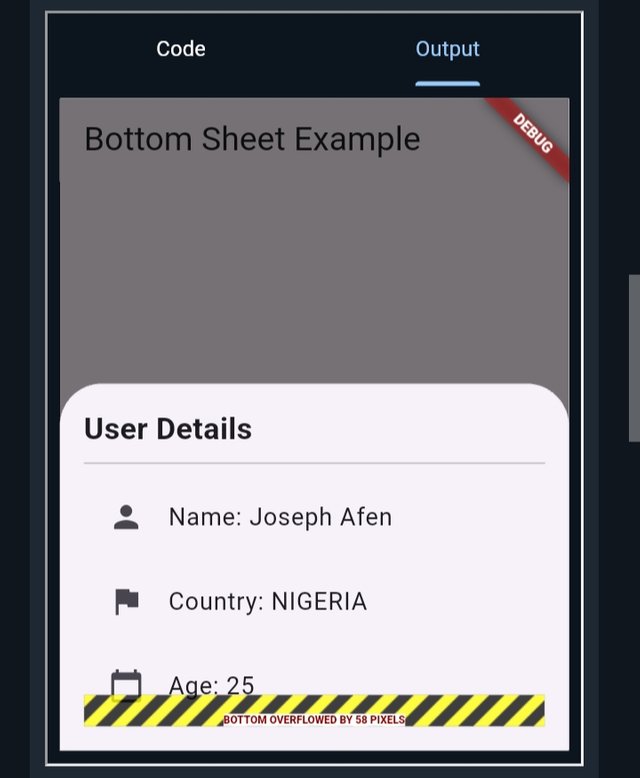
Here I have implemented a bottom sheet pop-up in Flutter using the same editor I have used before. In the bottom sheet, I also added a button that displays (shows) the bottom sheet containing some data such as name, country, age, and gender in my work which you can see below.
Code
 |  |  |  |  |
|---|
Output
 |  |  |  |
|---|
Interpretation:
The BottomSheetScreen is the main screen that contains the button that triggers the bottom sheet when it is been pressed. The name of the is known as showModalBottomSheet() which functions to open the bottom sheet.
The ShowModalBottomSheet() is the function that opens the bottom sheet from the bottom of the screen. The buildBottomSheetContent() function is where the content of the sheet is created.
The Bottom Sheet Content is what displays some movk data like name, country, age, and gender which makes use of a combination of ListTile widgets for each of the information.
The Layout looking at the screenshot of the which I have shared you will see that there is a container with padding and a well-defined height. In the container, there is the title and a divider, and other like ListTile widgets for each of the information.
Car Loan Calculator App: Develop a simple car loan calculator app where users can input loan details (like the loan amount, interest rate, and loan term) and view the calculated monthly payment on a bottom sheet. The bottom sheet should include the loan amount, interest rate, loan term, and the calculated monthly payment.
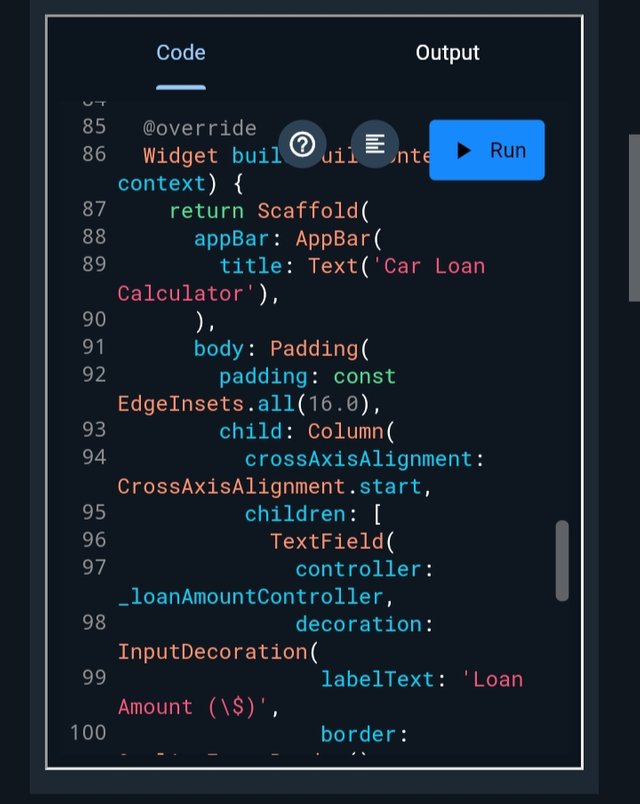
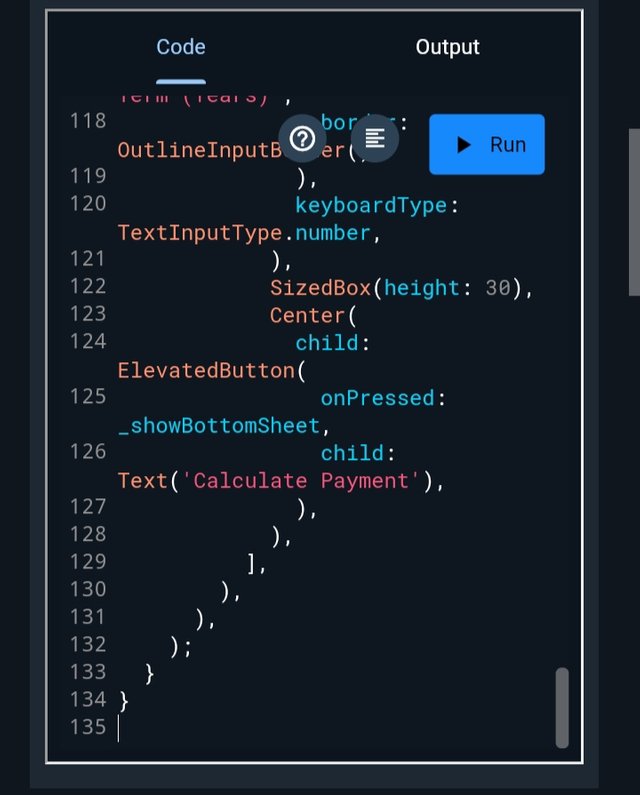
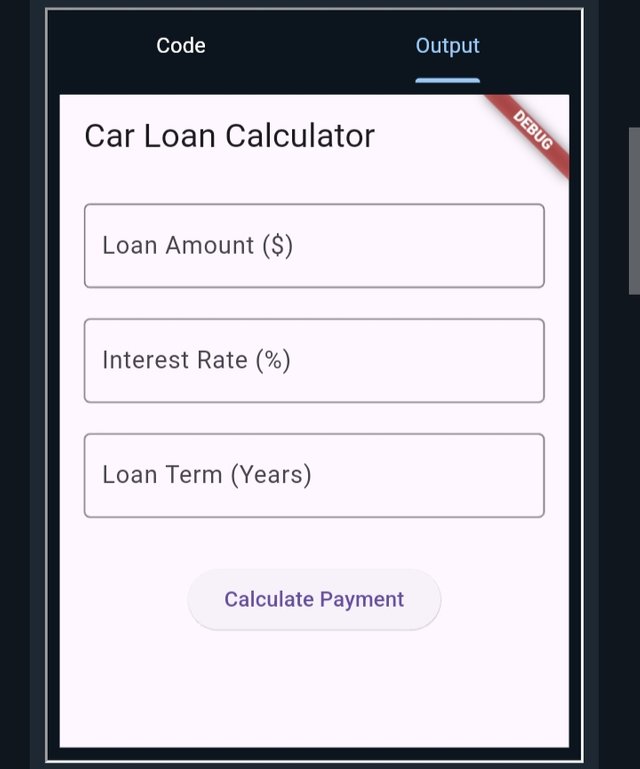
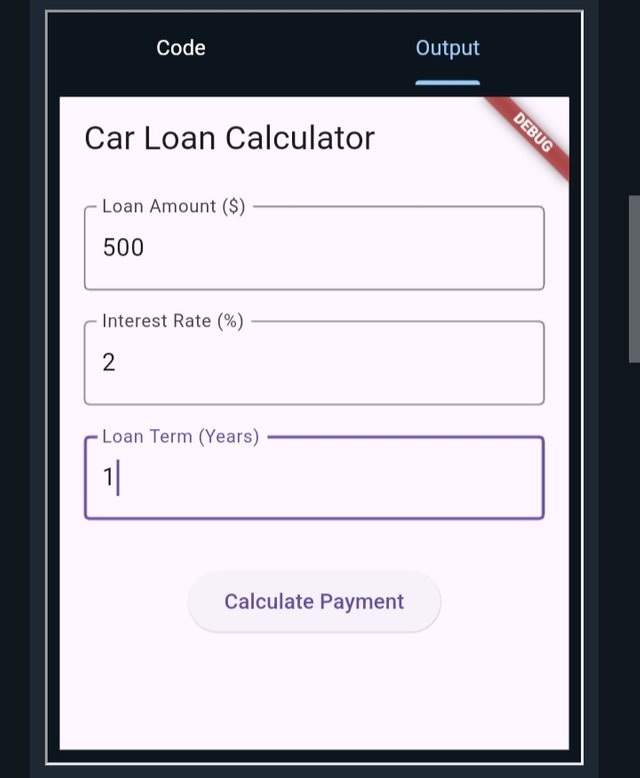
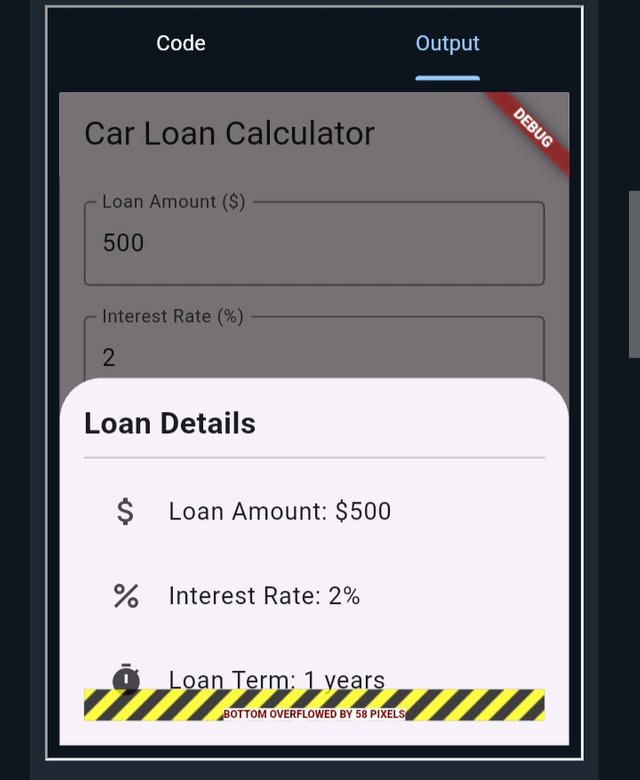
Here I created a simple Loan Calculator App** in Flutter using the same TextEditingController which users can enter their loan amount, interest rate, and loan term. The app is designed to calculate monthly payments and shows the details of the loan together with the monthly payment of the loan on the sheet.
Code
 |  |
|---|
Output
 |  |  |
|---|
Interpretation
The Input Fields allow the user to input their loan amount, interest rate, and loan term using the TextField widgets, with TextEditingController to retrieve the value that is entered.
The Calculation formula for the loan is based on monthly payments on the standard loan amortization formula stated below.
M = P * r / (1 - (1 + r)^-n)
Where:
- M = Monthly payment of the loan
- P = The Loan Amount
- r = Interest rate monthly
- n = Number of months
The Bottom Sheet showModalBottomSheet() displays the bottom sheet with loan information such as Amount, Interest Rate, Loan Term, and Calculate Monthly Payment. The calculation of the monthly payment is in 2 decimal places using toStringAsFixed(2).
The Button at this point an ElevatedButton is used to trigger the bottom sheet by calling _showBottomSheet().
In summary, the above loan app allows users to enter (input) their loan details and calculate the monthly payment of their loan with all other pieces of information on a bottom sheet.
I am inviting: @kouba01, @dove11, and @simonnwigwe,
Cc-
@mohammadfaisal
My link.
https://x.com/AkwajiAfen/status/1839198924898218383
Downvoting a post can decrease pending rewards and make it less visible. Common reasons:
Submit
Upvoted. Thank You for sending some of your rewards to @null. It will make Steem stronger.
Downvoting a post can decrease pending rewards and make it less visible. Common reasons:
Submit
Keep it up man, you're going great guns!
Downvoting a post can decrease pending rewards and make it less visible. Common reasons:
Submit