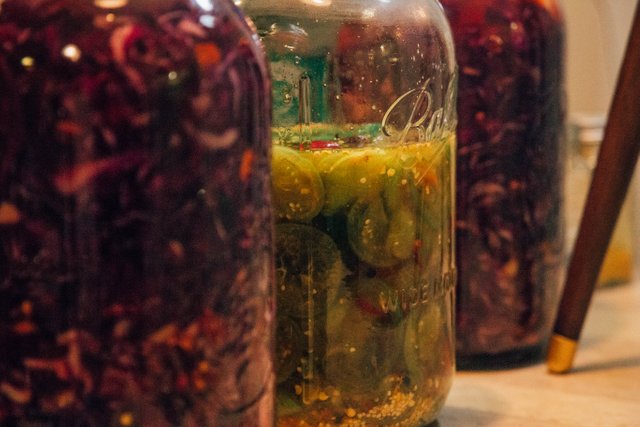
This is a new blog which is a collaborative effort to provide you with awesome cooking recipes and other fun lifestyle topics. In this episode, we are providing you with purple kimchi goodness.
Basic Purple Kimchi
This kimchi is spicy but it also does not have the odd spoiled flavors store bought kimchi has. I prefer this mix to traditional store bought kimchi because it is sweeter.
Ingredients
- Purple Cabbage (as much as desired, 2 lb (1kg) increments useful)
- Carrots
- Garlic Cloves (generous amount 10 cloves per 2 lb (1kg) of cabbage)
- Dried Peppers (whole or flakes)
- Sriracha Sauce
- Soy Sauce
- Sea Salt or Kosher Salt (do not use iodized salt)
- Dill Paste (optional)
Directions:
Step 1) Slice up cabbage thinly and into strips. I cut my cabbage into quarters, and then run it through a mandolin with the thinnest setting. This is very similar to making sauerkraut.
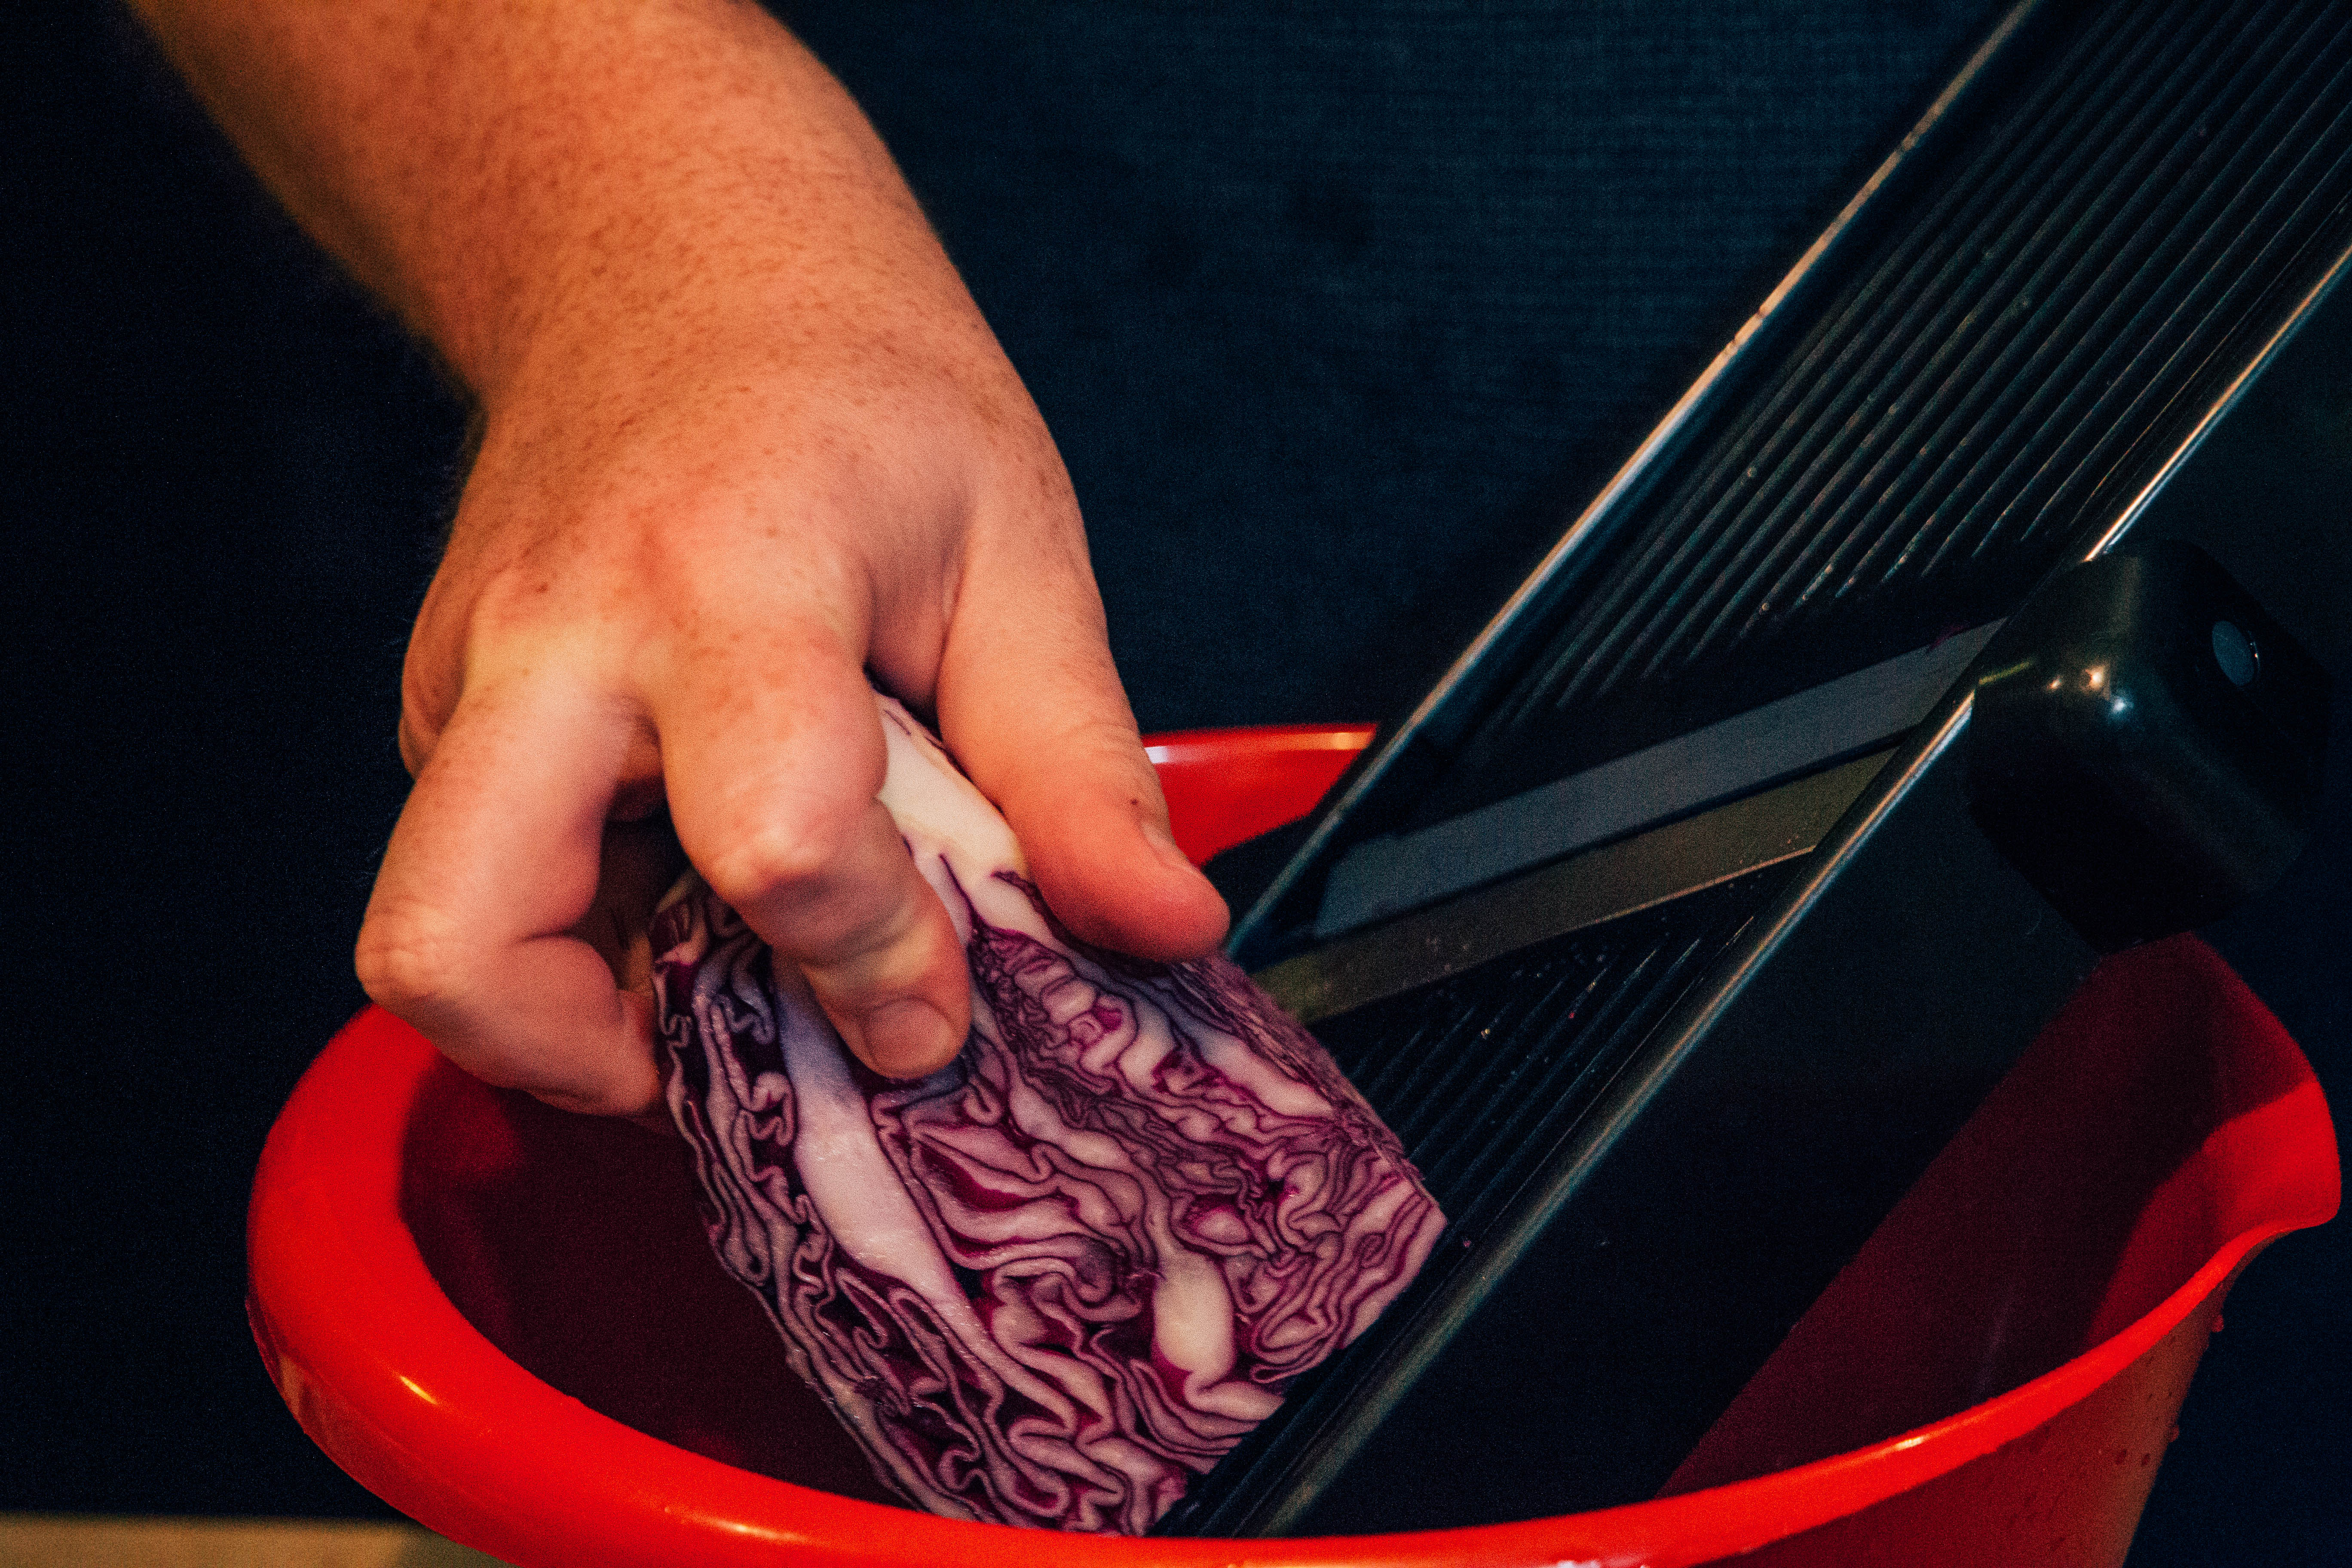
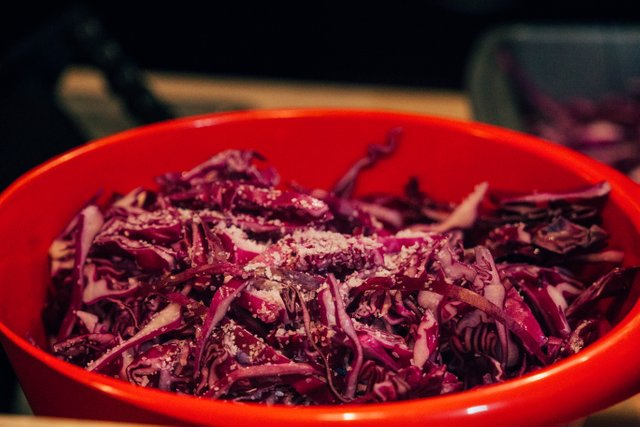
Step 2) For every 2 lb (1kg) of cabbage use 1 tablespoon of salt. Use a rounded tablespoon if you are using metric.
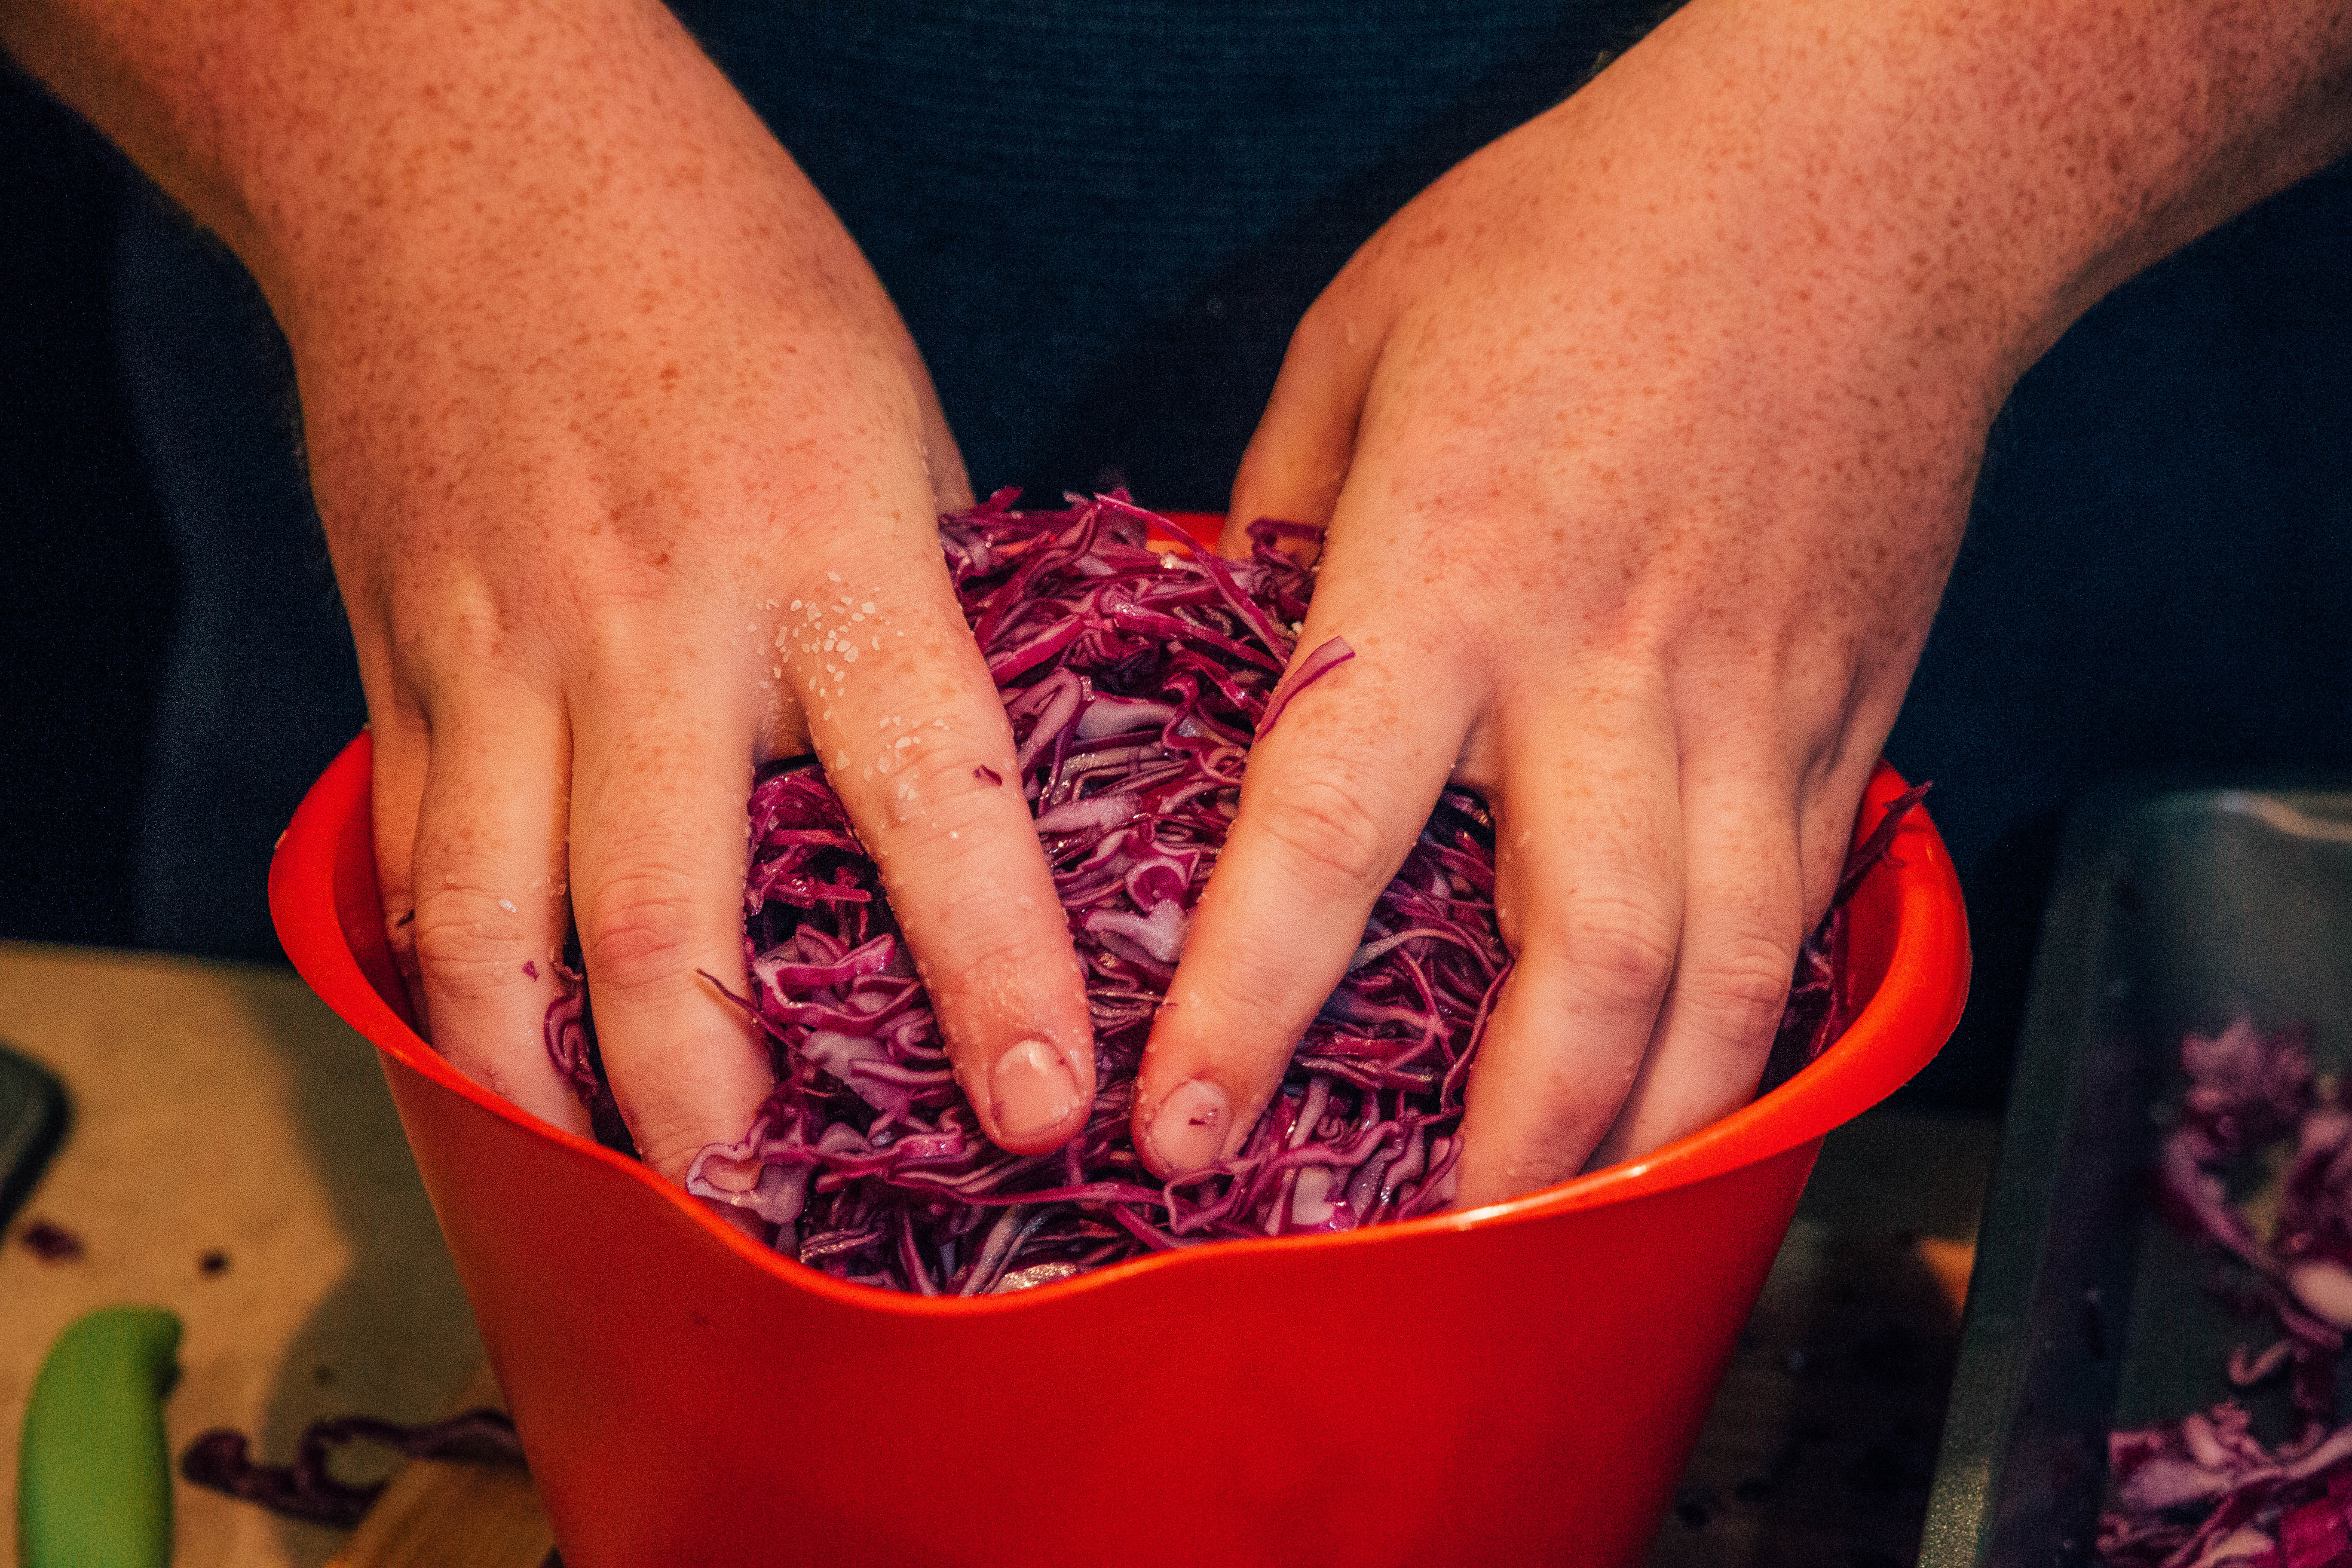
Step 3) Scrunch up the cabbage with your hands, mash it, mush it, sqeeze it. The idea is to get the cabbage mushy so more of the juices come out of it. Save the juices, we will be using them. If you have a kitchen tool which can pound something, you may use that.
Step 4) Add carrot to the cabbage, thinly sliced. You can cut them narrow, but I did thinly sliced carrot rounds from my mandolin. Add enough carrot to make it aesthetically pleasing. It gives the mixture some neat contrasting colors and does help with flavoring.
Step 5) Begin adding other ingredients as follows: Garlic - Take the garlic and blend it, or dice it. I took my garlic and blended it into garlic paste. Add the garlic to the cabbage. Dill Paste - Add the dill paste to the cabbage, 1 tbsp per 2lb (1kg). Sriracha Sauce - Add the Sriracha sauce to taste. I like my stuff spicy so I added several generous doses and mixed up the cabbage as I added it. Kimchi is supposed to be spicy!!!
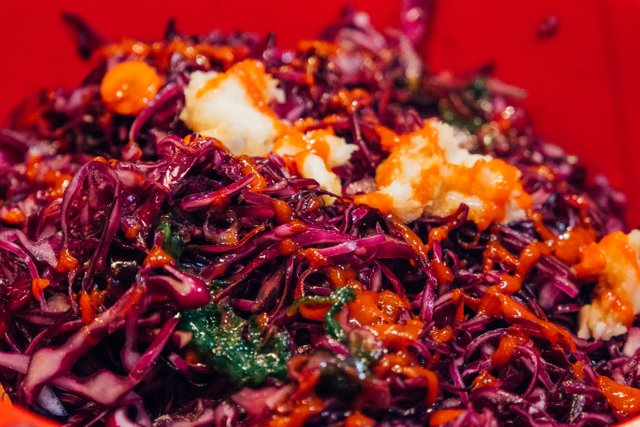
Dried Peppers - Take a generous amount of dried peppers, and if your peppers are whole, crunch them up with your hands or blend them until they are flakes. I blended my dried peppers in a little salt water. Add the dried peppers to the cabbage to the quantity desired. I may have added something like 10 to 20 small dried peppers per 2lb (1kg) of cabbage.
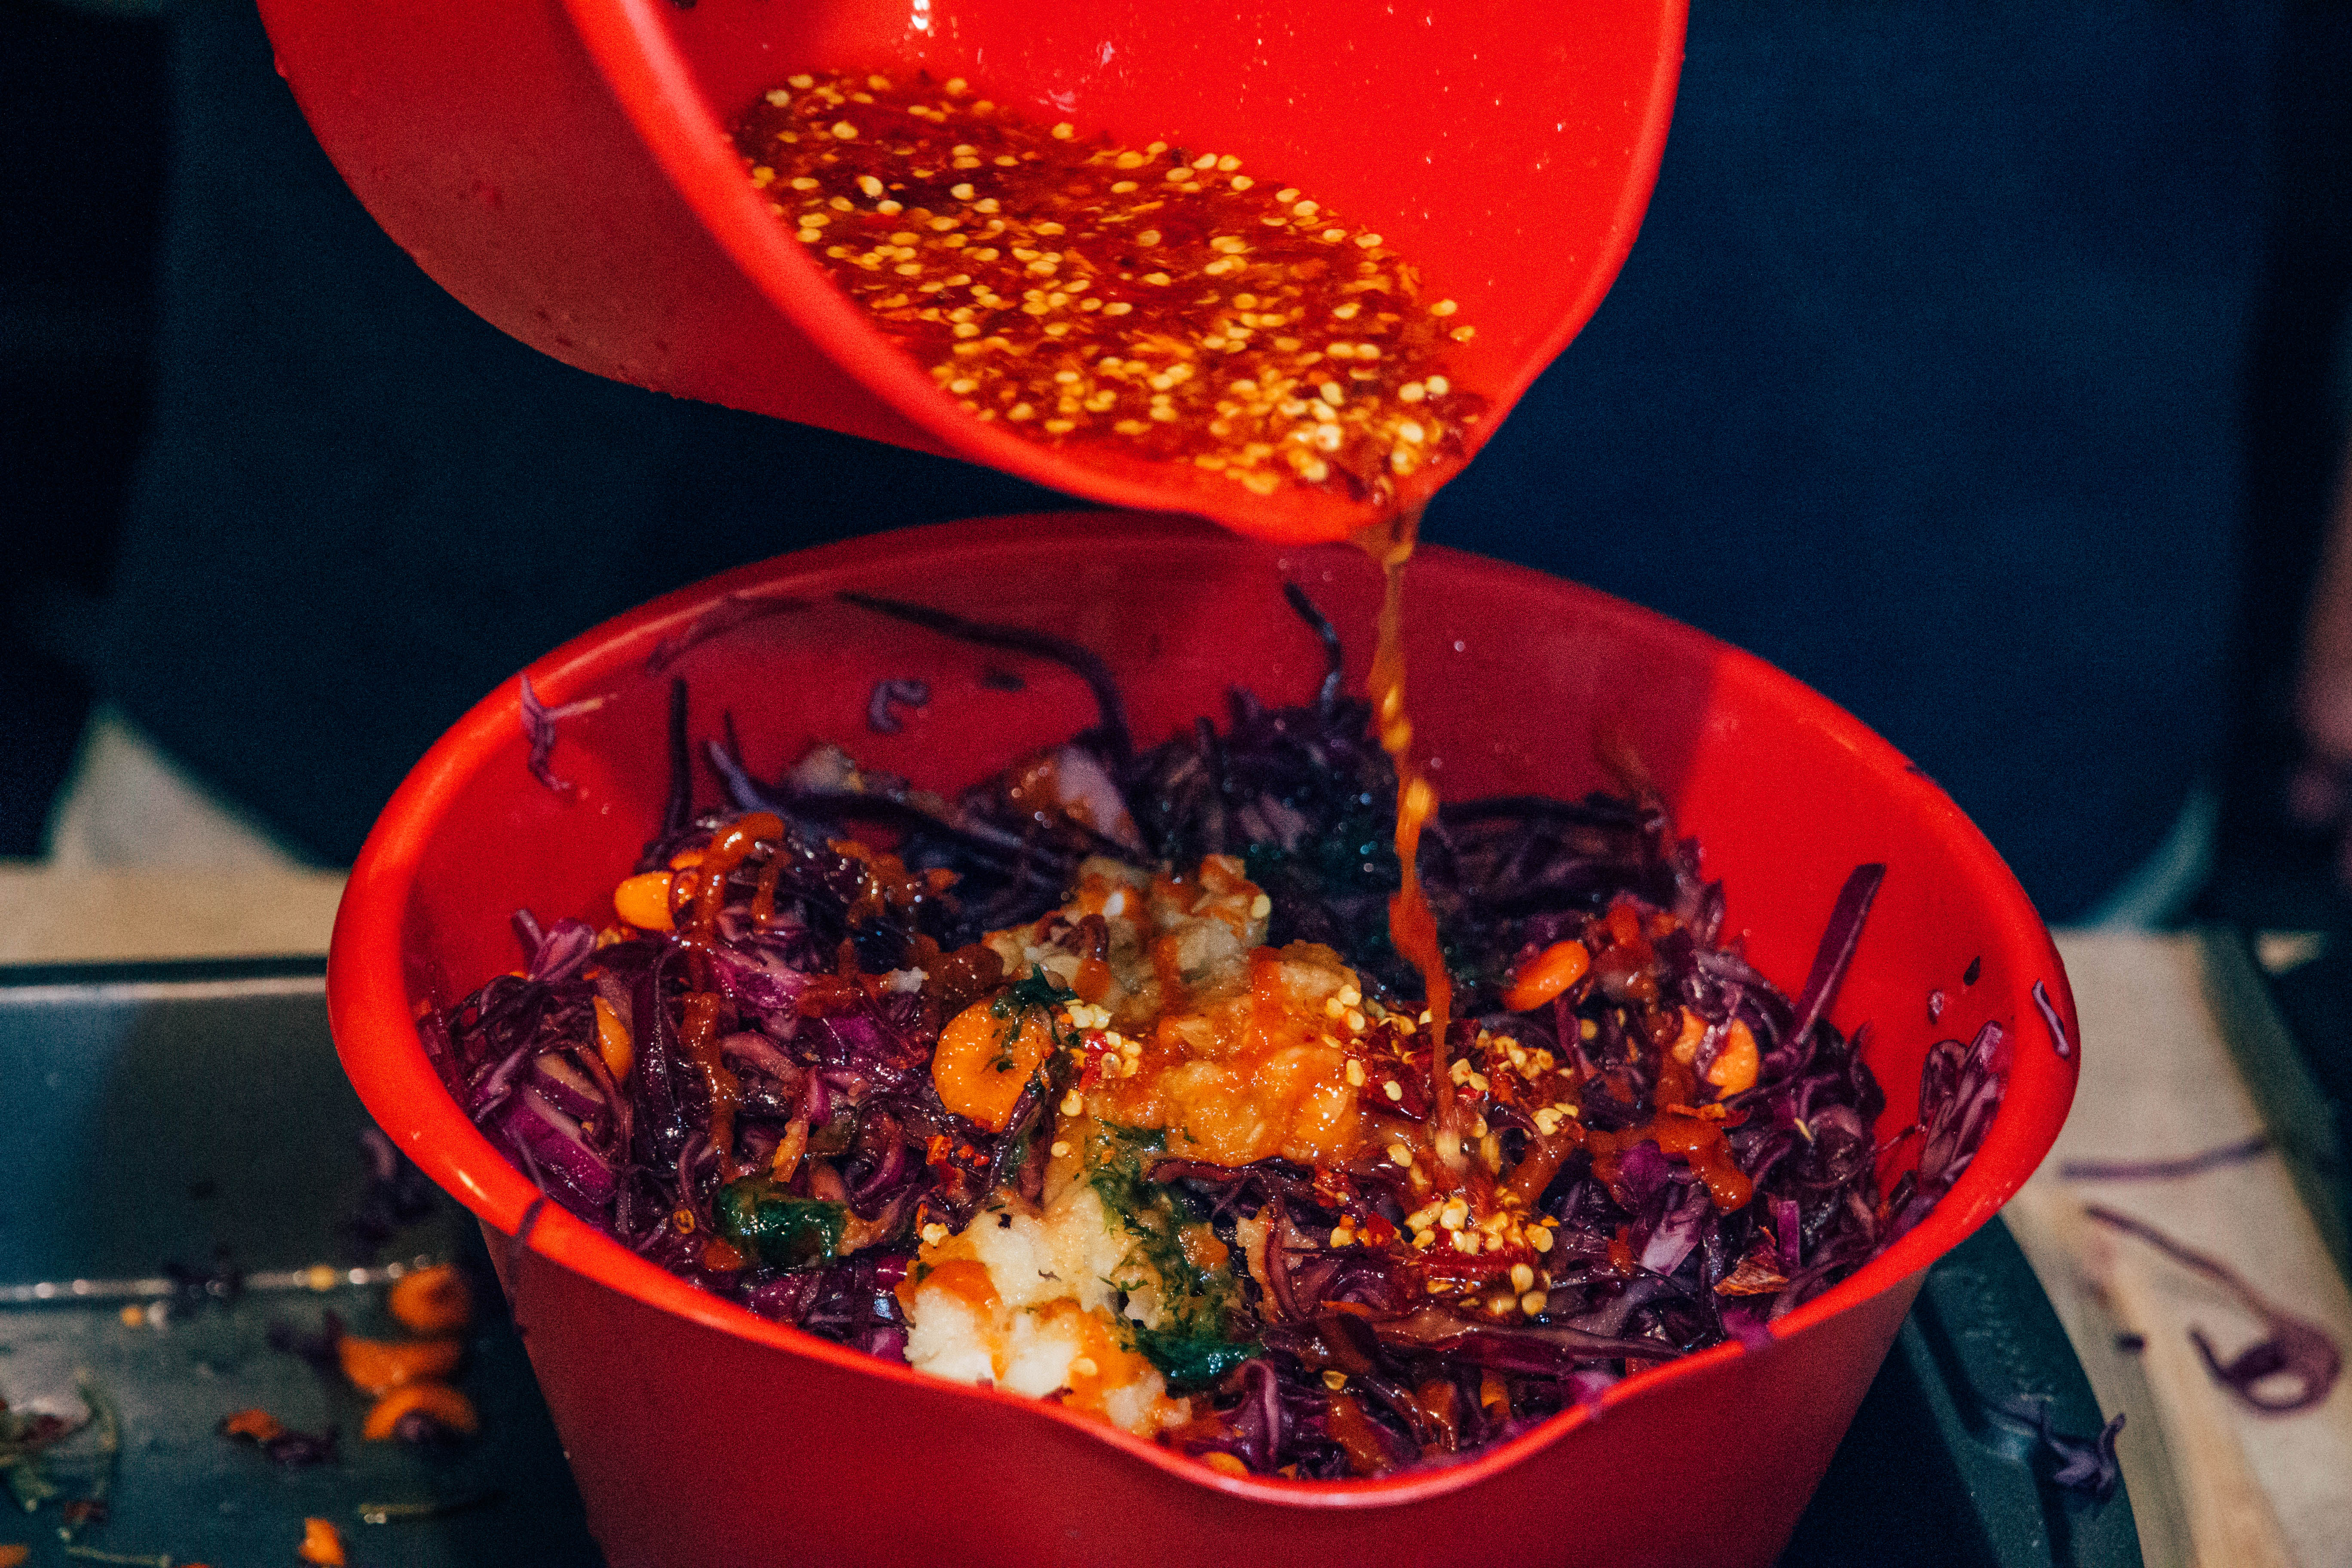
Blend up the mixture with your hands or kitchen tool, to evenly distribute all the ingredients added. Beware if you use your hands, the spicy material could burn your fingers or get into your eyes if you touch those. You may use kitchen gloves, or use a spoon to mix.
Step 6) Get your vessel for making the kimchi ferment. I am using glass jars, I cleaned out my jars with hot water. Fill the jar up with the cabbage.
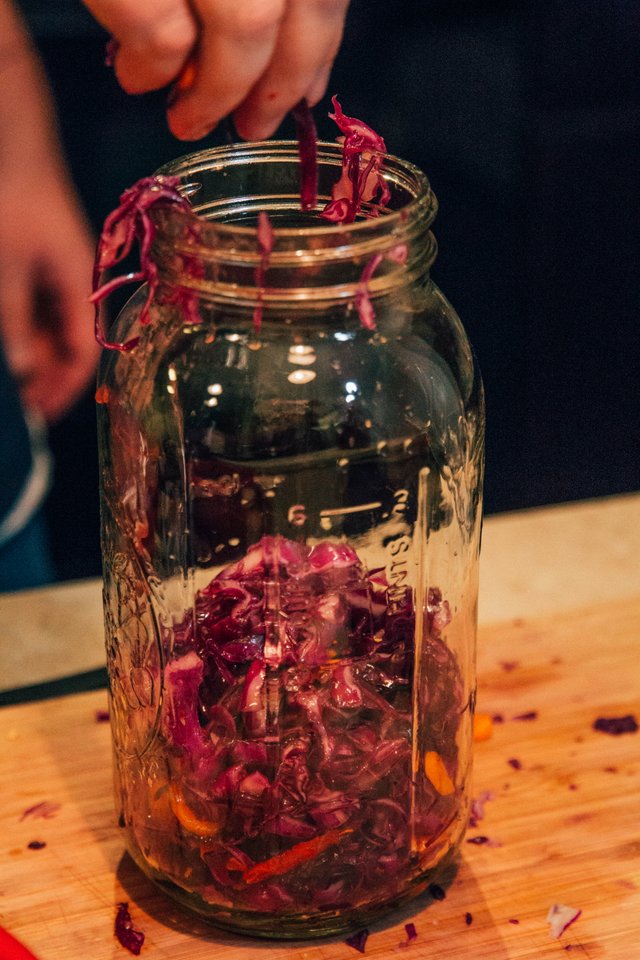
Mash down the cabbage with a tool or your hands. This presses out the air and compacts the cabbage so the juice comes up over the top.
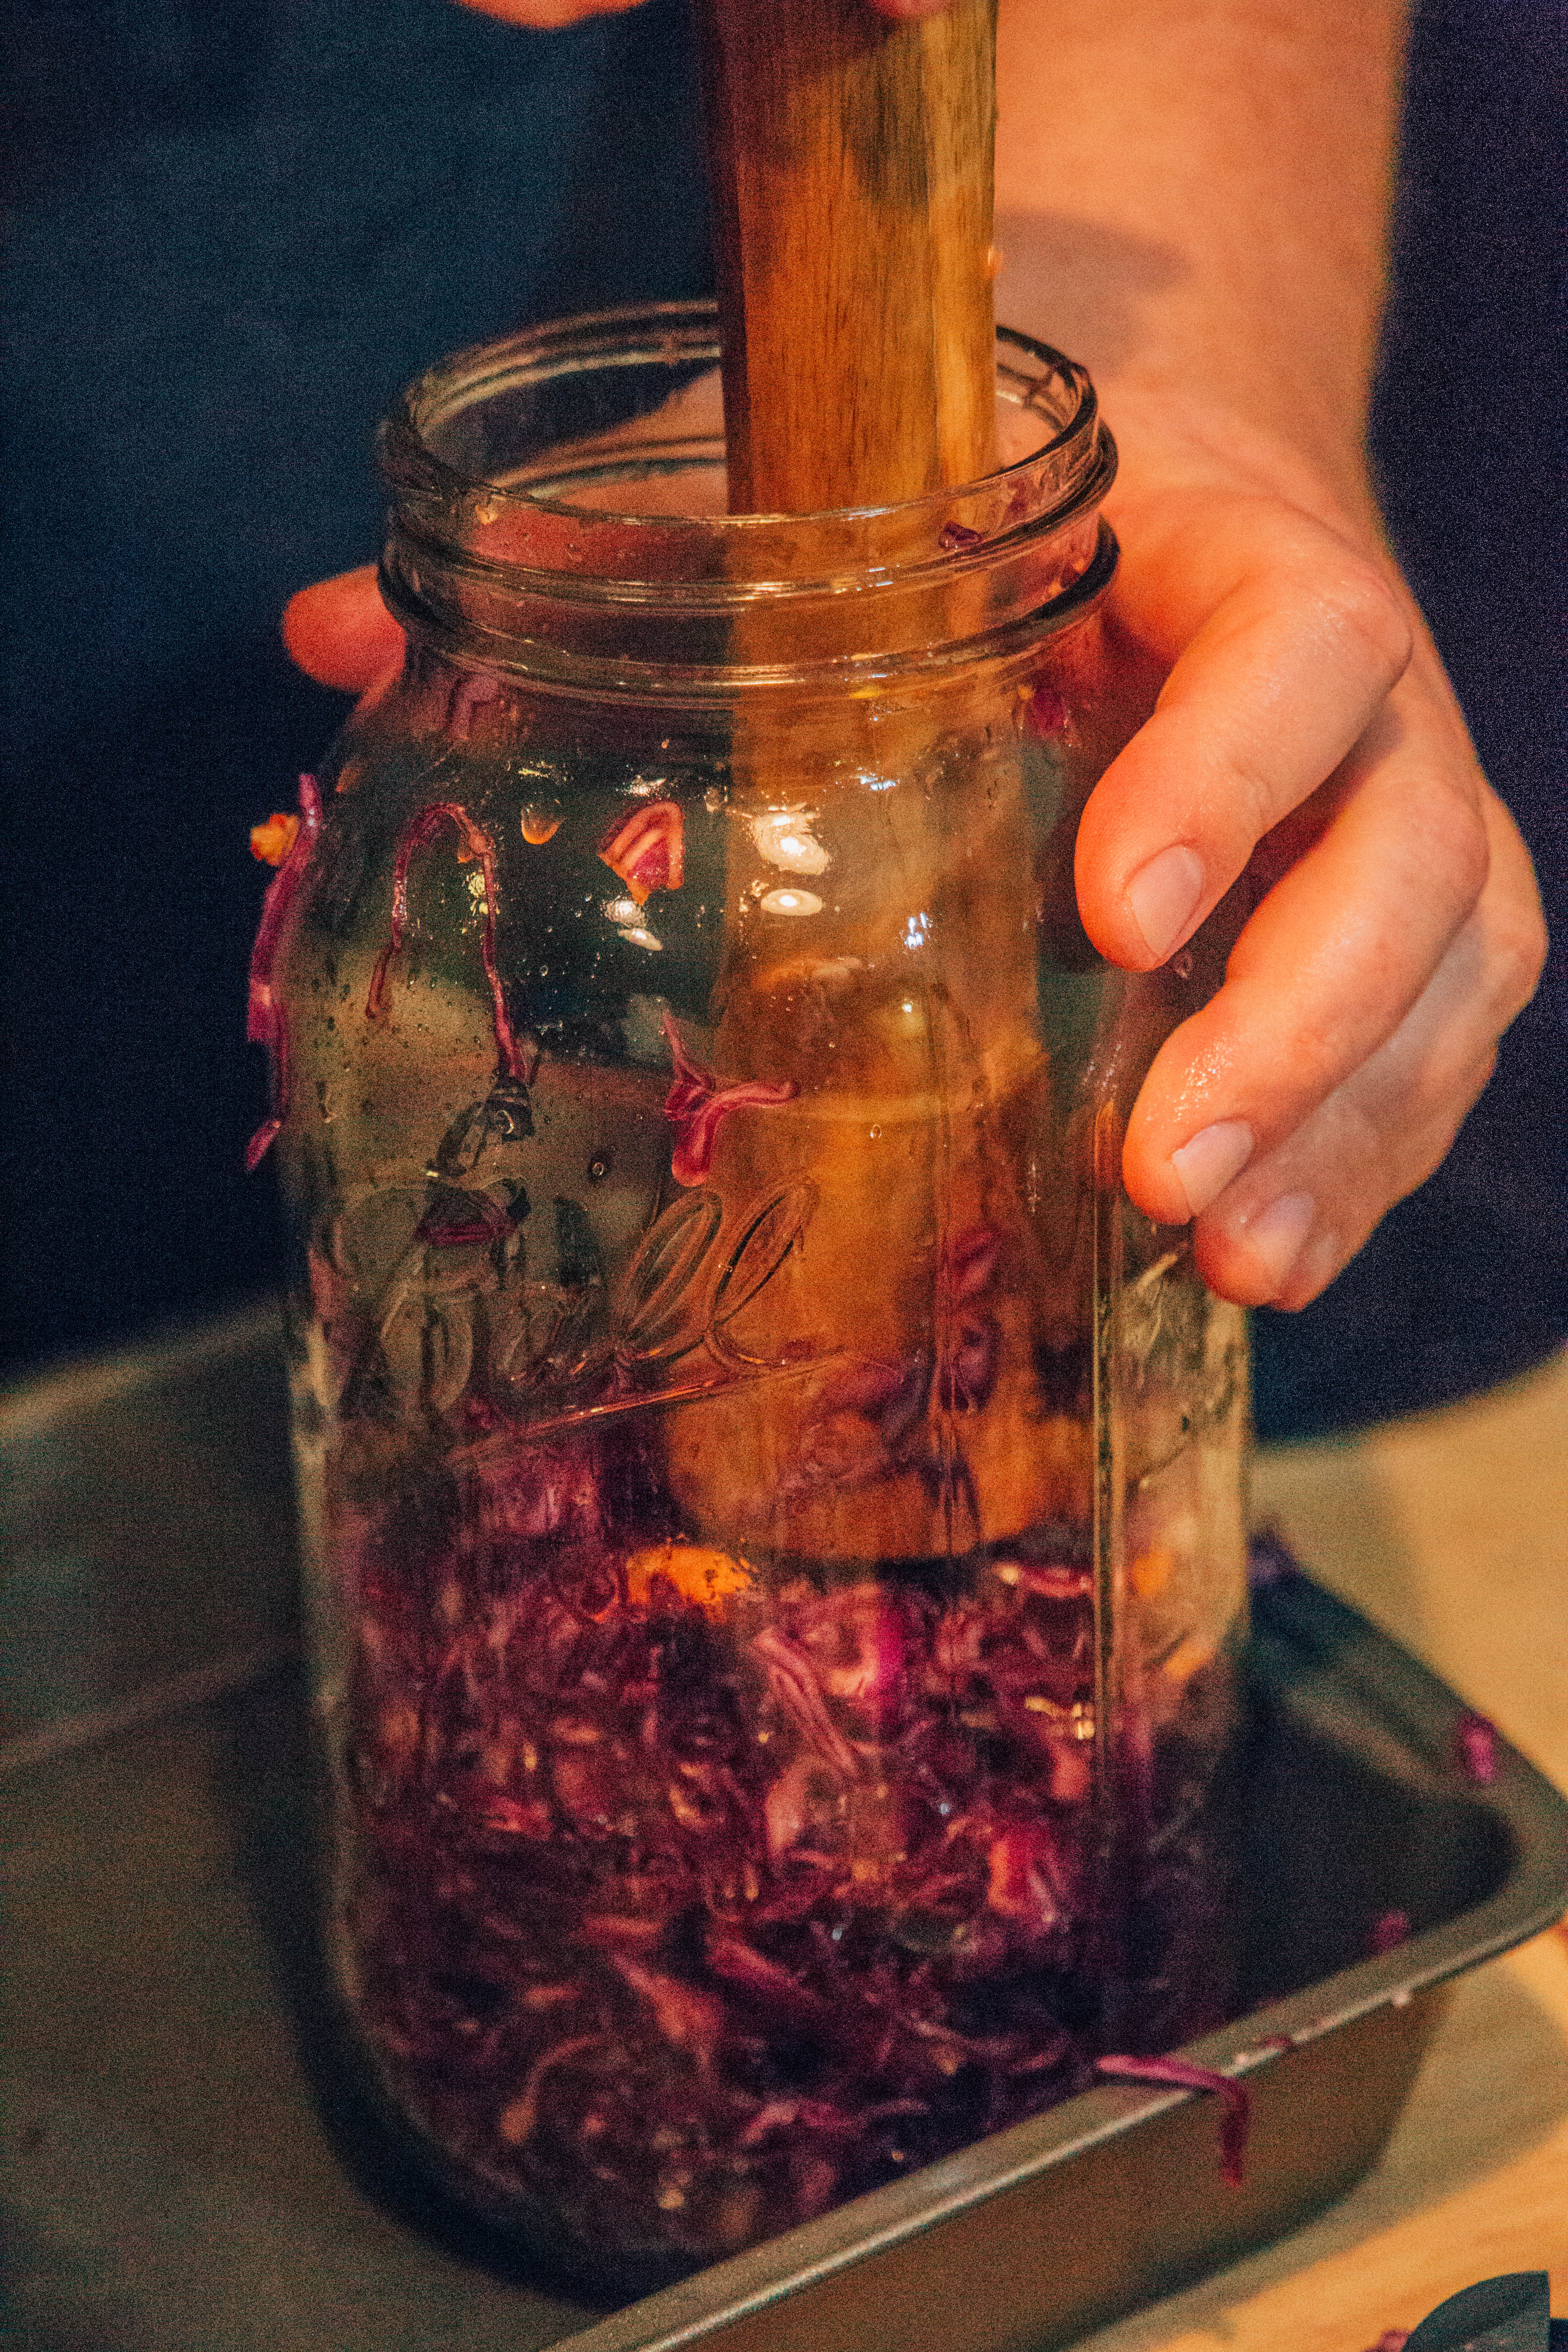
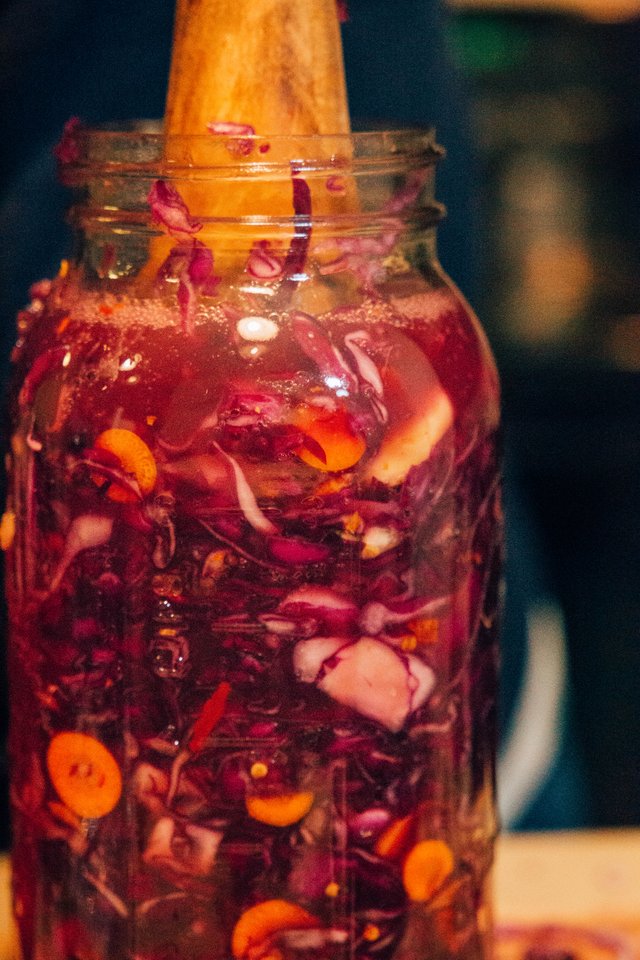
You want the juice to come up near the top of the jar. You want the cabbage mixture submerged below the liquids. To keep the cabbage submerged, I am using a glass disk to do this.
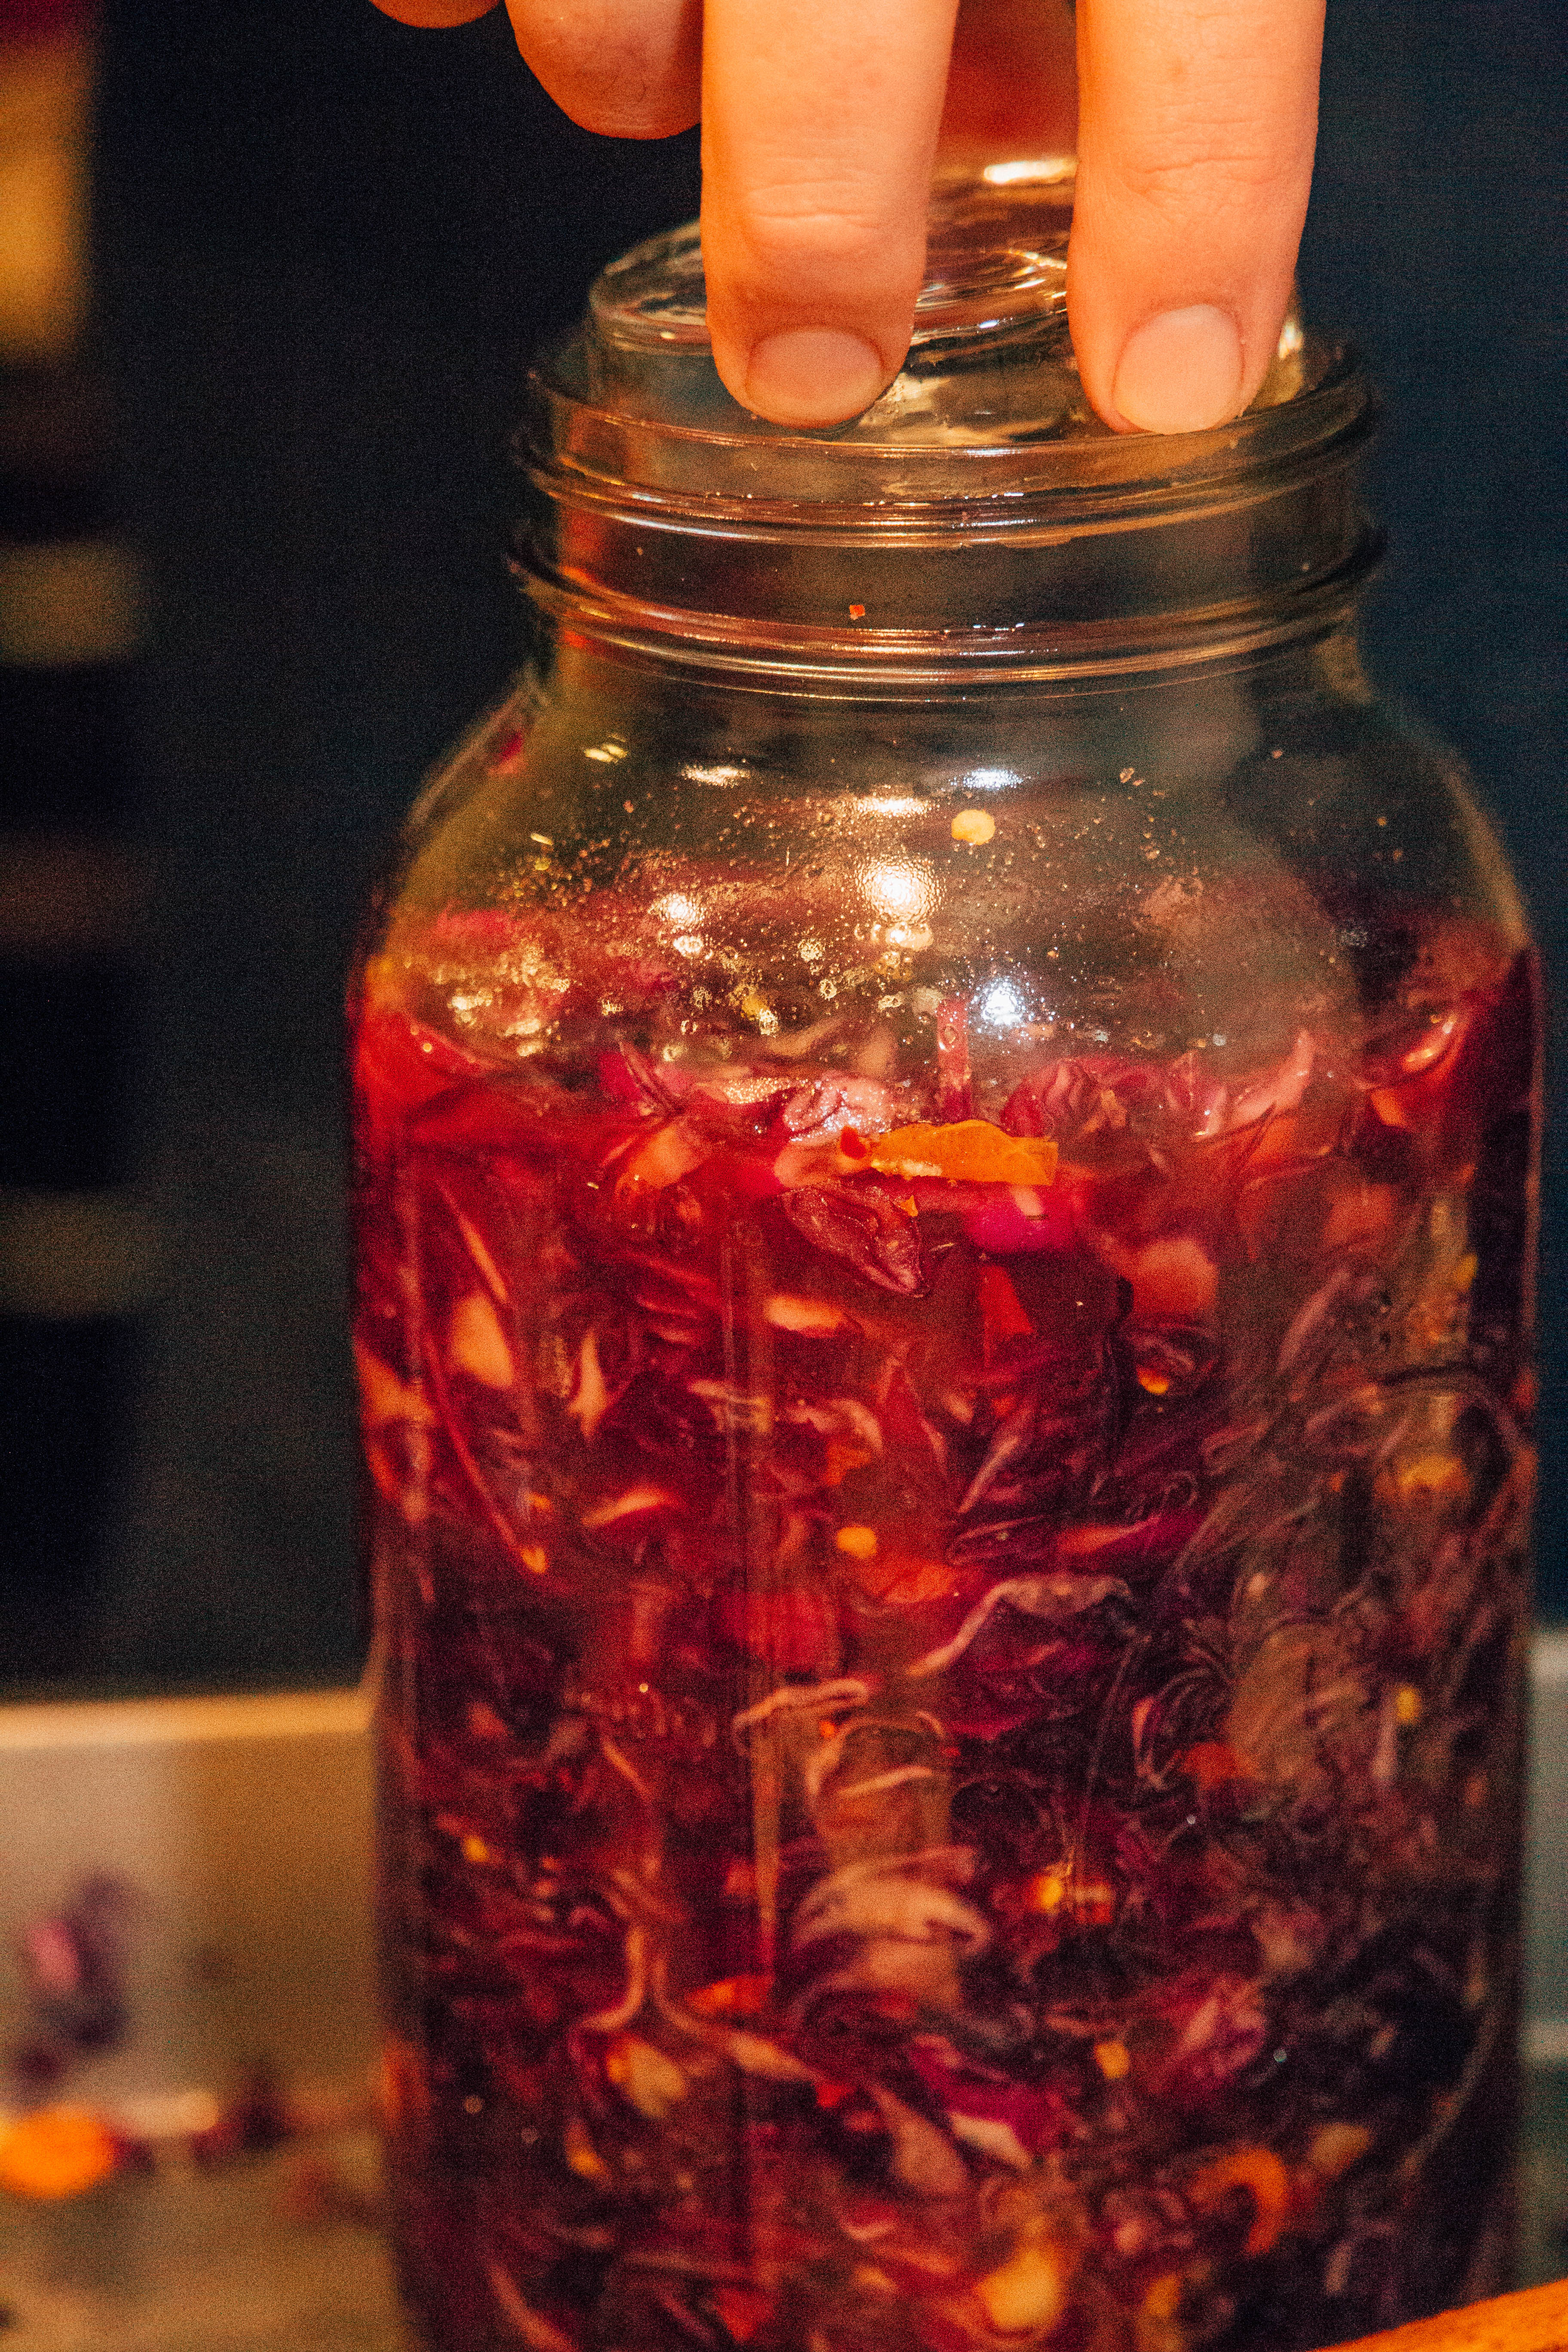.jpg)
If you do not have a special tool to keep the cabbage submerged, there are different techniques to do this. Some people fill a plastic zip lock bag with salt brine to weigh down the cabbage.
If you do not have enough natural cabbage juice which covers the cabbage, make a brine from clean water and salt to add to the jar.
Salt Brine Additive (use if needed):
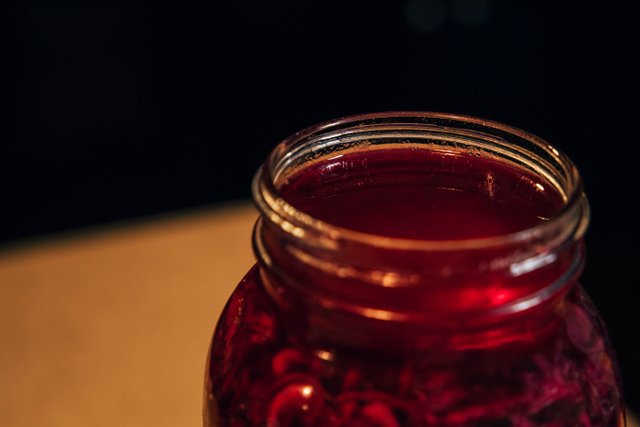
3/4 tbsp of salt for every 2 cups of clean water (use filtered water or bottled water, just nothing with chlorine or chemicals in it)The final result should look like the picture below where the brine comes above the cabbage, and the cabbage is being held down with a bag or another tool.
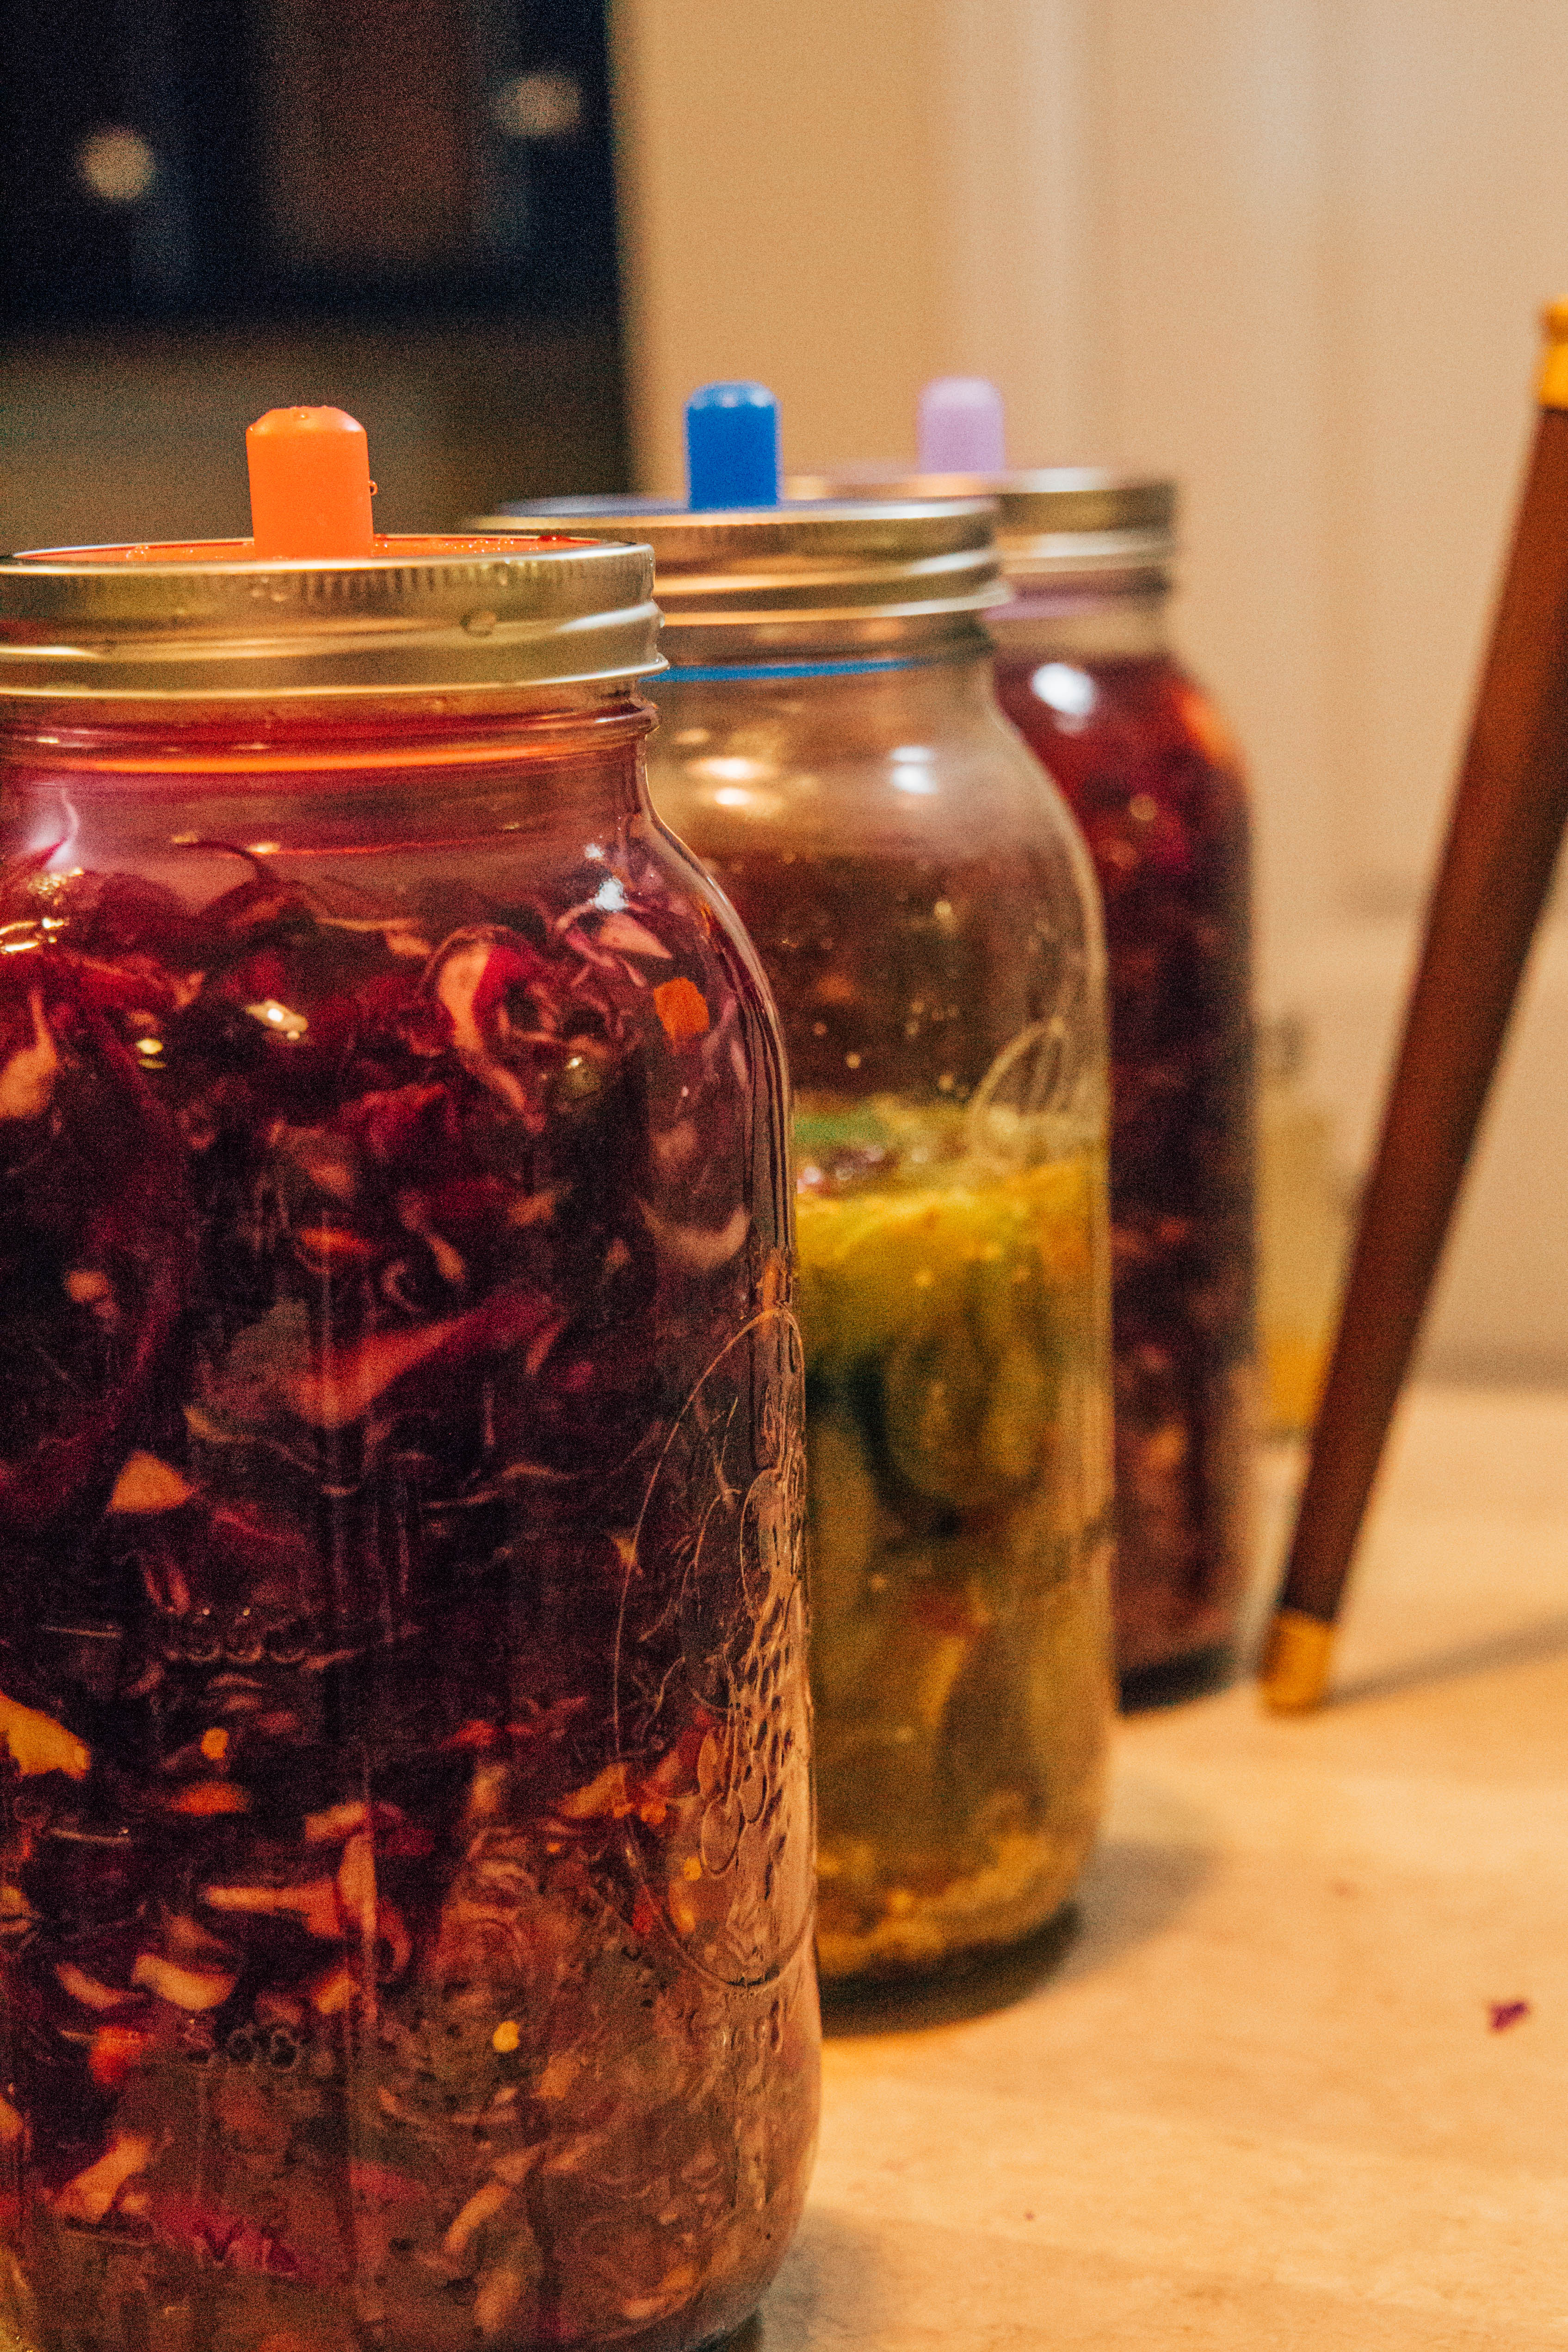
Put a lid on the jar, I am using a fermenting lid. If you have a normal jar lid, just don't tighten the lid all the way. The jar should also overflow on you so place the jar inside another container like a cookie sheet or pie tin.
Step 7)
Fermentation:
Store the jar in a dark place, between 65 F and 75 F (18.3 C to 23.8 C). I ferment mine for 4 days, but some people go longer. Bubbles should form within 24 hours. Skim off any material that might form at the top after several days. If the material is white, this is a yeast and usually harmless. If some kind of colored mold takes hold, it may mean your batch is no good.When it is complete, you have to be the final judge as to whether the batch fermented correctly or something went wrong. If you have tasted a fermented product like this before, it should be easy to tell. After you are done fermenting, I put it in the refrigerator for storage.
wow love the step by step approach so beautifully made with lots of hard work i appreciate this thanks for sharing with us :)
Downvoting a post can decrease pending rewards and make it less visible. Common reasons:
Submit
Hey thanks! You are super welcome :)
Downvoting a post can decrease pending rewards and make it less visible. Common reasons:
Submit
:)
Downvoting a post can decrease pending rewards and make it less visible. Common reasons:
Submit
Thanx for sharing. You have put too many effort by explaining it in steps. I really appreciate your work.
Downvoting a post can decrease pending rewards and make it less visible. Common reasons:
Submit
No problem, I appreciate your appreciation haha
Downvoting a post can decrease pending rewards and make it less visible. Common reasons:
Submit
Haha
Downvoting a post can decrease pending rewards and make it less visible. Common reasons:
Submit
I am for sure trying this. Will report back in a week how it goes. Thanks for the recipe in detail :D
Downvoting a post can decrease pending rewards and make it less visible. Common reasons:
Submit
Cool! Let us know.
Downvoting a post can decrease pending rewards and make it less visible. Common reasons:
Submit
Hope it goes well for you! Glad you're trying it out, super worth it.
Downvoting a post can decrease pending rewards and make it less visible. Common reasons:
Submit
Congratulations @olgaforreal! You have completed some achievement on Steemit and have been rewarded with new badge(s) :
Click on any badge to view your own Board of Honor on SteemitBoard.
For more information about SteemitBoard, click here
If you no longer want to receive notifications, reply to this comment with the word
STOPDownvoting a post can decrease pending rewards and make it less visible. Common reasons:
Submit