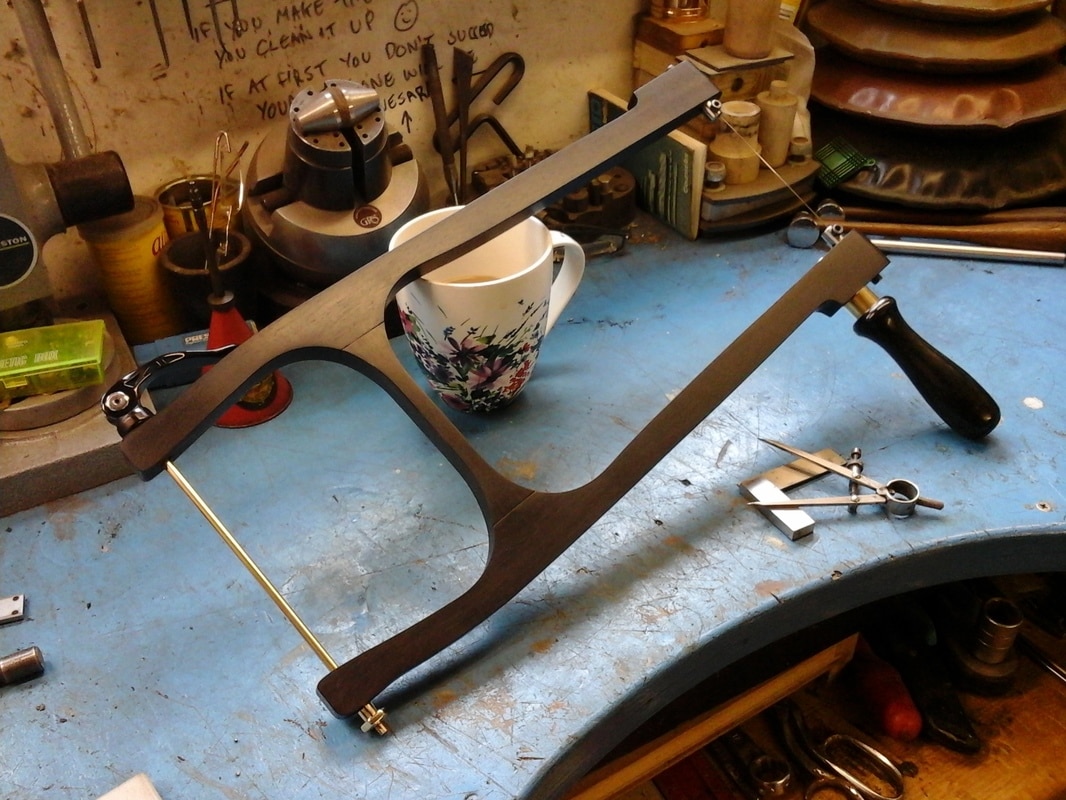
Hi folks, I would like to share how I went about making this great old tool from a picture on the internet from an auction, into the fabulous tool I use for cutting veneer today.
First thing you need is a billet of timber, preferably a type of hardwood that has linear strength proporties, here I used solid Ebony/pictured, 18 by 1-1/2" in old money, and in the description we see another rosewood from Brazil, this then needs to be cut into two along the entire length, the cross brace is also of the same width.
The bosses at the blade holder end and where the handle is fitted, leave 60.00mm and the opposite end for the tensioning rod 30.00mm long, these sizes are aprox and can be altered to suit your own pattern.
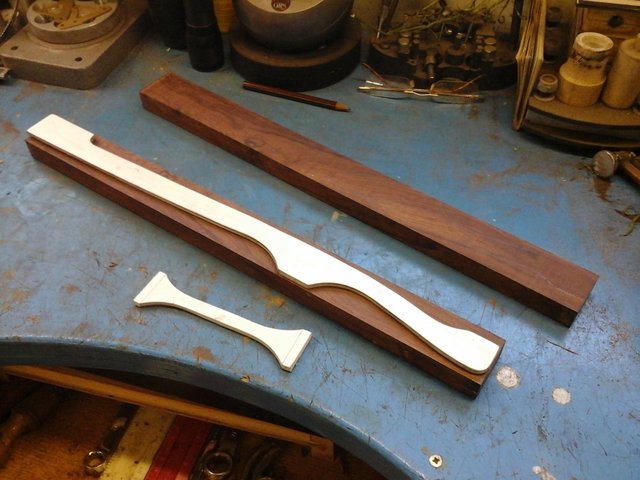
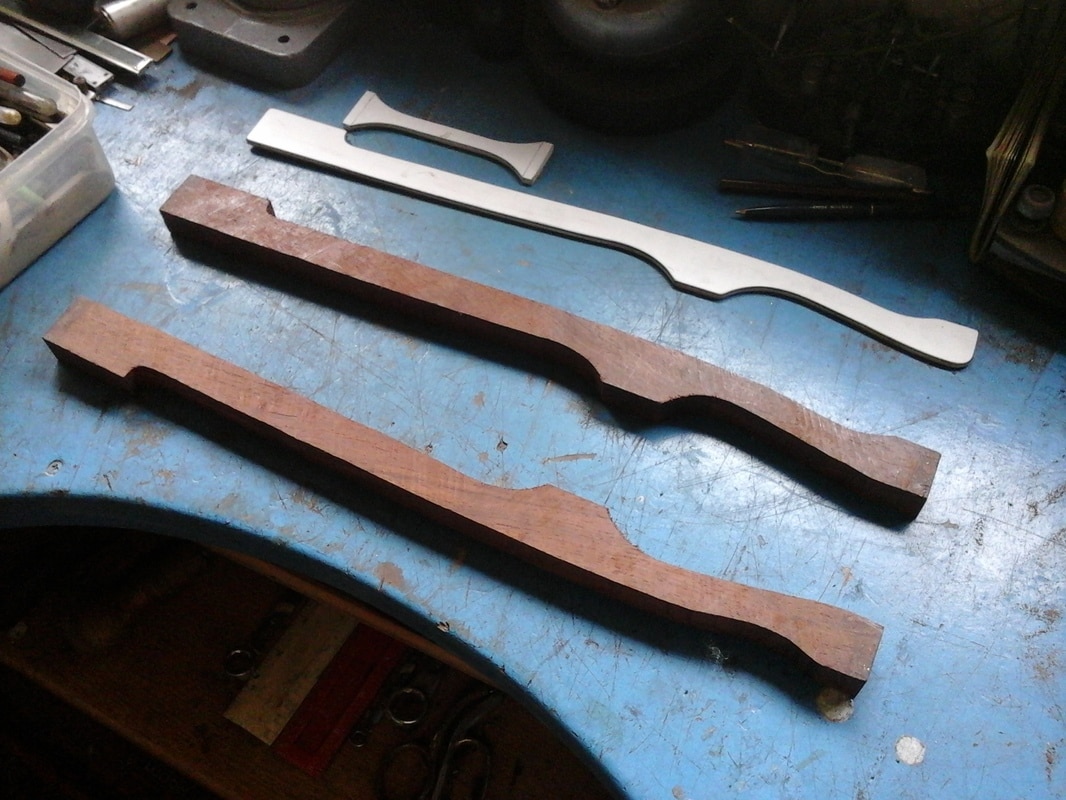
The pattern shown here is my adaptation but you should be able to work things out from the picture as I did and make something pretty close. The cross brace joints are situated six inches from one end and the cross brace itself is five and a half inches long, and the same width as the main rails, this includes the two tenons that are cut on either end, you can alter this width depending on the size of you blades but it will be enough for the standard 130.00mm fret blades.
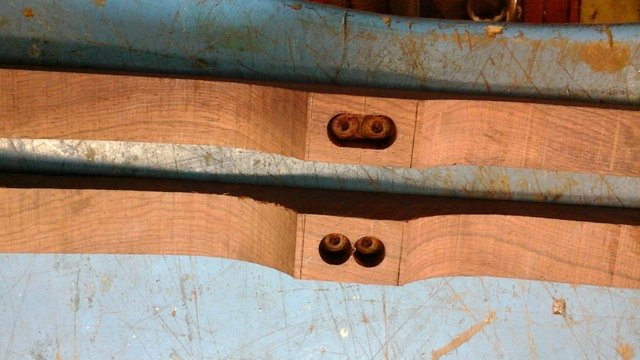
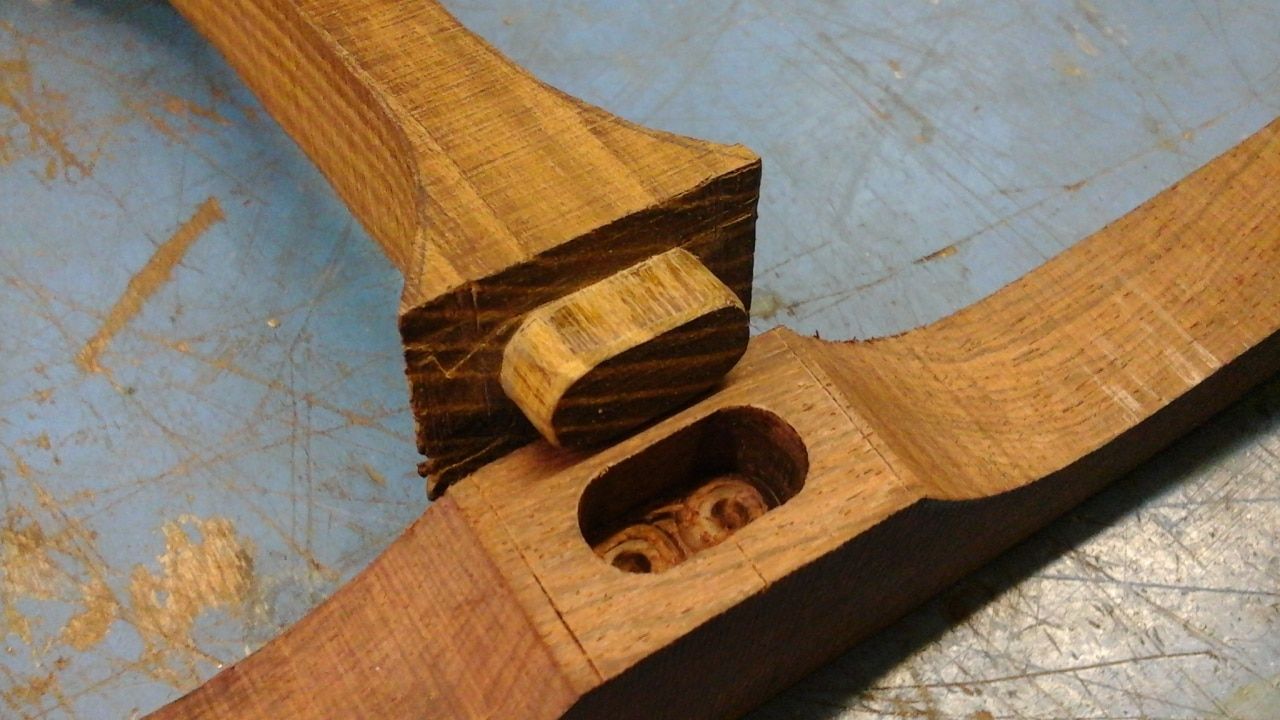
Above is the different stages of jointing things using a 10.00mm dia spur bit, drill the holes side by side which will give you a mortice of 20.00mm long 10.00 wide and then clean out the waste by hand with a normal half inch wood chisel. When you make the rail for the tenon mark it to the same size as the drill bit and cut ever so slightly to the outside of the line and pair back until it is a snug fit, not too tight that it is going to split the rail as you insert it, take your time here and get it right.
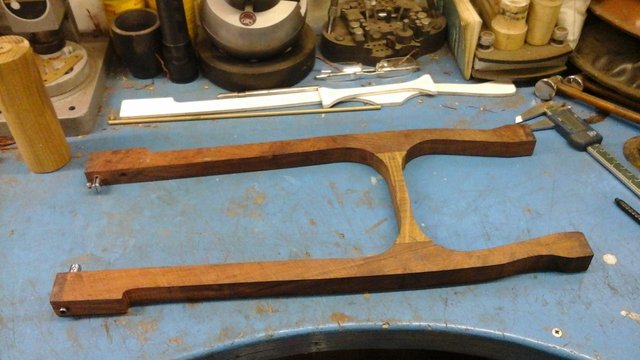
Once you have everything fitted you can sand the top surfaces back to gain a neat fitting and curved cross bar, "but do this stage later with the cross brace and blade all tightened up",
Now you need to drill the blade holder holes and tension bar holes. the blade holder rods need to be drilled no closer to the end of the timber than half an inch, which leaves enough timber for a sturdy hold without splitting through.
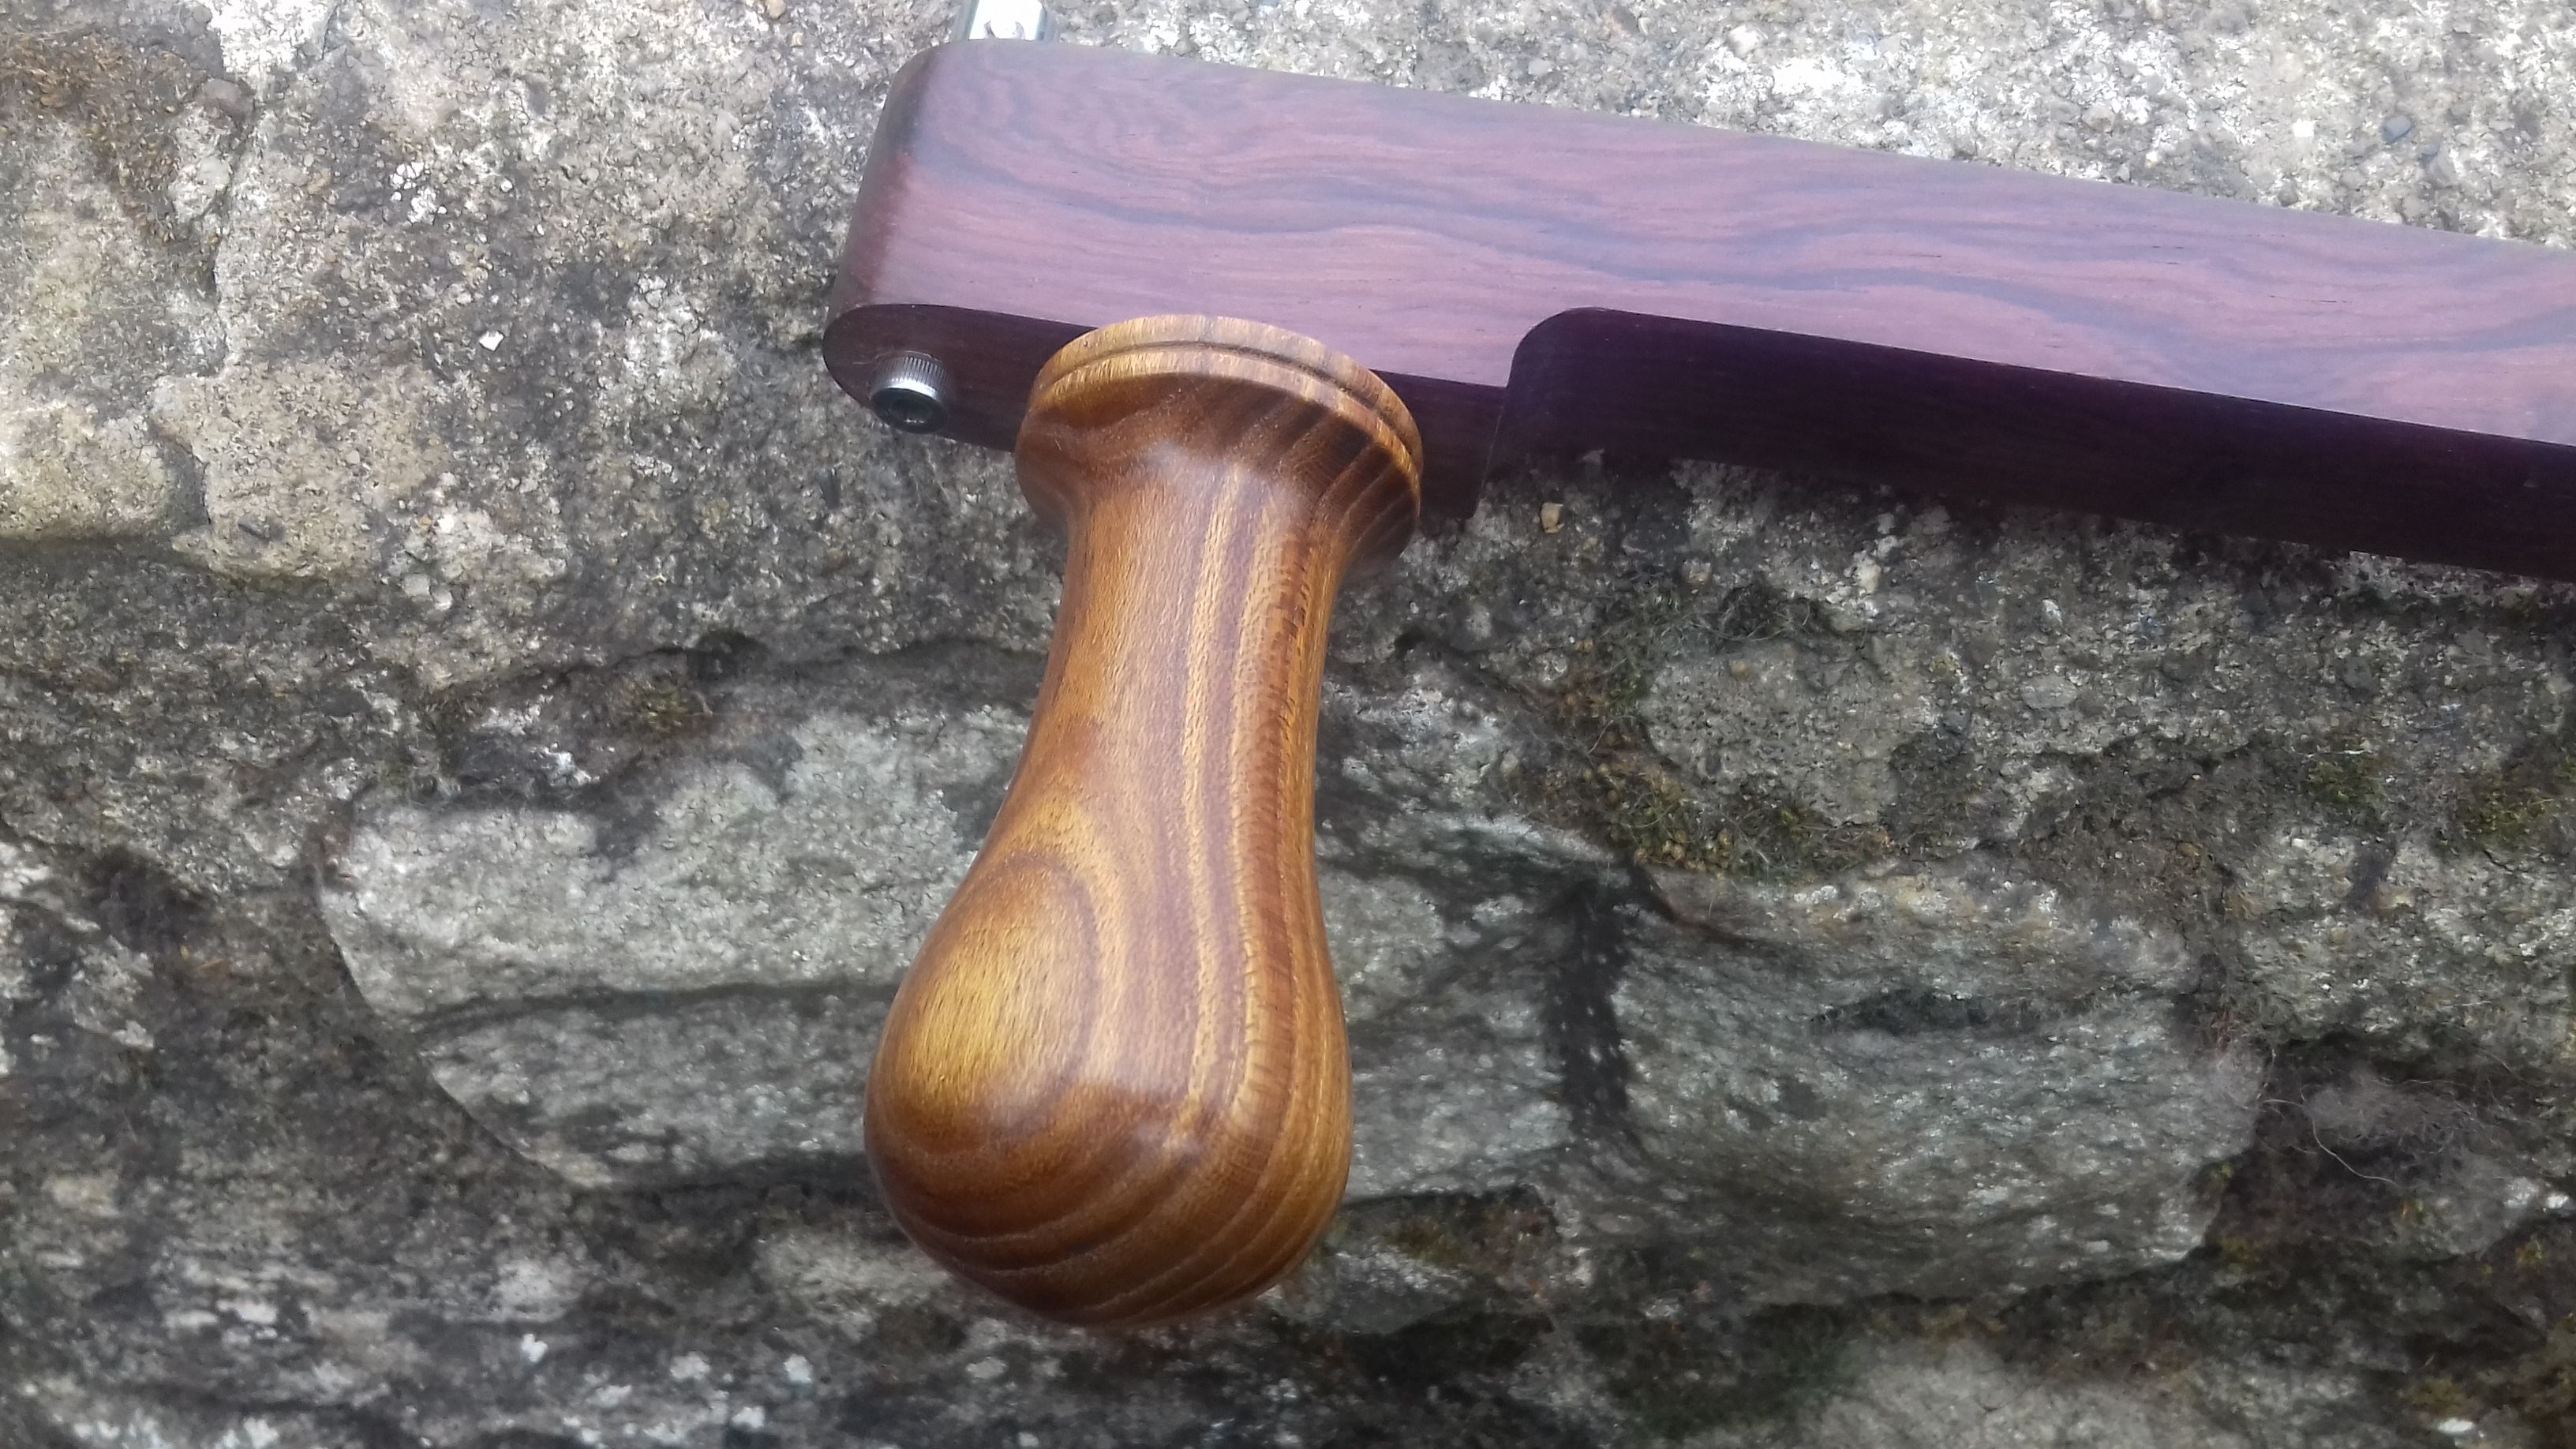
One end needs and extra hole to take the handle, drill this with a gap of about an inch from the centre from the blade holder hole, when you drill the handle hole only go three quarters of the way through the lower linmb from the outside or lower edge, then drill the pilot hole for the retaining screw on the inside or upper edge.
Now lets deal with the blade holders themselves.
These are made from stock tool steel, mine are 10.00mm dia, 32.00mm long.
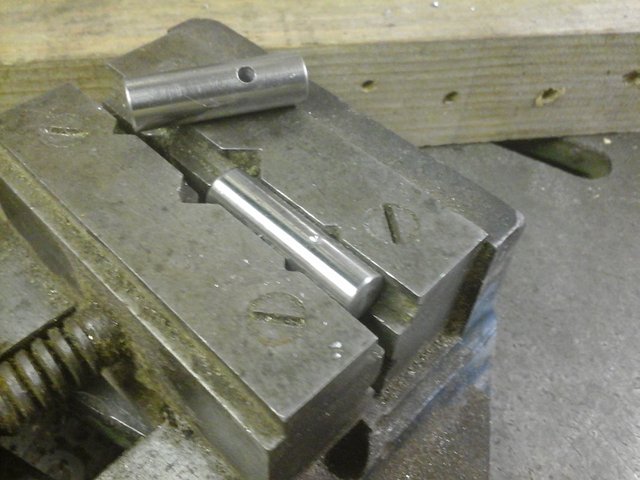
Drill a 3.00mm- 1/8" hole across the rod 11.00mm from one end.
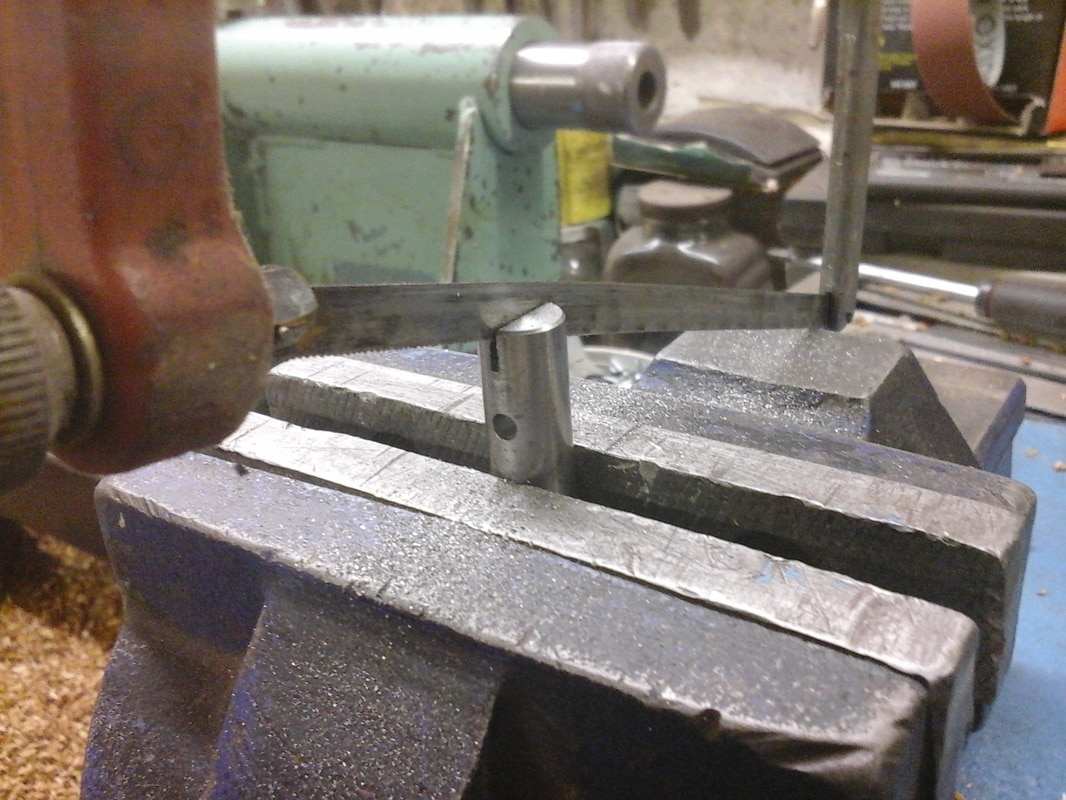
Now with the aid of a junior hacksaw with its teeth hammered flat for a much narrower slot, cut down the center until you break through into the hole itself.
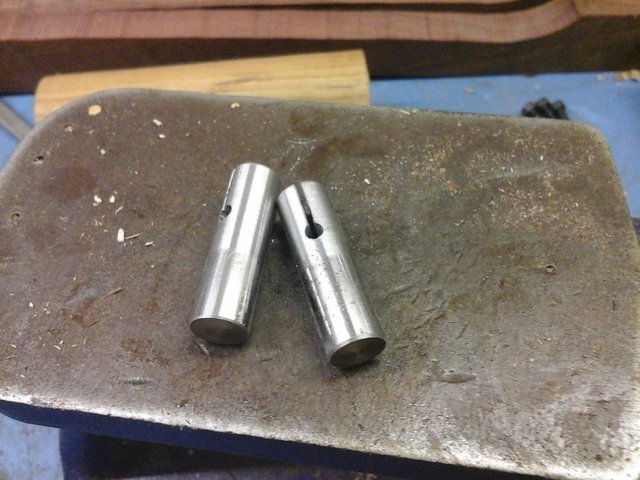
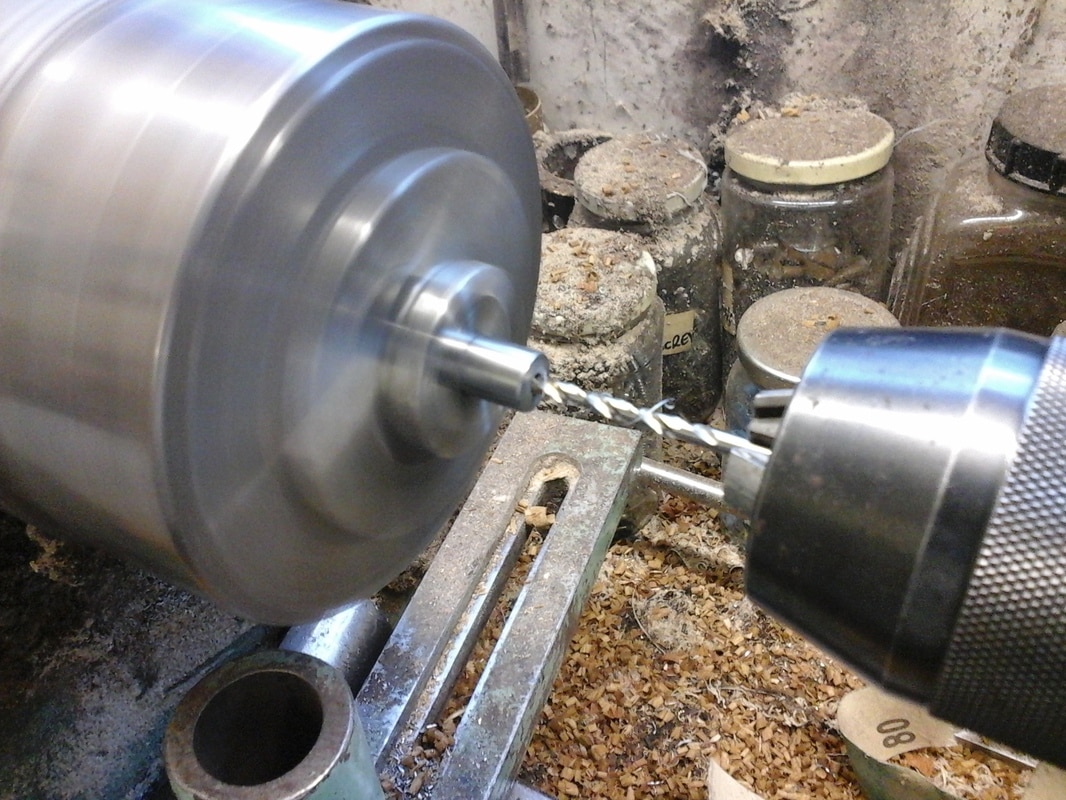
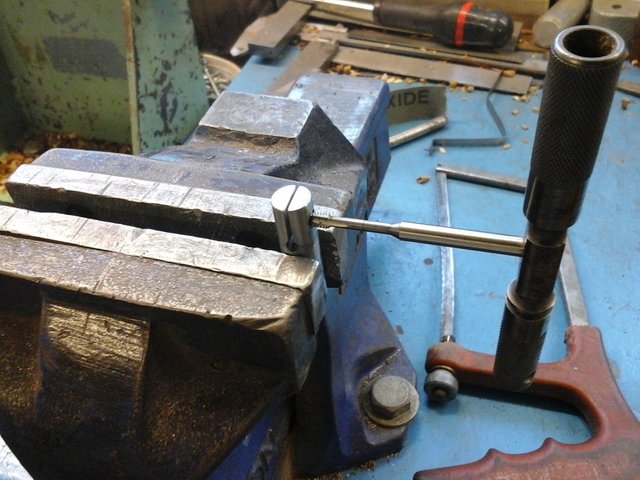
Now you need to drill a tapping hole for a 4.00mm all threaded alen bolt, the cross hole to take the blade bolt needs to have a full 4.00mm clearing hole for the bolt the fit through without threads, but leave the tapping drill size 3.00mm on one half only, now drill and tap the end face to take the same bolt to secure the rod into the wooden rail ends.
The only thing that needs doing now is to drill the 3/16" tension bar holes at the opposite end to take the tension rod and turn the handle leaving a small spigot on the end that fits into the bottom rail, this is then screwed into place using the pilot hole drill and screw from the other side.
To finish the saw fully assemble it with a thicker blade or bar inserted and tension it up, now use a sanding drum to create the final curves where the wooden cross bar fits in the bottom corners and sand the rest by hand until yo get the desired finish, with a final coat of danish oil to really bring out the grain.
I hope that is enough for you to get things done, if not drop me a message on any parts your unsure of, thanks for watching.