Hello beautiful Humans!
I have another update on my trailer project. Tonight I was able to drill the holes in the panels to mount to the steel frame for the rooftop panels. I also mounted the frame to the roof rack that I previously installed on the trailer.
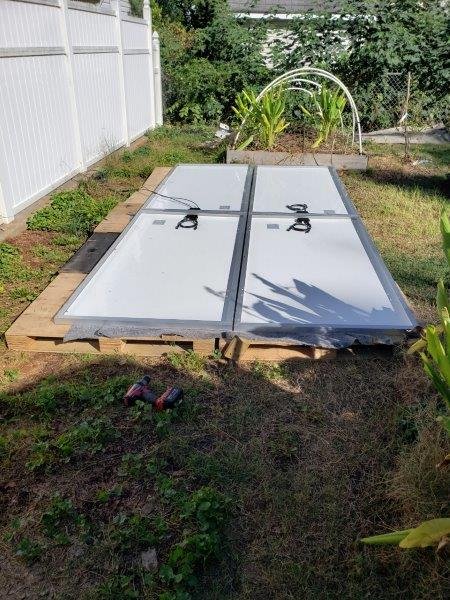
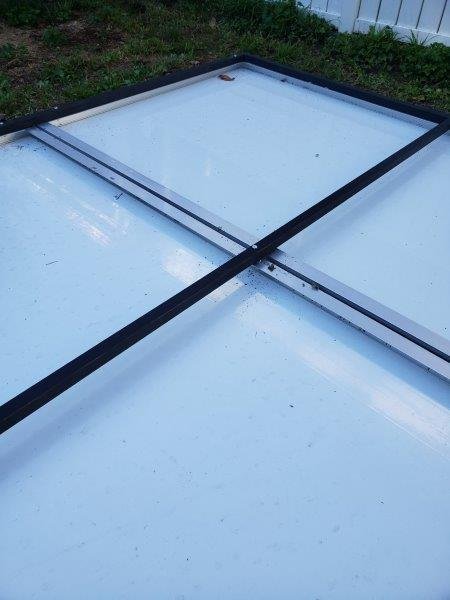
I began by laying out all my panels and giving them the spacing between each panel to allow air to pass through during transit. I leveled the panels as best as possible so the frame would sit square with the panels.
I started drilling the holes for the 1/4-20 by 1.5" bolts/nuts using a 5/16" drill bit. This was to allow enough wiggle room to attach if the panels need to be shifted to allow for correct alignment.
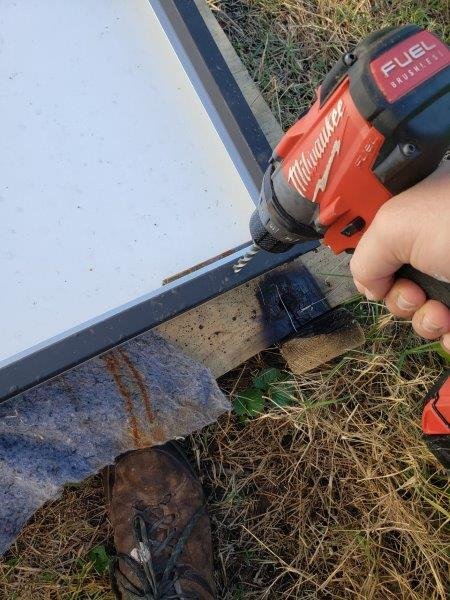

I started by fastening 2 bolts on the end of each panel on the frame to keep the panels square.
Here are the panels and the frame, notice the spacing of the panels.
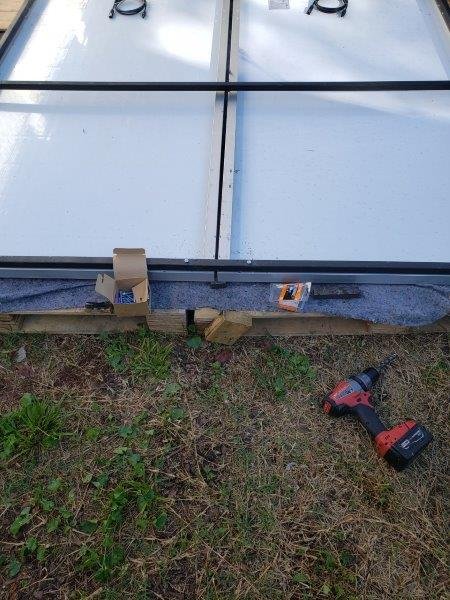
I drilled a bolt hole for each 36" square tube section on the frame not realizing this will be covered by the frame when mounted on the trailer. I believe I have enough mounting points where this won't be an issue. I may adapt another method to add a different piece of hardware here.
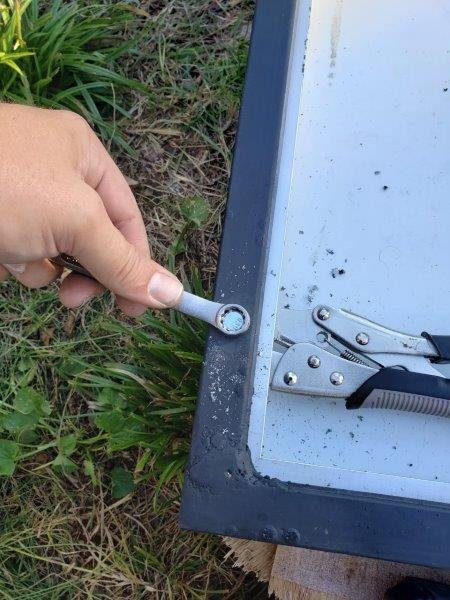
After drilling each hole I tightened down the bolt and nut to ensure proper fit before I will assemble on the top of the trailer. I used a pair of vice grips to hold the nut and an 11mm open end wrench to tighten the bolts down.
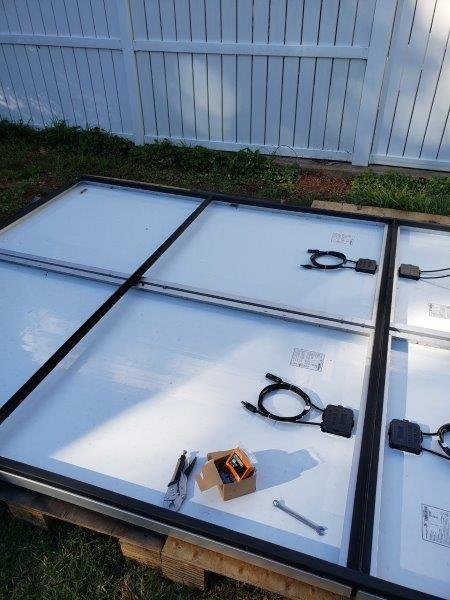
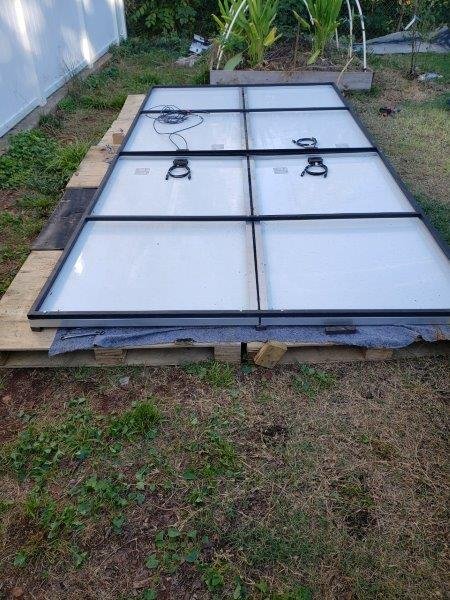
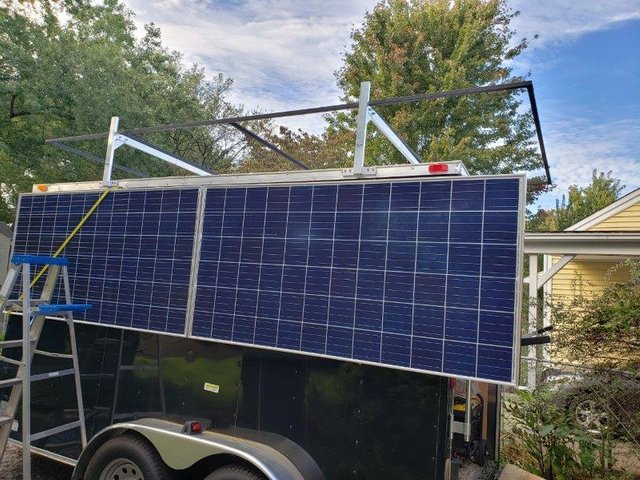
Here's an overview after I did the first test assembly.
I then hoisted the frame onto the roof rack by placing one end onto the closest roof rack then pushing the frame forward on the rack until I passed its center of gravity and it fell onto the other roof rack rail! Like a glove ;)
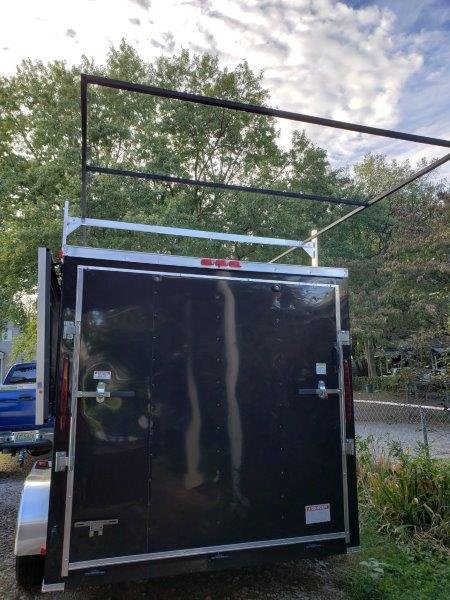
Using a ladder I pulled the frame forward to align the frame to the roof rack.
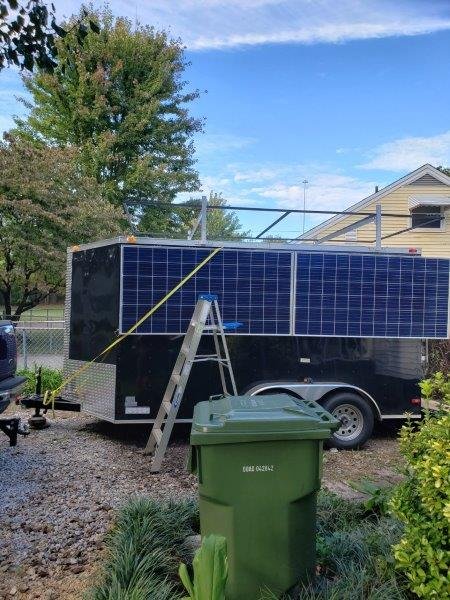
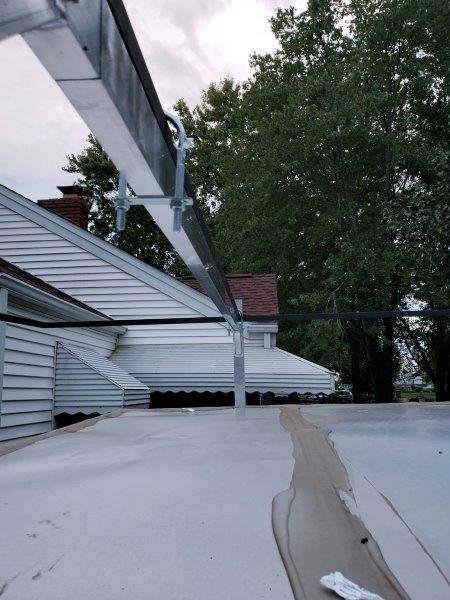
Here is the view of the aligned frame. Measure twice paid off!
I verified the length of u-bolt I would need to hold the frame to the roof rack. I measured my scrap steel and aluminum pieces and needed a bolt with a length of at least 3.25" and at least 1"width.
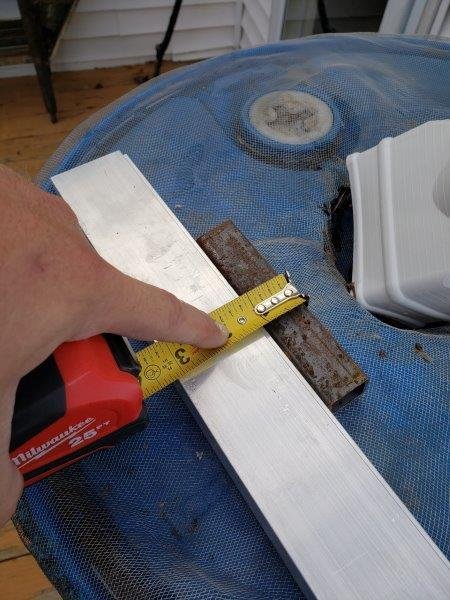
I found some 3.75" long U-bolts at home depot that worked perfectly!
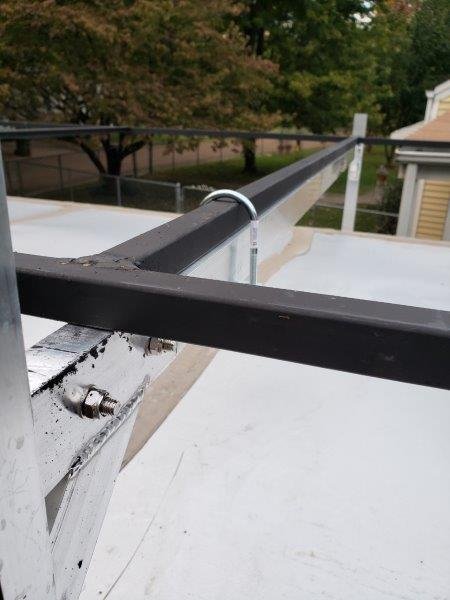
Here is a view of how they attach to the roof rack after hand tightening each u-bolt. I will come back and tighten again and will swap the given nuts for nylocks.
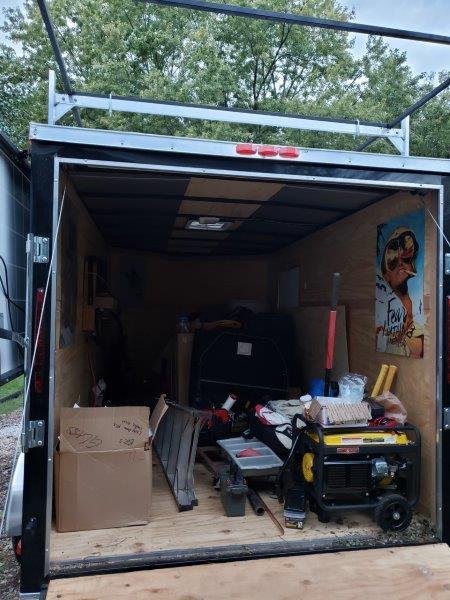
Here's the view of the frame attached to the roof rack and the innards of the trailer. Close the drawbridge! We're in bat country!
Thank you for your time if you checked out my new update!
I'm getting close to giving this trailer a name, similar to how you would name a ship on the sea. Anyone got a suggestion?

Beautiful job makinstuff, I really enjoy watching the progress!
I hope this adventure encourages other's. One time I went to my local NAPA for a car part, and I enquired about the large solar farm down the road. I was told that solar stuff doesn't work up here....... LOL nay sayers :)
resteemed !!!!
Downvoting a post can decrease pending rewards and make it less visible. Common reasons:
Submit
It is really looking great @makinstuff!
Downvoting a post can decrease pending rewards and make it less visible. Common reasons:
Submit
This project is being supported by @Fundition
Fundition is a next-generation, decentralized, peer-to-peer crowdfunding and collaboration platform, built on the Steem blockchain.
#upfundition and #fundition tags on Steem represent the projects that are started on https://fundition.io.
Are You Prepared to Make the World a Better Place too?
Read the full details of Fundition Fund program
Learn more about Fundition by reading our purplepaper
Join a community with heart based giving at its core
Downvoting a post can decrease pending rewards and make it less visible. Common reasons:
Submit
Howdy sir makinstuff! another good post, you got alot done on this one and the results are looking really nice!
Downvoting a post can decrease pending rewards and make it less visible. Common reasons:
Submit