
Food Not Lawns is a movement to turn lawns into food gardens, or "food forests". This movement stemmed from the ridiculous amount of water and fertilizers needed to maintain a lawn. The energy used to maintain a lawn has the potential to be diverted into energy to maintain a food forest. These pictures are from one of the Food not Lawns projects that I did in high school, and my hope is that they inspire people to create their own front or backyard gardens. My friend, Kamille, and I planned and executed the whole project by ourselves, showing that you do not need much background in gardening in order to create your own backyard grocery store!

First, to design a food forest, pick out perennials that will benefit each other and benefit the soil (our list of plants is covered below). The point of this garden is to have a harvest in your backyard with minimal maintenance. Some great perennial plants (meaning they come back each year) include: asparagus, rhubarb, blueberries, raspberries, most herbs, sea kale, sunchoke, sorrel, artichoke, dwarf fruit trees.
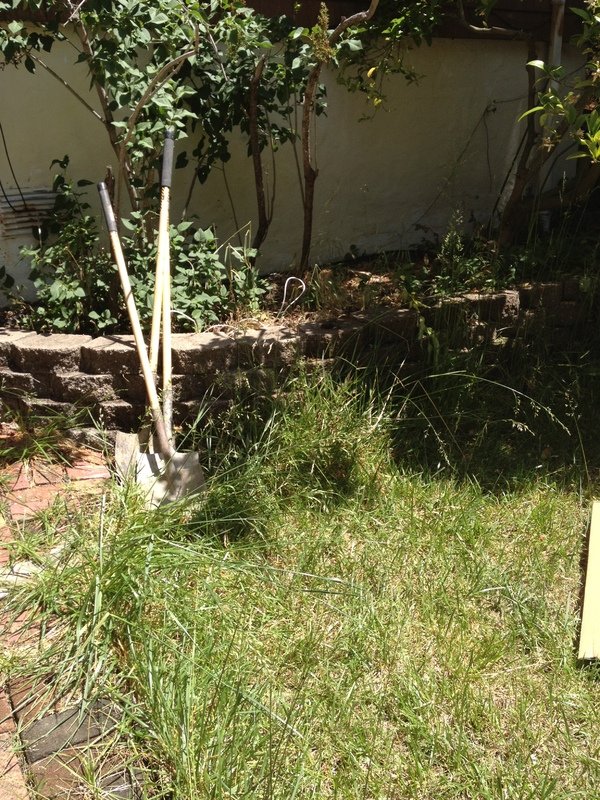
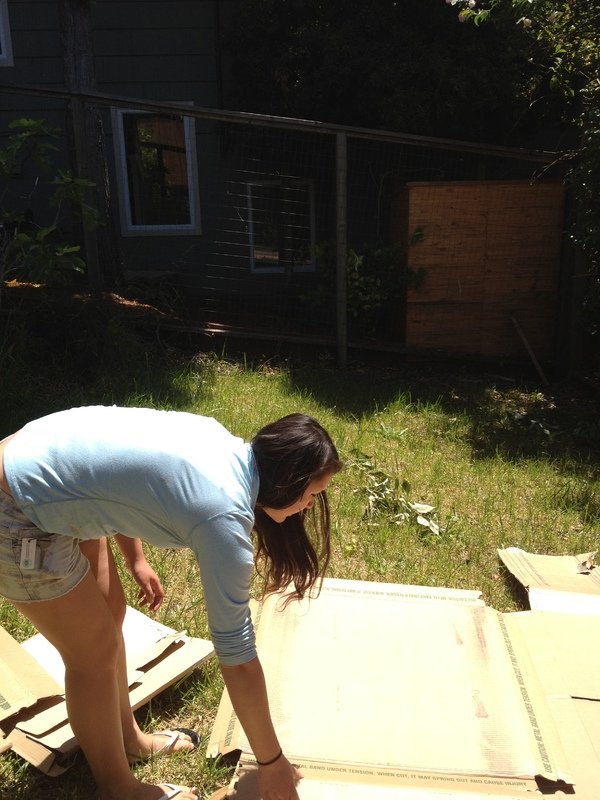
Then, lay one layer of cardboard over the lawn. Make sure that no grass can be seen and rip off all pieces of tape or plastic from the cardboard. The cardboard will kill the grass and prevent the seeds from growing, and eventually will decompose in the soil. The best place to get big cardboard boxes is by dumpster diving at appliance/hardware stores. Water the cardboard so that it is soft when you dig into it.
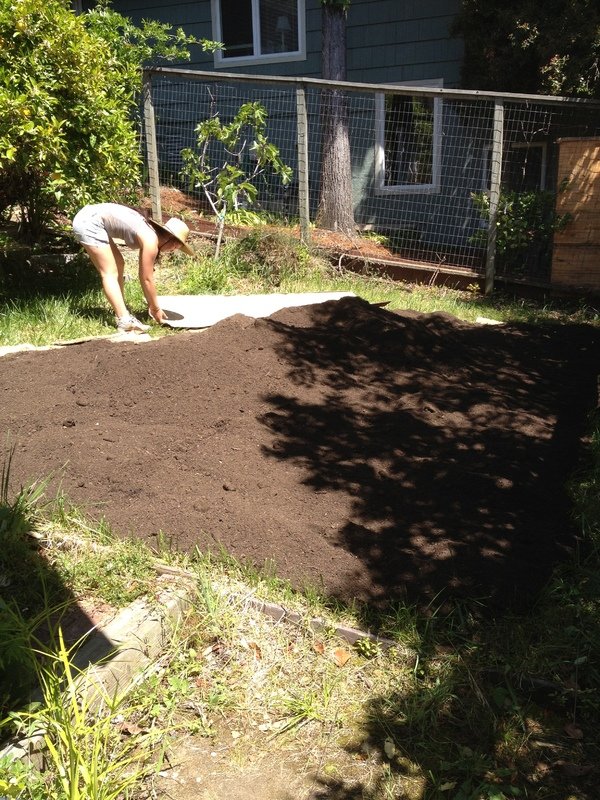
Next, begin to wheelbarrow soil over to the soon to be garden. Spread an even layer over the cardboard, at least 3 inches thick.
Begin to place plants in desired areas. Be sure to do research on your plants- what likes shade, what doesn’t like too much water, what plants will benefit each other? We chose a semi dwarf apricot tree, rhubarb, asparagus, artichokes, blueberries, thyme, mint, lemon verbena, majorum, and more.
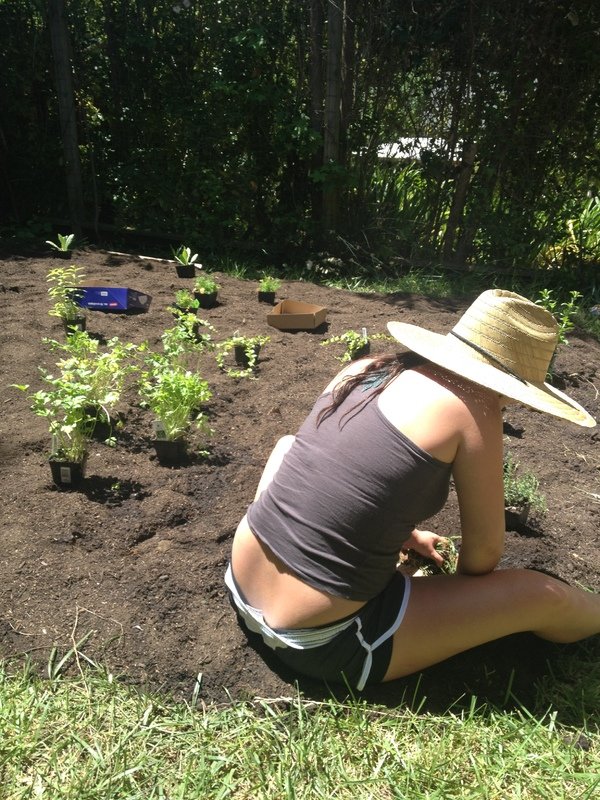
Begin to dig away the top soil where you want to plant one of the plants. Cut an X into the cardboard and peel it away from the center, but be sure to leave the cardboard intact. Dig an area out that is 150% the size of your plant. Backfill it with half of the top soil and half of the dug out dirt. Your hole should be deep enough that when you place the plant inside, the soil level of the potted plant and the soil level of the surrounding ground are even. Take the plant out of the pot and place it in the hole. Backfill around the plant so that no air pockets remain. Cover all areas around the plant with cardboard, as this will prevent grass and weeds from growing around the roots. Cover the cardboard with a couple inches of top soil. Repeat this process with all other plants.

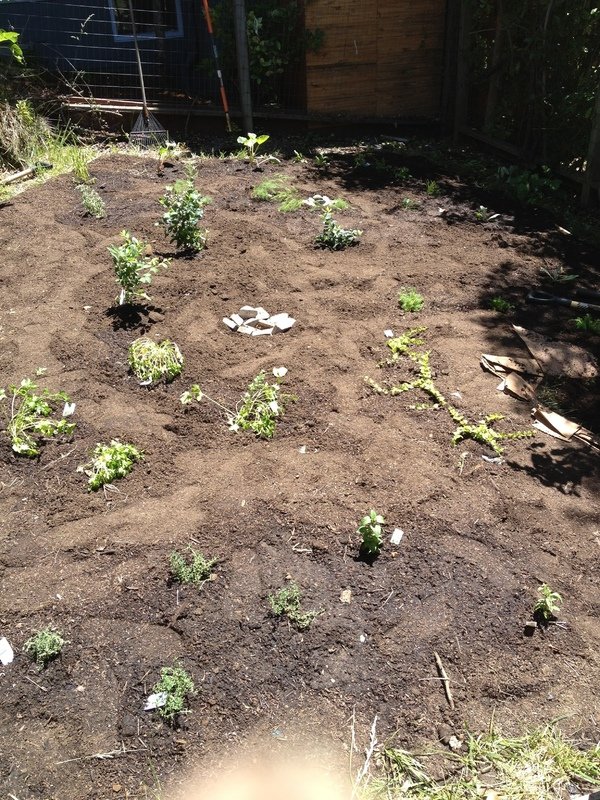
Finally, wheelbarrow mulch over to the garden and spread it evenly around the plants at least 1 ½ inches (be sure not to cover any plants). We used 1 inch fir bark mulch, as it will retain moisture in the soil, prevent weeds from growing, and keep insects and other animals away.
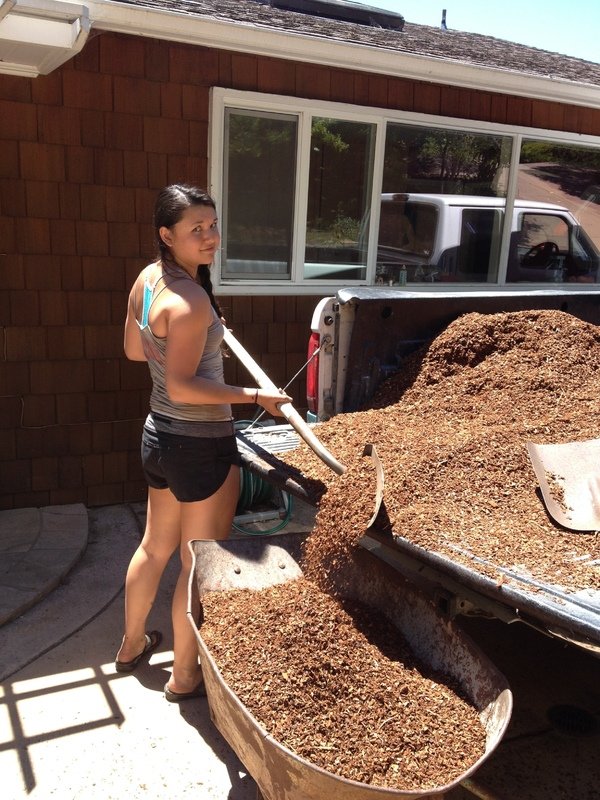
And Voila! There you have a food forest! Make sure to water your garden once a day, preferably during the early morning or evening to reduce evaporation. In a blink of an eye you will have a back or front yard bursting with life and with delicious food begging to be eaten.


Love this! Quick and dirty, but in alignment with Permaculture principles. I am working on Bill Mollison's Permaculture, a Designer's Manual, and have taken a couple classes.
Downvoting a post can decrease pending rewards and make it less visible. Common reasons:
Submit
Awesome! The Bible of permaculture :-) I am planning on getting my permaculture design certificate this year, would love to share notes/tips in the future!
Downvoting a post can decrease pending rewards and make it less visible. Common reasons:
Submit
Yeah! Great article and pictures. I ripped my lawn out several years ago, sheet mulched, and put in raised beds. And then I did the same thing in the front yard with some more beds and fruit trees also. Neighbors see the logic once you share some fresh fruits and veggies with them!
Downvoting a post can decrease pending rewards and make it less visible. Common reasons:
Submit
That's amazing! Not only does it provide great food, but like you mentioned I think it really builds community as well as it fosters more interaction between neighbors through sharing food/ideas/ect :-)
Downvoting a post can decrease pending rewards and make it less visible. Common reasons:
Submit
I would love to do that. At least in the front yard where my herbs are already straining to get out of their little bed. I don't think my husband would go for it, though. One would think that as much as he hates mowing he would want less to mow.
Downvoting a post can decrease pending rewards and make it less visible. Common reasons:
Submit
Maybe go for converting a little section of the yard and once your husband tastes the delicious, homegrown veggies/herbs he won't be able to resist converting the rest! ;-)
Downvoting a post can decrease pending rewards and make it less visible. Common reasons:
Submit
Congratulations on the garden project. It looks like it was a success ").
Downvoting a post can decrease pending rewards and make it less visible. Common reasons:
Submit
Thanks! I've done 4 other projects like this and they have all turned out wonderfully, abundant gardens and happy ex-lawn owners :-)
Downvoting a post can decrease pending rewards and make it less visible. Common reasons:
Submit
Great Post!
Downvoting a post can decrease pending rewards and make it less visible. Common reasons:
Submit
Thank you!
Downvoting a post can decrease pending rewards and make it less visible. Common reasons:
Submit
The only thing is...you're wearing flip flops and no gloves!
Downvoting a post can decrease pending rewards and make it less visible. Common reasons:
Submit
Loving the writing style! Great stuff
Downvoting a post can decrease pending rewards and make it less visible. Common reasons:
Submit