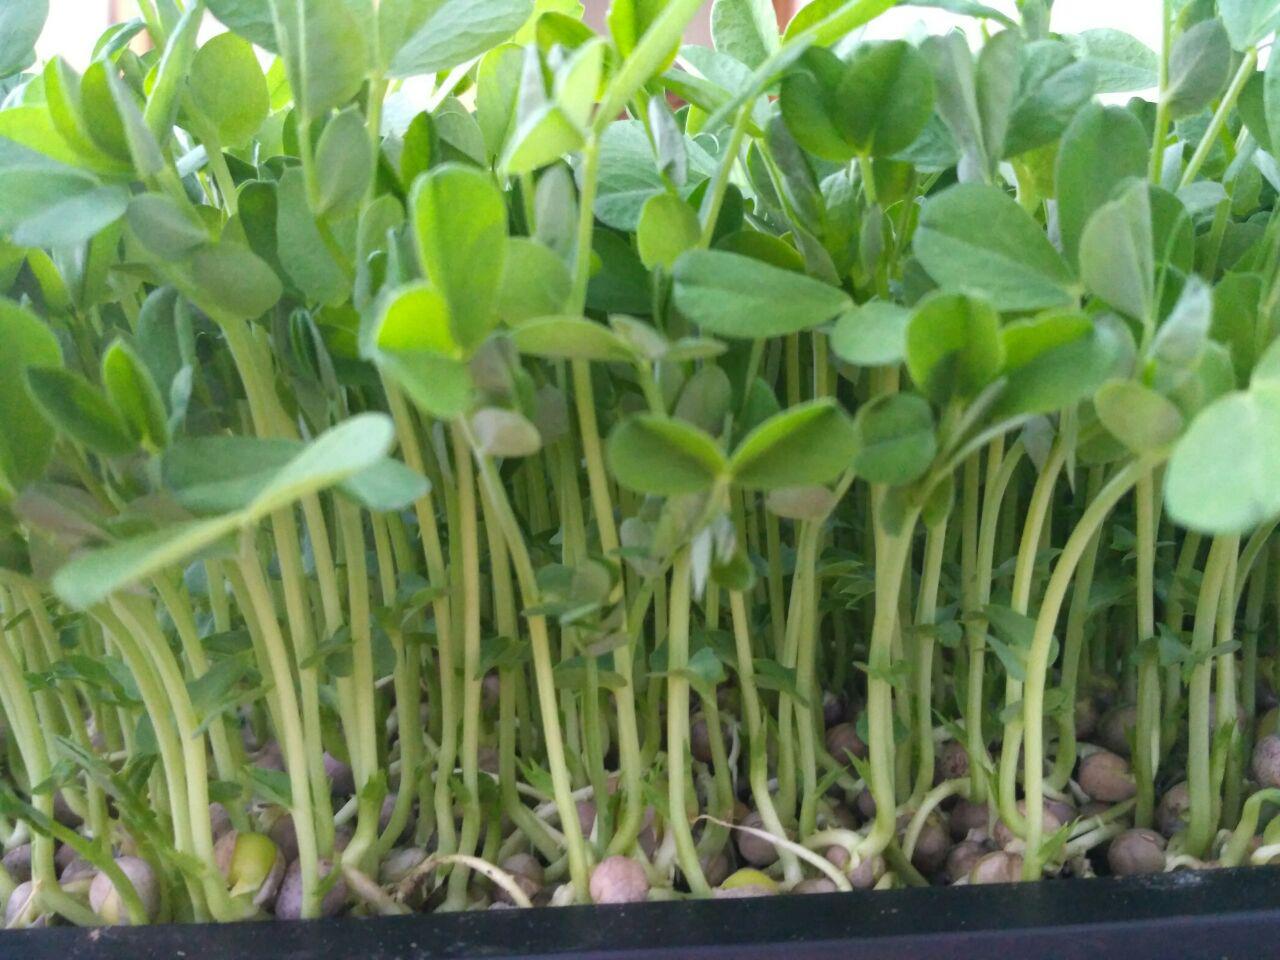
Pea shoots are our new favorite crop on the farm.
They are incredibly delicious and very fun to grow. Grown only from the nutrience in the pea (no fertilizer necessary), they are easy easy easy and anyone with a few minutes, a little soil, water, and peas, can grow them.
Step One: Soak
Soaking the peas overnight is the only challenge we've had growing pea shoots. Peas double in size when soaked so trying to figure out the correct amount of dry peas to measure out so we have enough (not too much or too little) when wet is tricky and may take a few trails. Luckily pea shoots only take about ten days from soaked to harvest, so within a month you should have the right amounts. Work by trial and error, write down the amounts you use, and once you have it you can measure out your peas half asleep (which I often do at the end of the day).
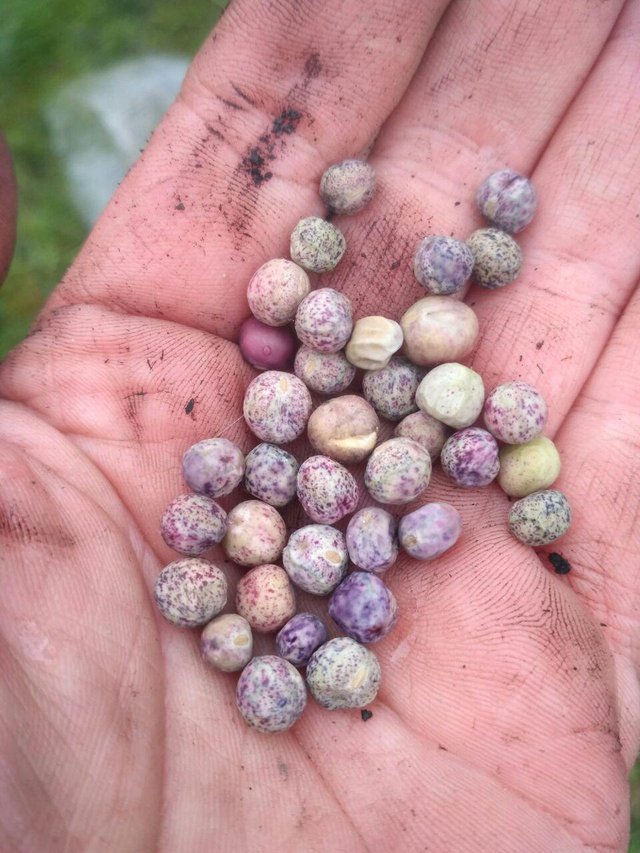
We use these Speckled Peas from Mumm's but any peas will work.
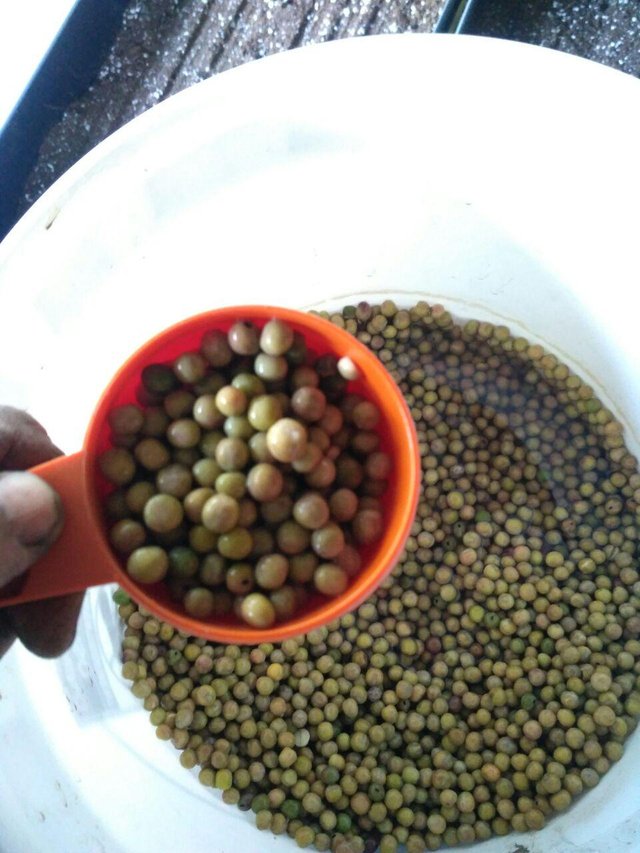
The trays we are now using are 10 x 20 inches. In Canada (and probably America) you can find these in any garden store for a few dollars. For this size tray we use 1.5 cups dried peas, which gives us 3 cups soaked per-tray.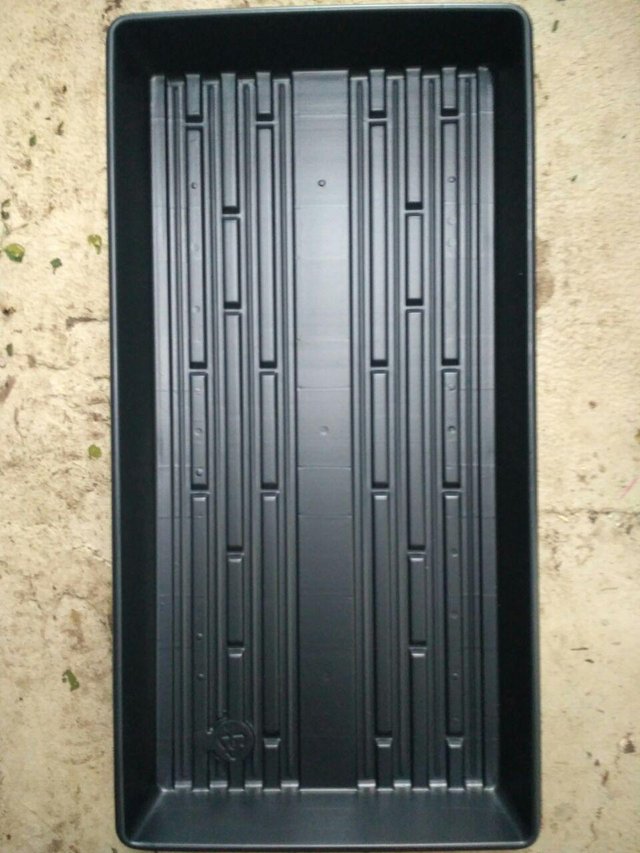
Step Two: soil
Now you need a little soil. We use (and recommend) seed starting soil. Find this at your local garden store. In Canada hardware stores also carry it. If they have a gardening section then they will have starter soil.
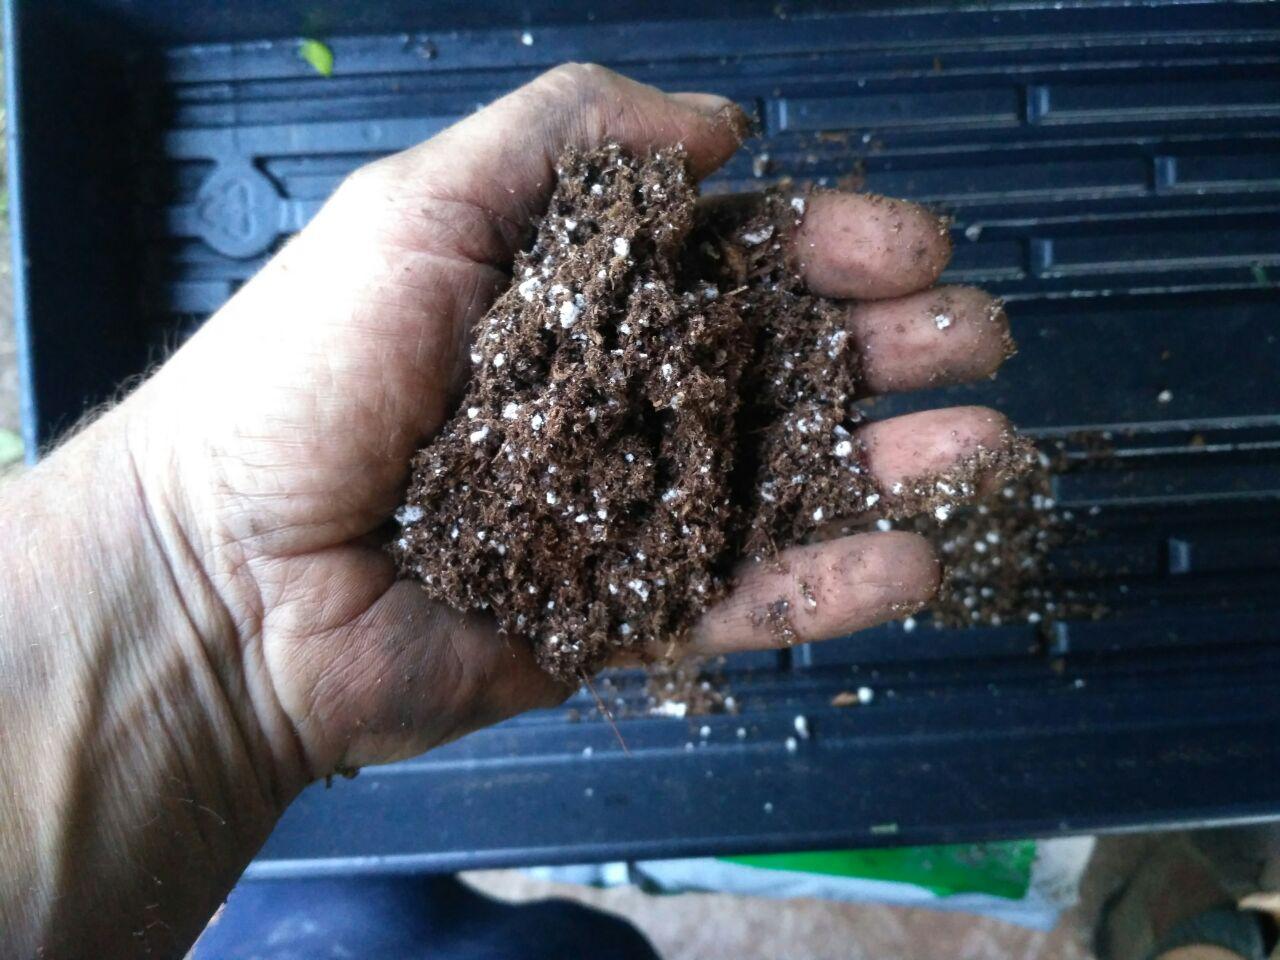
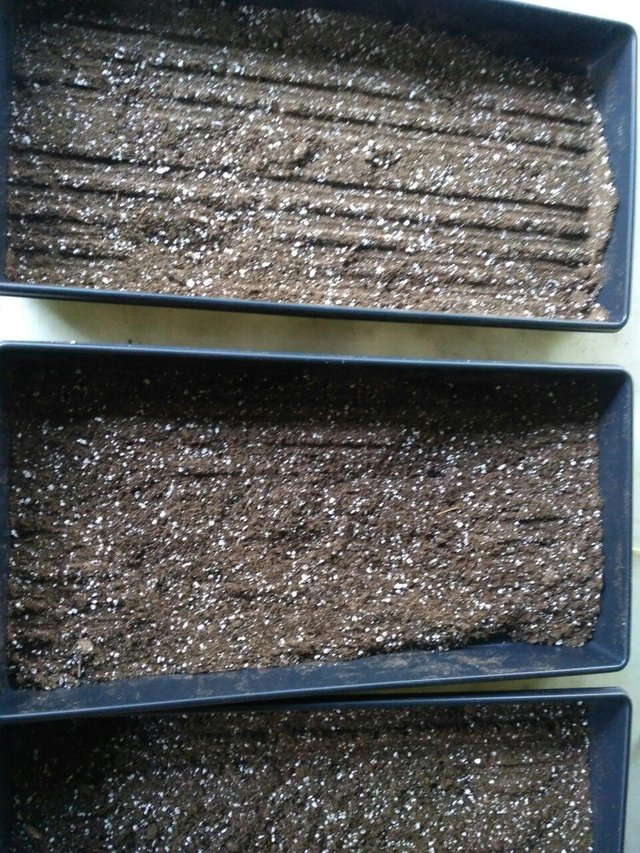
As you can see you don't need much, just about 1/8 to 1/4 inch layer on the bottom. Again these trays are 10 x 20 inches but you can use anything that you have.
Step Three: Seeding
This is easy, just spread the seeds out. It doesn't have to be perfect.
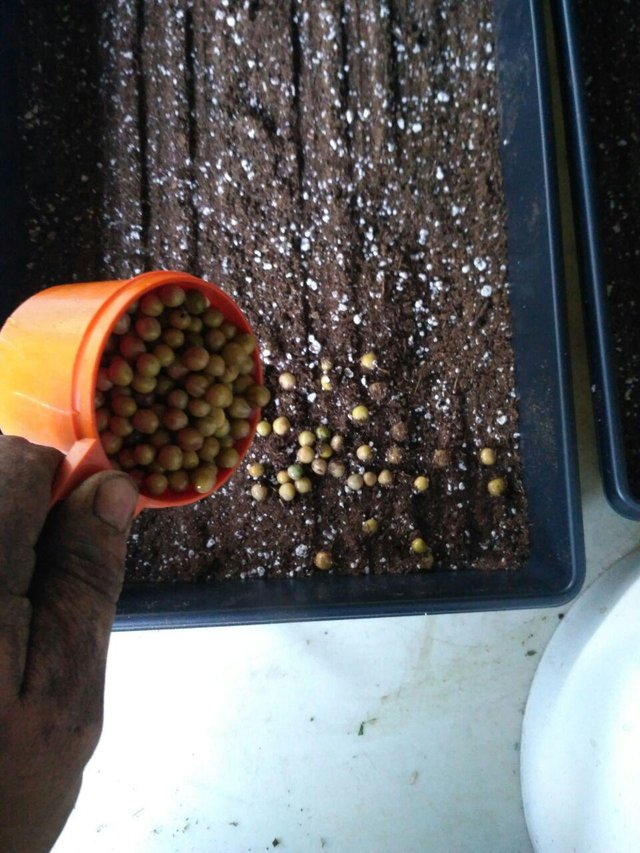
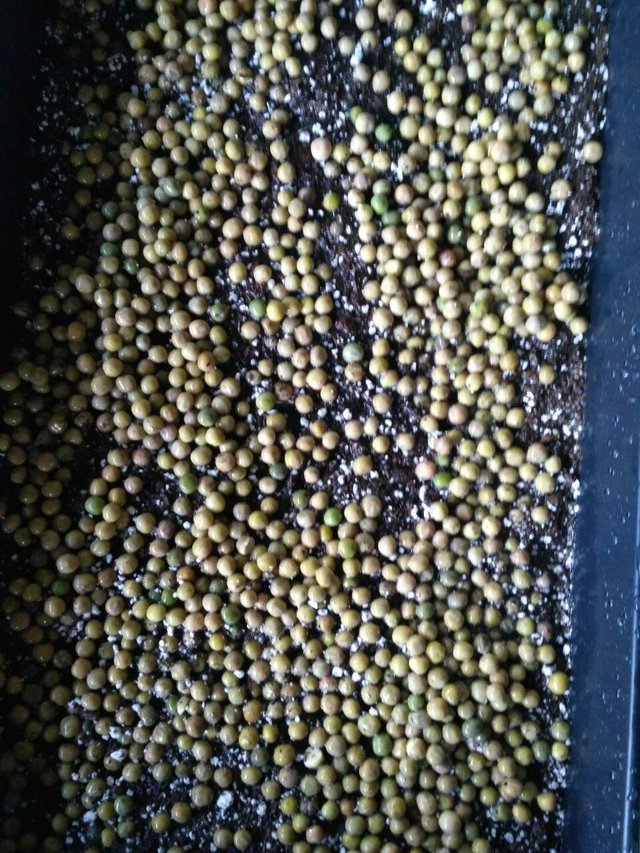
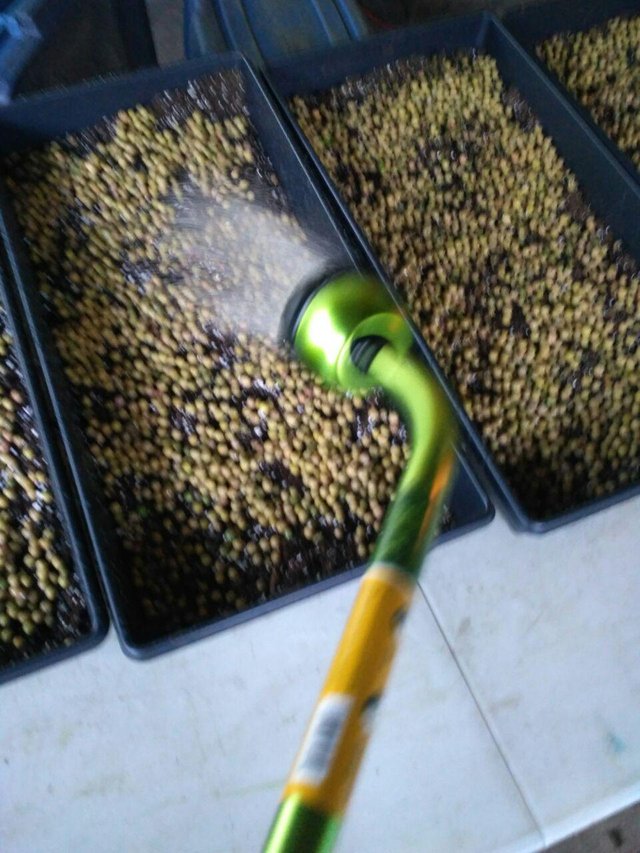
Water them so the soil is moist, not drenched.
Step Four: Stacking
This part is amazing to me and very important. If you are doing more than one tray, stack them up and put an empty tray on top with a weight. If you are only doing one tray, put an empty tray on top with a weight. This keeps the peas in the soil, otherwise their roots will push them out of the soil, and it will be a mess. Don't worry, the growth of the peas will actually lift up the trays and the weight. 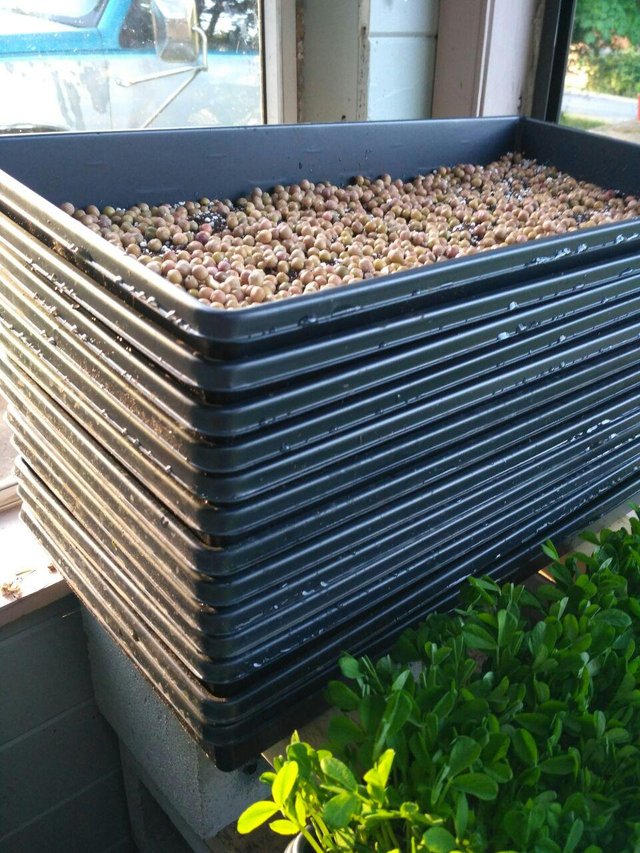
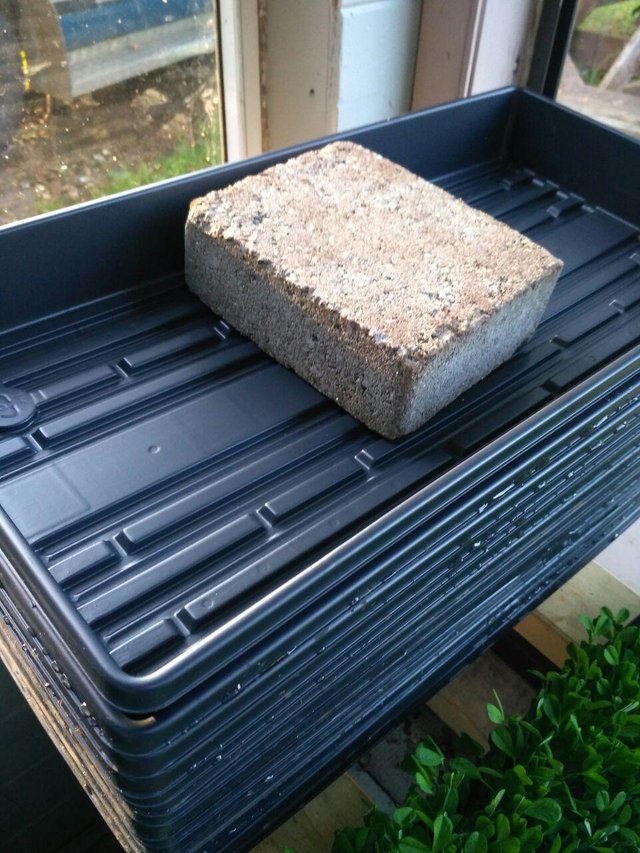
Step Five: Unstack, Water, Wait, Havest, and Enjoy :)
Okay that is a few steps but the work is over and you are nearly to your very own delious micro greens.
A freshely unstacked tray should look like this
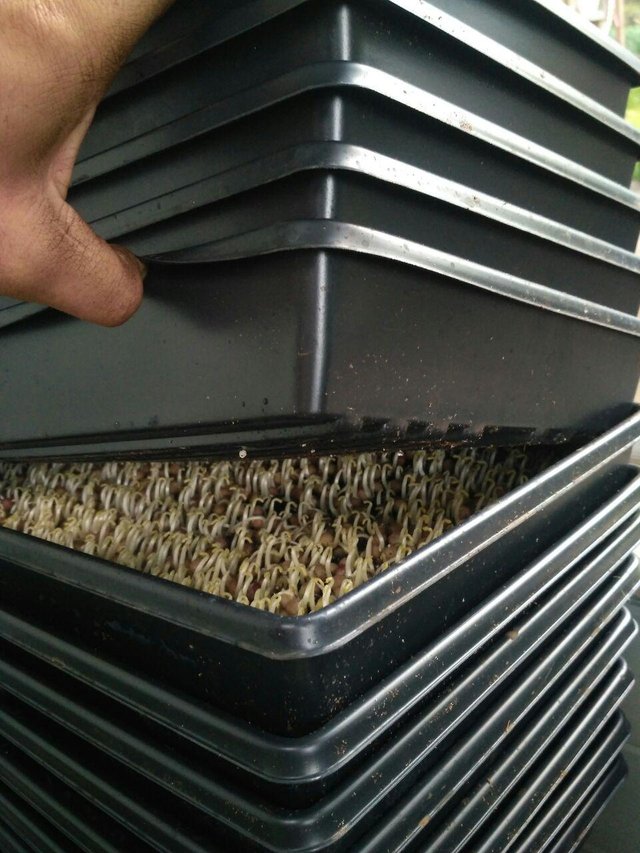
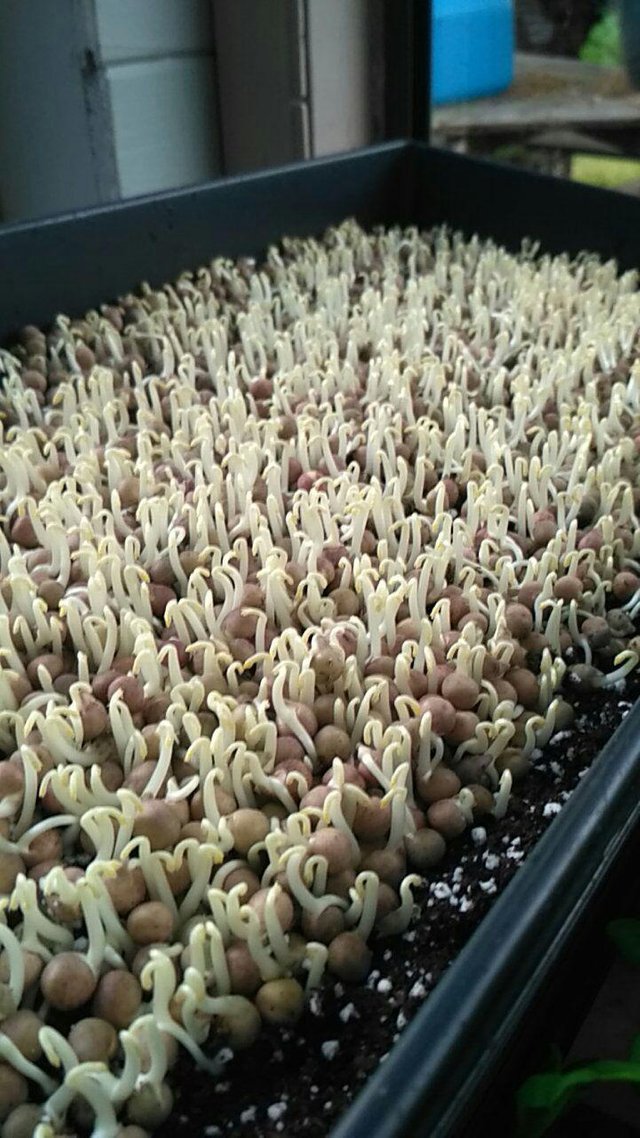
And after a day you'll see them starting to turn green. 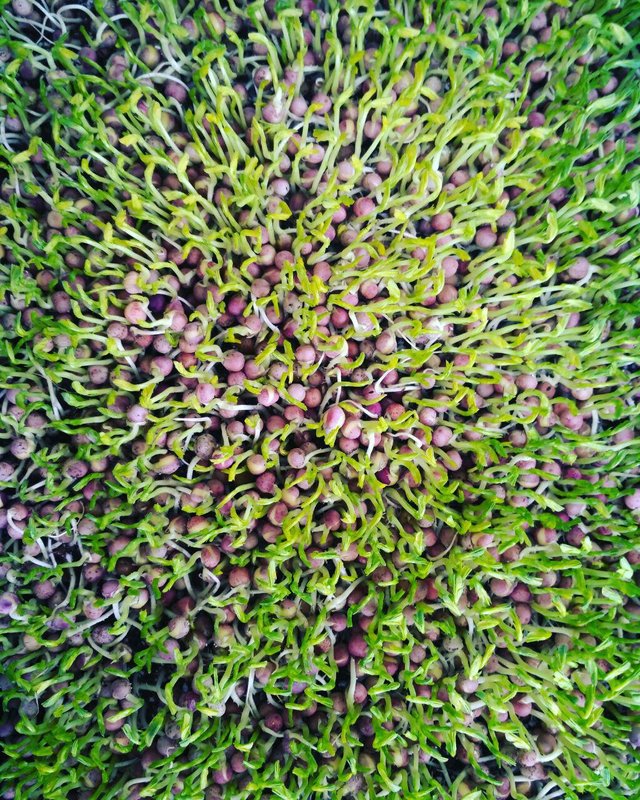
Pea shoots are delicious on sandwiches, in wraps, or as garnish on soups and pasta. Or just eat them the way we like to, straight off the tray.
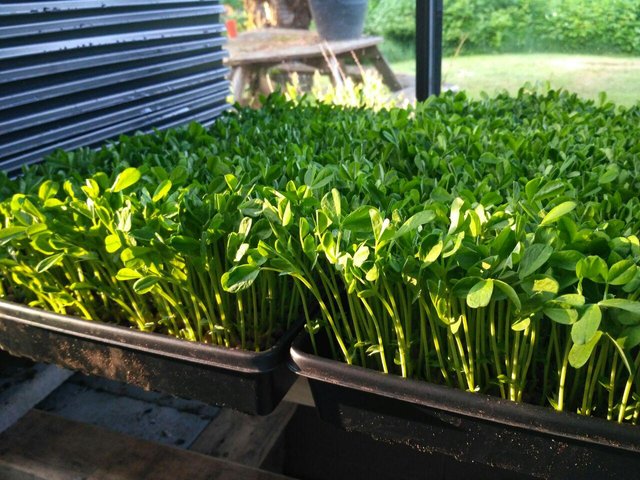
One or two more days before harvest.
Here are all the steps again in pointform.
- Soak your peas over night. Remember that they will double in size so make sure your soaking container is large enough.
- Soil in your trays. You don't need much, 1/8 -1/4 inch.
- Seed. Spread out your soaked peas, it doesn't have to be perfect.
- Stack with a weight. This is very import.
- Un-stack. Wait until the sprouts have pushed up a 1/4 inch (or even 1/2 inch) or so, you'll be amazing by the strengh of these little guys.
- Enjoy : )
That's it folks. I'm off to harvest for the market. If you have any questions please don't hesitate to ask. Thanks for reading and happy growing.
FarmerD

Amazing, what an insight!
Thanks
Downvoting a post can decrease pending rewards and make it less visible. Common reasons:
Submit
My pleasure, give it a try. It's super easy!
Downvoting a post can decrease pending rewards and make it less visible. Common reasons:
Submit
Congratulations @heartandsoil! You have received a personal award!
Click on the badge to view your Board of Honor.
Downvoting a post can decrease pending rewards and make it less visible. Common reasons:
Submit
Congratulations @heartandsoil! You received a personal award!
You can view your badges on your Steem Board and compare to others on the Steem Ranking
Vote for @Steemitboard as a witness to get one more award and increased upvotes!
Downvoting a post can decrease pending rewards and make it less visible. Common reasons:
Submit