I am happy to join SEC-S20W5 | 3rd Time: Dessert by dear @nahela and share a dessert I recently made for the first time. I love trying new recipes, especially sweet ones, and this contest gives me a chance to show my love for desserts. I hope you all like what I have prepared.So let's start.
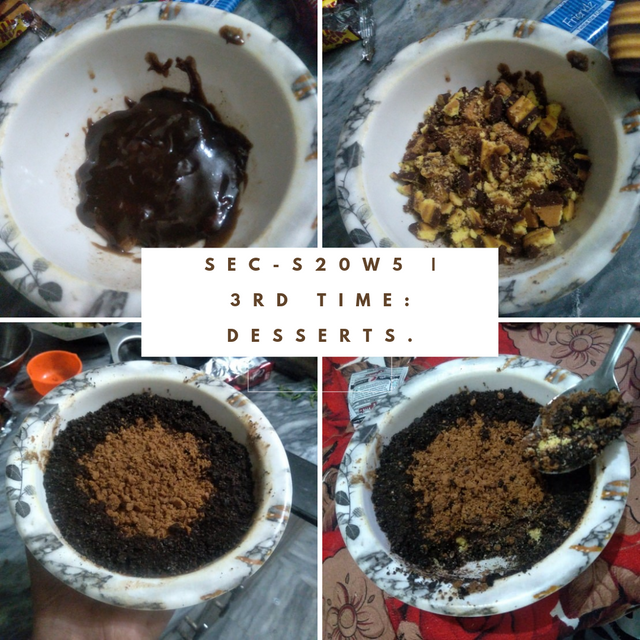

Are you Good at Making Desserts? Have you Made Desserts Before?
Yes, I often make desserts, and I really love sweets. Whenever I have free time, I prefer to make and enjoy desserts. I also like sharing these treats with my family. However, this particular dessert recipe was shared by my friend, and I am trying it for the first time. I hope it turns out delicious, and I’m sure my family and I will enjoy it together!

We Would Like you to Prepare a Dessert (Serve the Exact Amount for 1 Person on a Dessert Plate). It is Important to Explain the Preparation Process and the Result of this Dessert.
This dessert that I am about to prepare is something I am trying for the first time. The recipe was shared by my friend, who told me how delicious it turned out when she made it. Now, I’m excited to give it a try myself and share the result with everyone. It’s a quick and tasty dessert that is sure to please.
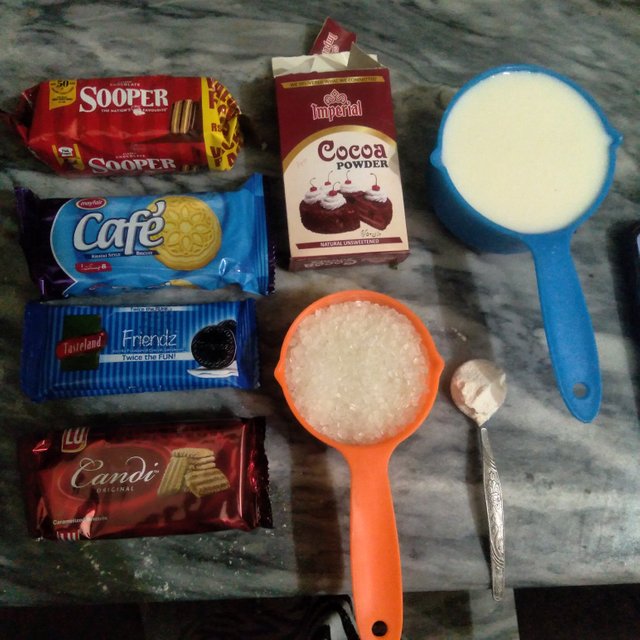
Ingredients:
1 cups milk
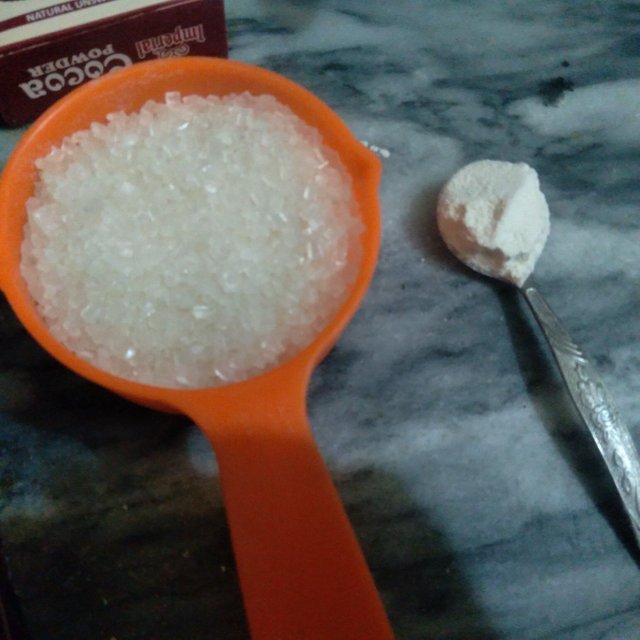
Half cup sugar
1 tbsp all-purpose flour
1.5 tbsp cocoa powder
1.5 tbsp butter
Cafe biscuits (or any plain biscuits)
Sooper biscuits (1 packet, crushed)
Roll candy biscuits (crushed)
Oreo biscuits (or Oreo-like biscuits, crushed)
 |  |
|---|
Preparing the Chocolate Syrup:
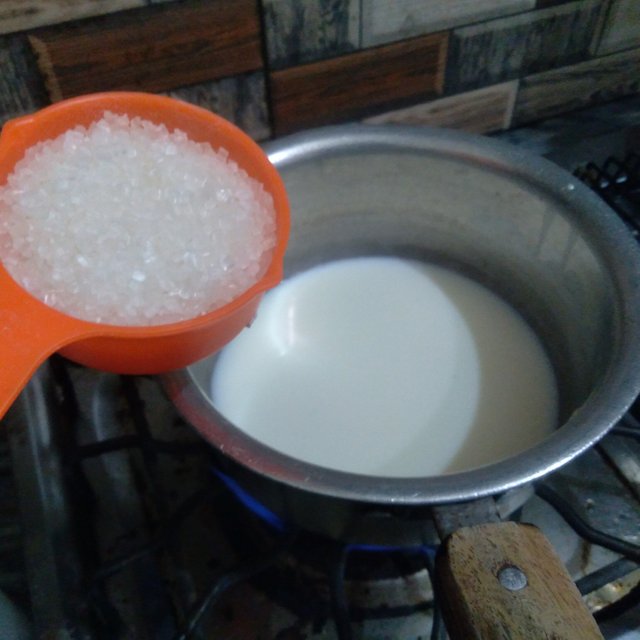
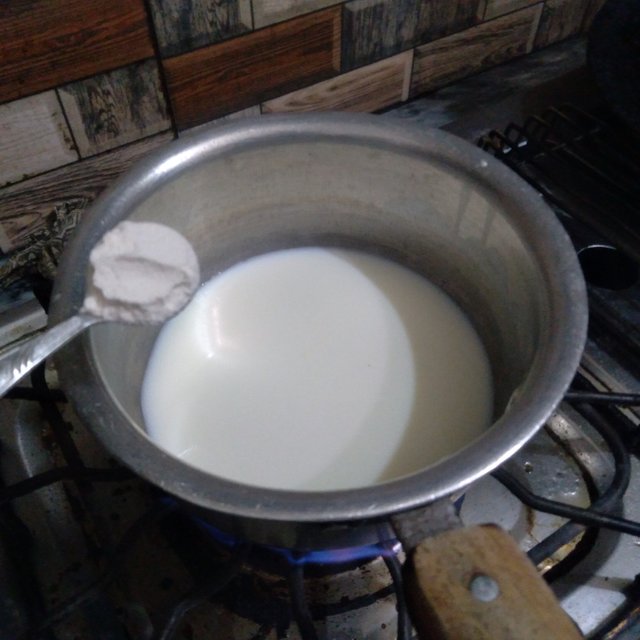
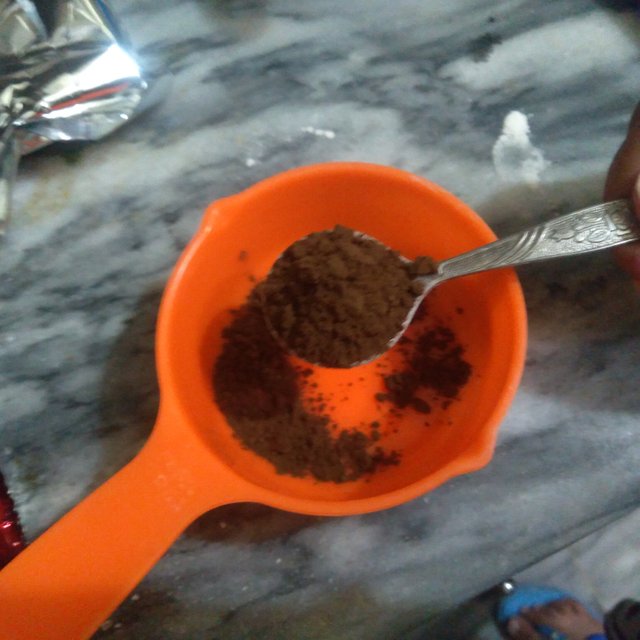
To start, I took a medium sized saucepan and added the following ingredients: 1 cups of milk, half cup of sugar, 1 tablespoons of all-purpose flour, 1.5 tablespoons of cocoa powder, and 1.5 tablespoons of butter. I mixed everything together thoroughly to avoid any lumps, ensuring a smooth mixture.
I placed the saucepan on medium heat and began stirring the mixture continuously. As it heated, the butter melted and combined with the dry ingredients, forming a smooth, chocolatey liquid.
 |  |
|---|
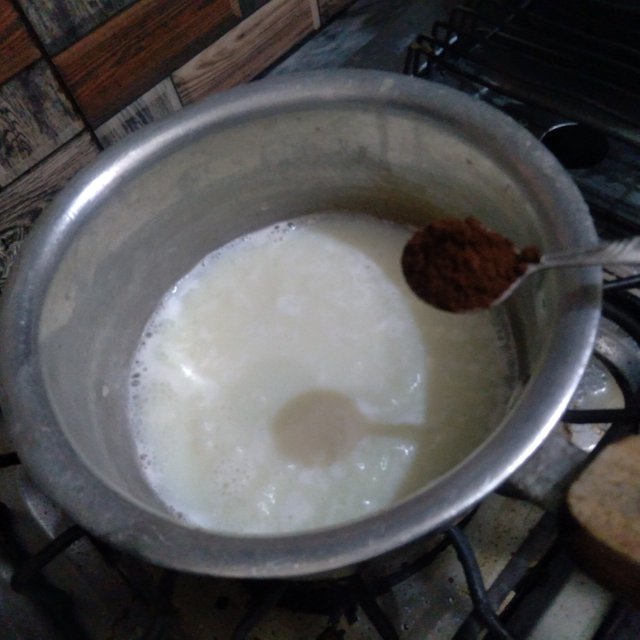
After a few minutes, I noticed that the mixture was still quite runny. It wasn’t thickening the way I expected, which made me realize it was too liquid for the dessert I had in mind.
 |  |
|---|
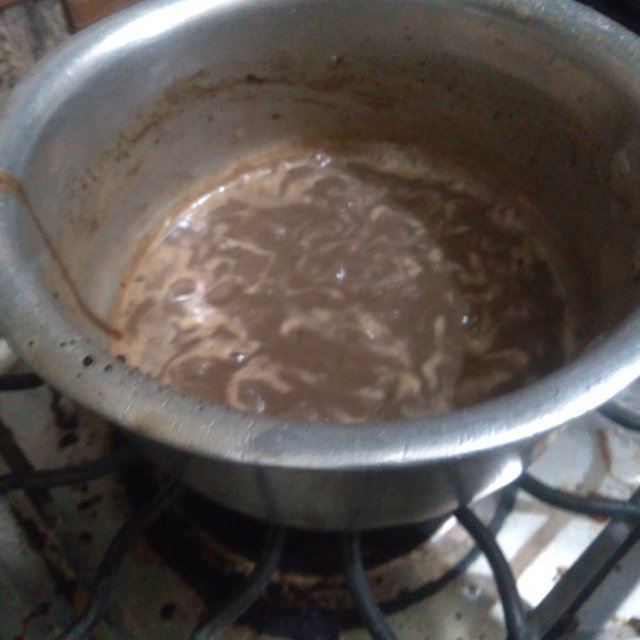
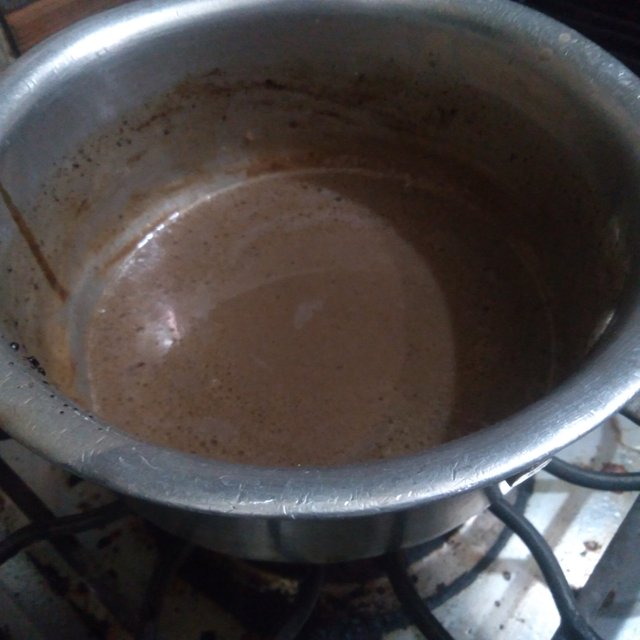
Since the syrup was too thin at first, I decided to keep it on the stove for about 5 more minutes. I reduced the heat slightly and kept stirring to avoid burning the bottom.
 |  |
|---|
After a few minutes, the mixture started to thicken into a syrup like consistency, which was what I needed. I removed it from the heat and let it cool for a couple of minutes so that it would be easier to spread.
Layering the Dessert:
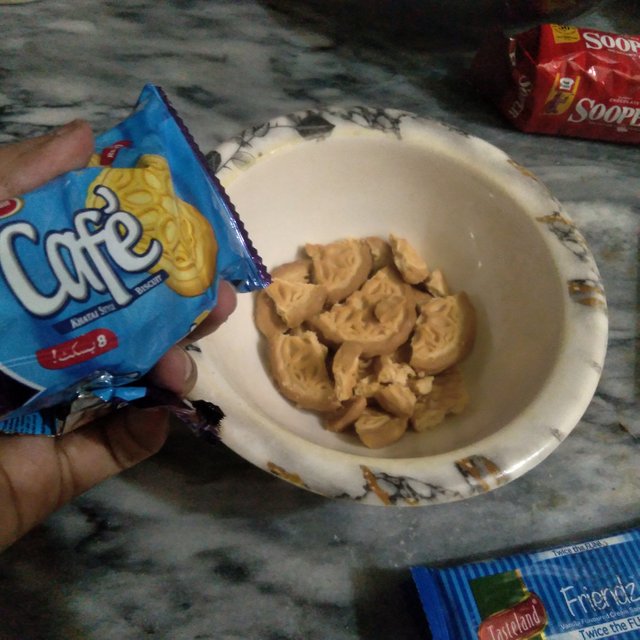
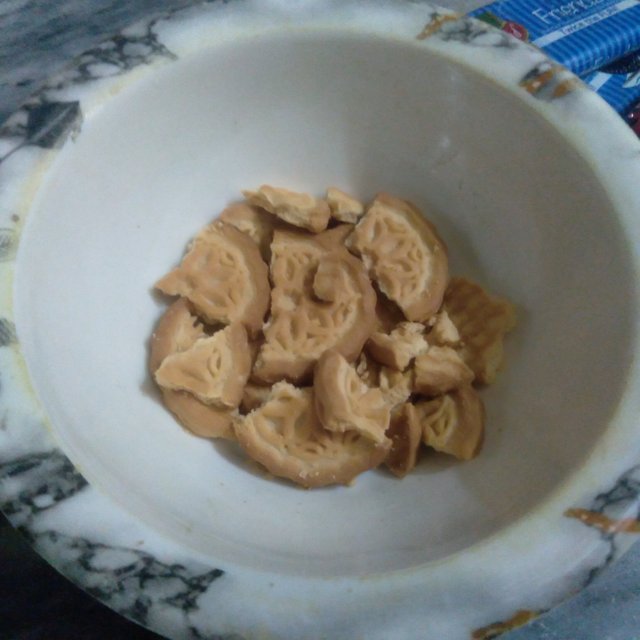
First Layer (Base): For the base of my dessert, I used Cafe biscuits. I arranged a layer of these biscuits flat on the bottom of the serving dish, ensuring they covered the entire base evenly.
 |  |
|---|
Spreading the Chocolate Syrup:
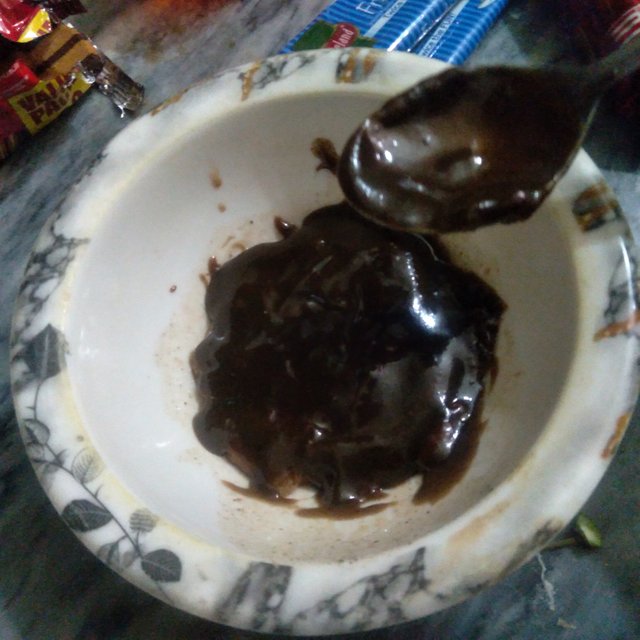
Once the first biscuit layer was ready, I poured some of the thickened chocolate syrup over the biscuits. I made sure to spread the syrup evenly so that each biscuit absorbed a bit of the syrup but wasn’t completely drenched. I wanted to maintain some crunchiness from the biscuits, so I didn’t over soak them.
Creating the Second Layer:
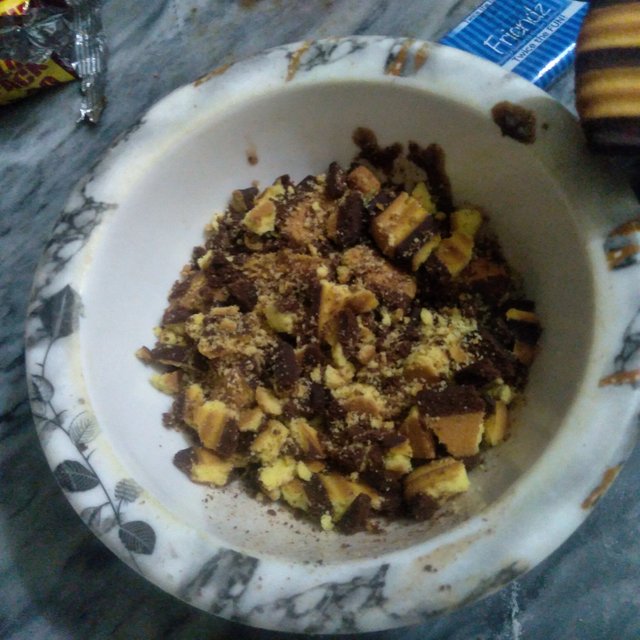
Sooper Biscuits: For the second layer, I took a packet of Sooper biscuits. I didn’t use them whole; instead, I crushed the entire packet with my hands into rough pieces. Once crushed, I spread the biscuit crumbs on top of the first syrup layer, making sure they formed a consistent layer.
 |  |
|---|
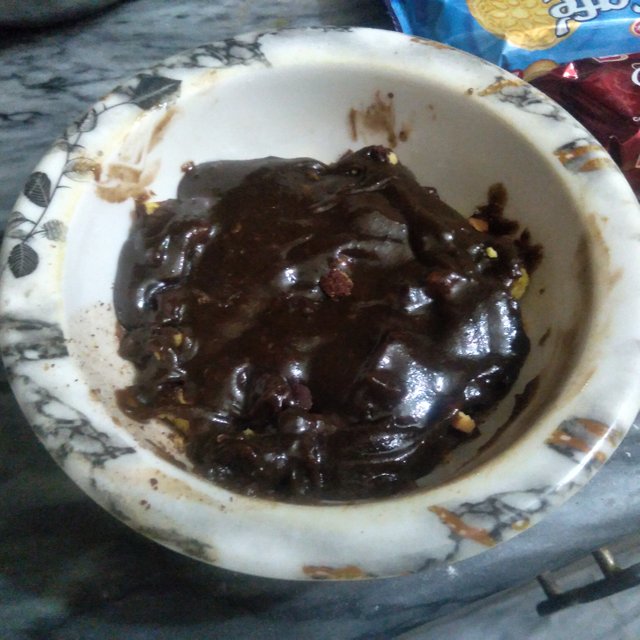
I then added another layer of the chocolate syrup, carefully drizzling it over the crushed Super biscuits, the syrup seeped through the crushed biscuits, binding the layers together , keeping a good balance of texture.
Adding the Candy Biscuit Layer:
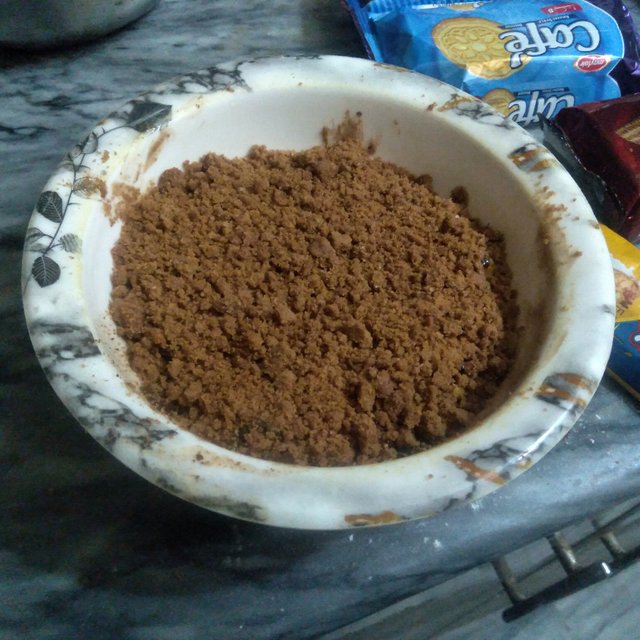
For the next layer, I used Roll candy biscuits. These are quite different in texture and flavor, so I decided to crush them as well to create a different crunch in the dessert. I used a heavy stick to crush the candy biscuits into small, uneven pieces, which added a fun, varied texture to the dessert.
I then scattered the crushed candy biscuits on top of the second chocolate syrup layer, covering the dessert evenly.
 |  |
|---|
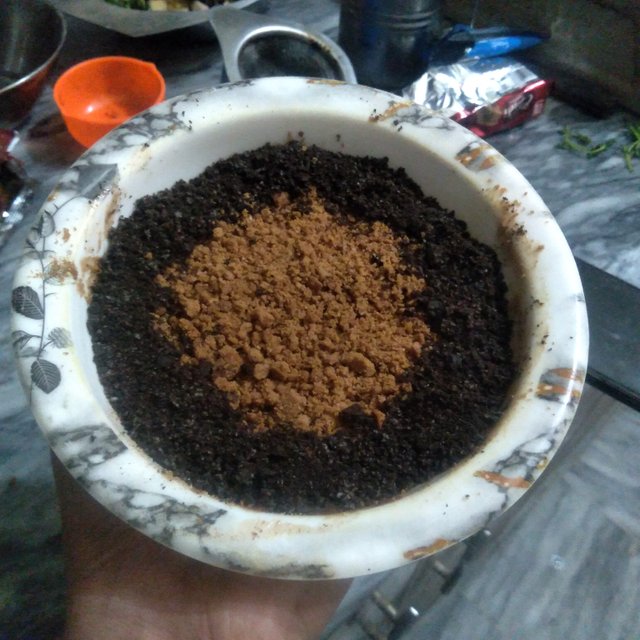
The final step was to add a decorative and flavorful topping. I used Oreo like biscuits, which are similar to Oreos but not the real ones. I crushed them into fine crumbs and carefully sprinkled them over the top of the dessert, making sure to cover the edges and corners thorough,gave my dessert a beautiful contrast with the dark Oreo crumbs against the rich chocolate syrup.
 |
|
Once all the layers were complete, I let the dessert sit at room temperature for about 10 minutes ,the biscuits to absorb some of the syrup and the layers to settle slightly.
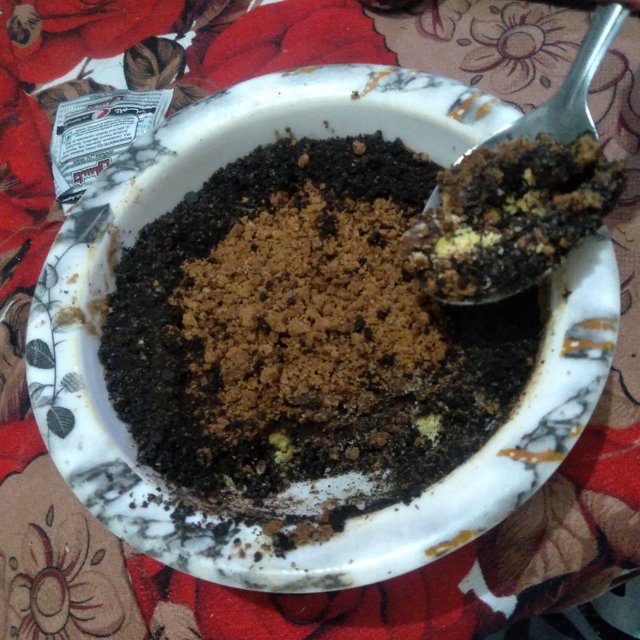
After letting the dessert rest, I placed it in the refrigerator for 2 hours to chill and set it helps the dessert firm up and makes the layers more cohesive.
After one hours, I took the dessert out of the fridge and was ready to taste it. I used a spoon to scoop out a portion, and it held together beautifully ,the crunchy biscuits and the smooth, rich chocolate syrup was perfect.
The dessert was delicious, and I was pleased with how easy it was to make. I didn’t need an oven or a microwave, and the preparation only took a few minutes, aside from the chilling time.
Which Starter and Which Main Dish Would go with the Dessert you just Prepared? Imagine a 3-course Menu that Goes with your Delicious Dessert
Starter: Chana Chaat
Main Course: Grilled Chicken
Dessert: Biscuit and Chocolate Syrup Dessert
All images are taken my me and are exclusive to Steemit.
That's it from today's blog I hope you will like it. With best wishes ❤️. Now I like to invite @tammannaa, @mile16 and @neelofar to participate in this amazing contest.
Thanks alot for reading ❤️🤗 .
My introduction post

Upvoted! Thank you for supporting witness @jswit.
Downvoting a post can decrease pending rewards and make it less visible. Common reasons:
Submit
Upvoted. Thank You for sending some of your rewards to @null. It will make Steem stronger.
Downvoting a post can decrease pending rewards and make it less visible. Common reasons:
Submit
Congratulations on bringing a quality content. You have earned a positive vote from team 2, and it is delivered by @ashkhan.
Many Blessings...🙏🏻
Downvoting a post can decrease pending rewards and make it less visible. Common reasons:
Submit
Thank you so much for your support 🤗💞💐.
Downvoting a post can decrease pending rewards and make it less visible. Common reasons:
Submit