🌟 Creative Wonders in Graphic Design: A Step-by-Step Journey with Canva 🌟

Image Source: canva
Step 1: Setting Up the Canvas
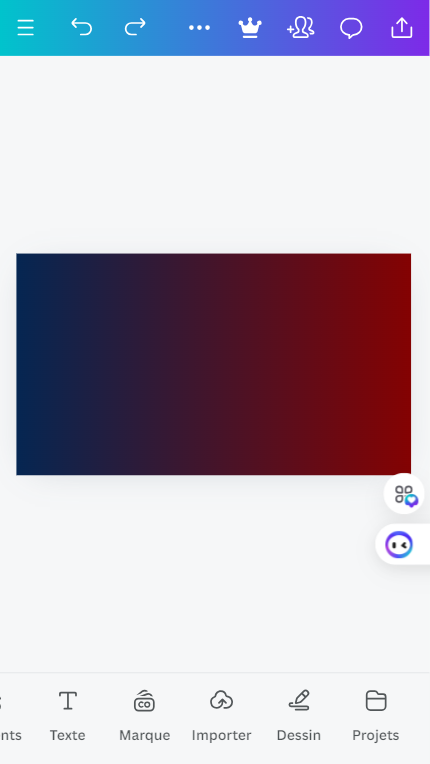
I began by launching the Canva app, carefully selecting the appropriate dimensions for my project. Once my workspace was meticulously set up to mirror the required template, I clicked on the color icon and chose the desired shade using its precise hex code. After reflecting on how to enhance the visual appeal, I decided to add an artistic touch. As a result, I introduced a gradient to the background, giving it a more dynamic and polished look.
| Image 1 | Image 2 | Image 3 | Image 4 |
|---|---|---|---|
 |  |  |  |
Step 2: Choosing the Perfect Image
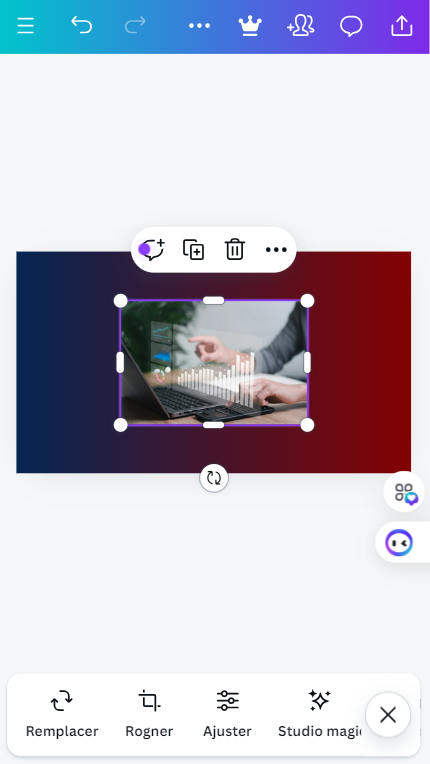
With the background now set exactly as intended, I proceeded to click on the gallery option to select an image. I opted for an image related to money or finance, aiming to enhance the overall theme and add a subtle effect to the background.
| Image 1 | Image 2 | Image 3 |
|---|---|---|
 |  |  |
Step 3: Adjusting Image Transparency
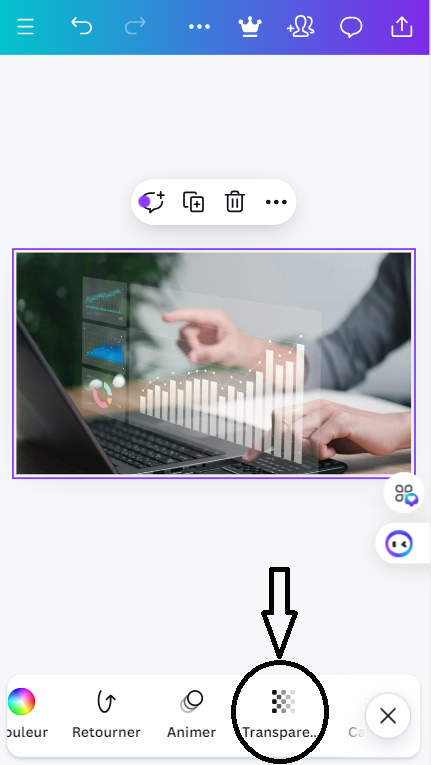
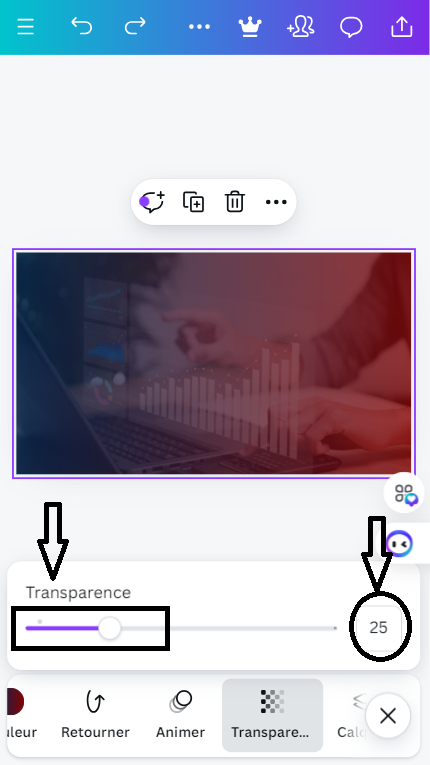
Once the image was placed on the workspace, as seen, I adjusted its size by enlarging it. Next, I selected the Transparency option and set the transparency to 25% using the slider, though this can also be done manually by entering the value.
| Image 1 | Image 2 | Image 3 |
|---|---|---|
 |  |  |
Step 4: Introducing Text
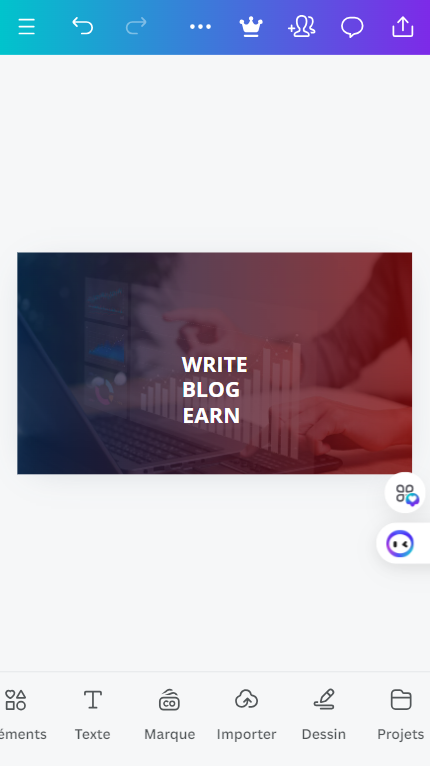
With the background now fully set, I proceeded to click on the Text icon to add my text. The text was positioned and styled to match the design, ensuring it aligns with the overall layout.
| Image 1 | Image 2 | Image 3 |
|---|---|---|
 |  |  |
Step 5: Establishing Hierarchy
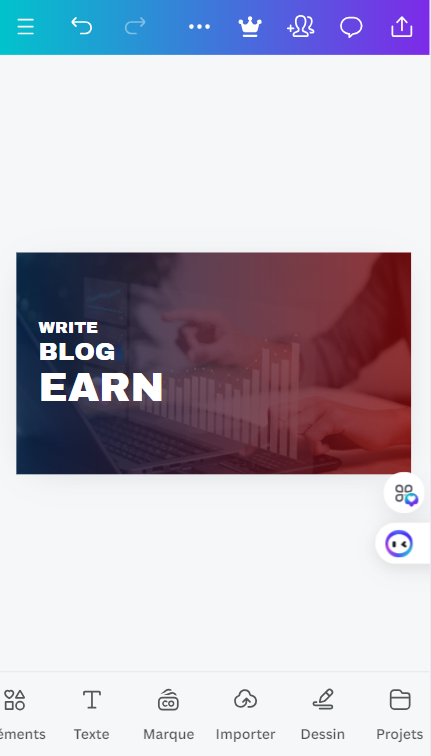
I arranged the text to suit my vision, ensuring that the principle of hierarchy is clearly demonstrated through the varying text sizes. This helps guide the viewer’s attention and enhances the overall structure of the design.
 |
|Step 6: Incorporating Shapes
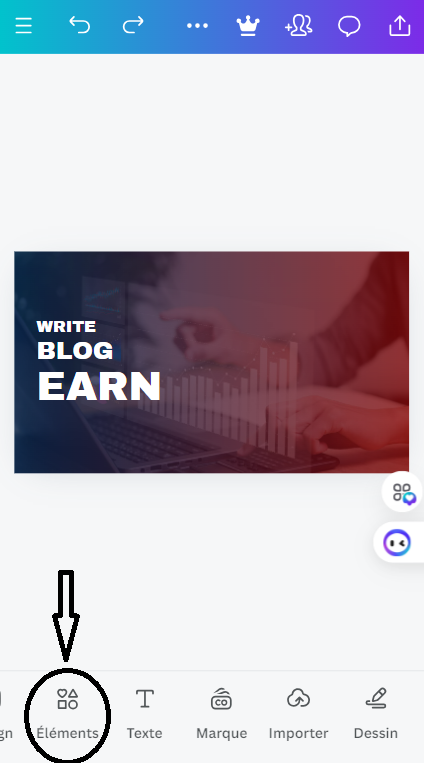
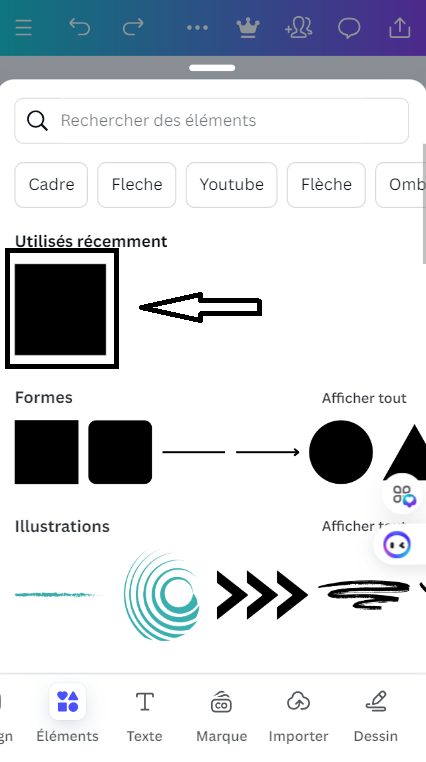
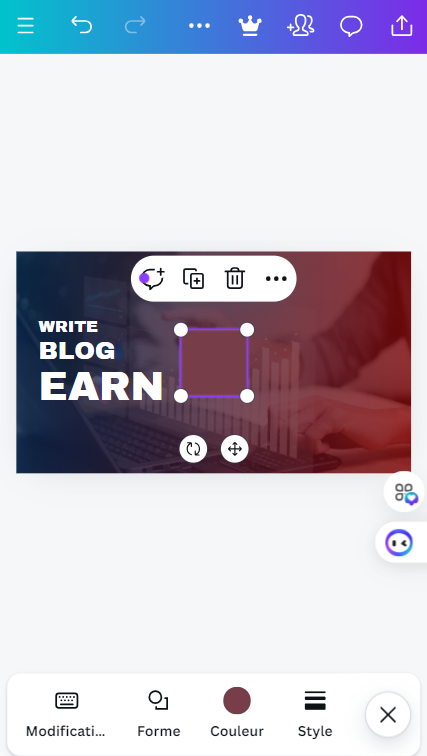
The result of my arrangement is now visible. Next, I clicked on the Elements icon and selected a square shape, which I planned to incorporate into the design to enhance its structure.
| Image 1 | Image 2 | Image 3 |
|---|---|---|
 |  |  |
Step 7: Emphasizing Key Elements
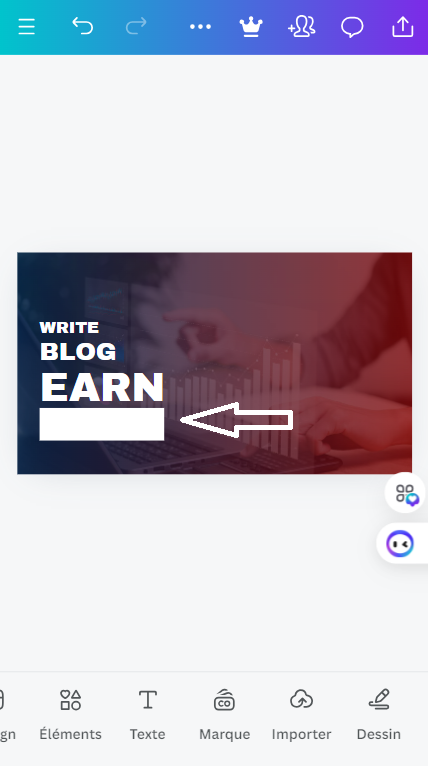
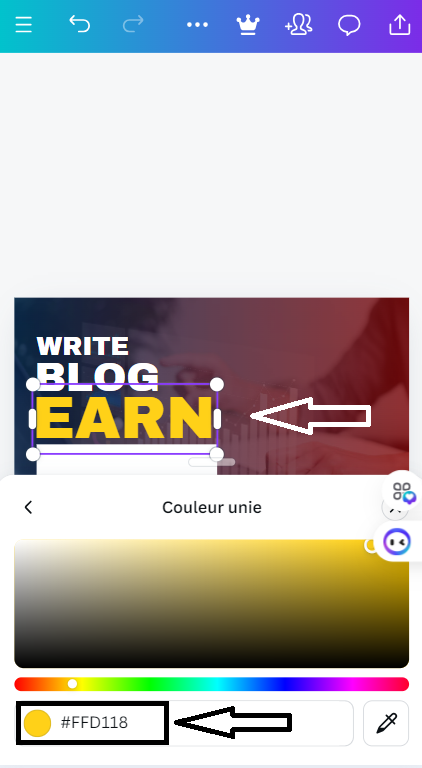
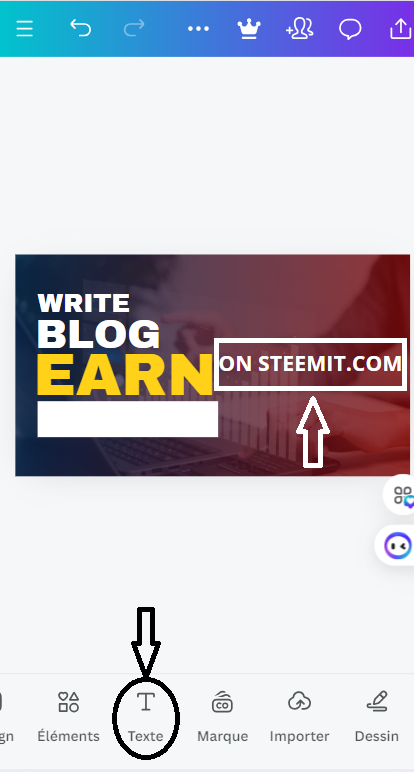
I adjusted the size of the square shape and placed it beneath the text. To emphasize the word 'Earn,' I modified its color, as indicated by the visible hex code. I also added another text element, 'STEEMIT.COM,' to enhance the overall composition of the design.
| Image 1 | Image 2 | Image 3 |
|---|---|---|
 |  |  |
Step 8: Adding Decorative Elements
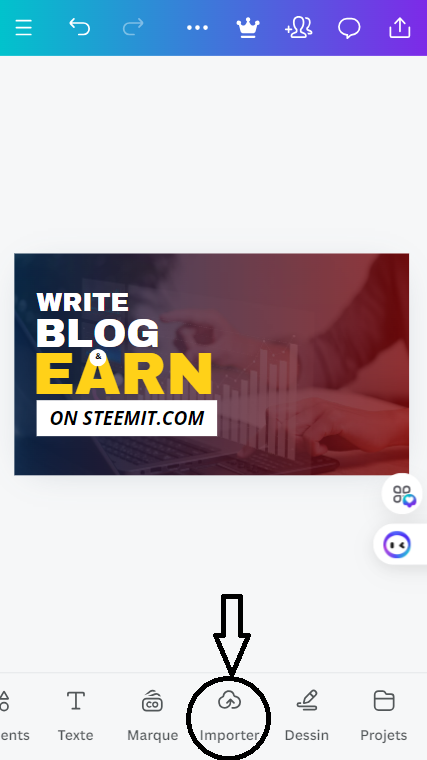
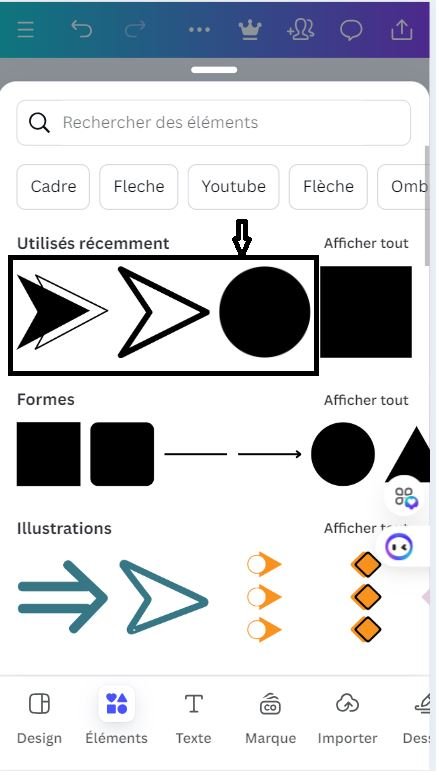
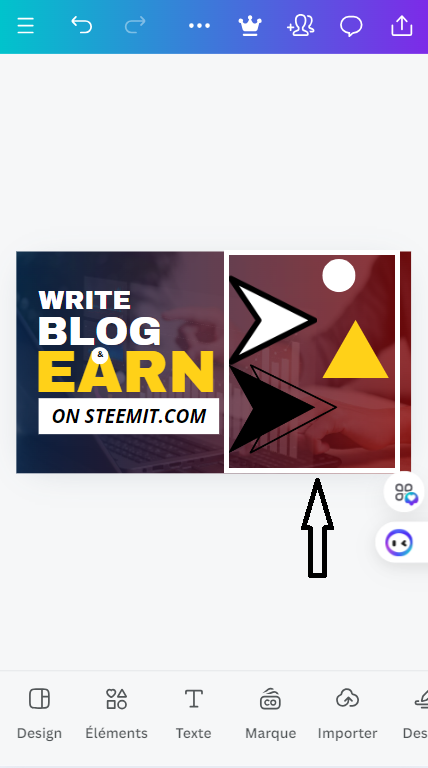
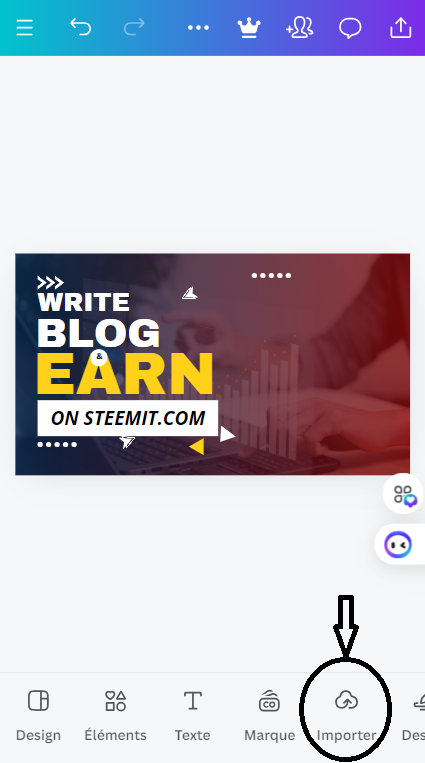
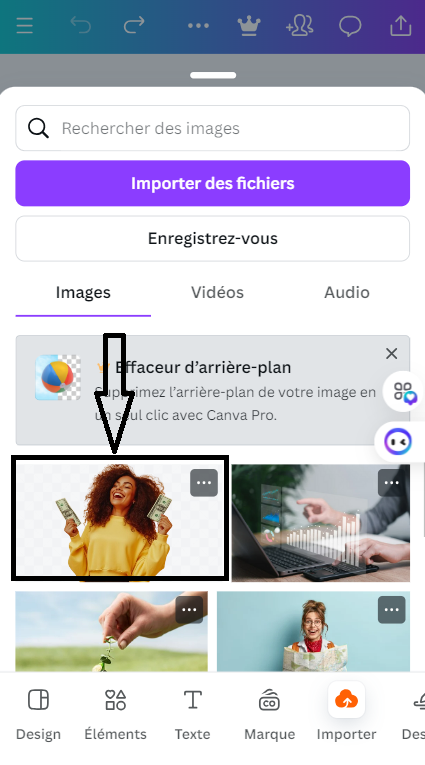
I carefully positioned the text and then went through the same steps to design a circular shape for the '&' symbol. To enhance the visual appeal of the design, I incorporated additional shapes. Finally, I introduced an image, placing it to the right of the main image to further elevate the overall aesthetic of the layout.
| Image 1 | Image 2 | Image 3 |
|---|---|---|
 |  |  |
| Image 4 | Image 6=5 | Image 6 |
|---|---|---|
 |  |  |
Step 9: Final Touches with Shapes
With the image now displayed, I resized it to fit my preferences. Then, I accessed the Elements section to incorporate the shape needed for my design.
| Image 1 | Image 2 | Image 3 |
|---|---|---|
 |  | 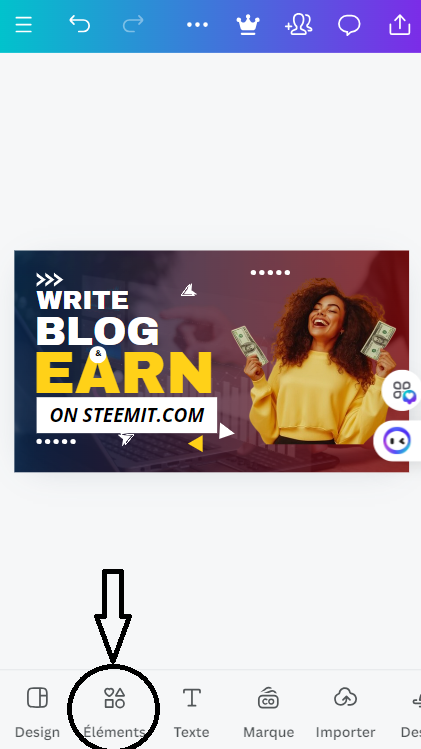 |
Step 10: Layering Elements for Depth
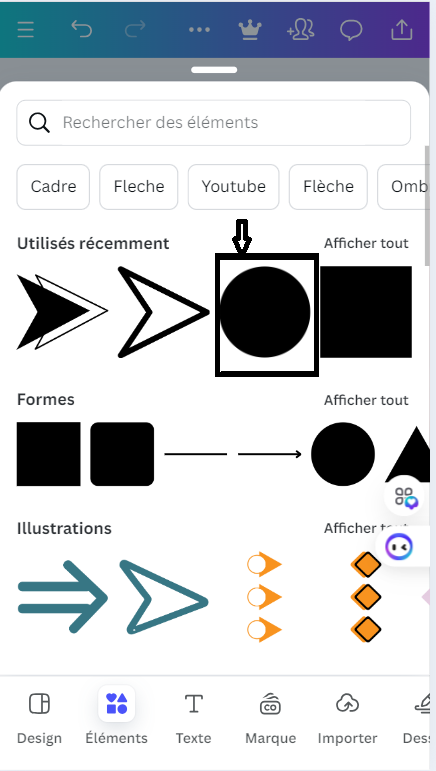
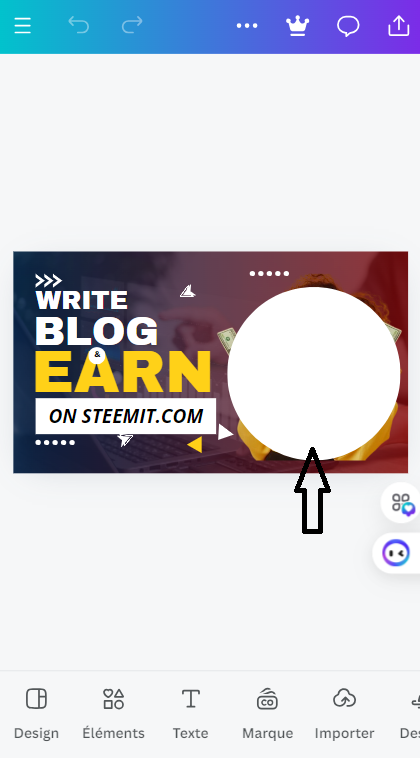
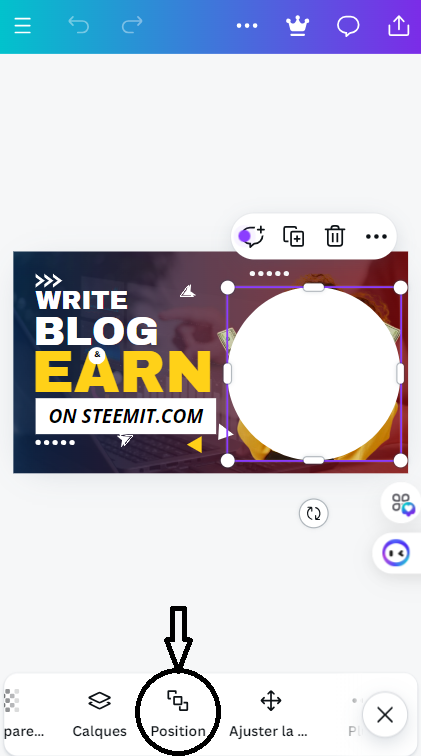
I opted for the circular shape, and when it was added to the design, I placed it over my image. Subsequently, I found the Position icon to adjust the arrangement of my elements.
| Image 1 | Image 2 | Image 3 |
|---|---|---|
 |  |  |
Step 11: Final Arrangement
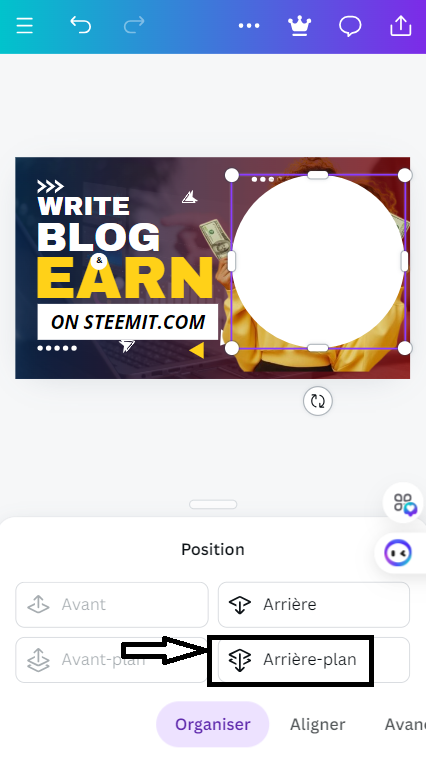
An option to select 'Back' ('Arrière') or 'Backward' ('Arrière-plan') appears. Choose 'Backward' to position the circle shape behind the image for a more appealing effect. Be careful not to click 'Backward' excessively, as this may result in the circle moving behind the background. Furthermore, make sure to arrange your elements to your satisfaction.
| Image 1 | Image 2 |
|---|---|
 |  |
Final Design
And there you have it! The culmination of creativity and design principles led to a visually stunning outcome that effectively conveys the intended message. Whether you’re a beginner or a seasoned designer, Canva offers the tools to unleash your creativity. Remember, every design is a journey, and with each step, you’re one step closer to mastering the art of graphic design!
.png)
I want to invite @livinword, @kingit and @kore-1 join the contest.
My introduction post on Steemit: link
About the Author
👋 Hi, I’m Kafio!
Software Engineer | Data Science Enthusiast | Trading Buff | Development Geek | Computer Science Lover 💻📊📈
I’m passionate about exploring the intersection of technology and innovation, with a special interest in data science, trading, and software development. Whether it’s diving into the latest in computer science or developing new projects, I’m always excited to learn and share insights. 🚀
I also love to travel
Got questions or just want to connect? Feel free to reach out to me at: [email protected] 🌟

the post is shared on Twitter: Twitter Link.
Downvoting a post can decrease pending rewards and make it less visible. Common reasons:
Submit
Congratulations! - Your post has been upvoted through steemcurator06
Curated by : @rosselena - Selective Team
Downvoting a post can decrease pending rewards and make it less visible. Common reasons:
Submit
Thank you, @rosselena, for your support!
Downvoting a post can decrease pending rewards and make it less visible. Common reasons:
Submit