It's another week of learning,another week of practicing. I am so grateful to the instructor @lhorgic for his endeavor to making sure all students follow this class perfectly. From the week one till this week, it has been great and right now, I can say that I don't need any help to design a logo or a flyer using canva app.
The home work task this week says we should replicate a graphic design by the instructor. Now, I will share the step-by-step process that I used to replicate my design.
Step one
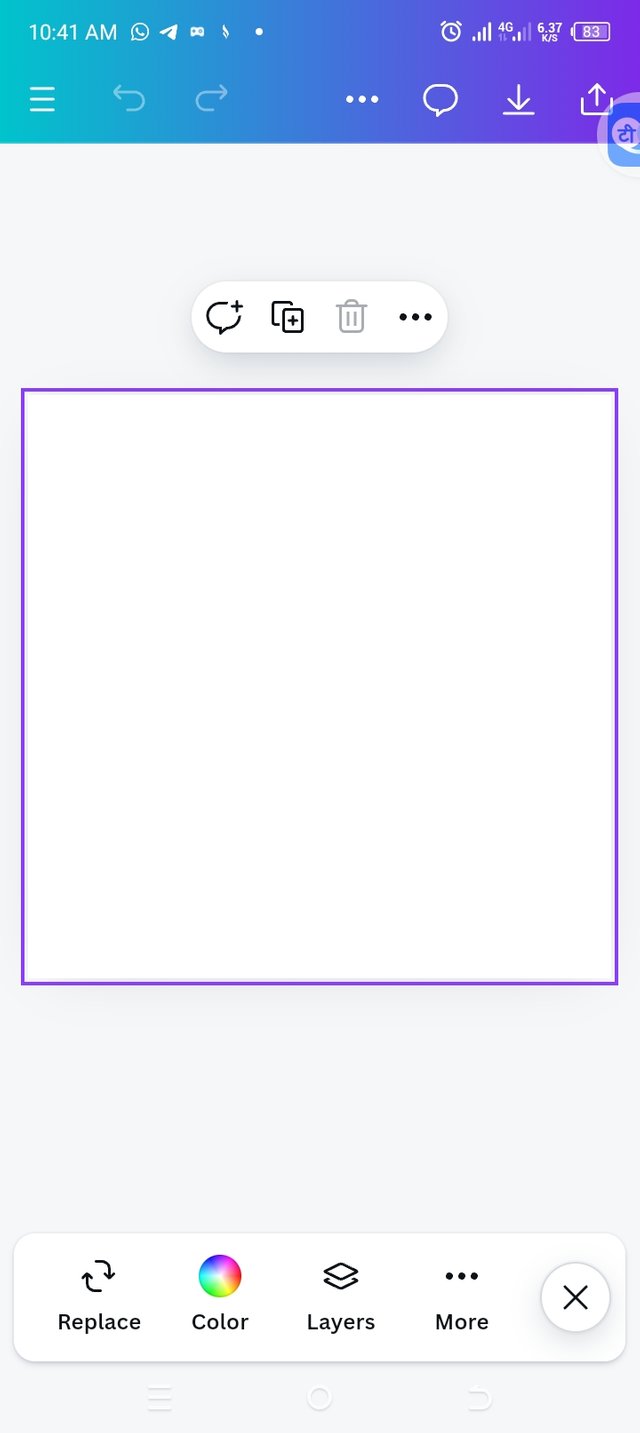
Launching into my app and creating a workspace
 |  |  |  |
|---|
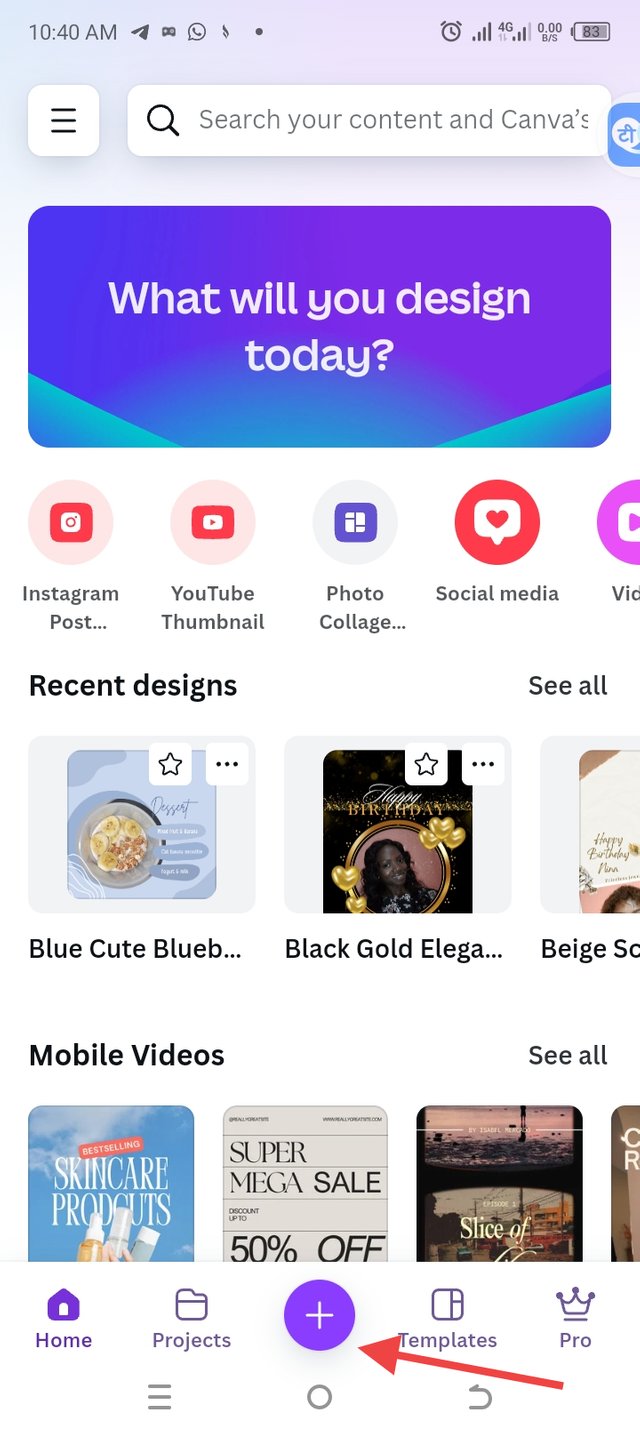
• The first step was to open to canva app, identifying the + icon,I clicked on it to create an appropriate workspace for my design.
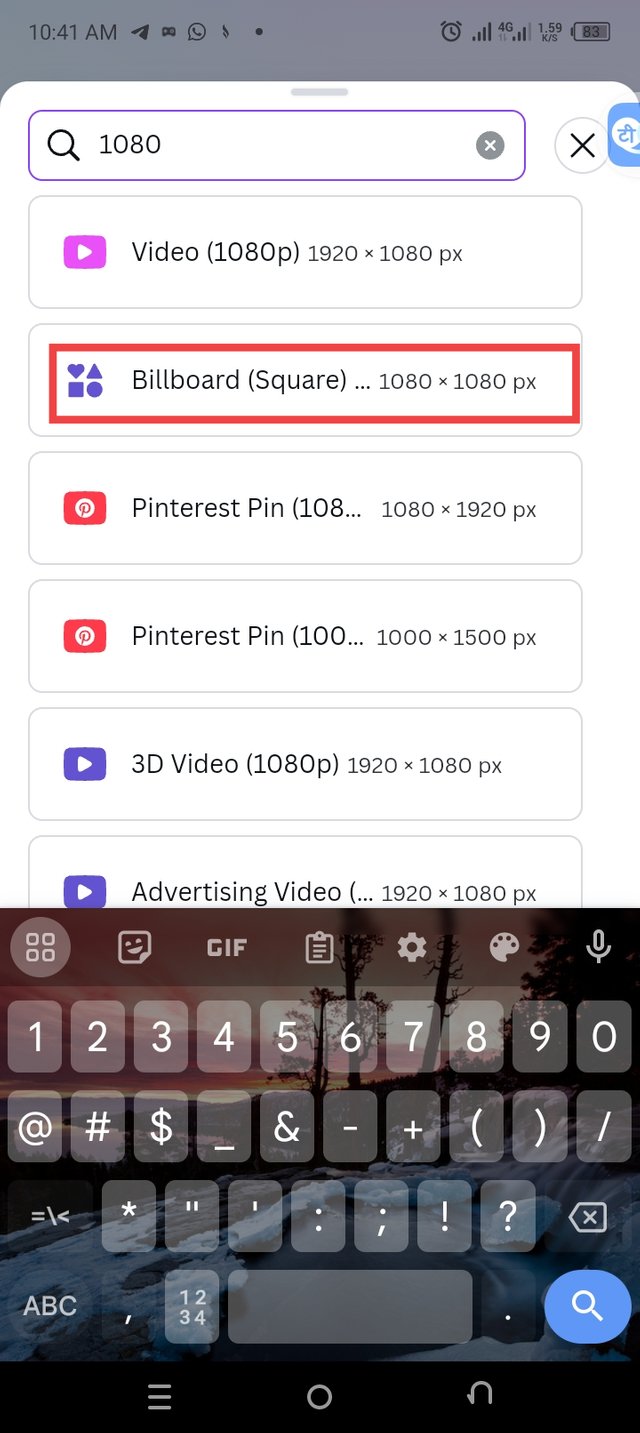
• I added a dimension of 1080×1080 for a billboard square as seen in the image above.
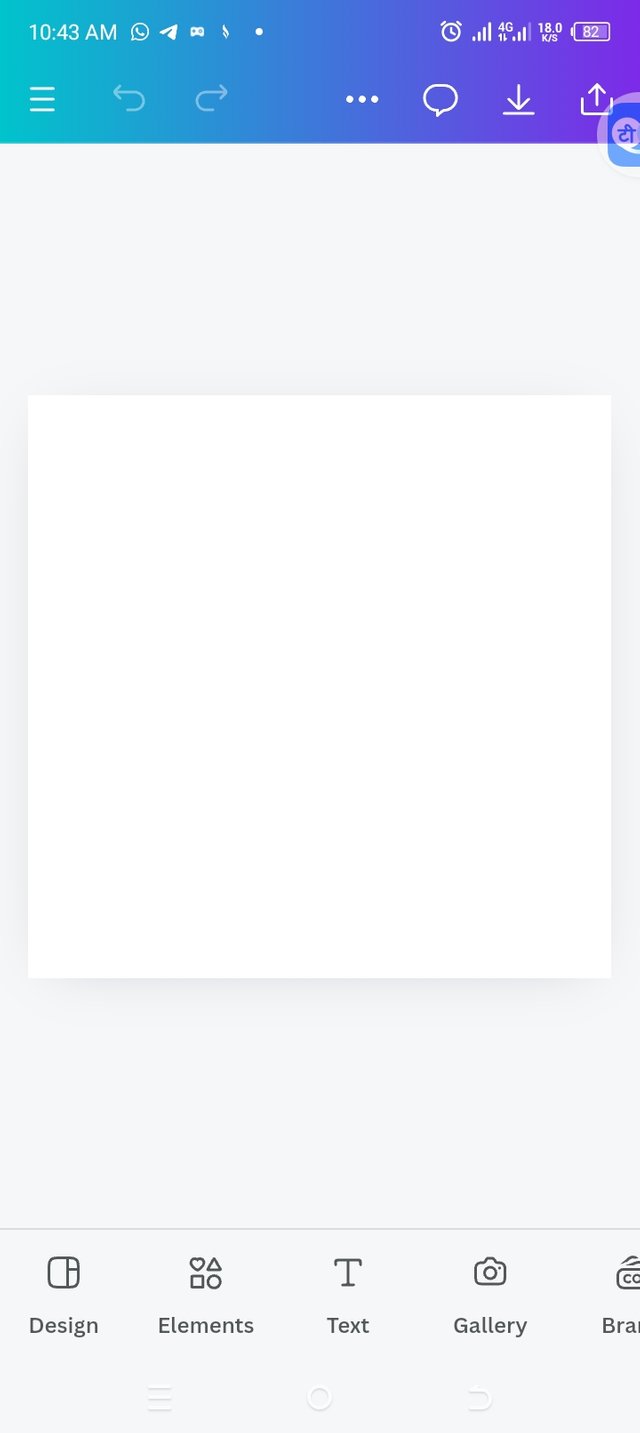
• Now, I have my workspace ready for use.
Step two
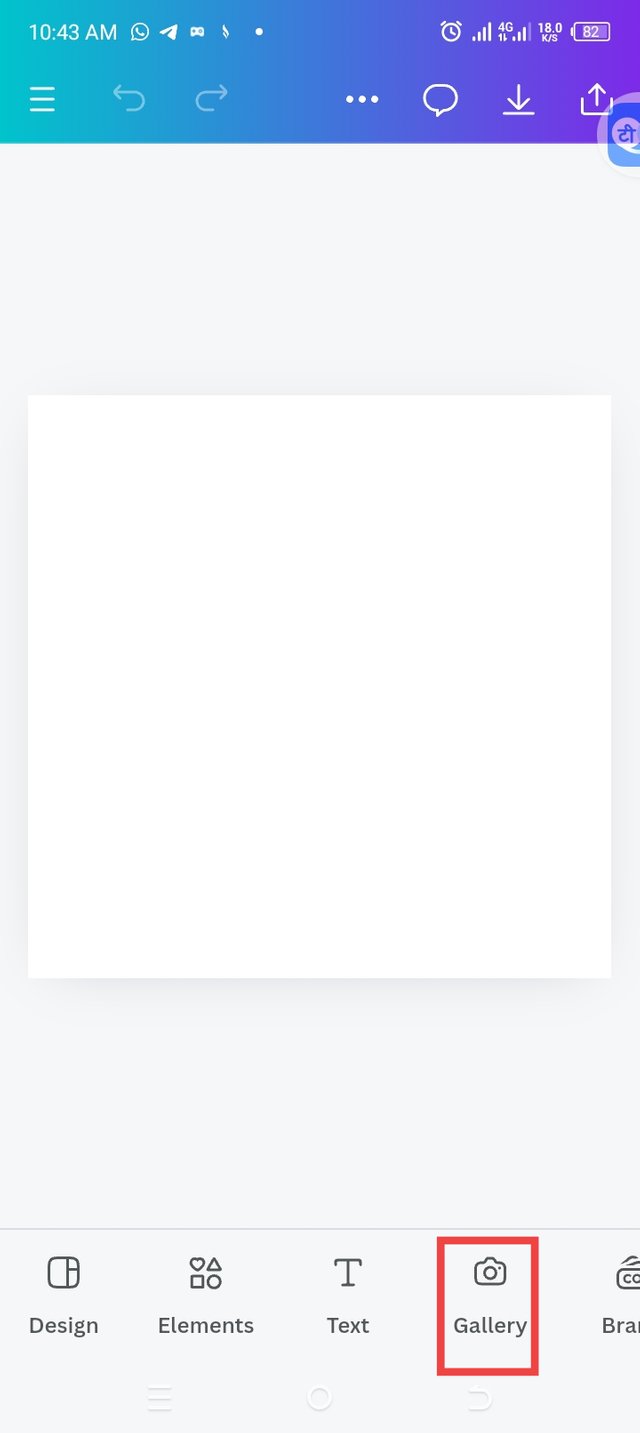
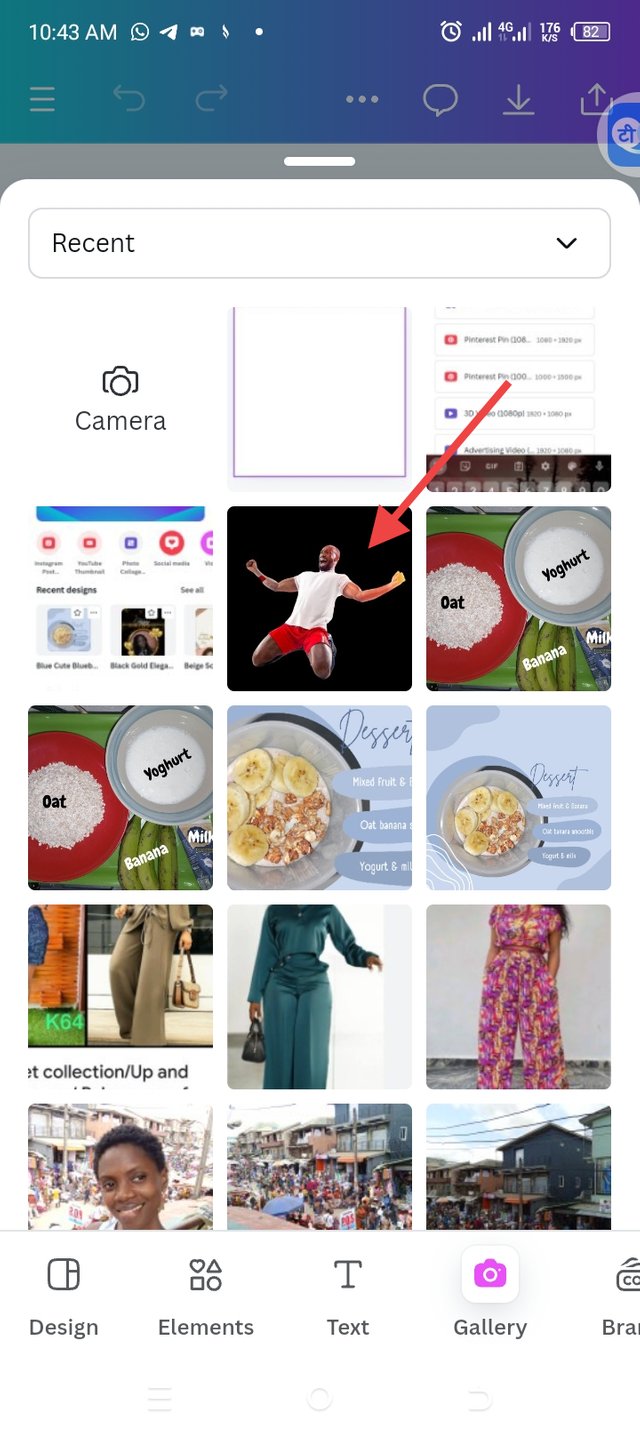
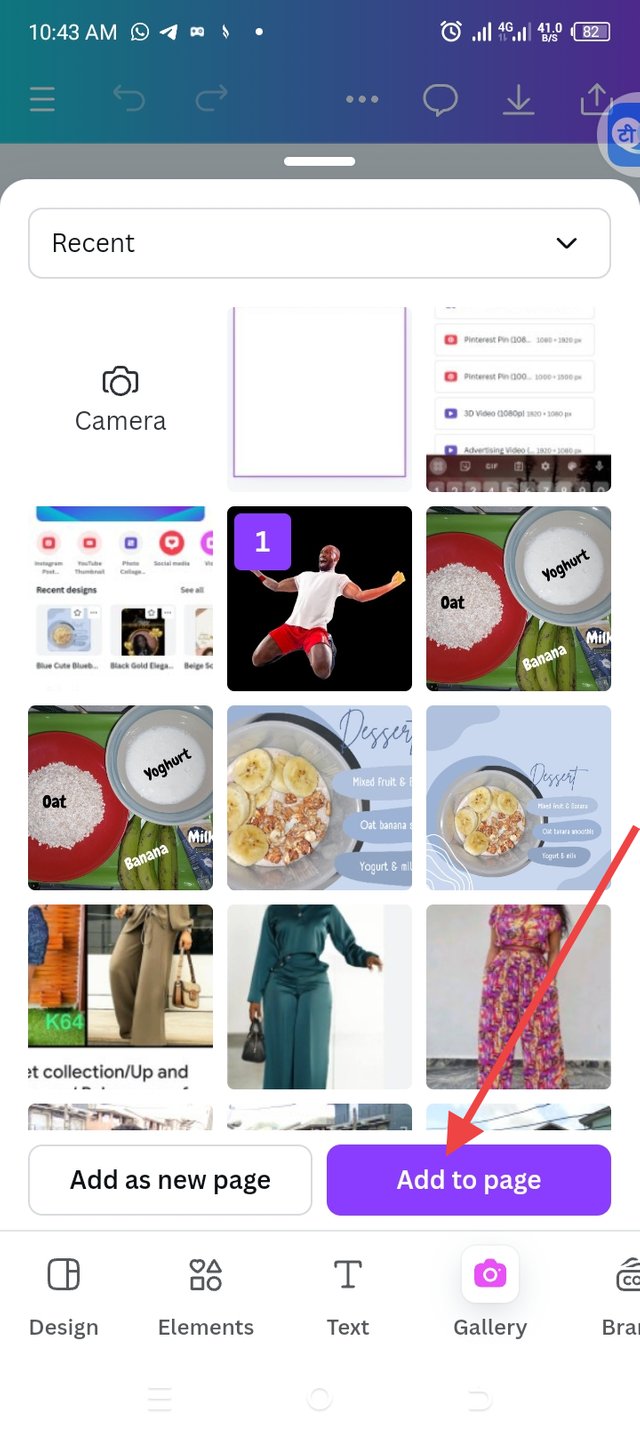
Adding an image for background
 |  |  |  |
|---|
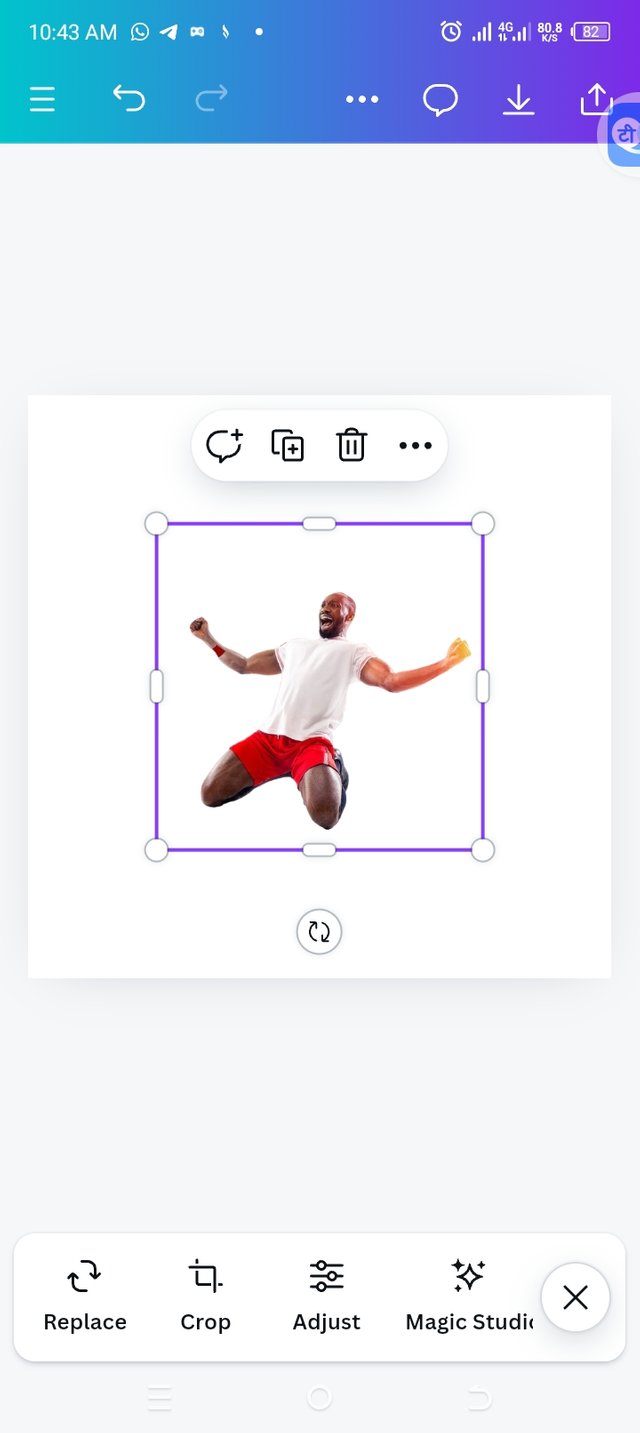
• I went ahead to add background by clicking on the gallery icon below to launch me into my photo gallery.
• I selected the right image that I need for this design by clicking on the image and then add to page.
• The image is launched into my workspace.
Step three
Adding effect to the background/ adding extra image
 |  |  |  |
|---|
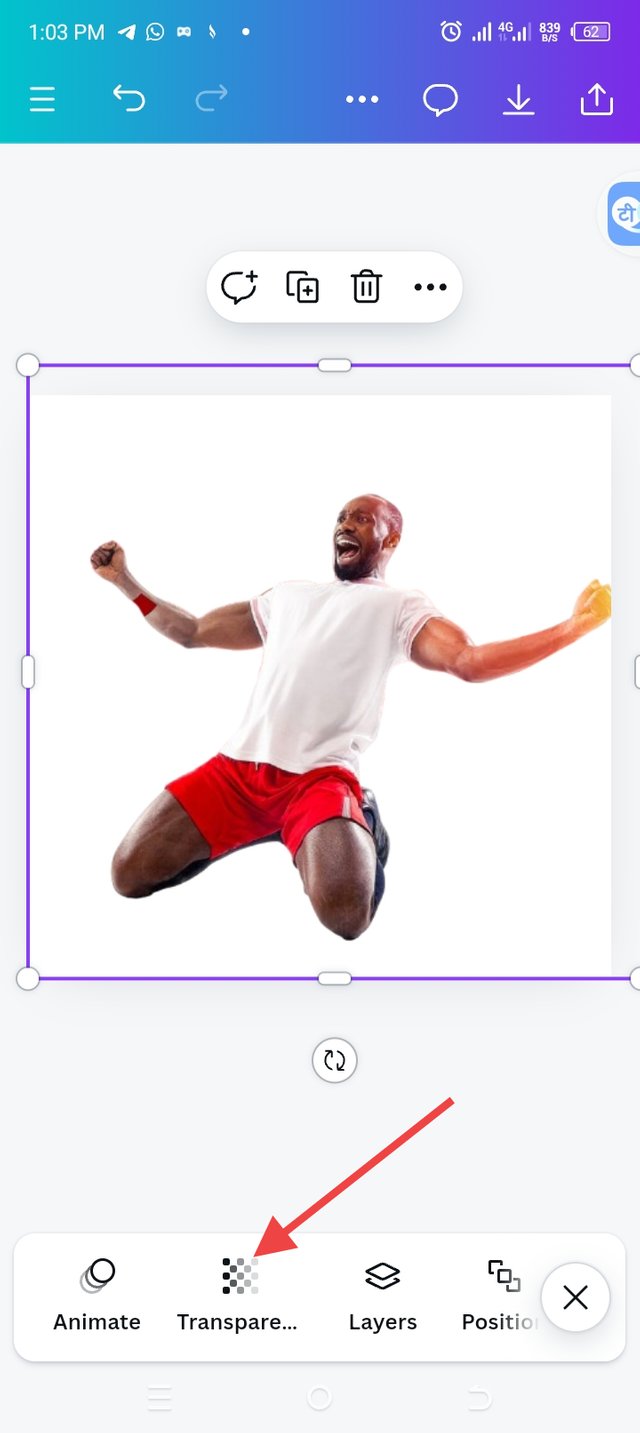
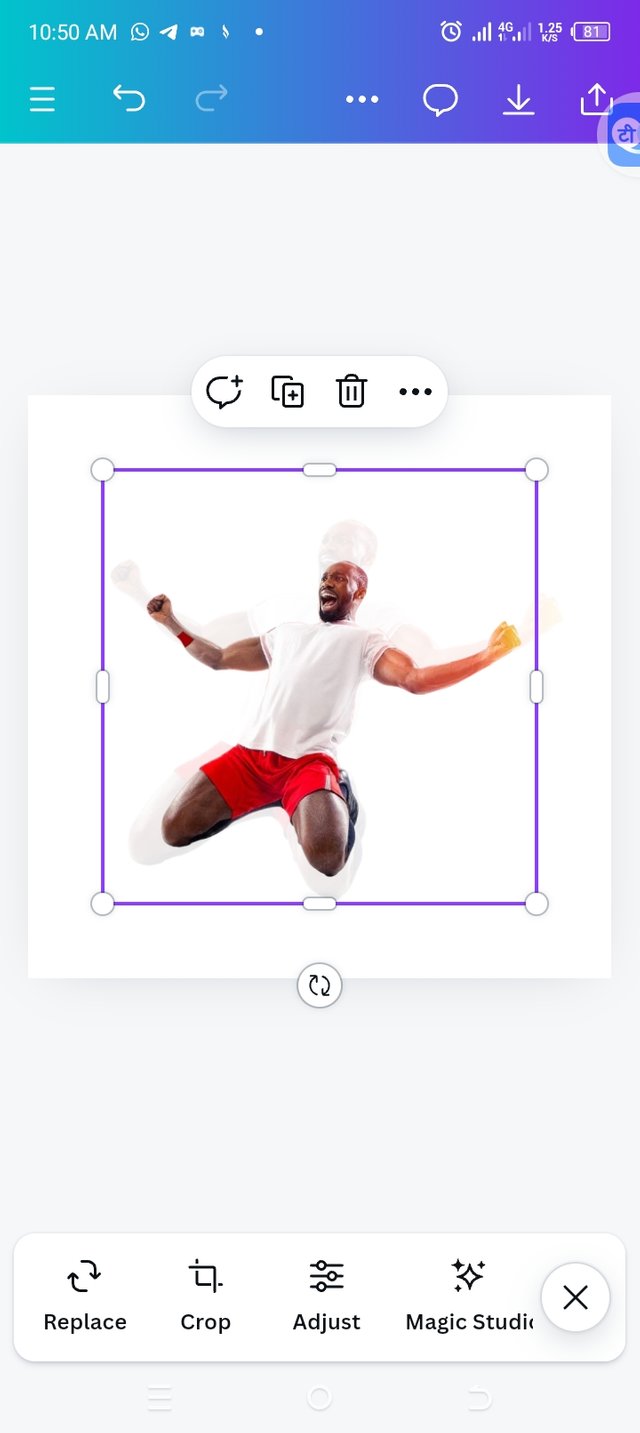
• I enlarged the image to fit my workspace in the right proportion.
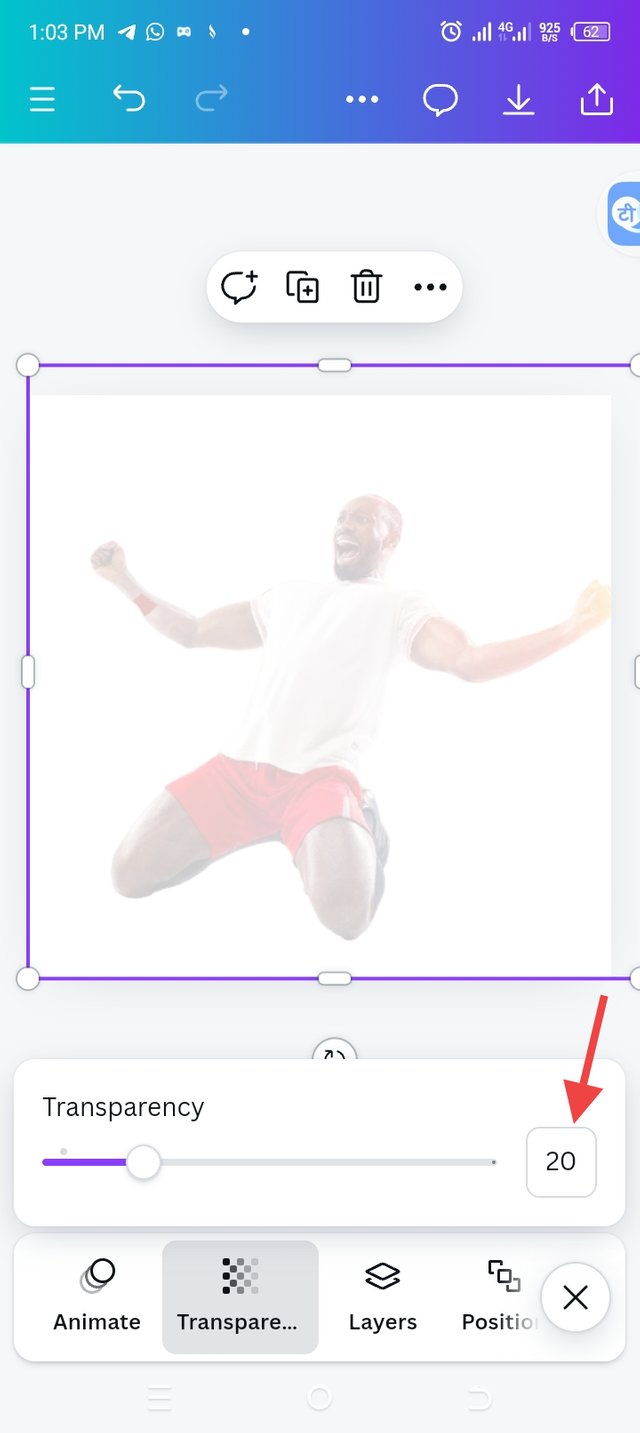
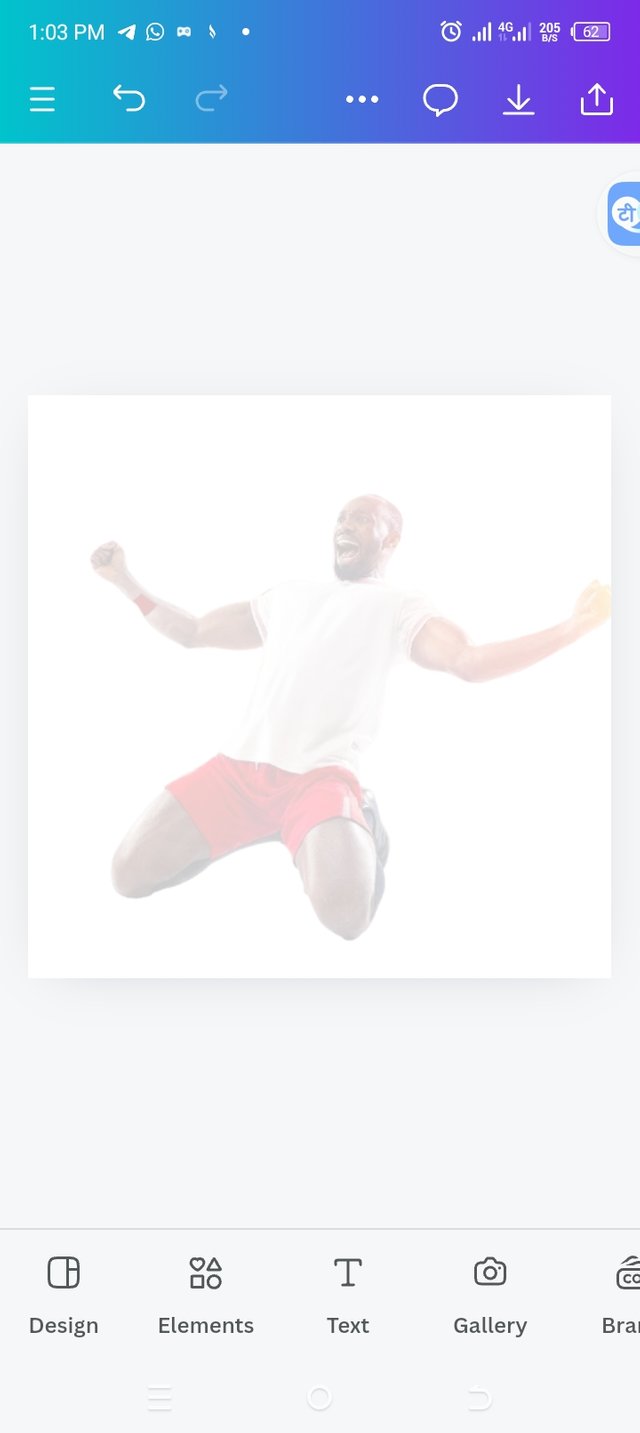
• By adding effect, I clicked on transparency to add effect to my image. I set the transparency at 20 because I feel it's better for my design.
• Finally, you can see from my image that the effect works perfectly.
• Since I was working with the same image,I repeated the same process of adding an image to my workspace to add the second image.
Step four
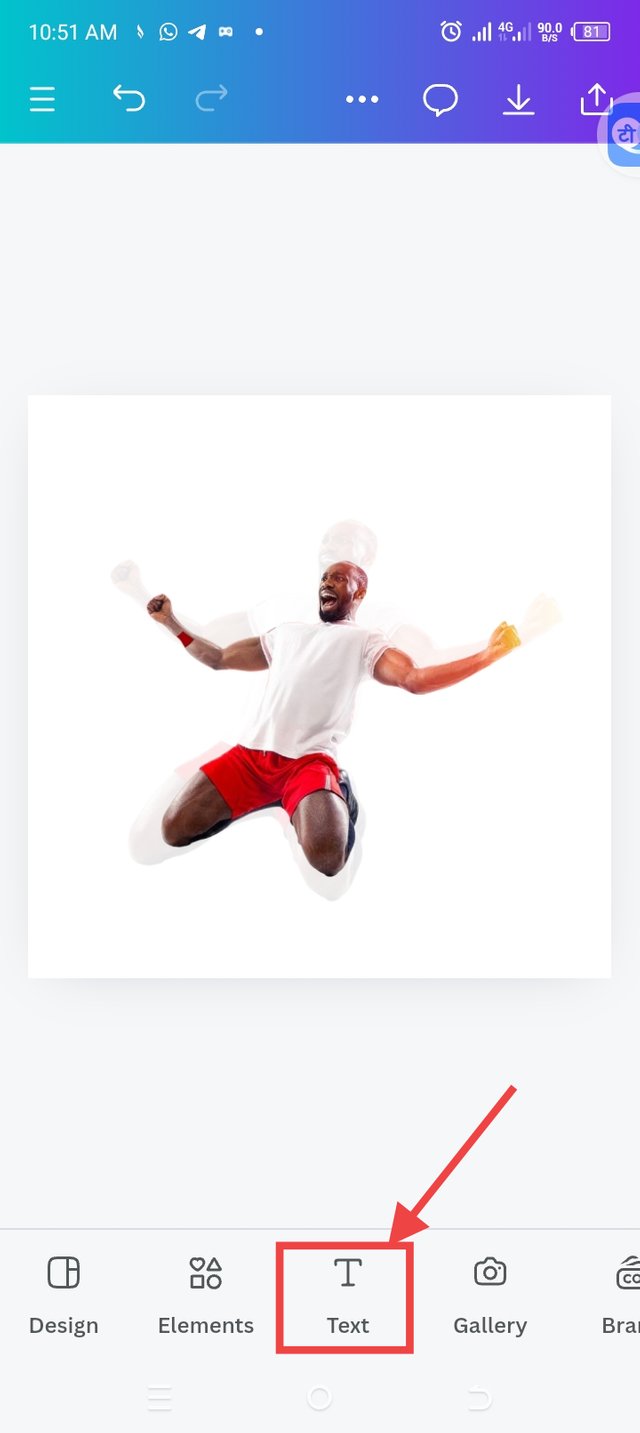
Here, I added my first text since the text is sub-divided and I also applied typeface/fonts
 |  |  |  |
|---|
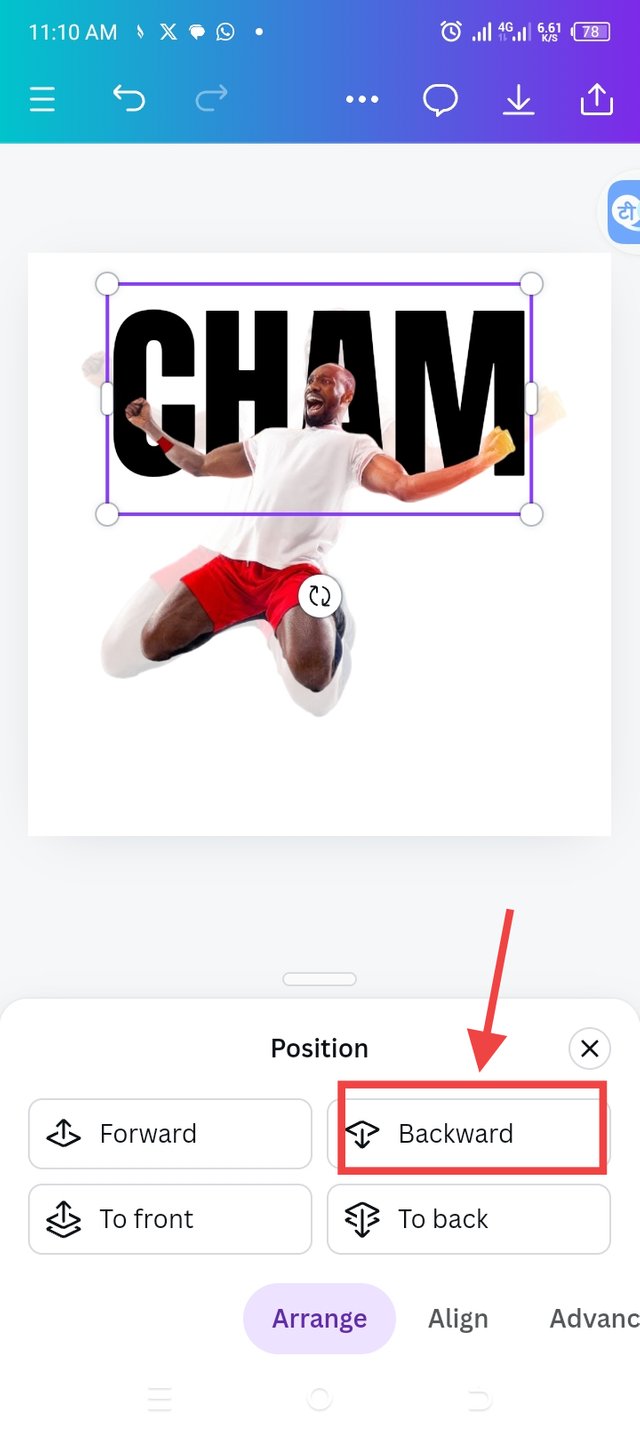
• I clicked on the text icon to add my text which is CHAM for the first part.
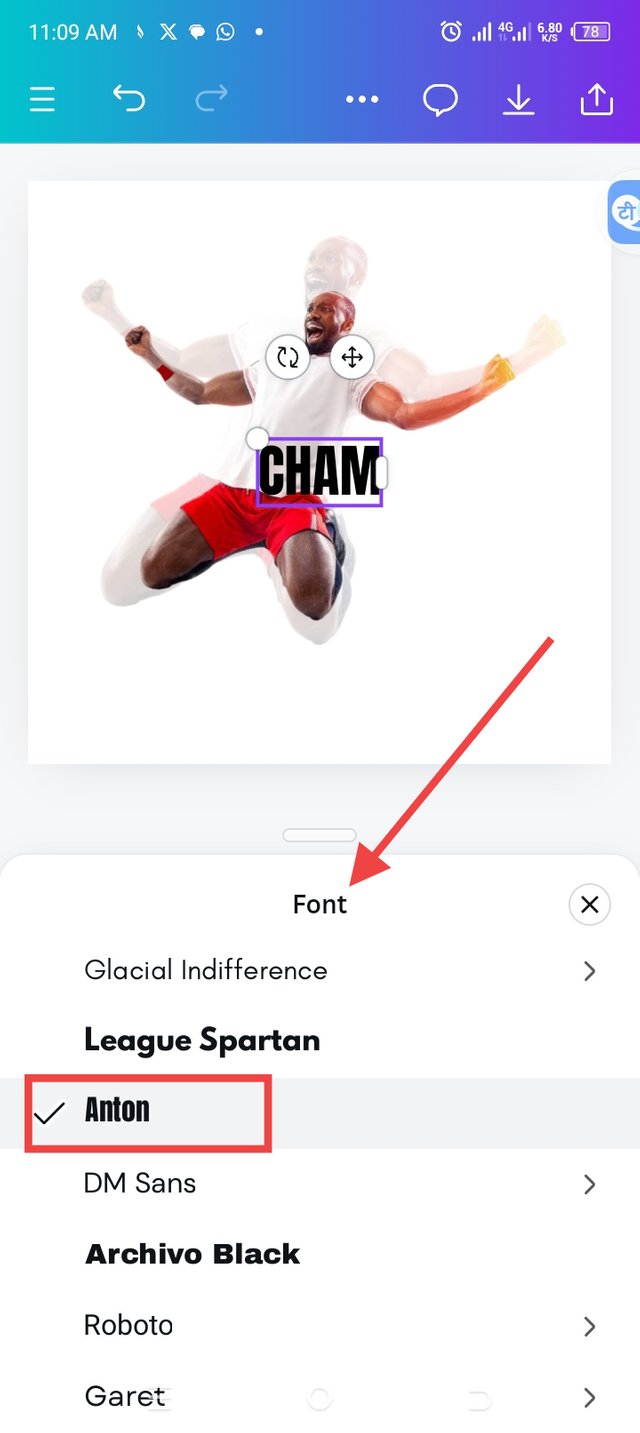
• Next, I clicked on fonts to select the best font for my work. I chose ANTON
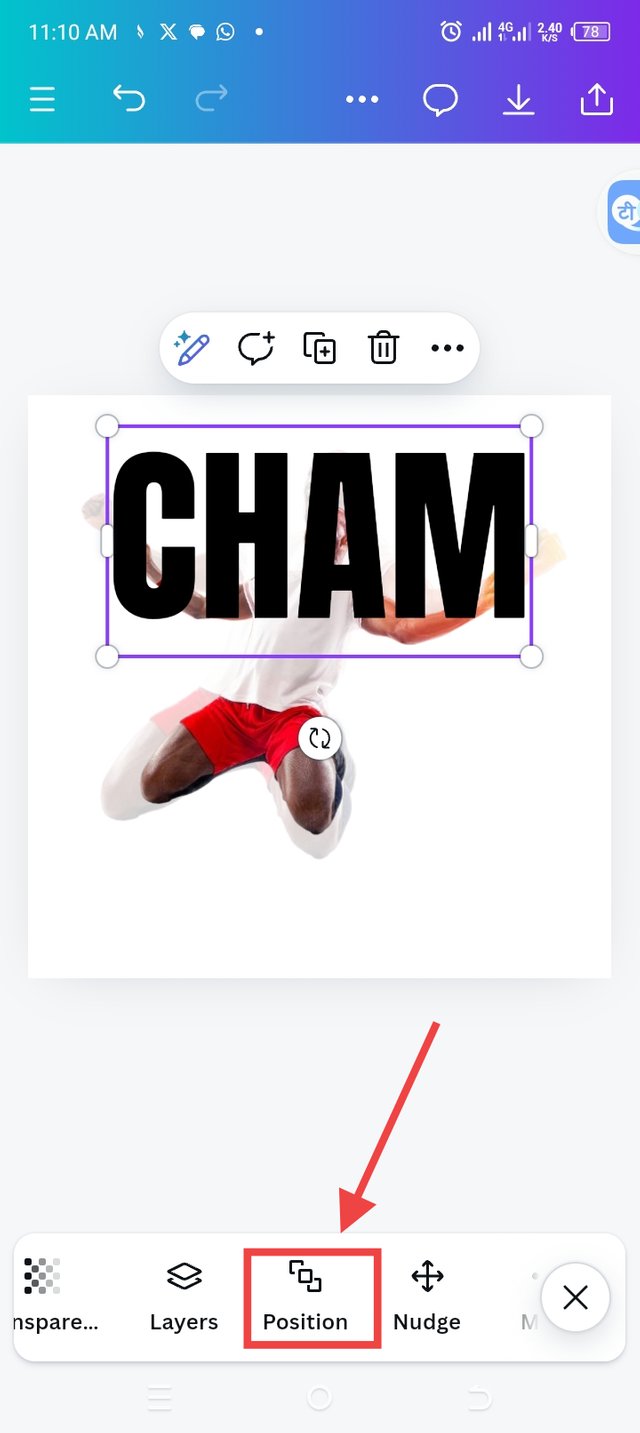
• I went ahead to click on position icon to put the text in the best place it should be.
• I selected backward since I want the text to be at the back of the image.
Step five
Adding the second text
 |  |  |
|---|
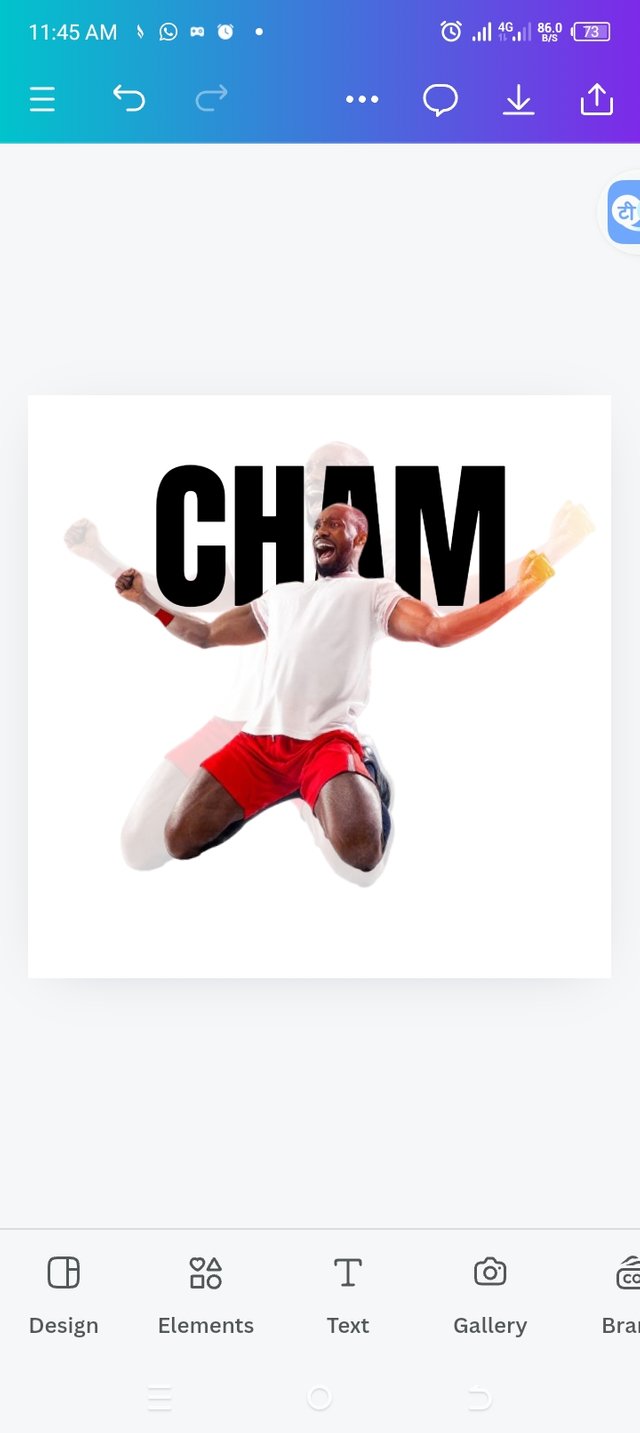
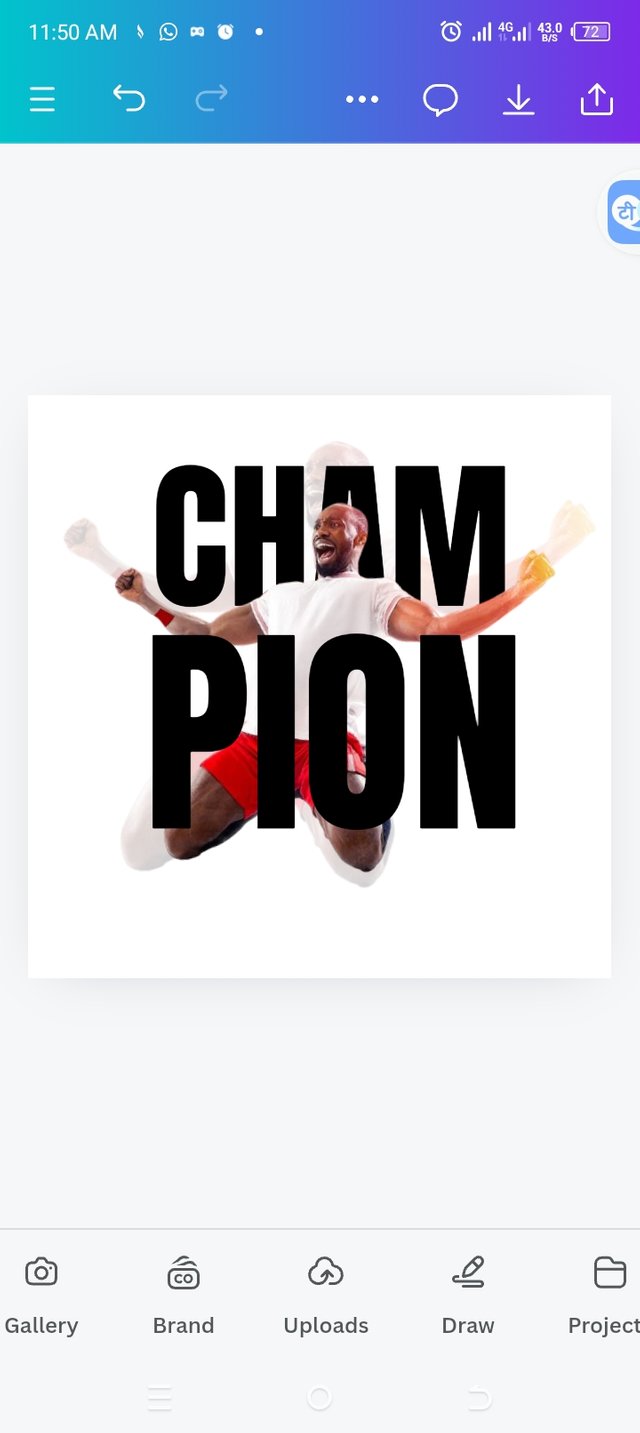
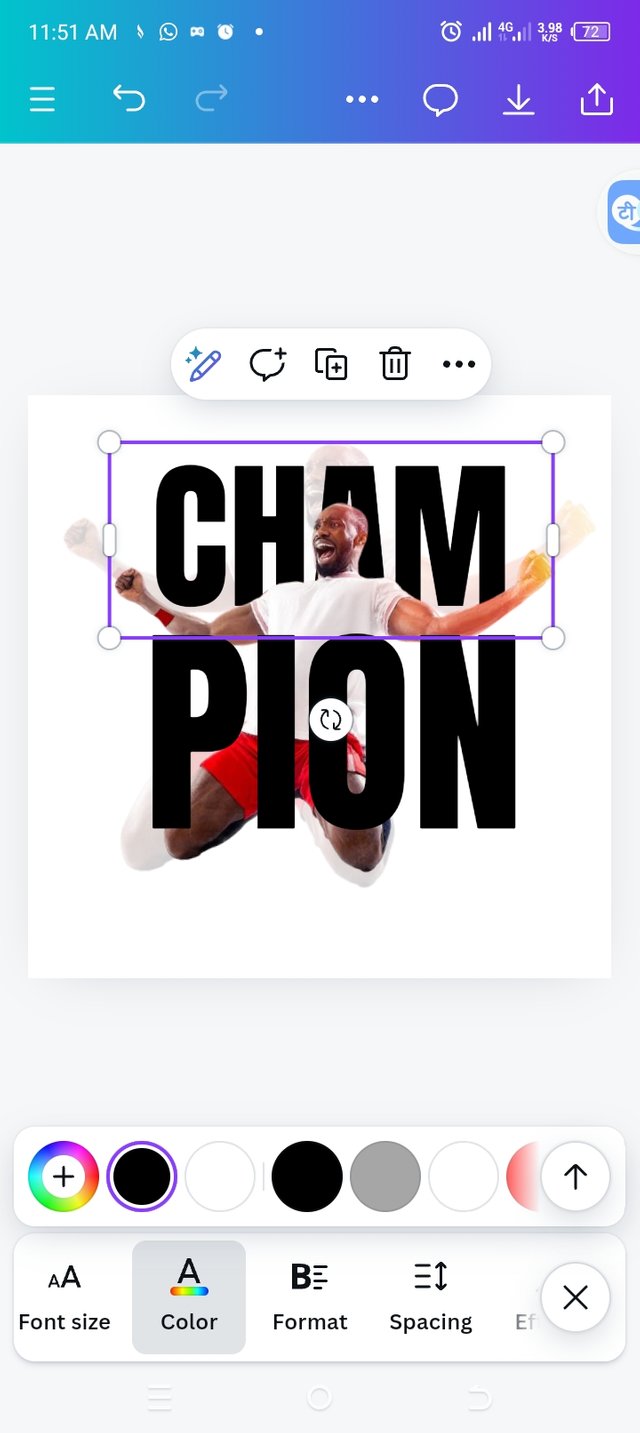
• I repeated the same process in adding the first text for the second text PION
• I used the same fonts just like the first text.
• The text has to be in the front so there was no need for positioning. I adjusted the text to balance right where it should be.
• I finally enlarged the text through font size and also applied alignment.
Step six
Adding of colour to text and adjusting
 |  |  |  |
|---|
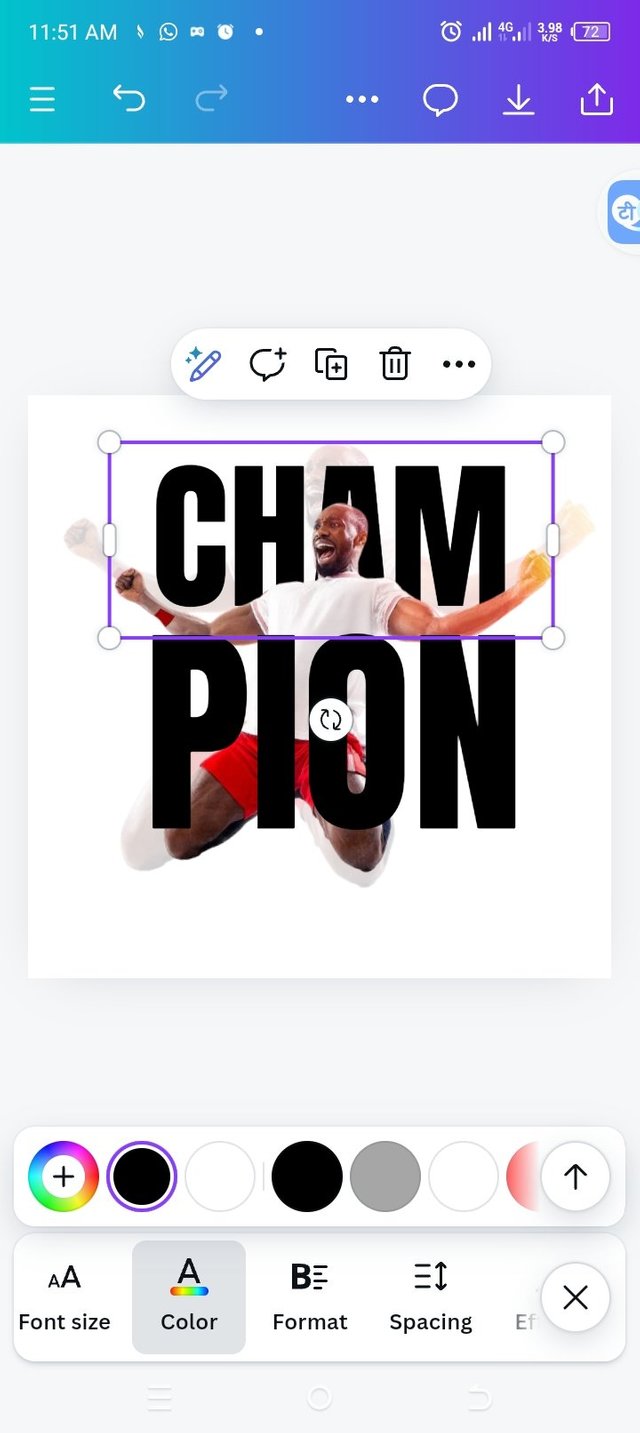
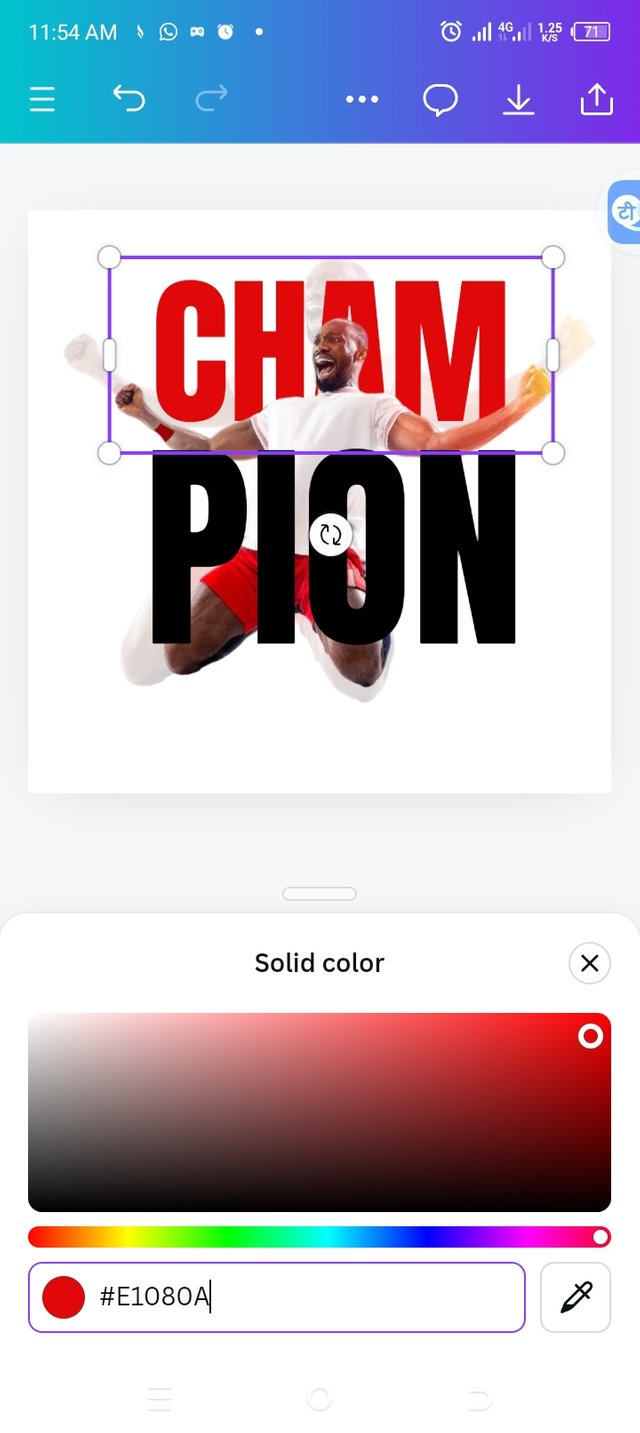
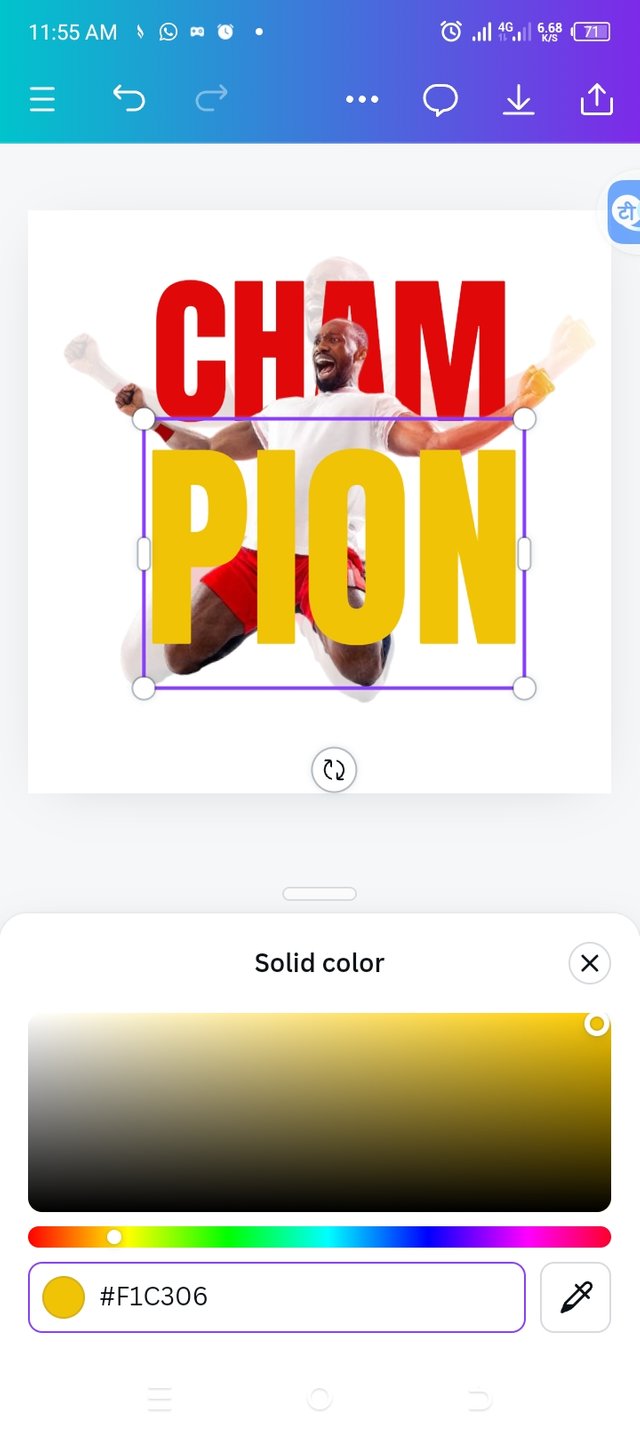
• Clicking on the color wheel, I selected the right colors for my text. So I chose the same color just like the instructor's color.
• For the first text, I chose color red with hex code #E1080A
• The second text, I chose color yellow with hex code #F1C306
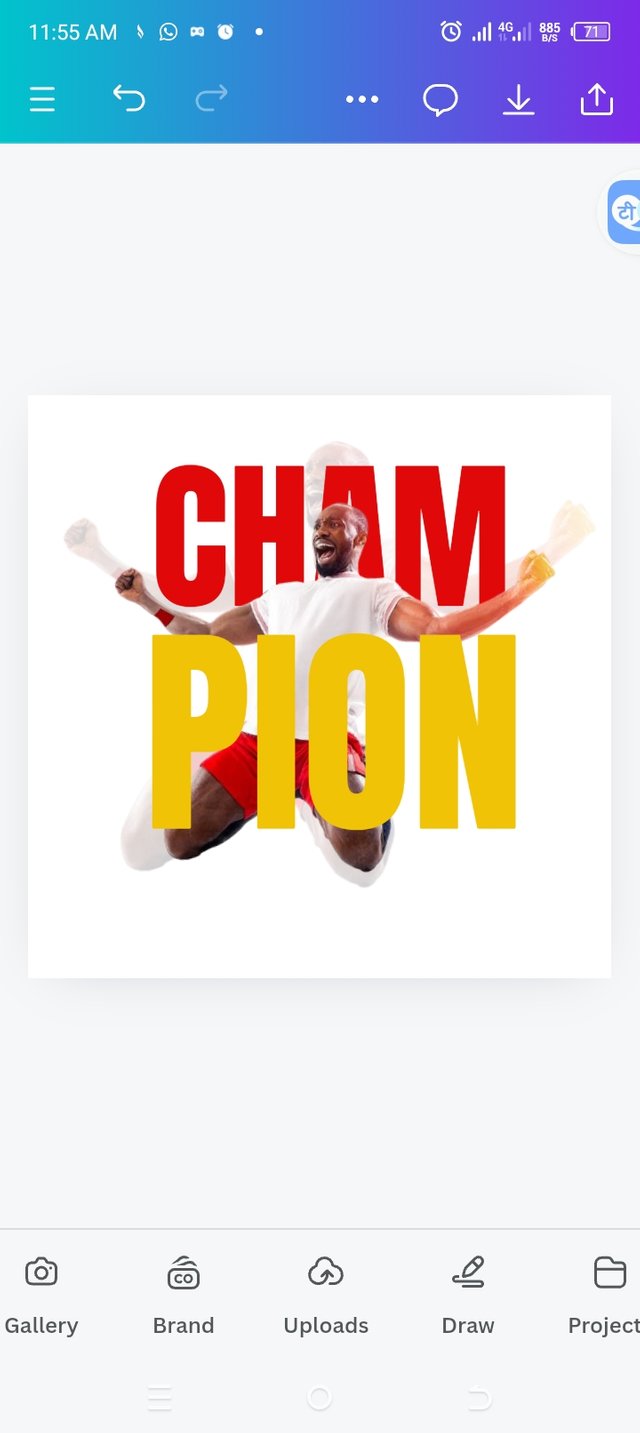
• The last image shows the color combination on my design.
Final step
Adding champion quote through text
 |  |
|---|
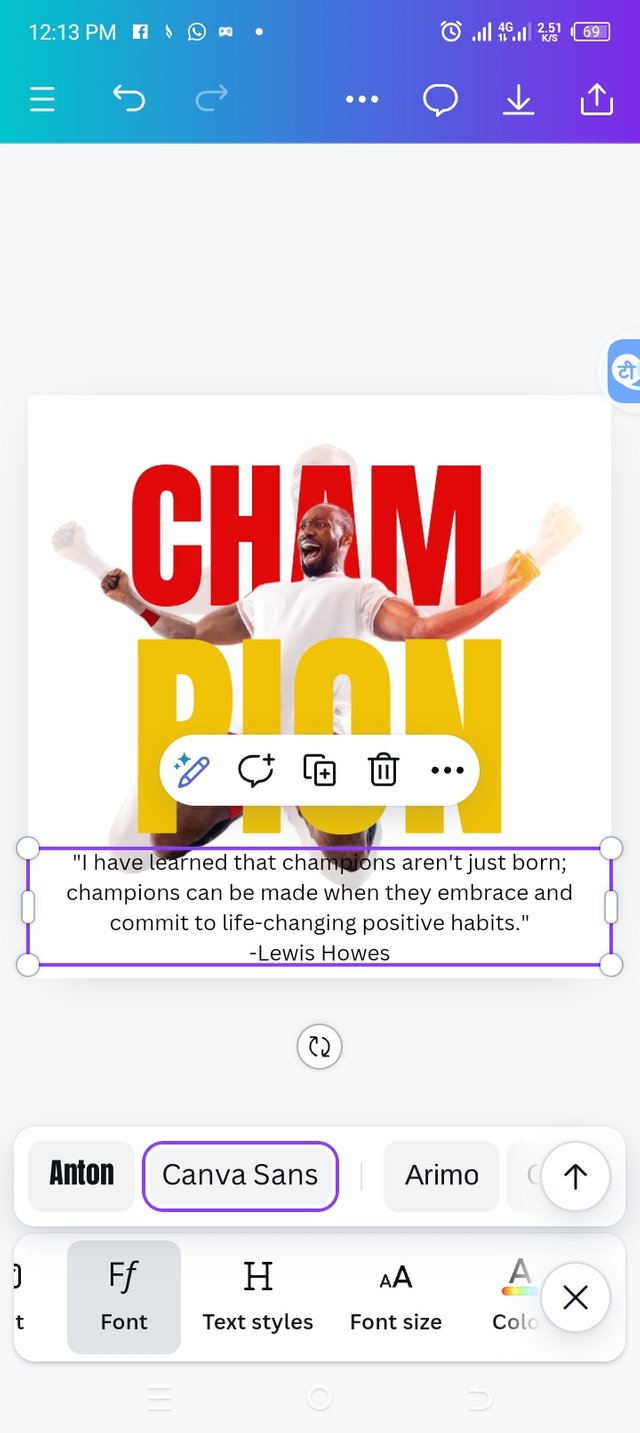
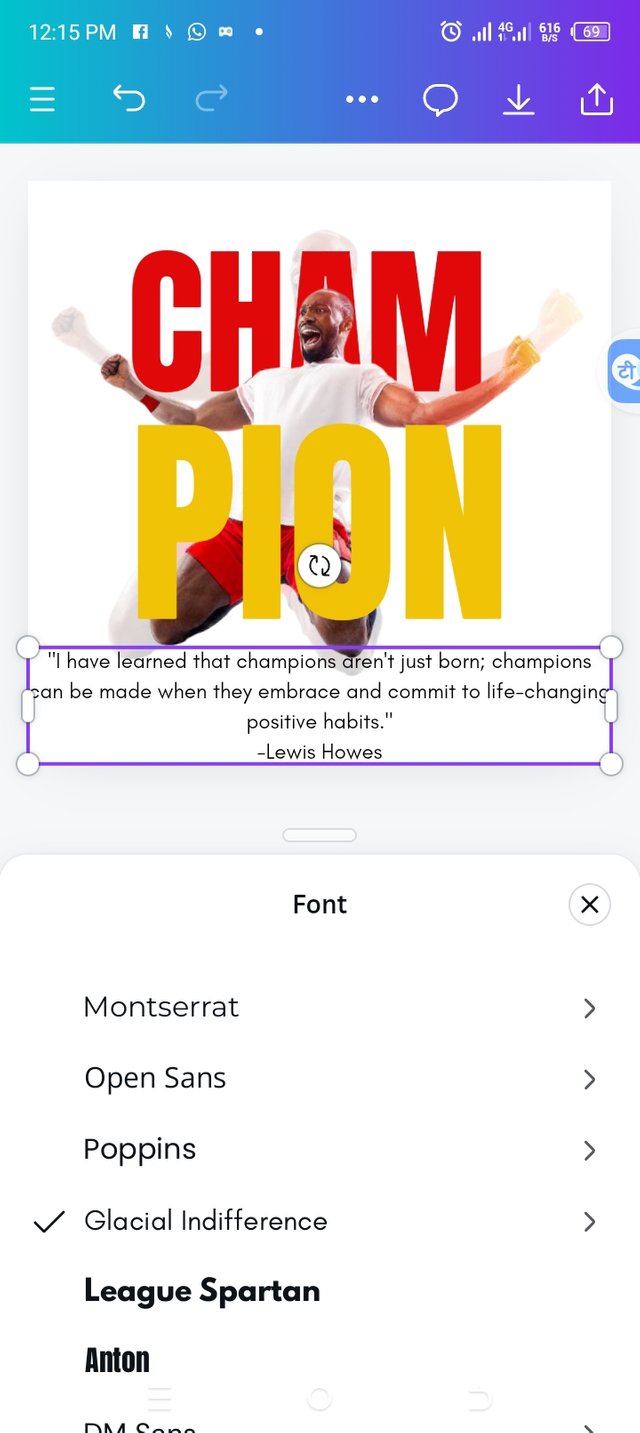
• Using the same method of adding text by clicking on text and choosing your heading or sub heading, I typed in my text and also my username as a student of this class.
• I selected the best font which is glacial indifference
• I adjusted the text to the right place.
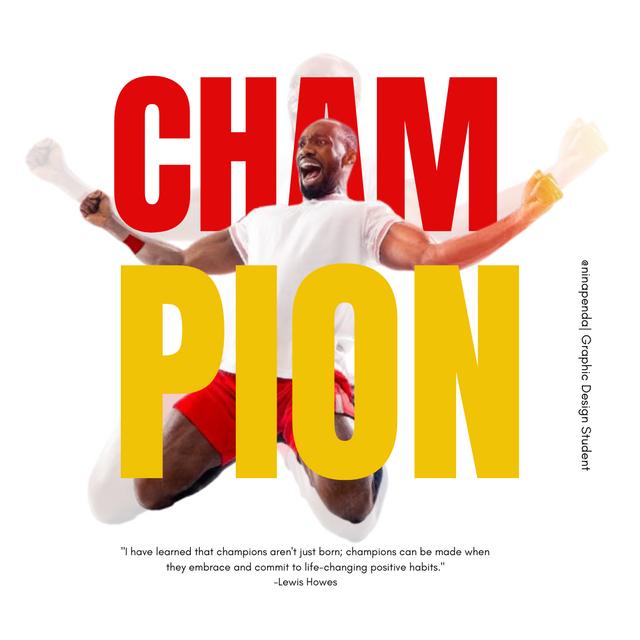
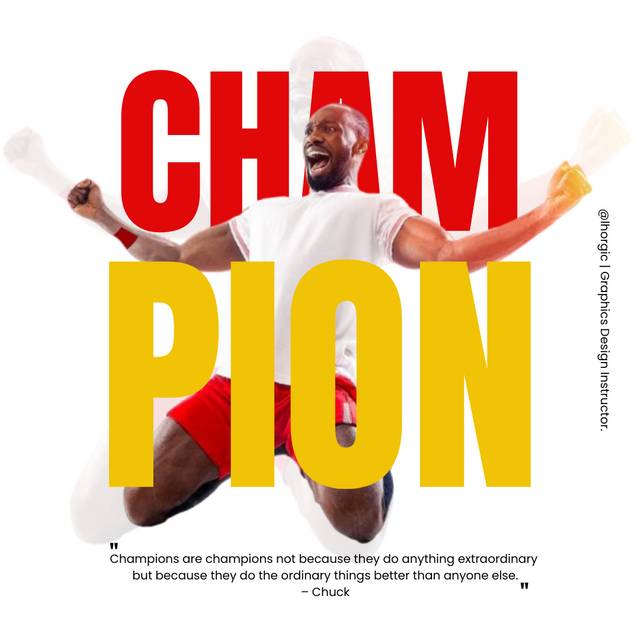 Instructor's design Instructor's design |  Ninapenda's design Ninapenda's design |
|---|
Principles used for this design
Avoiding Edge to Edge: Looking at my design,you would notice that non of my text or images got to the edge,this way, if I am to print my design, non of them would be cut off.
Color combination: From my design, you would see that I have combined two colors for my text and if you look closely, you would also notice these colore right on the image which shows that my color combination is good.
Design Size & Dimension: I have used a billboard square of 1080×1080. Since I was more informations to fill in, I chose this size to enable my design come out well.
Balance: My design shows balance from the top to the bottom and from the x axis to the y axis as all elements are balanced. I made sure I got it right this time.
Element Spacing:If you look closely , you will notice that my elements were not too spaced out neither are they jammed. I made sure I used my spacing to balance each text appropriately while working.
Hierarchy: Using hierarchy, made the first image so transparent so that my key image will not be bothered by another. Since the first text CHAM was sent backward, I used a red color to highlight it better to please my viewers.
Emphasis: The emphasis here is on "champion". Using two colors and dividing the words in two made them stand out. The background image and the main image shows that of champion. The text and colors applied shows the emphasis.
I invite @mariami @nancy0 @pandora2010
Upvoted. Thank You for sending some of your rewards to @null. It will make Steem stronger.
Downvoting a post can decrease pending rewards and make it less visible. Common reasons:
Submit
This is such an impressive step-by-step guide! You make the process so easy to follow, and the end result is visually appealing. I especially like the font choice and the thoughtful use of color.
Downvoting a post can decrease pending rewards and make it less visible. Common reasons:
Submit
Downvoting a post can decrease pending rewards and make it less visible. Common reasons:
Submit