
Changing guitar strings is a simple job but also easy to do improperly. I was doing quite a bit of guitar repairs a few years ago and can’t begin to tell you how many times I have seen strings installed incorrectly. This post will teach you how to change your strings properly on a fender style guitar. Just a couple of basic tools are needed: A string winder, wire cutters, a clear cloth, a standard pencil, and some sort of instrument tuner.
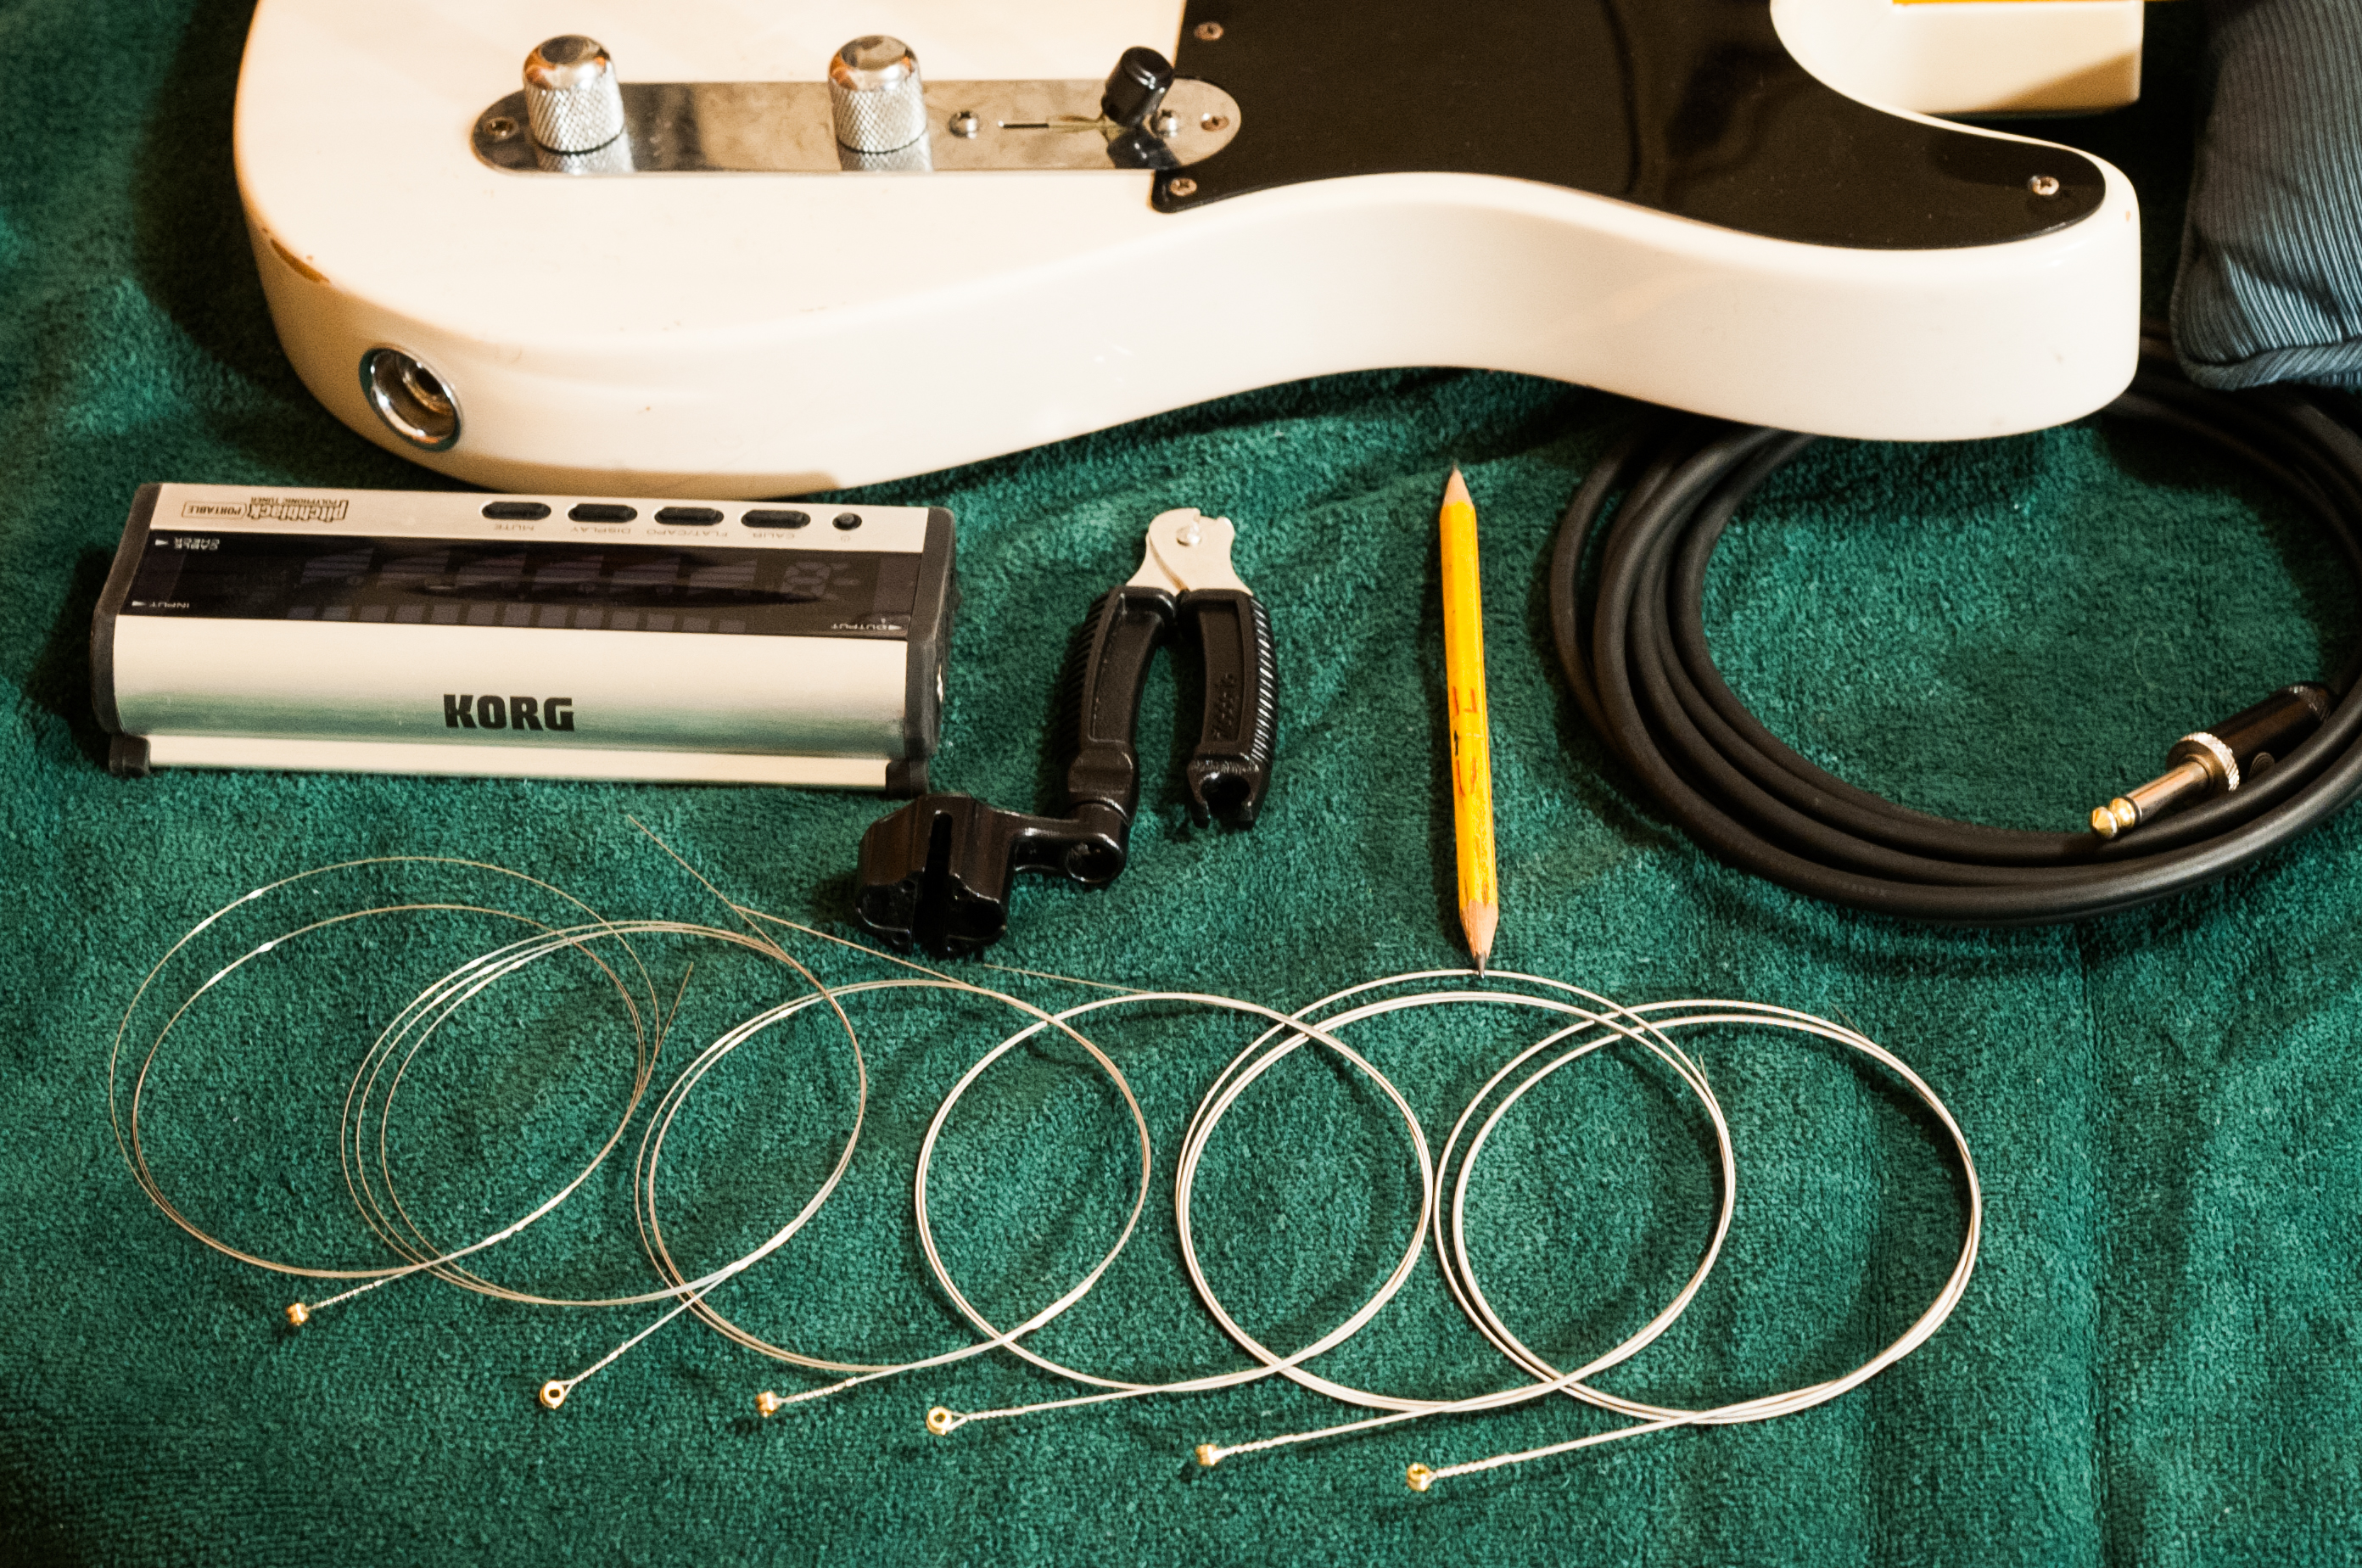
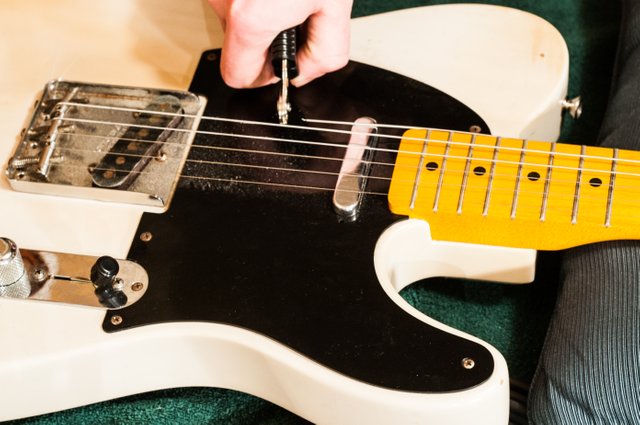
First step is to remove the old strings. I usually do this simply by cutting the off the old strings, taking care not to damage the pickguard, or any of the finish. Be sure to wipe down the fingerboard with a clean cloth to avoid the new strings from picking up any old dirt.
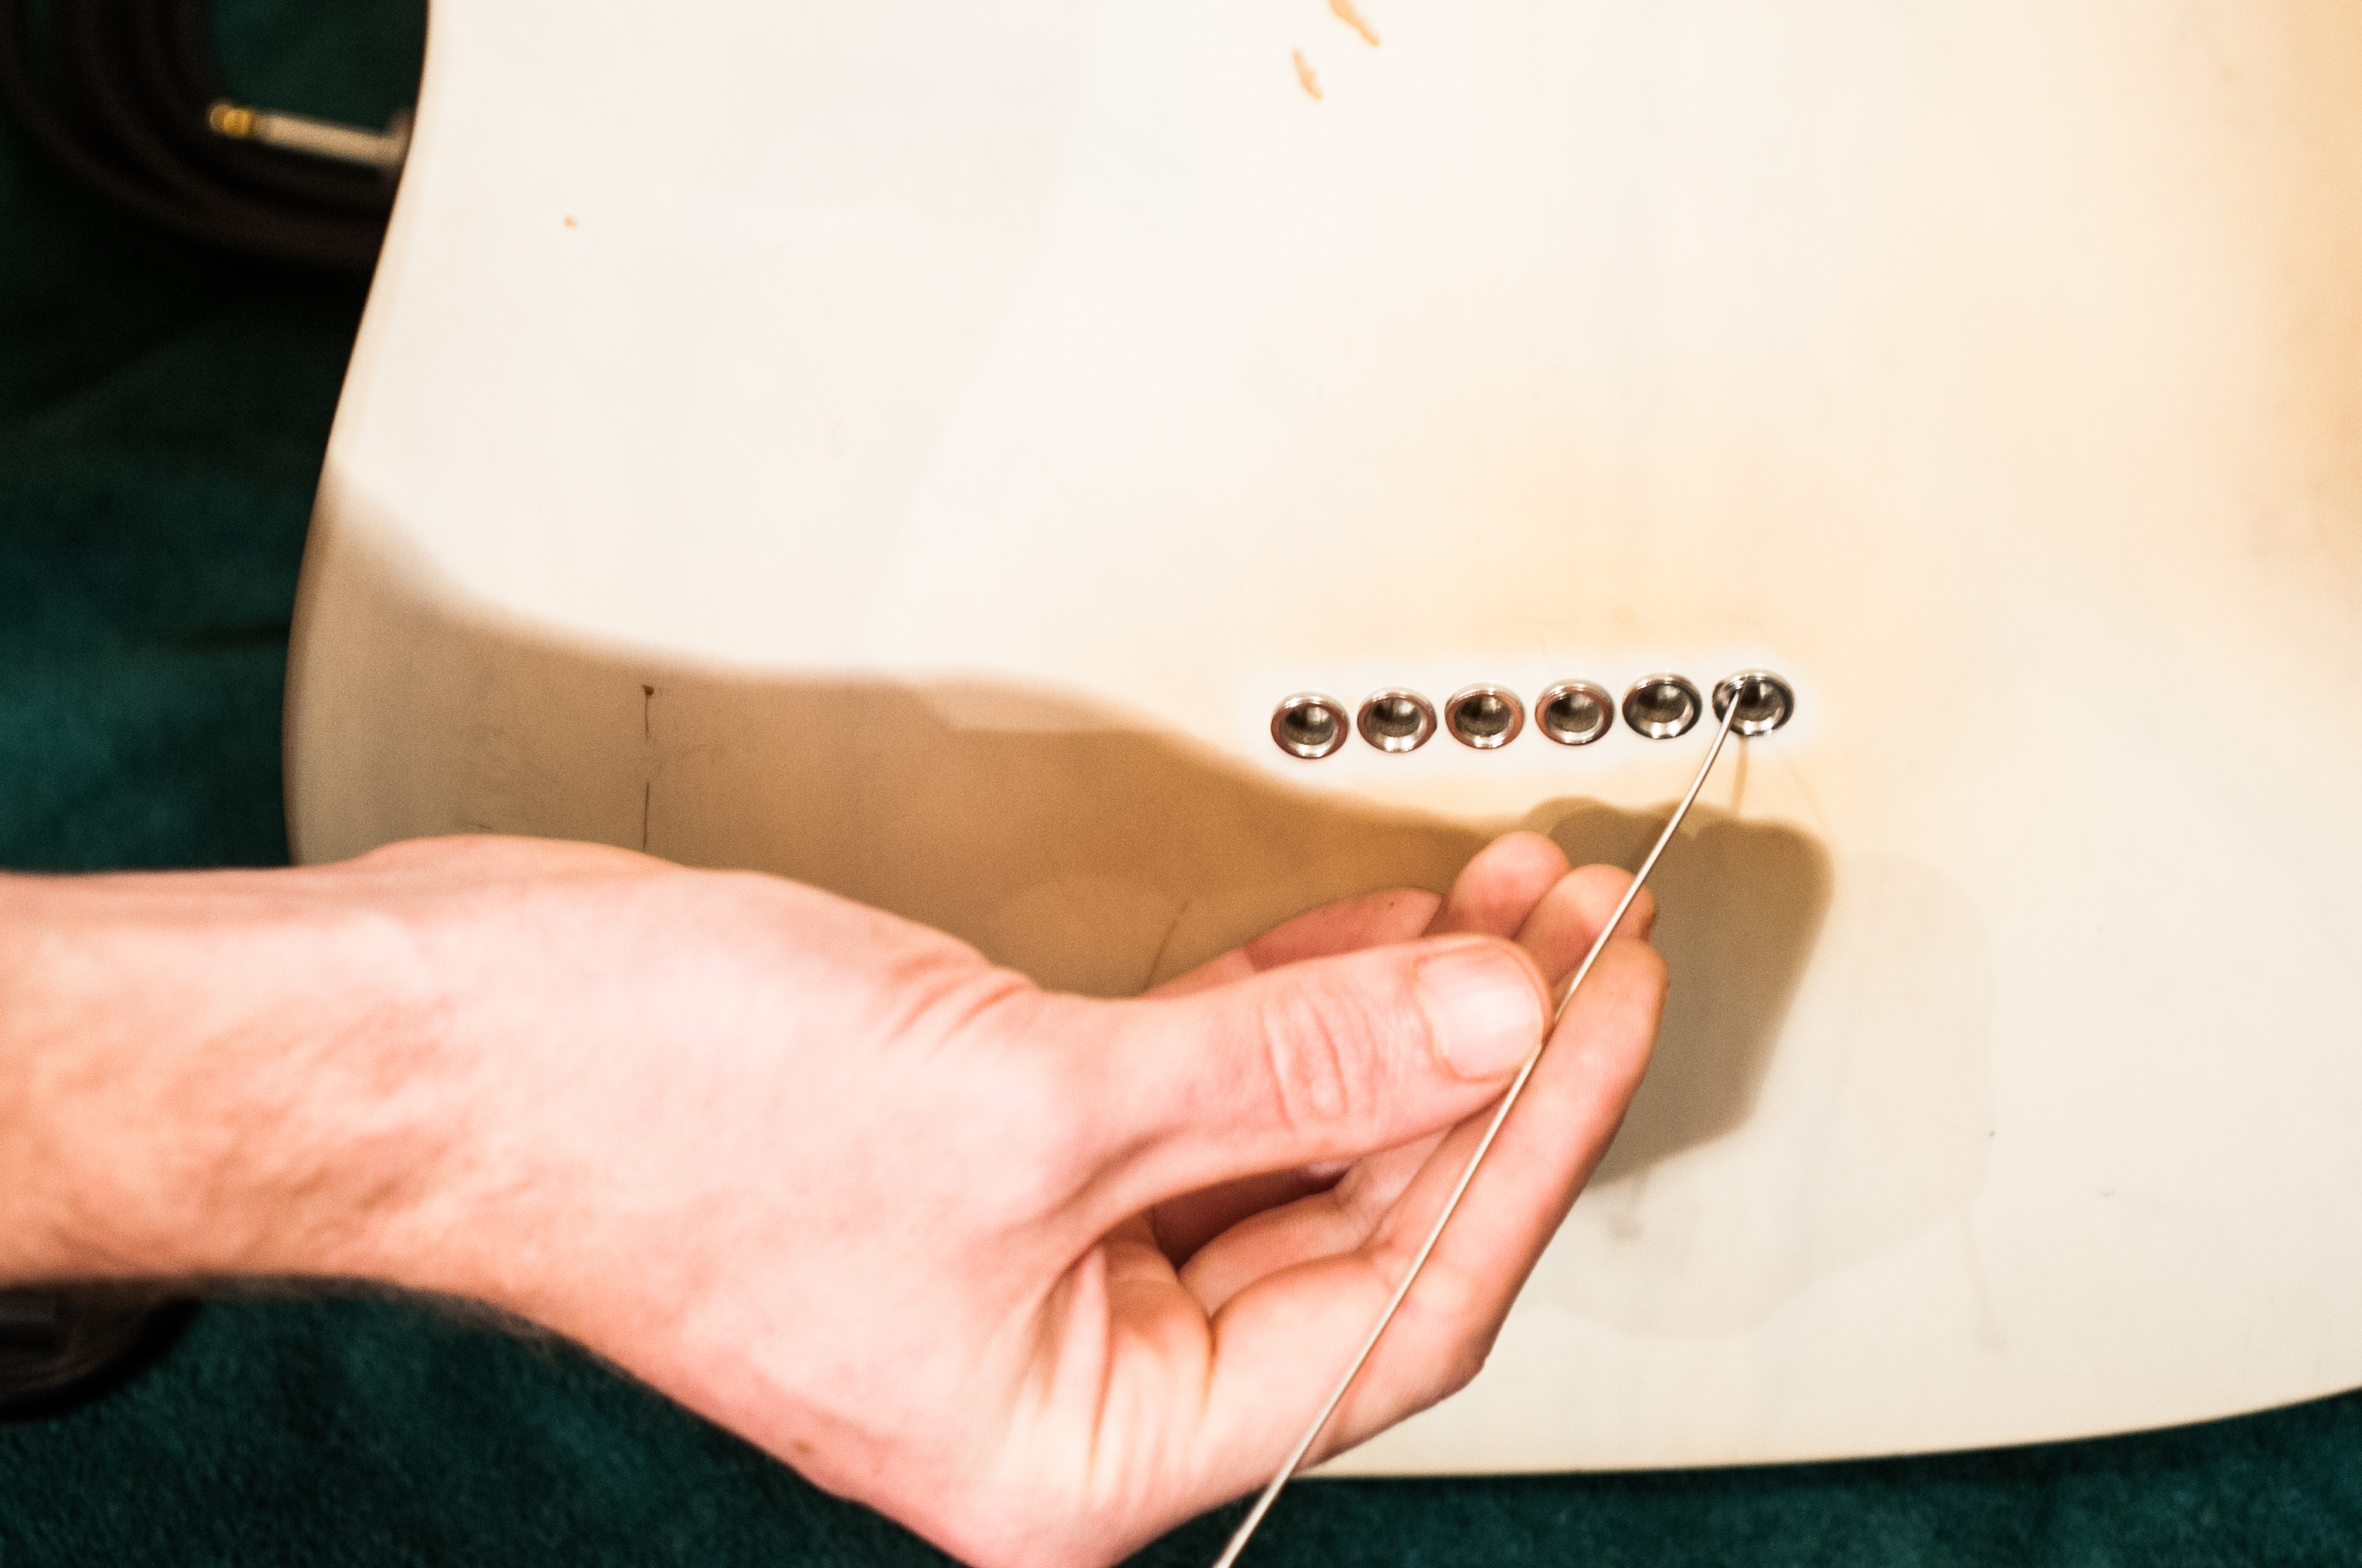
Next is to thread all of the strings through the back of the guitar, (or the bridge/tailpiece on other guitars).
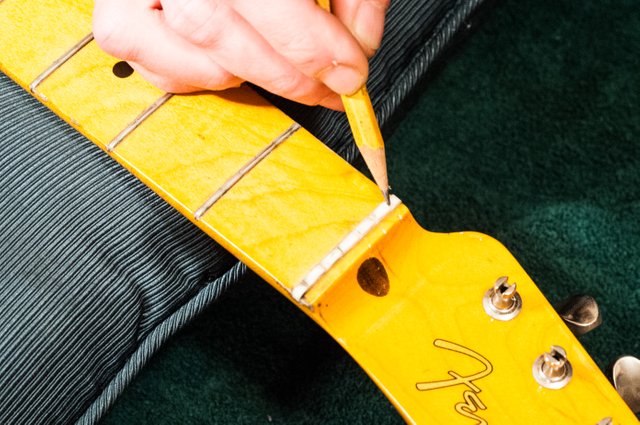
A little bit if graphite in the string slots at the nut will help lubricate the slots and prevent the strings from getting pinched.
Cut the strings at an appropriate length to allow for 3-4 windings on the tuning posts. Also allow enough length for the strings end to be bent at a 90 degree angle and inserted straight down into the tuning peg, (typically an inch or so).
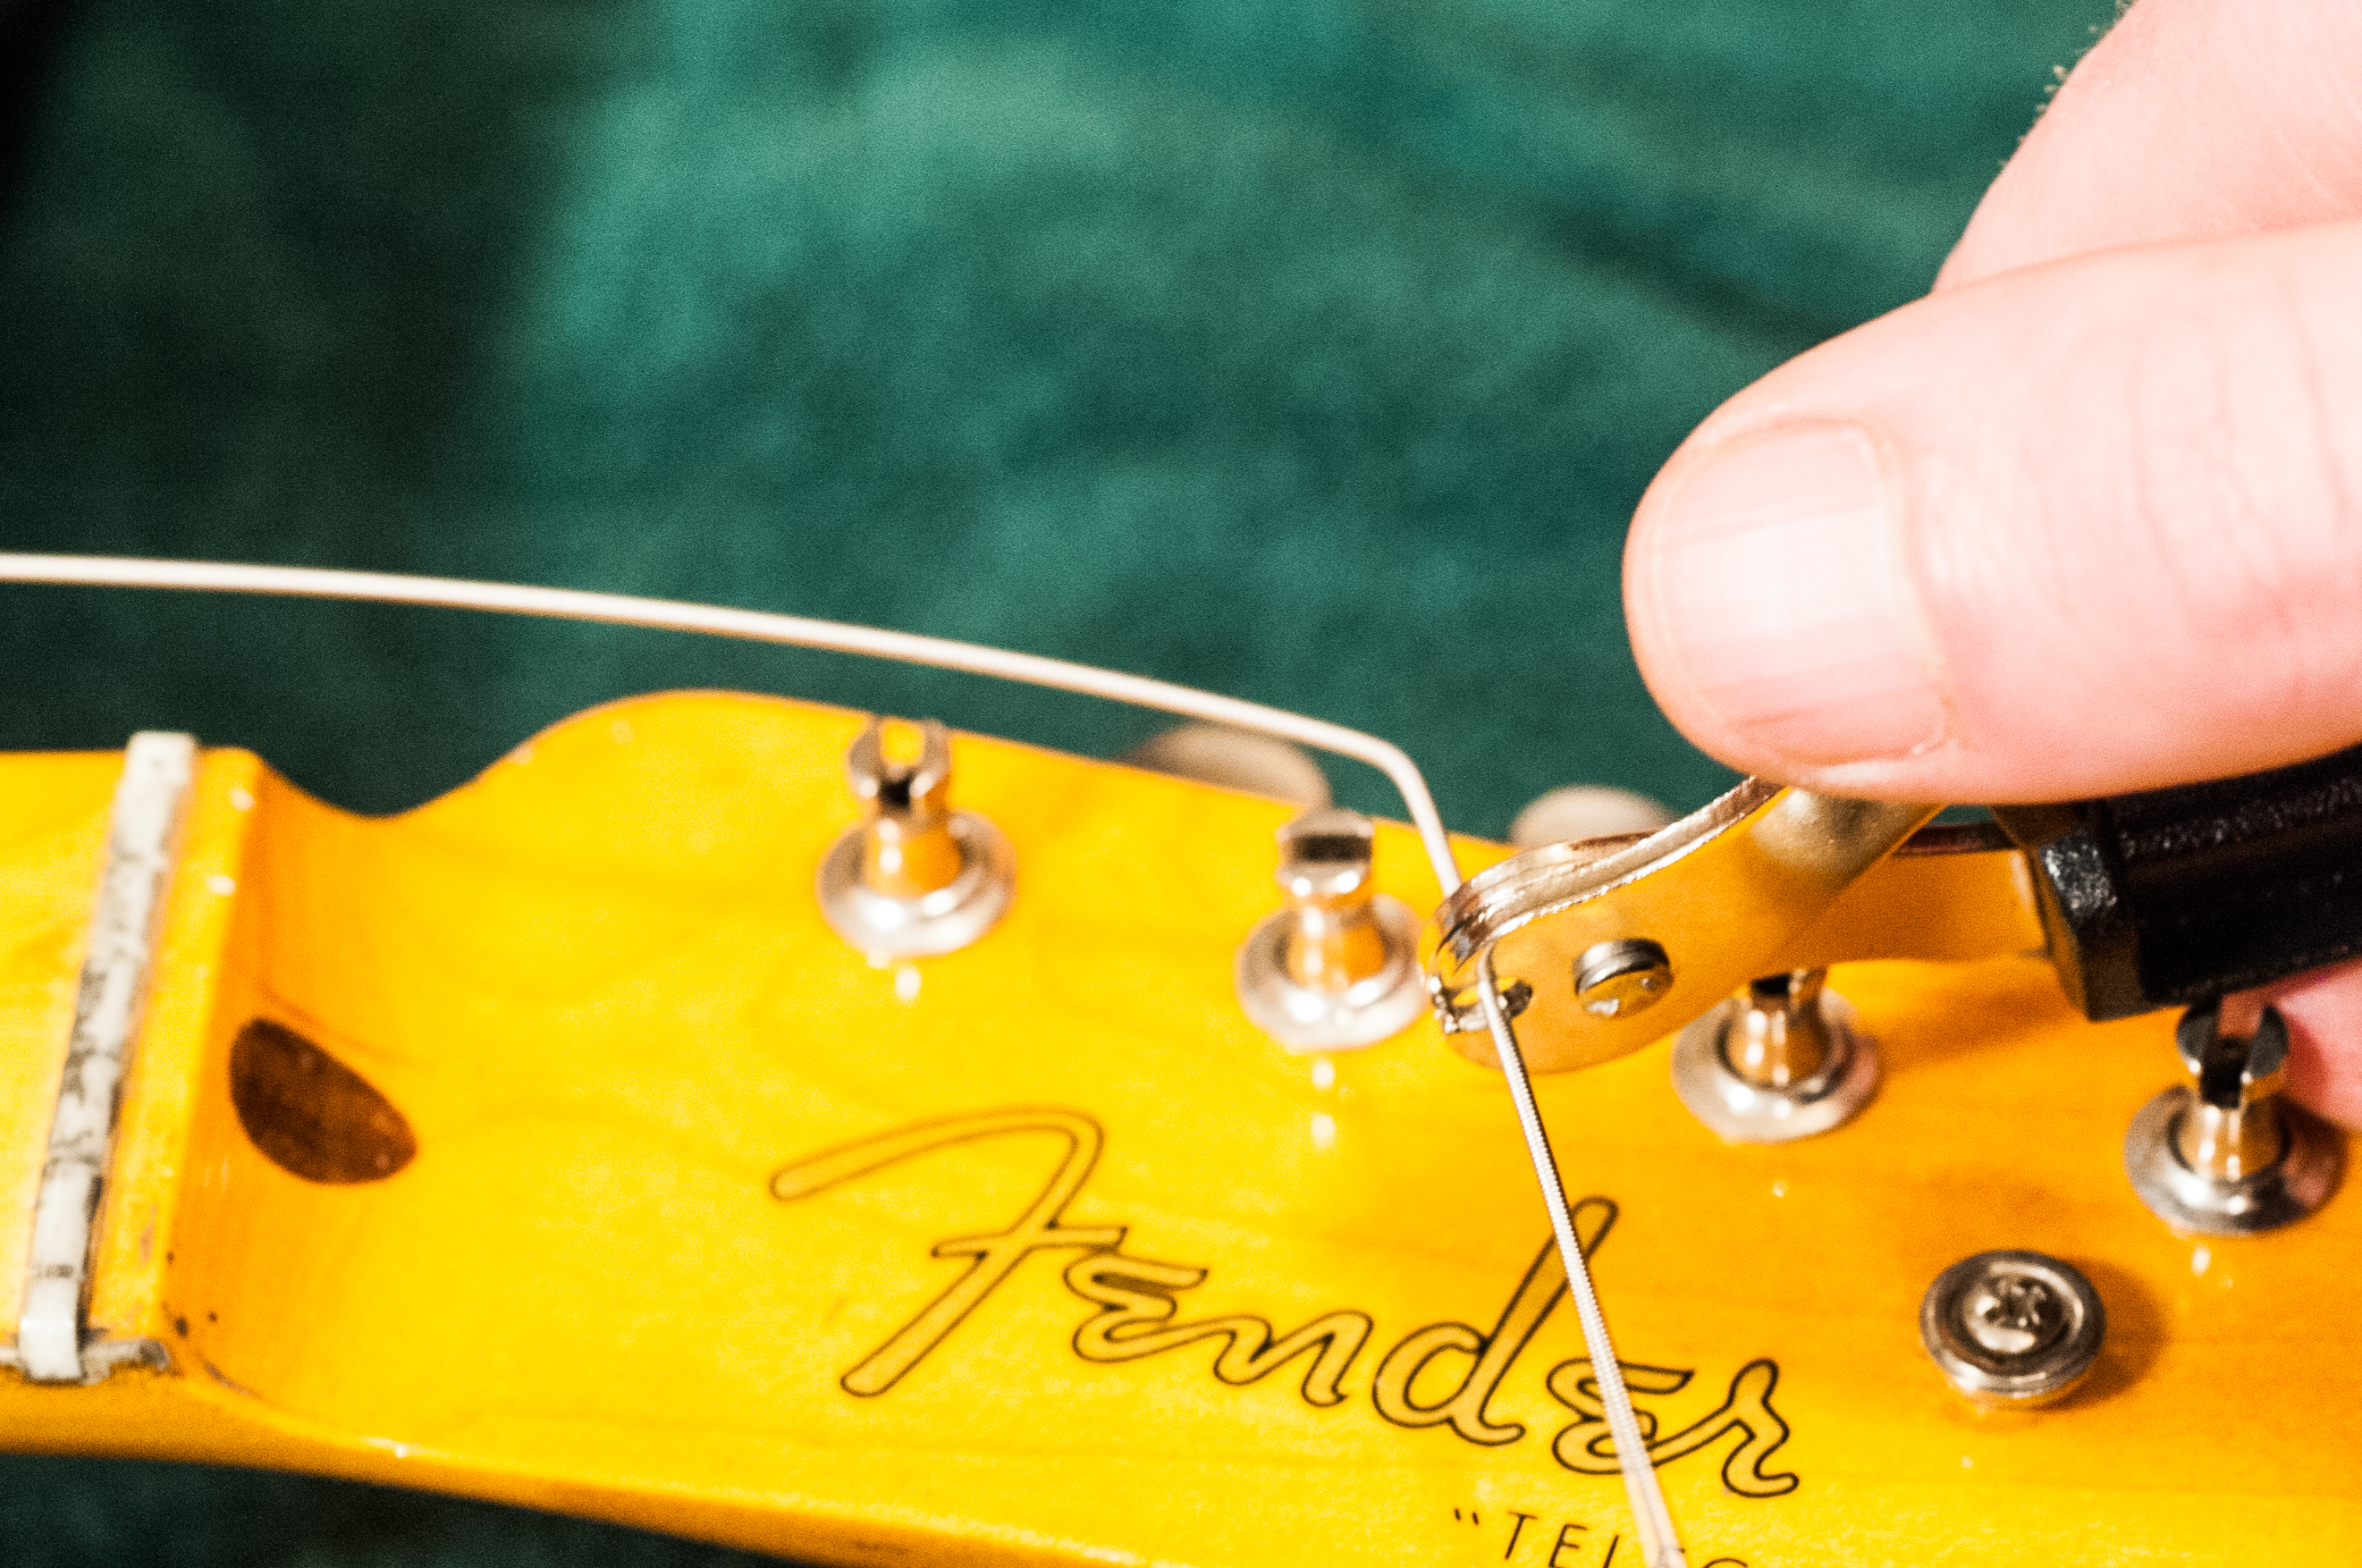
Use the string winder to wind the string onto the peg, making sure the each new winding is below the previous one. Keeping tension on the string with your right hand can help with this.
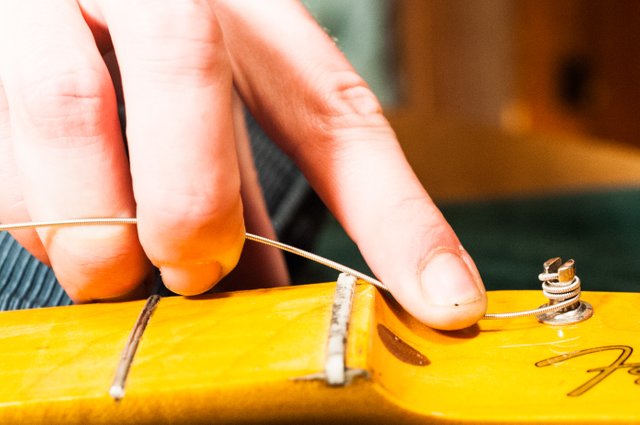
Finally bring the strings up to pitch using a tuner, or your ears if you have perfect pitch. The strings will take a little bit of time to stop stretching under their new found tension, so frequent tuning will be required for the first little while.
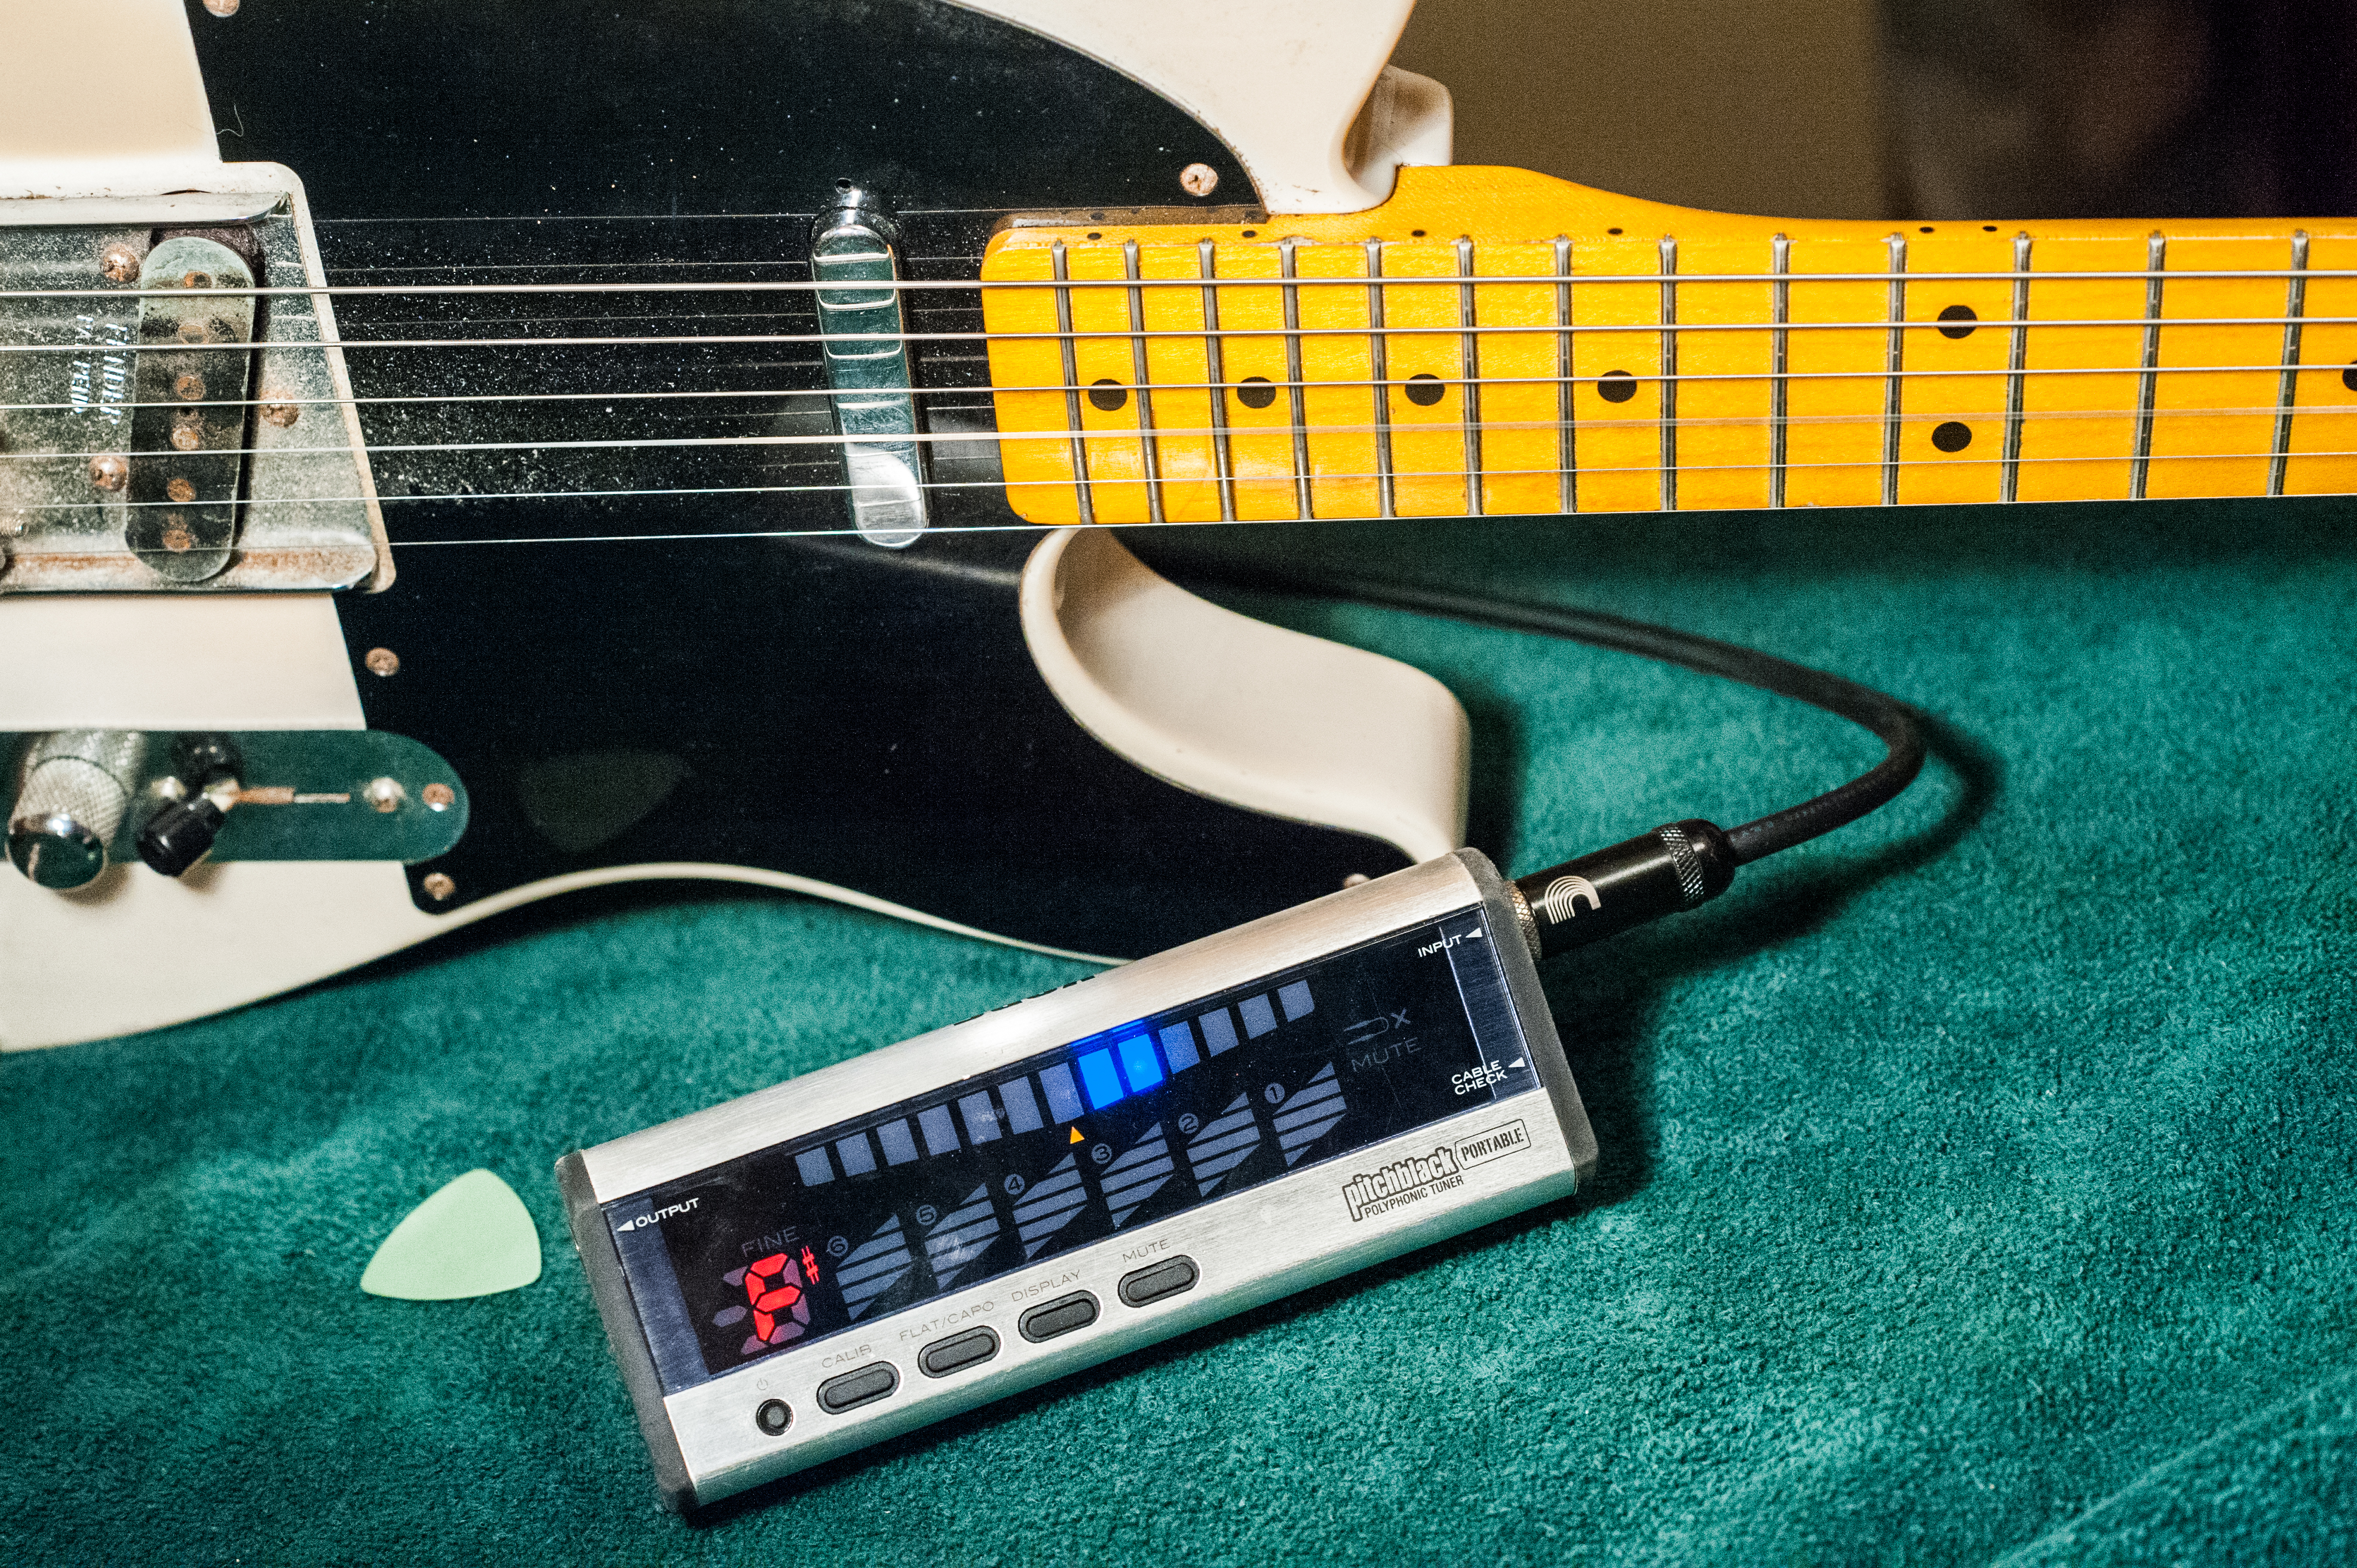
All done!