Hello everyone, ladies and gentlemen. I apologize for such a long time that was absent. During this time, many events have happened in my life, both good and not so pleasant. The good thing is that I finally launched my rack for microgreens, met a man who grabbed my soul and pushed me to something that I would never have thought to do. From bad it is regular stresses, nerves, though from for trifles. But I don't give up, it's best to go ahead. So I'll start.
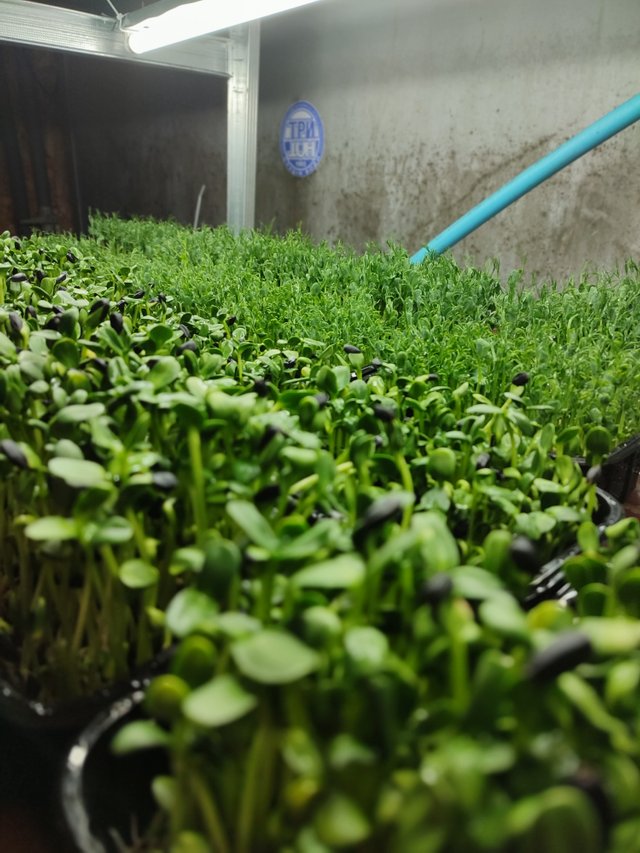
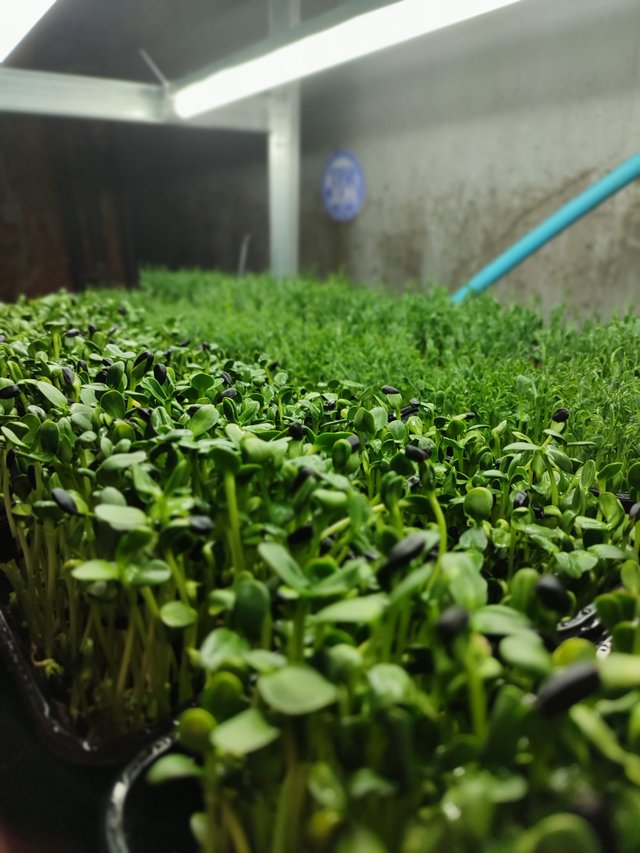
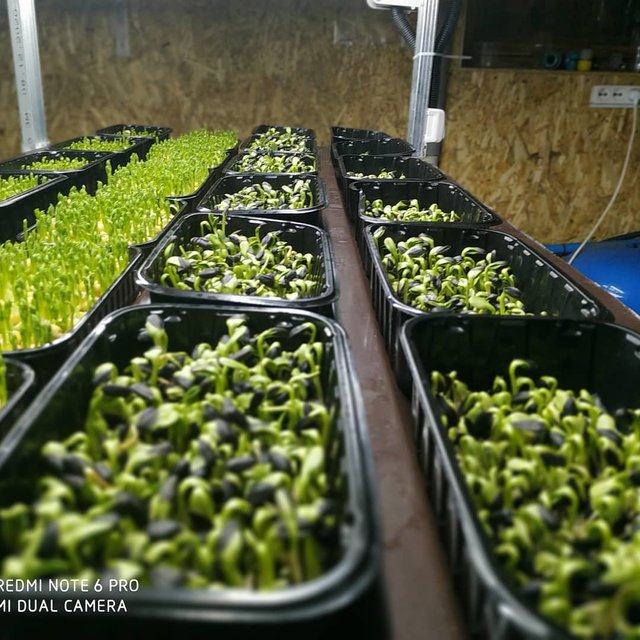
As promised - made a rack. And I want to tell you that up to $ 150 was spent on such a rack and it is not blown yet, but in my case ventilation was not needed to begin with. Now it is necessary because the whole rack is full and air circulation is necessary. For the future: if you grow at home, you will have enough of the ventilation that you have at home. If so as I have, then ventilation is needed one hundred percent.
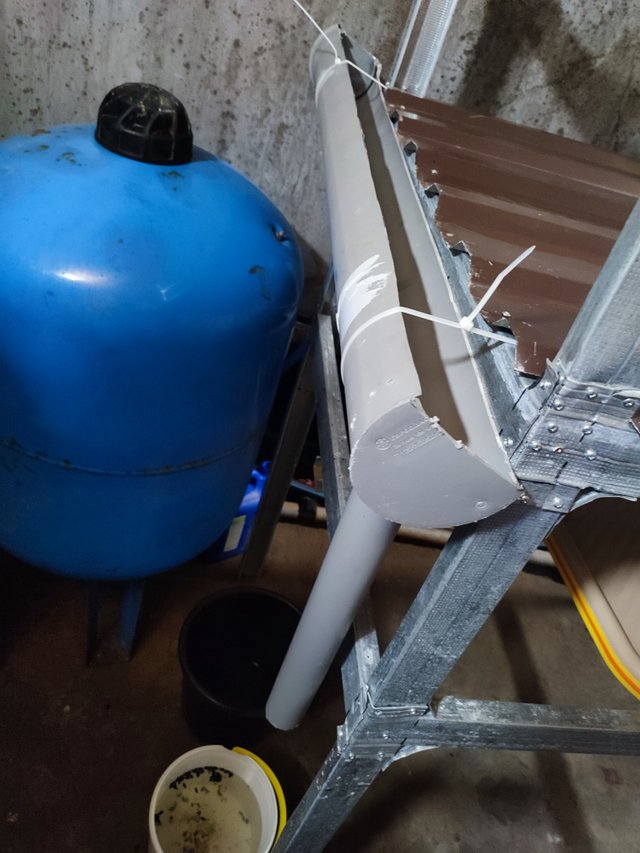
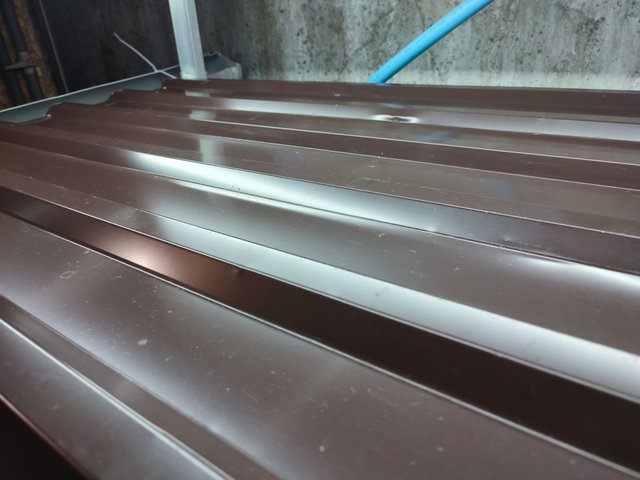
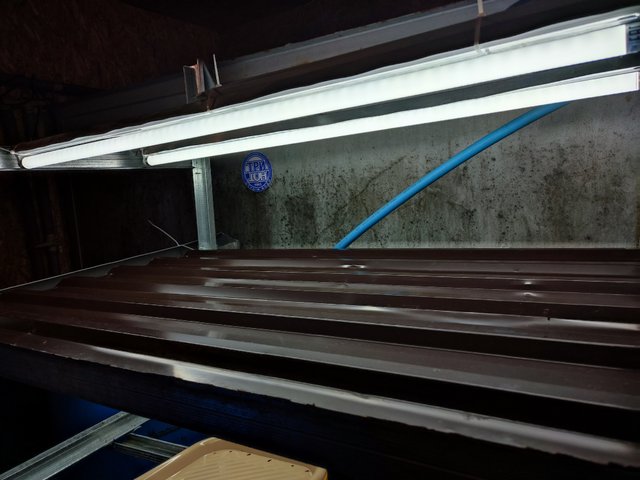
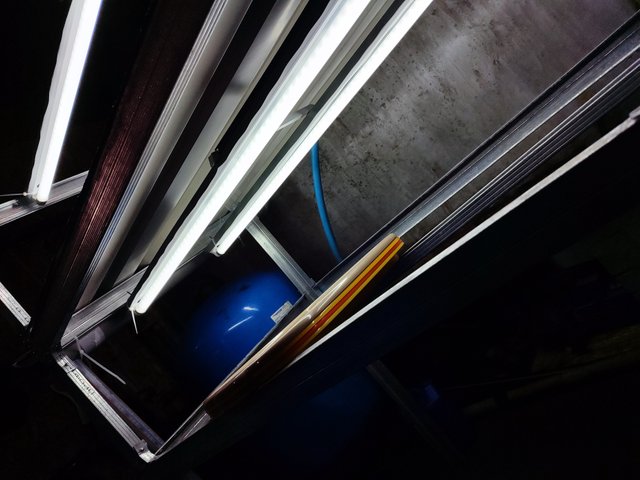
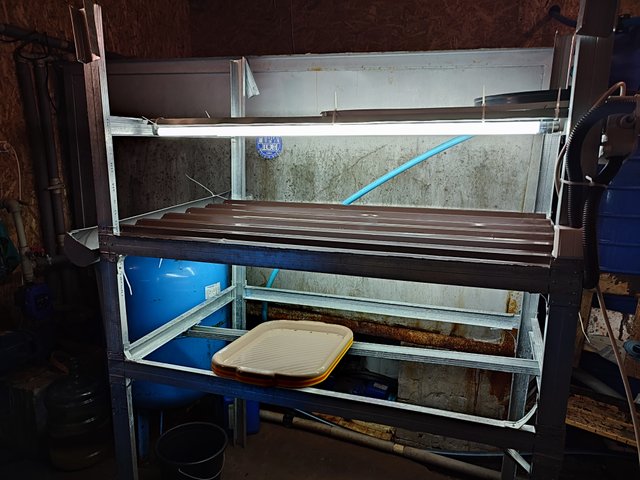
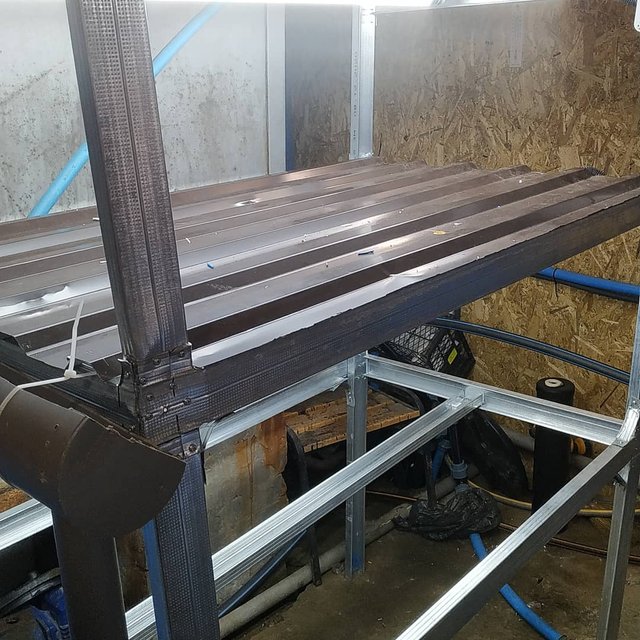
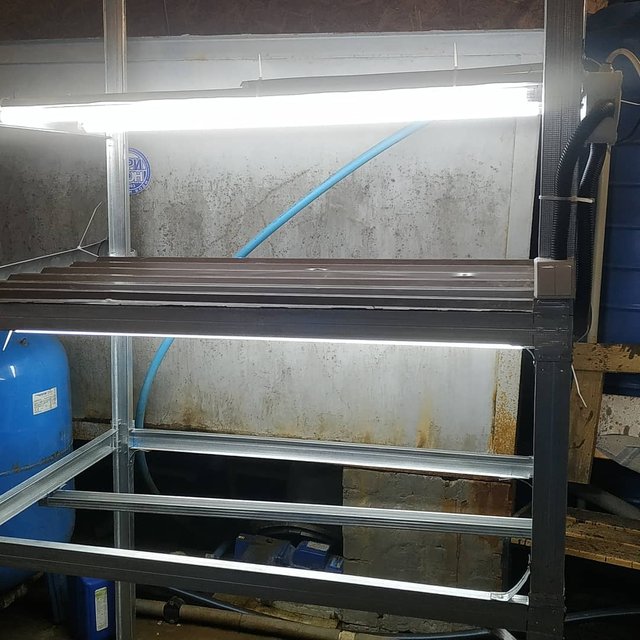
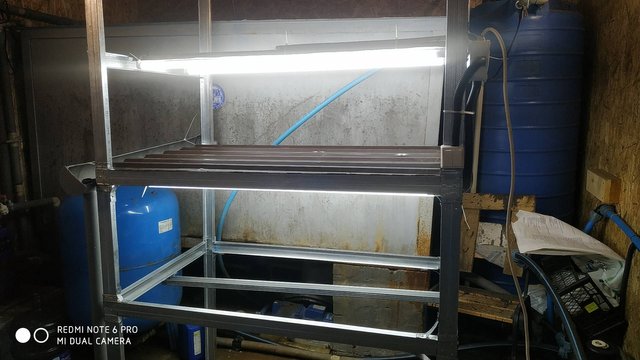
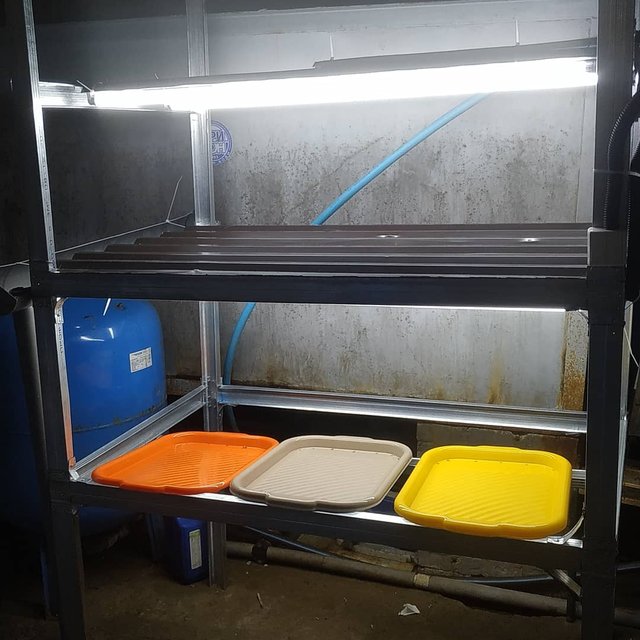
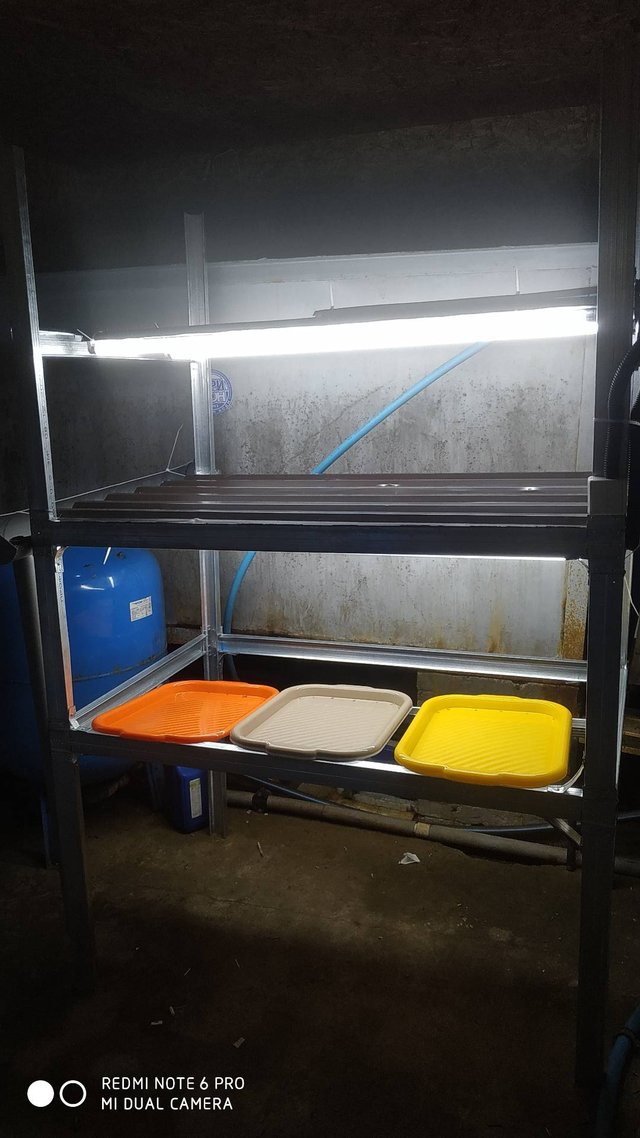
Structurally, the rack is not very difficult to make, the main issue was to make the water supply and that the water on the rack does not stagnate. The decision came by itself: on the top shelf the profile made at an inclination and from below made a gutter at an inclination that water flowed down in the tank. Did not make a plumbing system because it is a test rack to understand how it works, where and how to do better in the future.
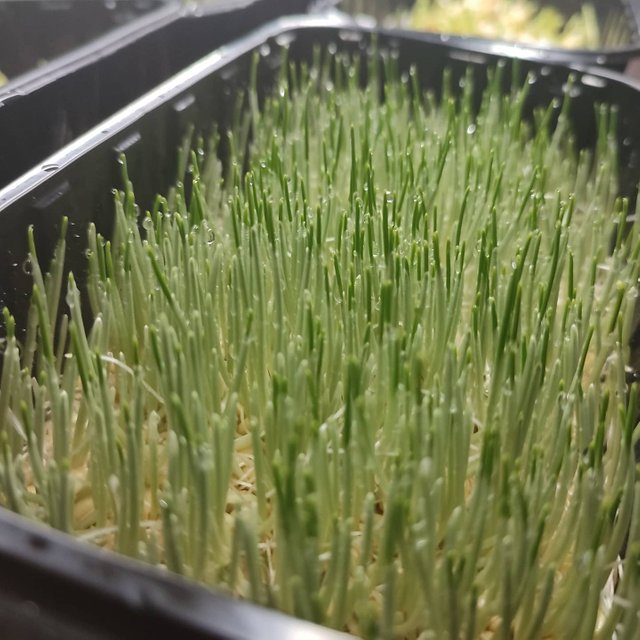
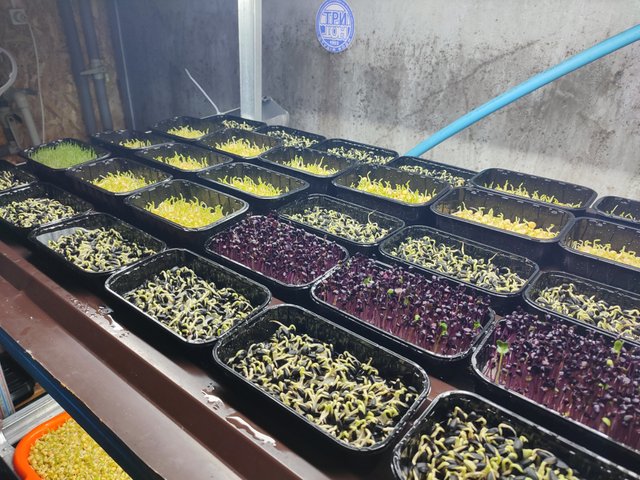
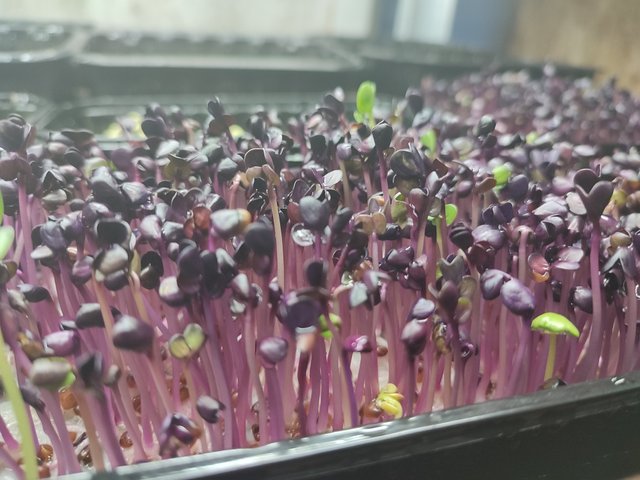
Indoor temperature does not exceed 23 degrees Celsius, constant humidity 60-75 percent. In the process of growing, I saw that the seeds of some crops can also be soaked with the addition of hydrogen peroxide. Remember 40 milliliters of hydrogen peroxide per liter of water. Sunflower seeds, from my observations, it is better to soak in a solution of potassium permanganate (in the people manganese). I decided to try soaking peas in this solution. Let's see what happens.
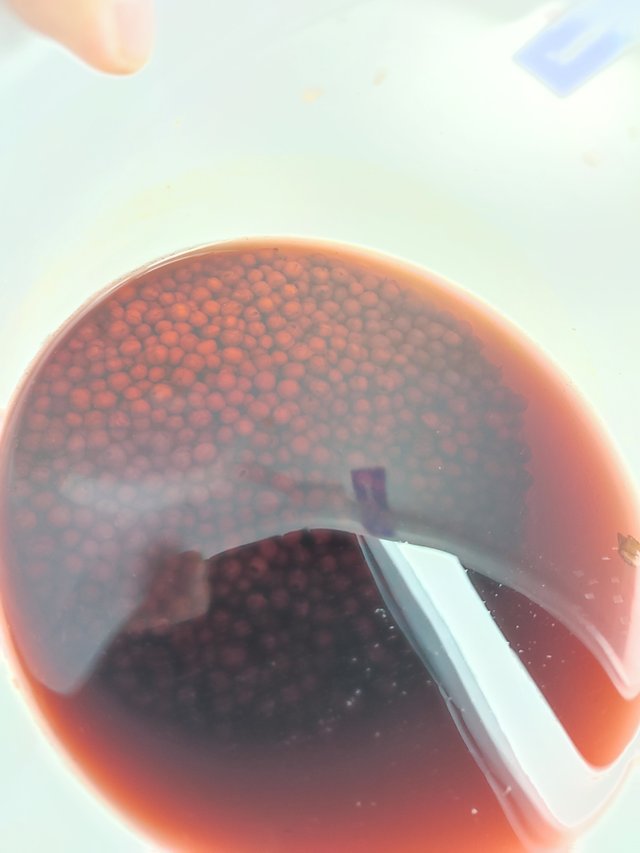
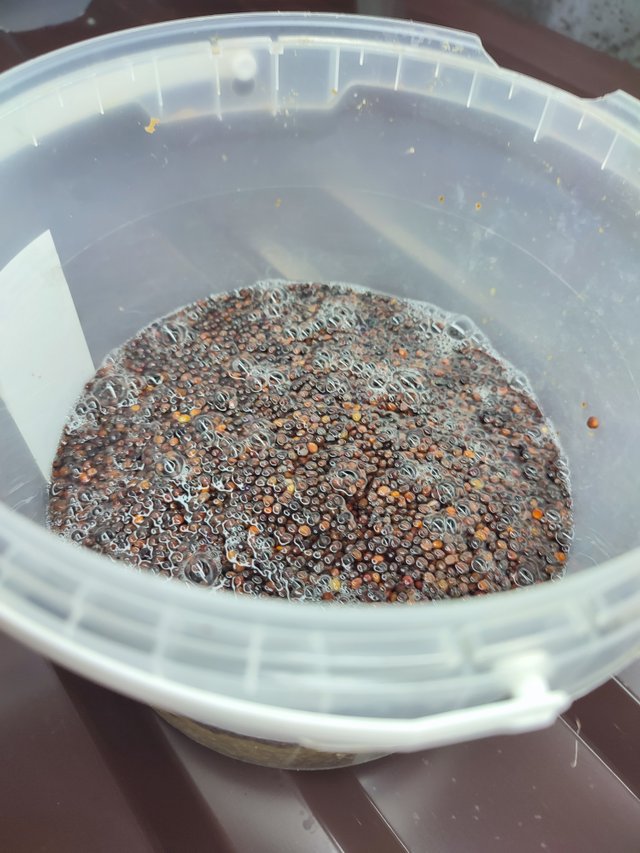
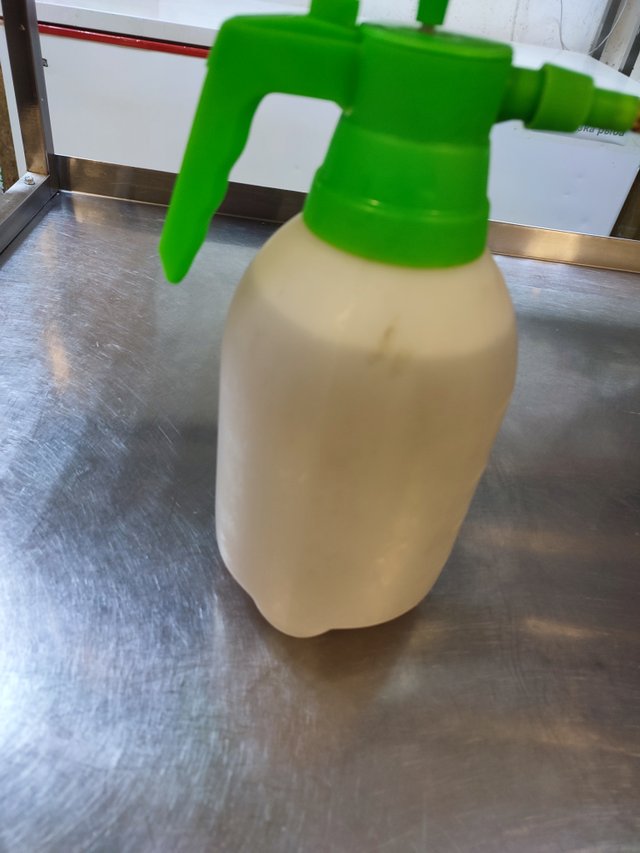
As for how the growth process takes place and what I process throughout the process, I will now tell you everything. I have two pump sprayers, one with a solution of phytosponin and trichodermin, the other with either plain water or a solution of humic fertilizers. There may still be a solution with protective additives, but it's all natural and organic. We do not work with chemistry at all.
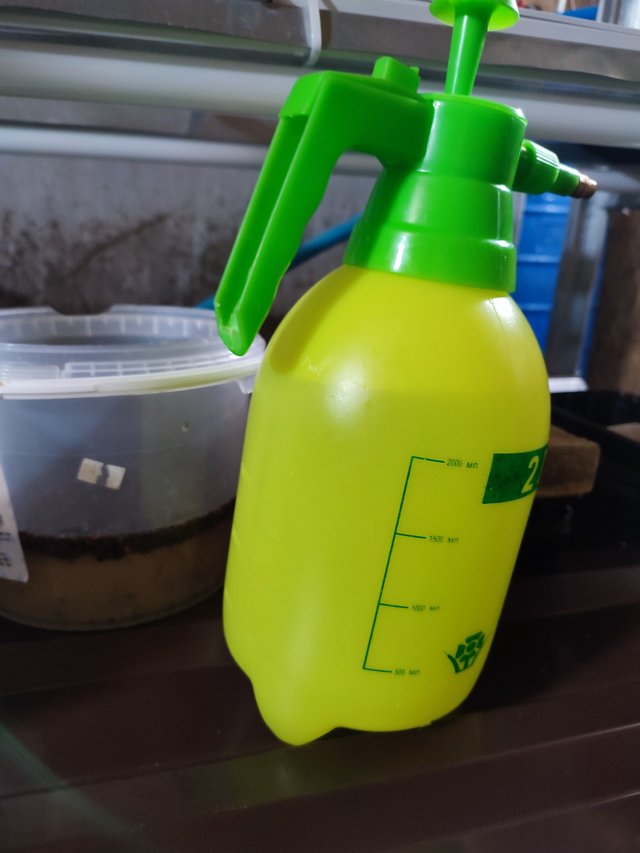
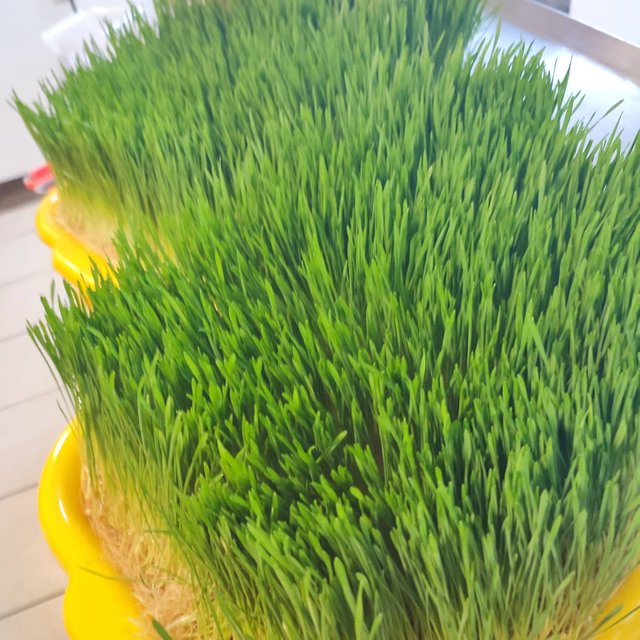
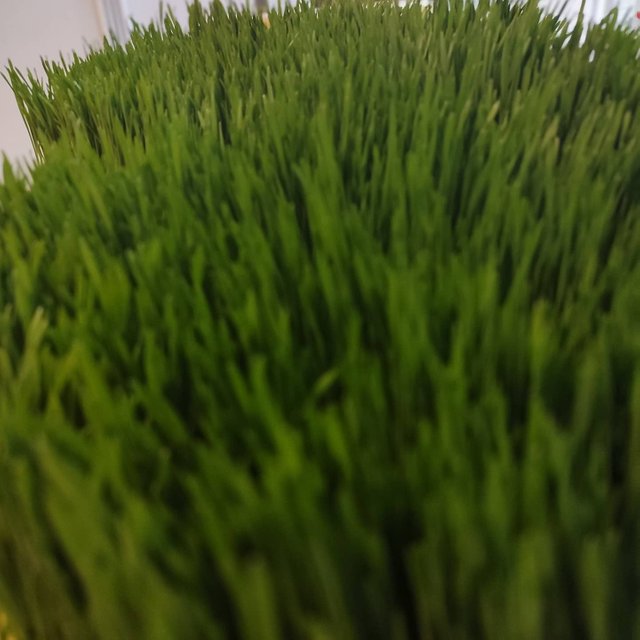
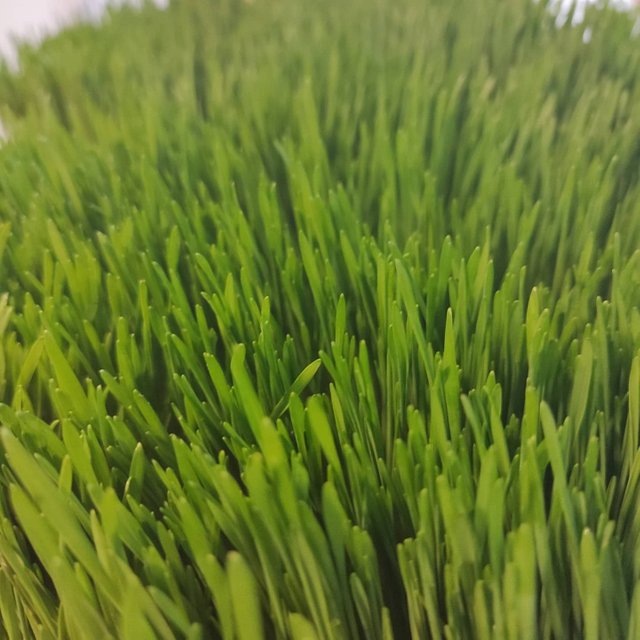
The first barrier I overcame was wheat. The way she came out impressed even me. But there is one nuance, if red spots appear on the roots - no problem. They can be drunk for several days. For this I have a hose with a nozzle on which several modes of watering. For such spots, I usually use the "shower" mode. It will not damage the roots and will wash everything from the roots well enough. For watering from above at the initial stage, I use the "fog" mode. It looks like a light rain, so this is what you need. Also in the process of growing, try to turn on and off the light at the same time and water at the same time, but regarding watering I can say that it all depends on your substrate. If you grow on napkins - you need more watering, if linen carpets or coconut substrate - less often. Why it is so easy to guess.
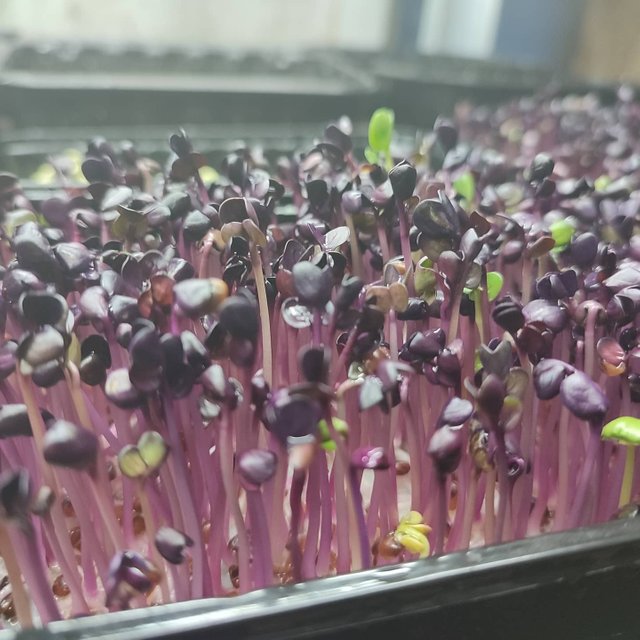

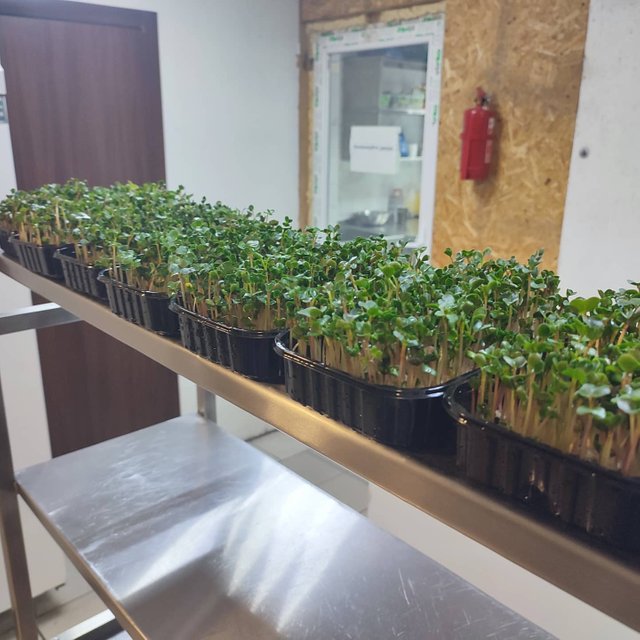
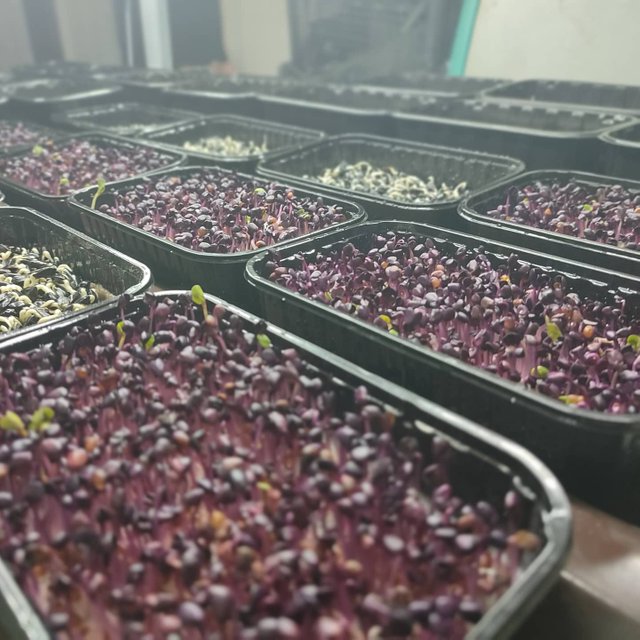
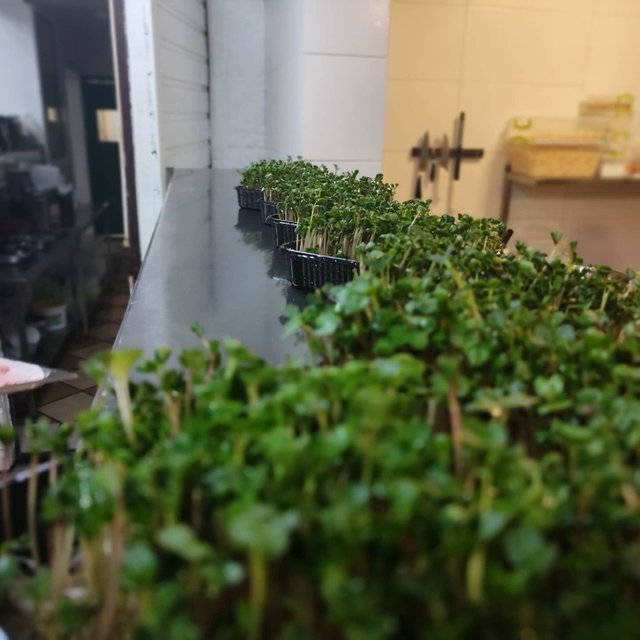
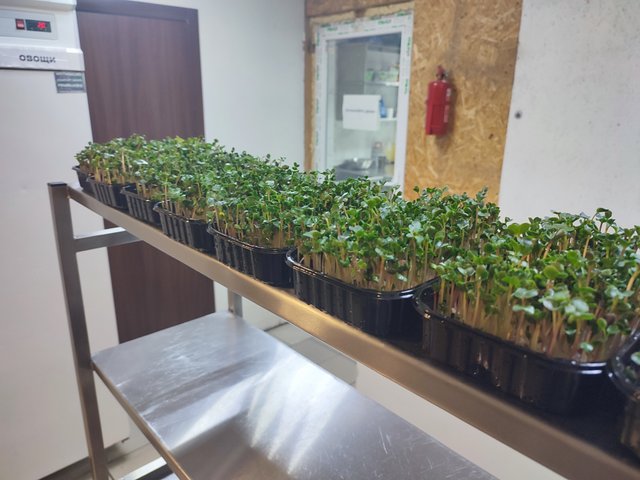
The next crop I succumbed to was radishes. Here I noticed that when soaking the seeds, it grows better than just in containers. The difference is about two or three days.
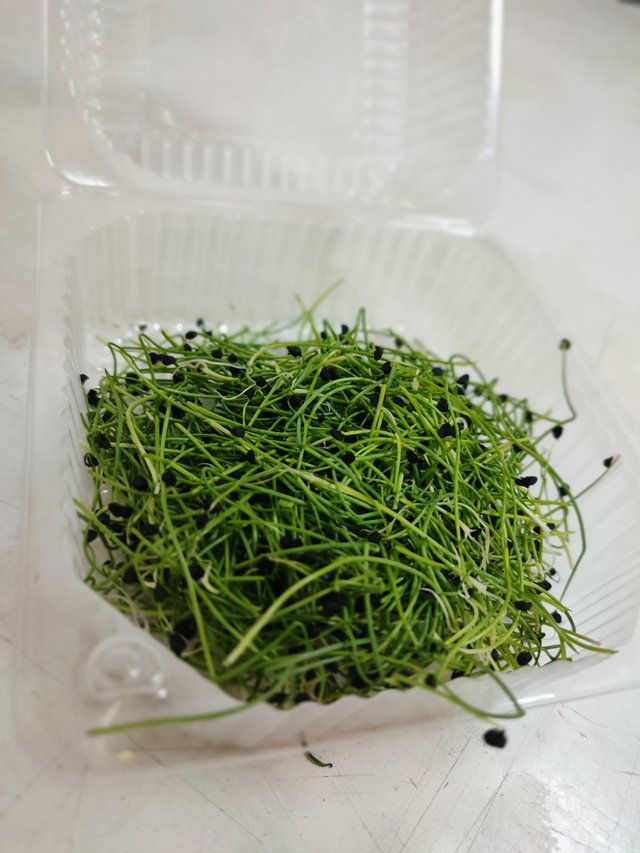
The hardest thing so far is given onions. We need to study this culture better for the future so that there are no problems.
I haven't grown alfalfa on this rack yet. But I think there should be no problems with it.
That's all for now. Next will be even more interesting. New crops, new ways of growing. If you have any questions or tips, write comments and I will always answer. MICROGREEN FORWARD.
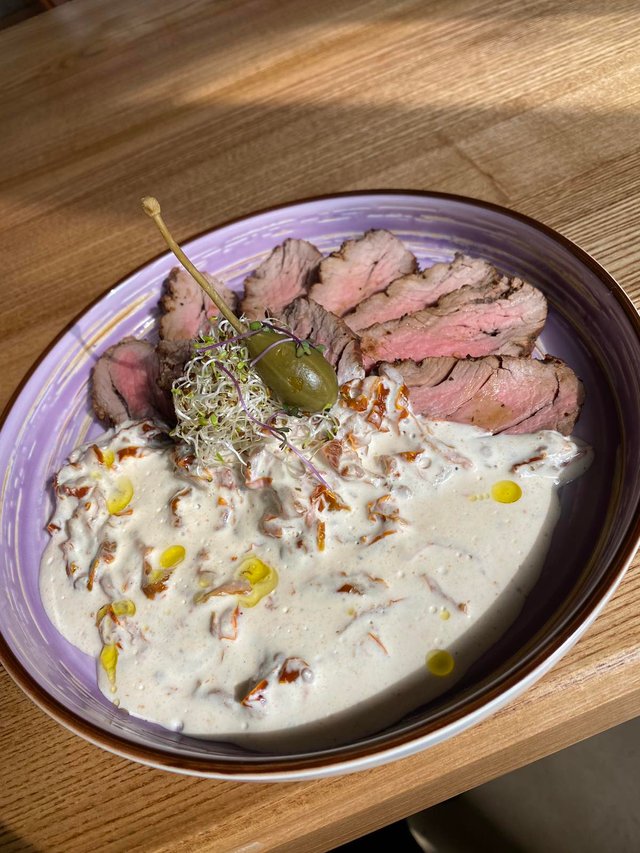
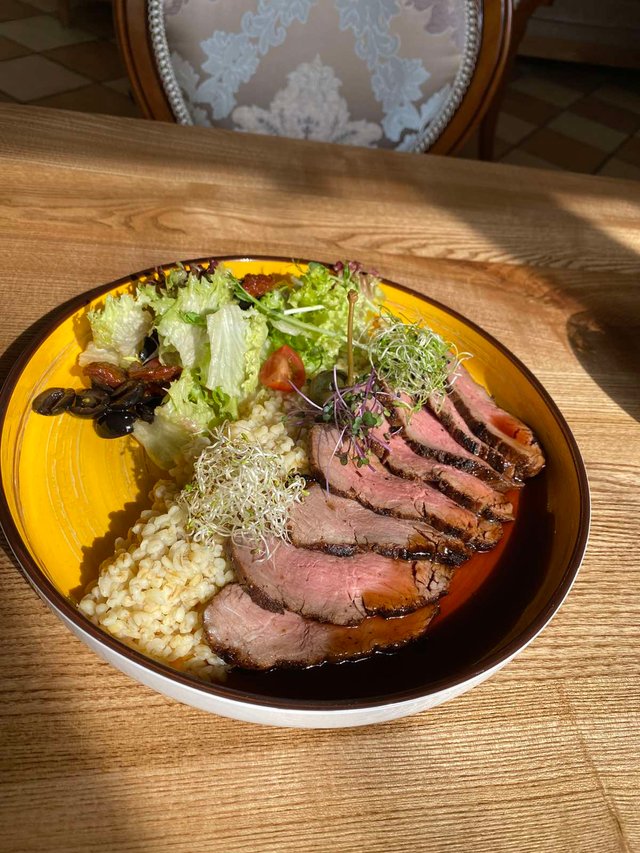
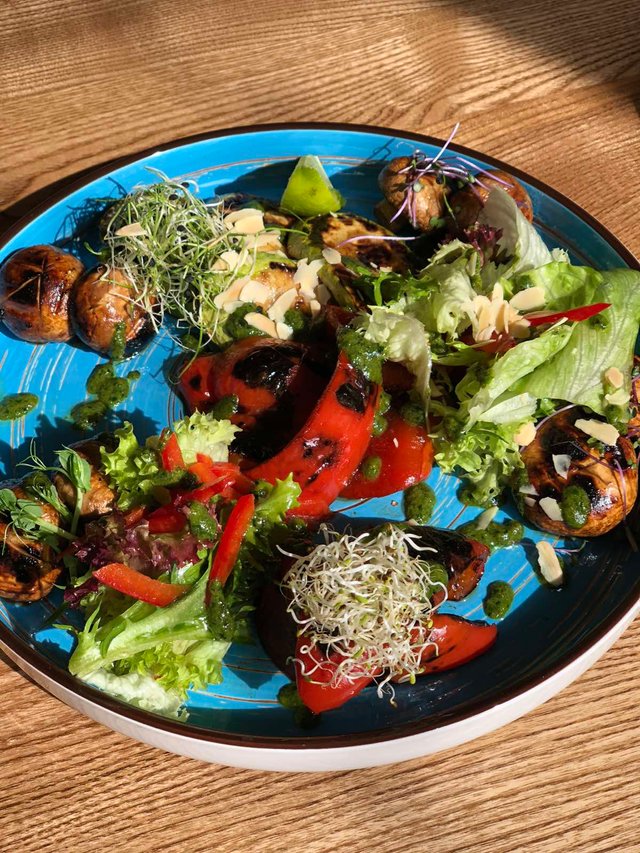
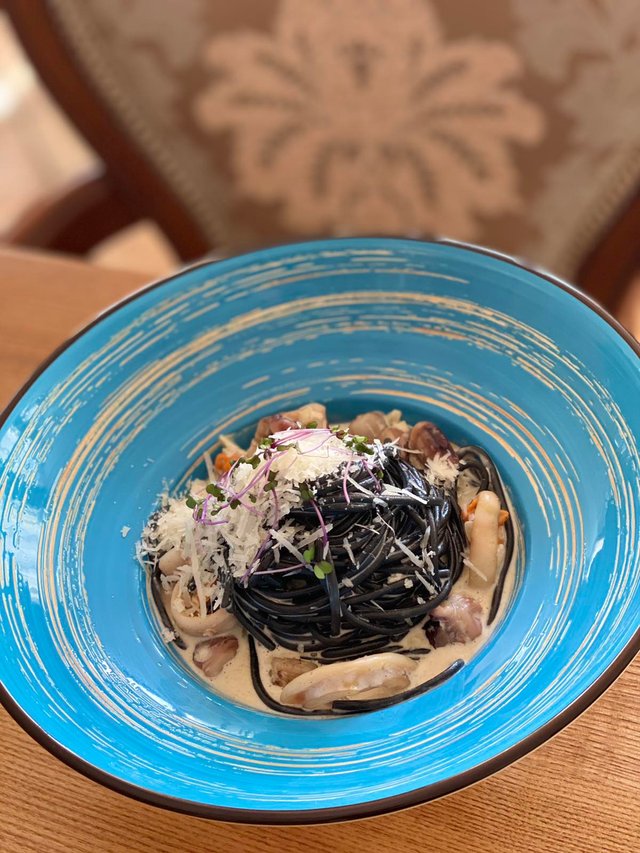
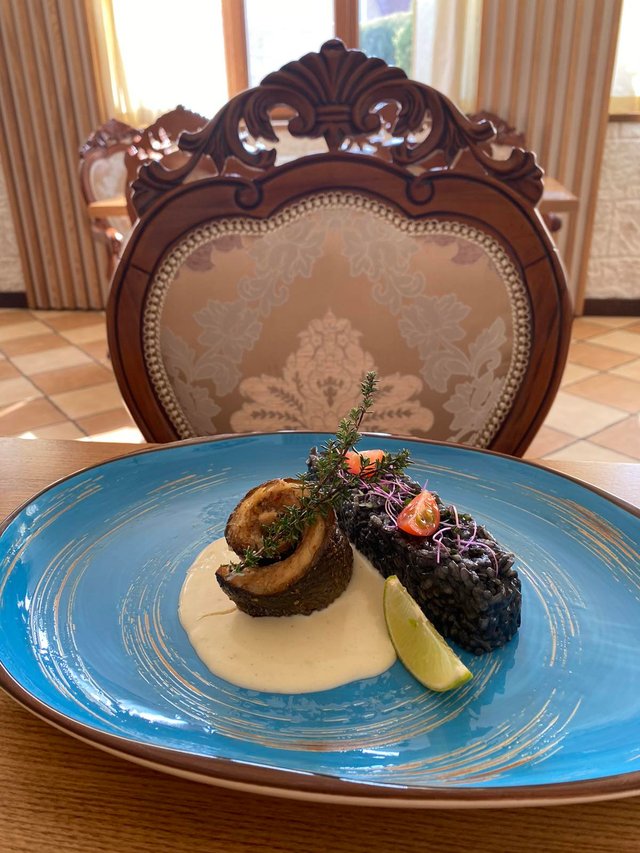
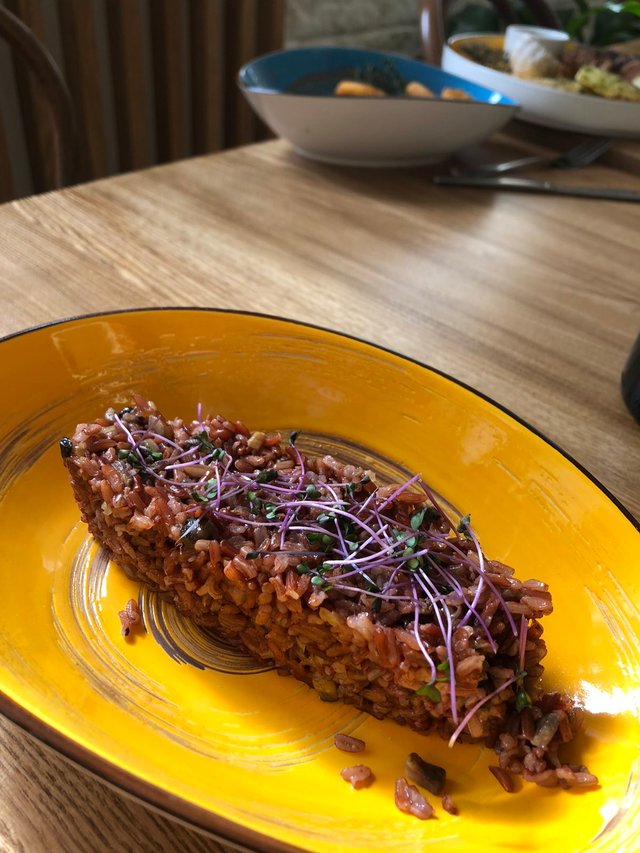
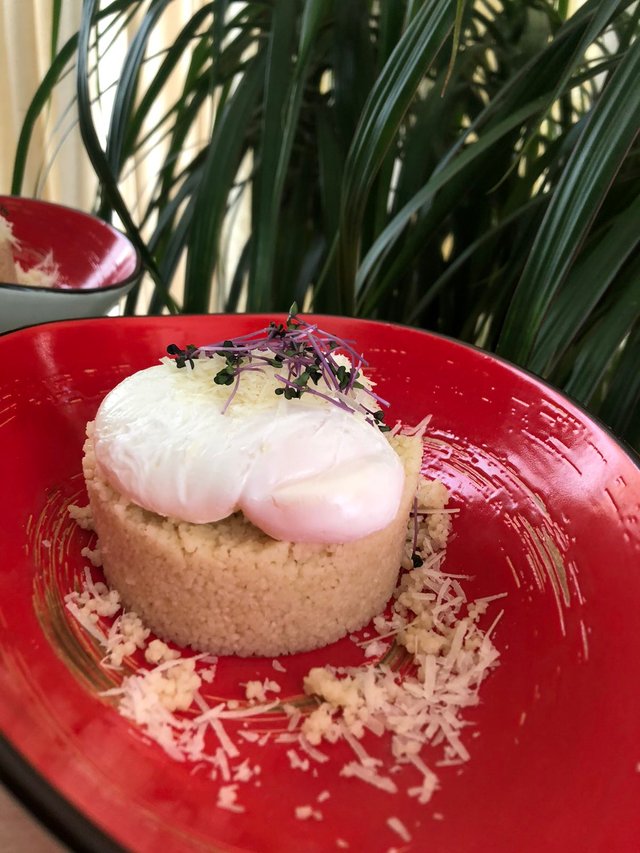
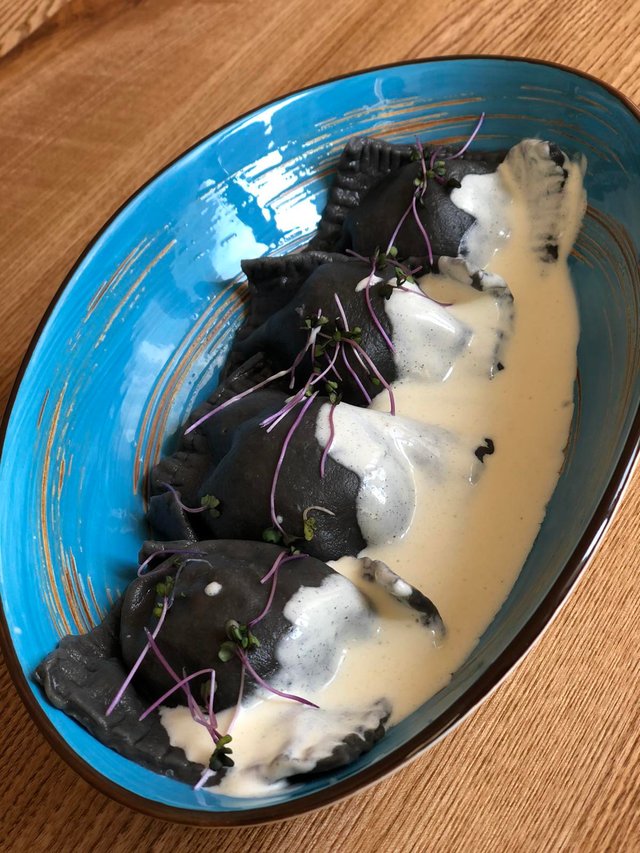
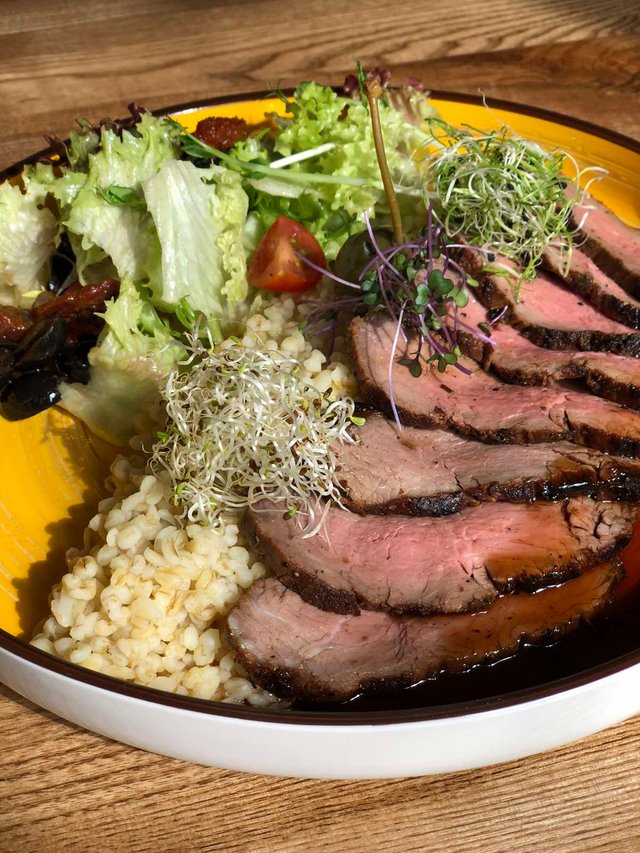
P.S And in addition a little photo of dishes with my microgreens.

thanks for details
Downvoting a post can decrease pending rewards and make it less visible. Common reasons:
Submit
Your welcome
Downvoting a post can decrease pending rewards and make it less visible. Common reasons:
Submit